Dovetail Tail and Pin Saw Guides
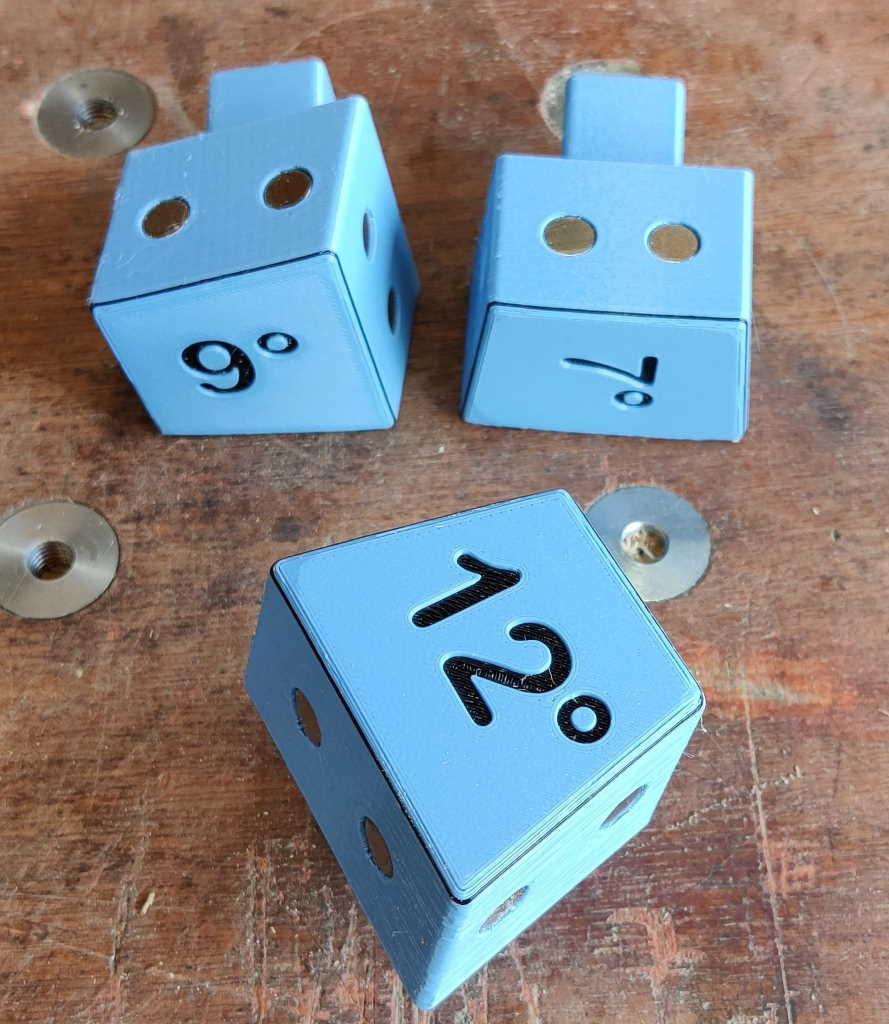 |
These saw guides are designed to help you cut accurate dovetails. Each jig includes all of the angles required to cut both the tails and the pins. You'll need some 8 mm diameter, 3 mm thick magnets (8 per jig), which get superglued into the slots.
 |  |
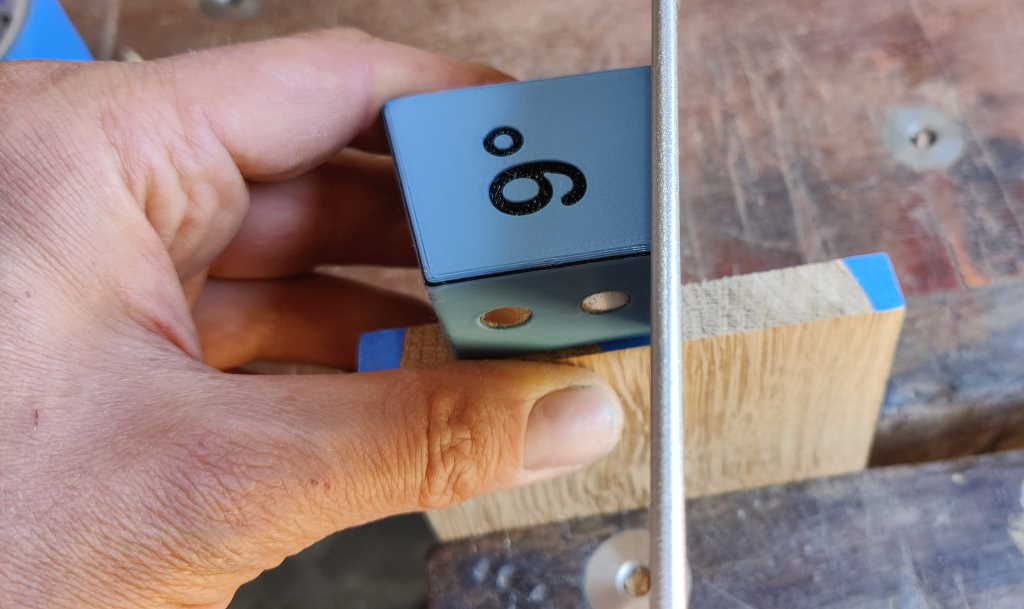
To use the jig, hold it with one hand against the wood (behind the wood if using a Japanese saw, in front of the wood if using a Western saw) with the required angle. Then relax your hands on the saw so that the jig guides its travel and just push/pull until you're down to depth.
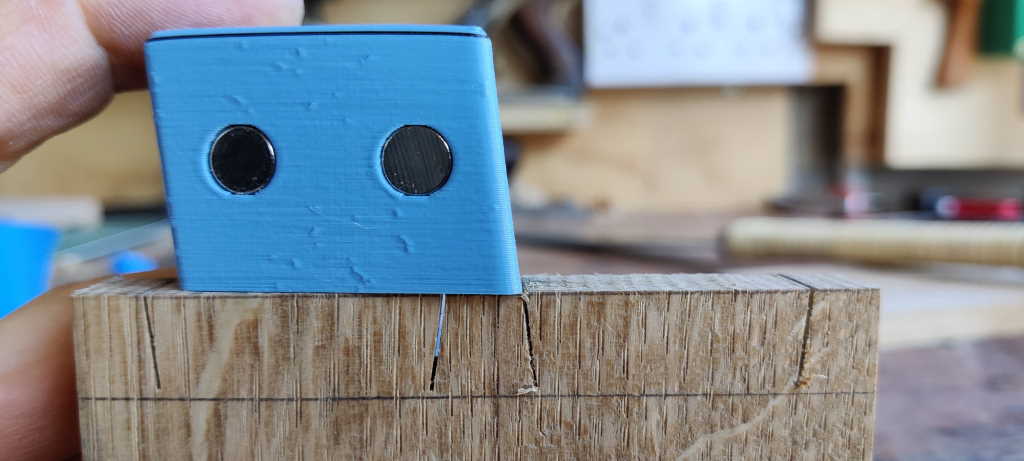 |
This photo shows what it looks like after cutting the tails.
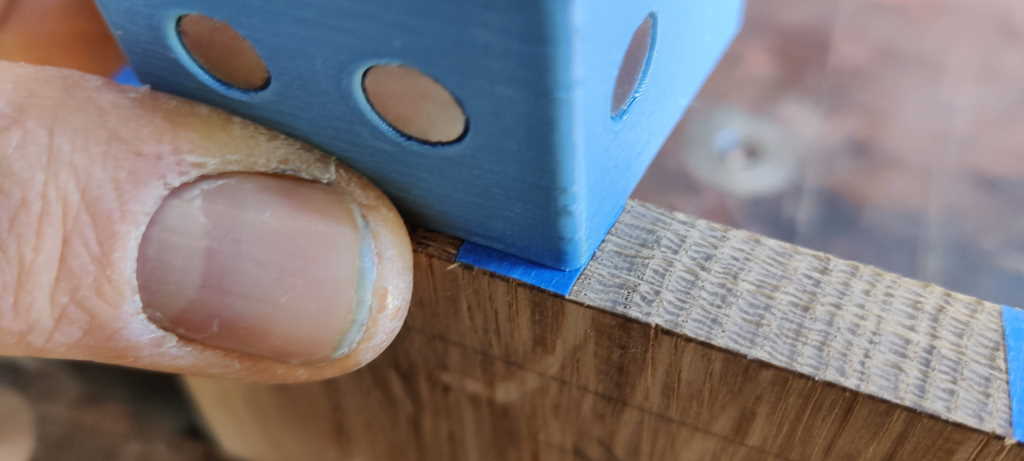 |
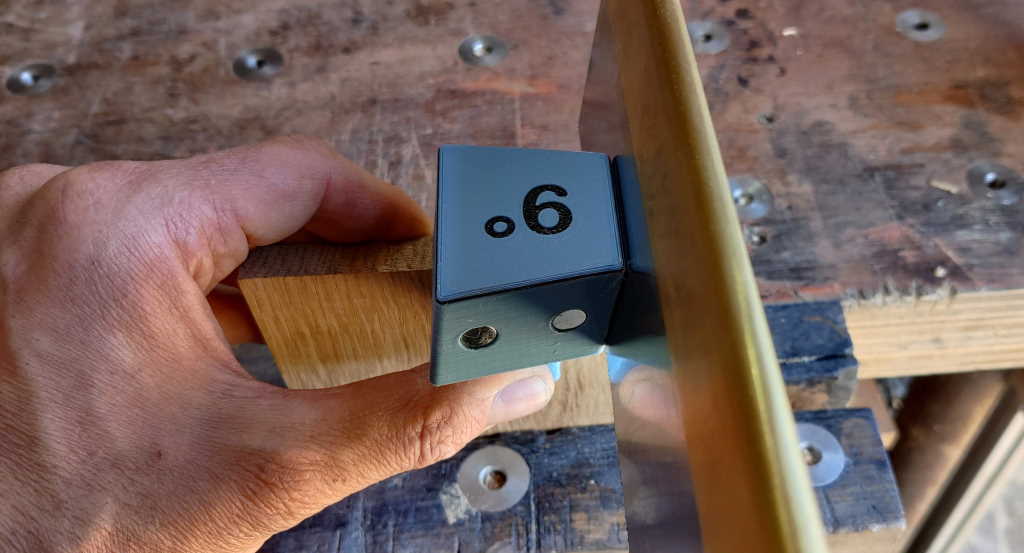
Once you've cut the tails and transferred the marks onto your pin board, you can use the other two sides of the jig to ensure you cut the pins at the correct angle and straight down. This photo shows how you line up the jig for cutting tails (here I've used masking tape before transferring the cut positions from the tail board: the masking tape makes it easy to see where the line is).
 | 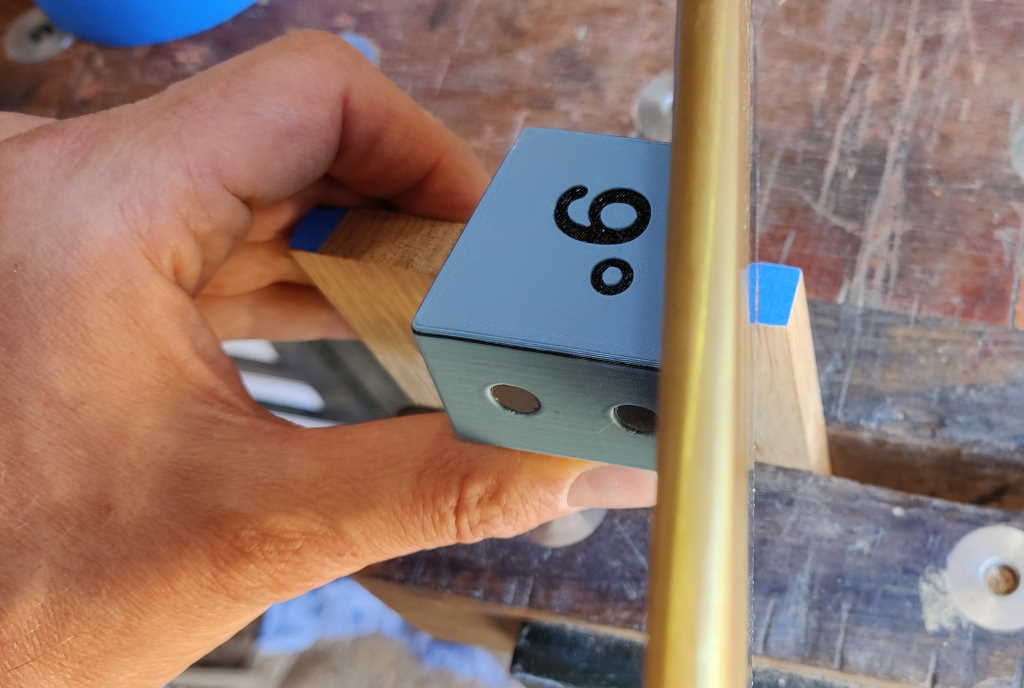 |
Again, the pins are cut by holding the jig against the board and letting it guide the saw.
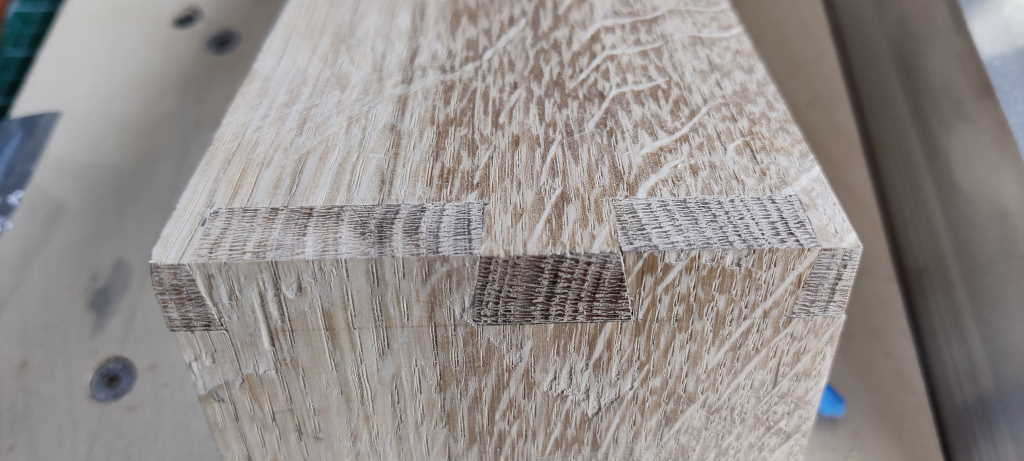 |
This was my very first attempt at cutting dovetails with the 3D-printed jig. I was really, really pleased with how neatly it came out. I've since used the jig to cut dovetails for several boxes. Having used them for 20 or so dovetail joints, I felt that I'd mastered the marking out, alignment and chiselling aspects of cutting dovetails and I then started cutting them completely freehand (without the jig). However, it was really nice to be able to learn the skills involved in dovetails in stages rather than having to get everything right in one go.
 |
There are lots of sizes and angles of dovetail jig available; all of them can be downloaded for free from here.
This website is free, but costs me money to run. If you'd like to support this site, please consider making a small donation or sending me a message to let me know what you liked or found useful.