Mini Moravian Bench Build Process
Page 38 of 38
Posted 25th August 2025
Since the last post, I've been applying lots of oil and the last coat was applied last Tuesday. I've been away since then but came back last night so this morning it was time for the final photo shoot. I say final, but I'll almost certainly get some more (and probably better) photos once I've taken the chest and the bench away to France in a couple of weeks.
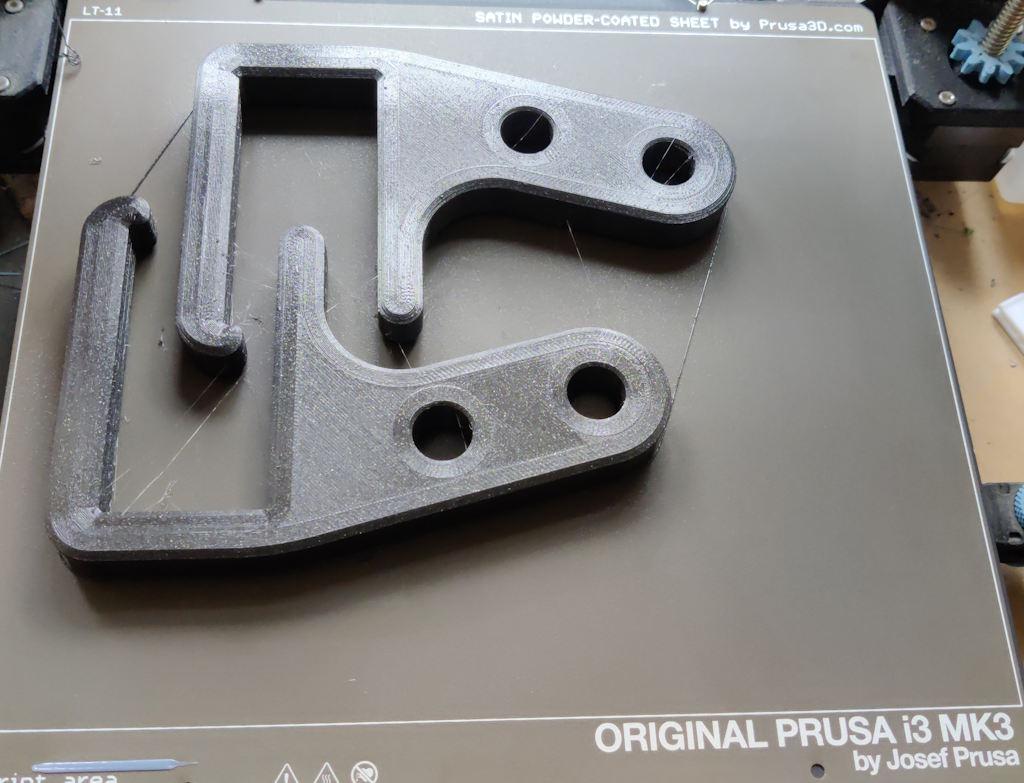
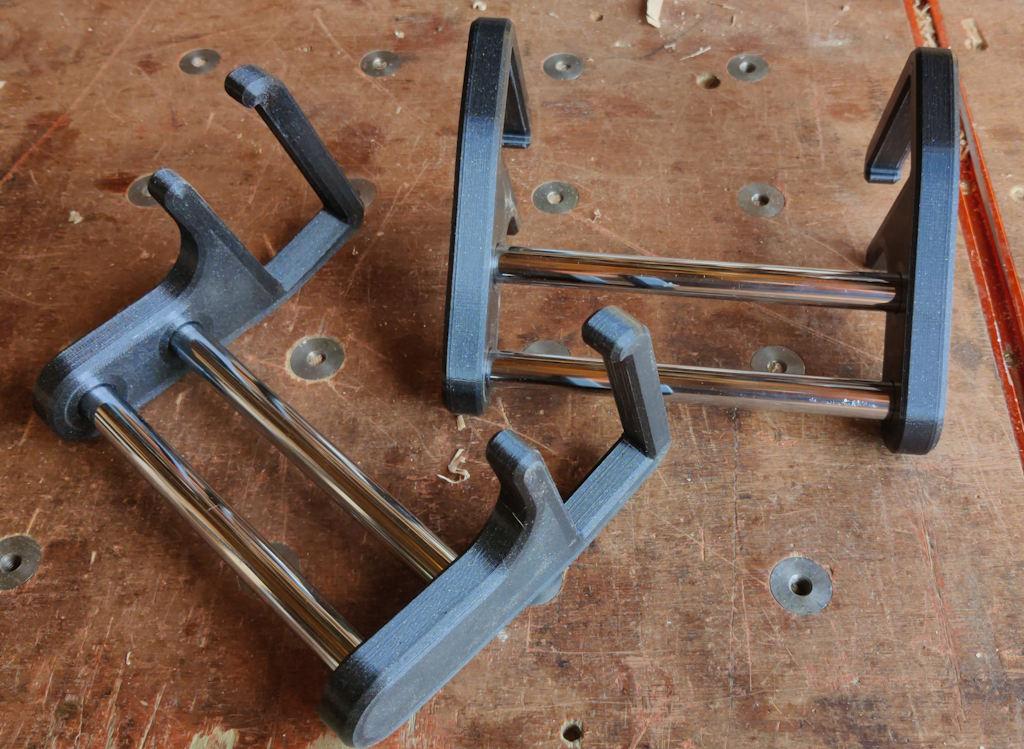
Before we get onto the photo shoot, there were a couple of other minor jobs that I wanted to get done. The first of these was lots of 3D-printing, firstly to re-print the drawer brackets in "galaxy black" filament and also to print some of these:
Can you guess what they are yet? They were quite slow to print as I went for about 10 perimeters and 60% fill density to make them as strong as reasonably possible.
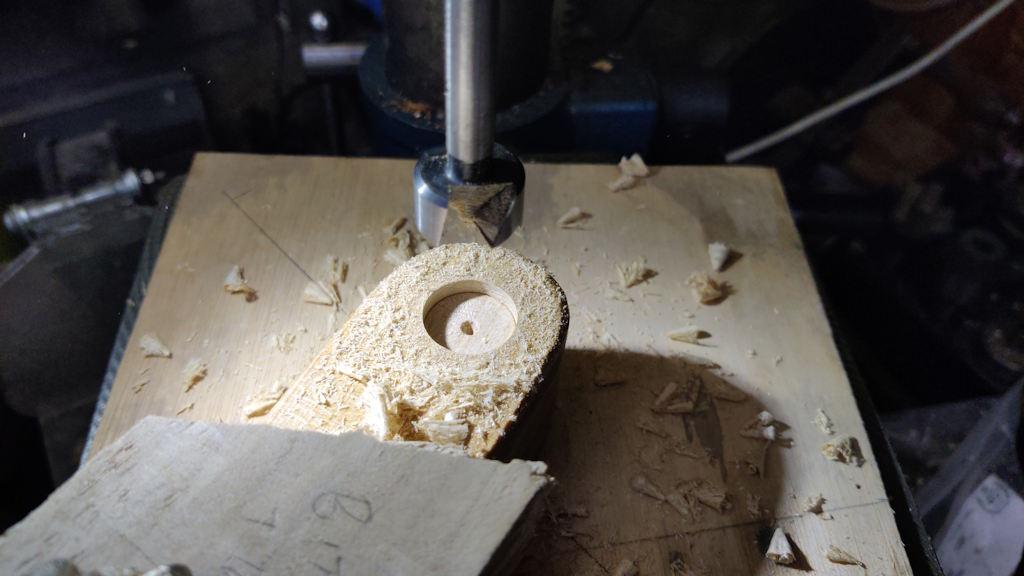
The other job I wanted to do was drill a 4 mm deep, 20 mm diameter hole in the end of one of the stretchers (note that this does mean I won't be able to decide to shorten the stretchers at a later date, but I think I'm happy with that):
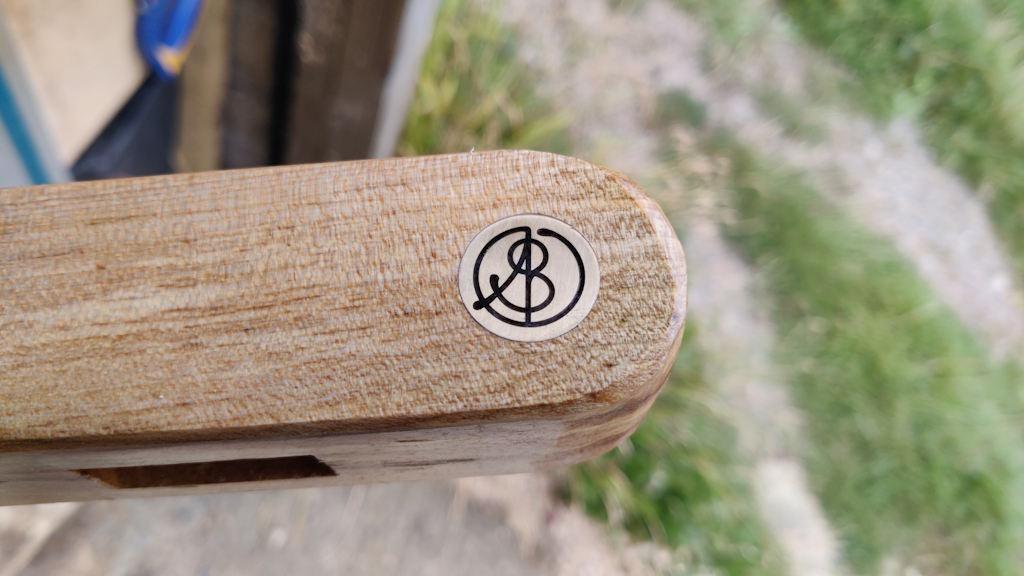
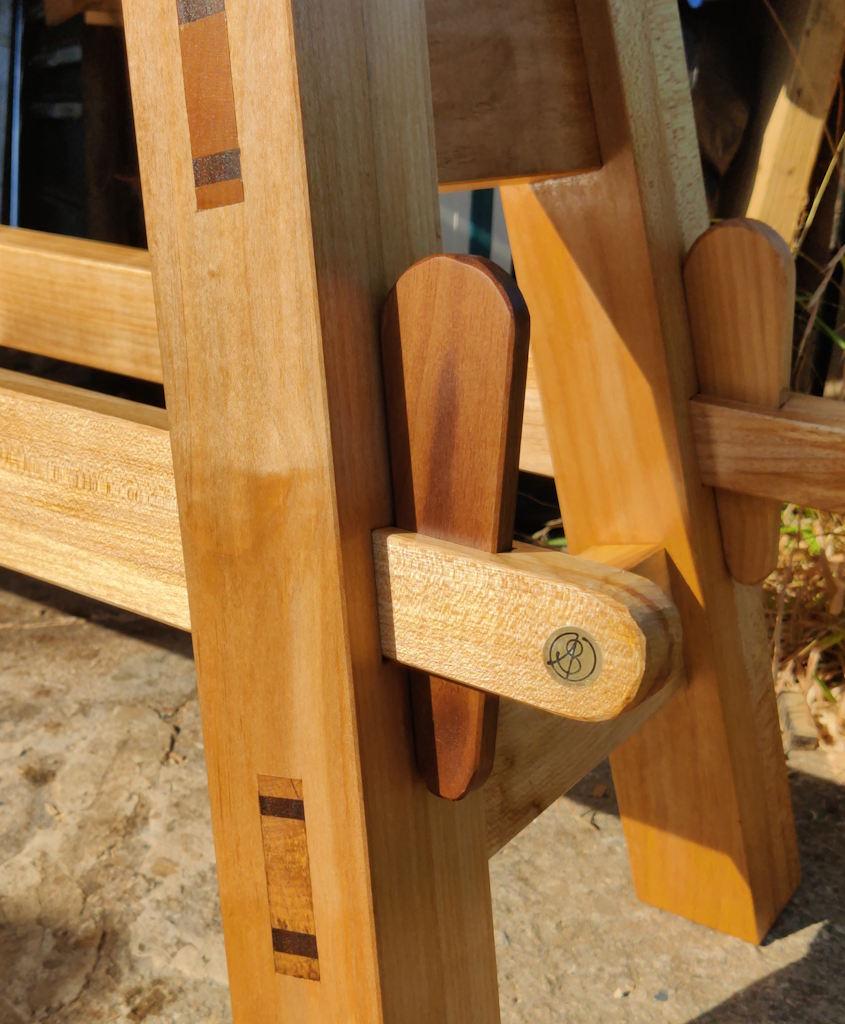
That hole was used for one of my logos:
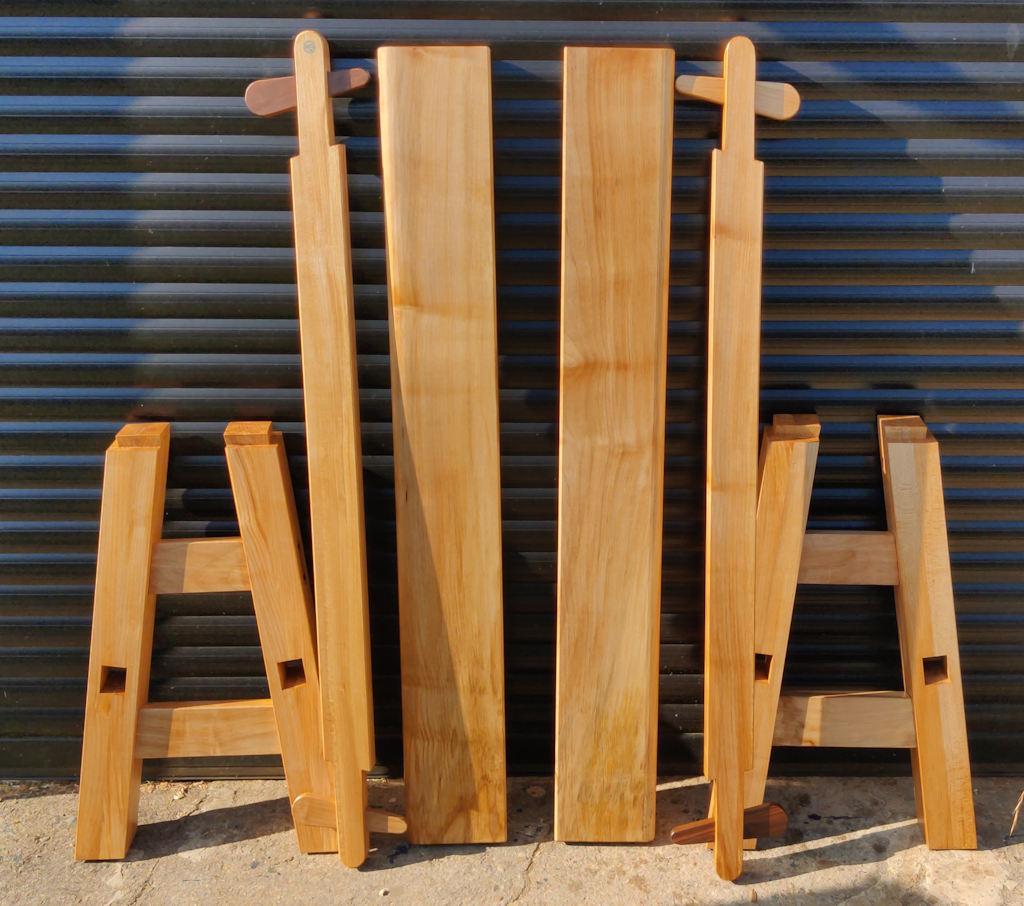
With that glued in place and all the printing done, I could assemble all the oiled wooden bits for a dismantled photo...
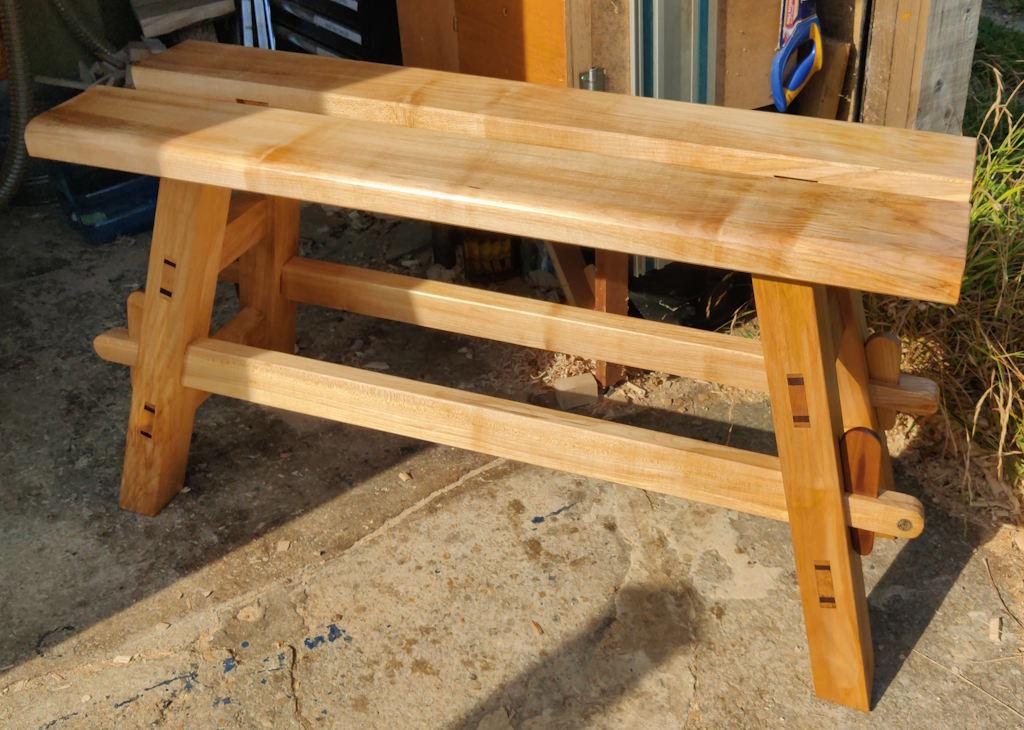
... and then put them together for this one:
A detail shot showing some of the joinery:
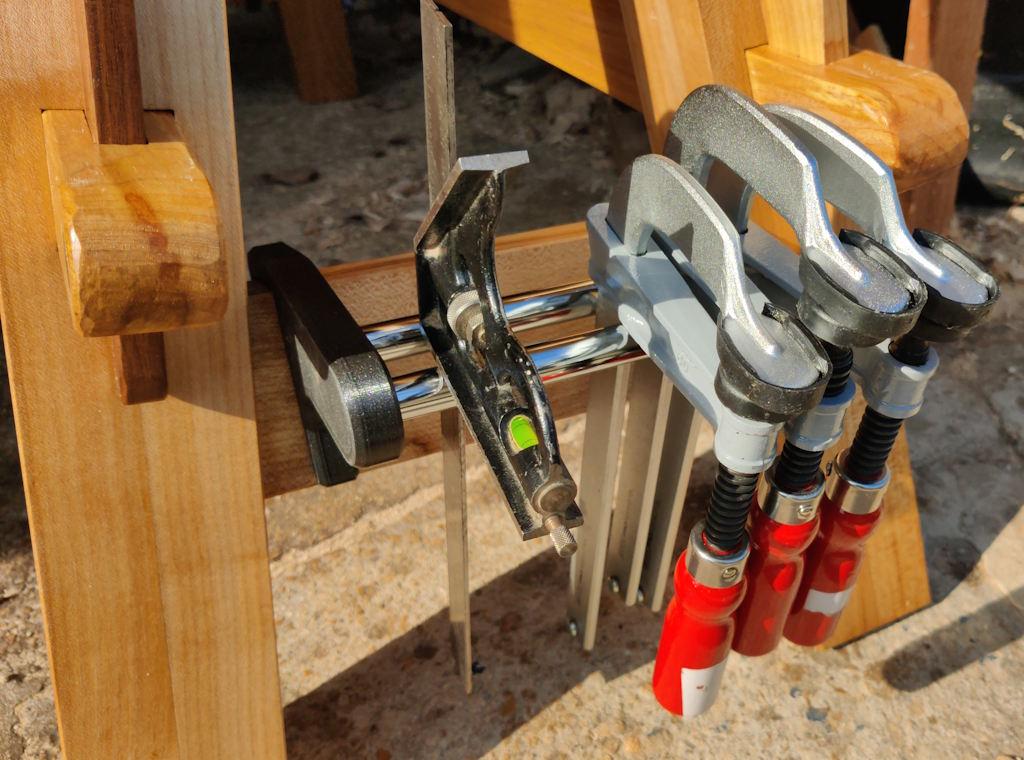
Those 3D-printed bits got assembled together with some chrome-plated copper pipe from Screwfix:
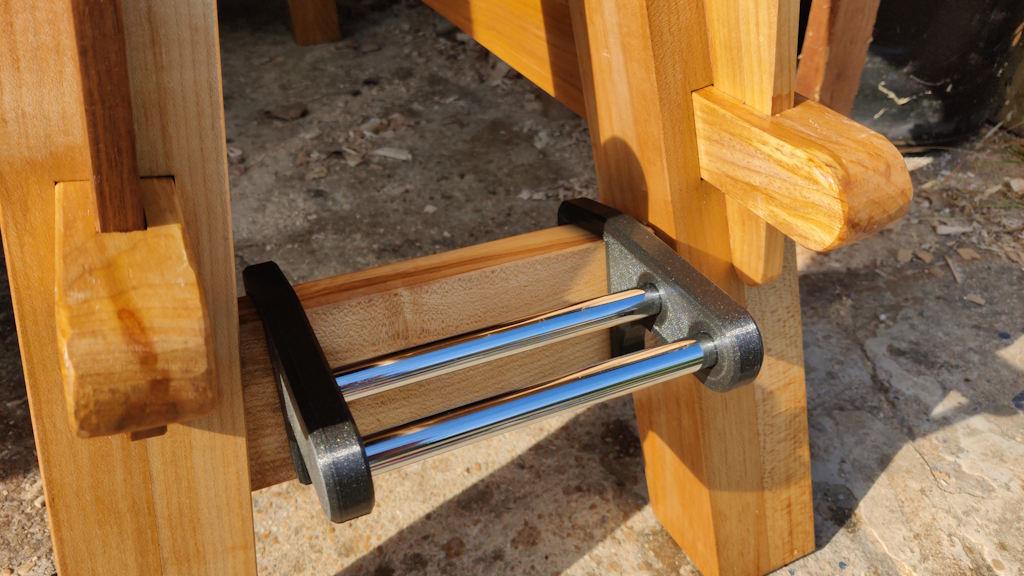
They get clipped onto the lower cross-bars at each end...
... and provide somewhere handy to store F-clamps and perhaps the combination square:
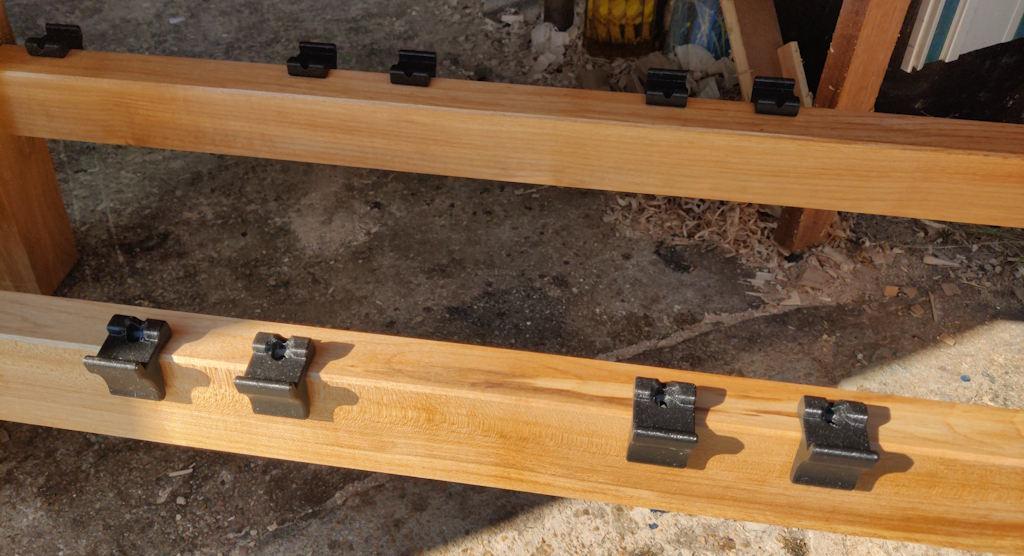
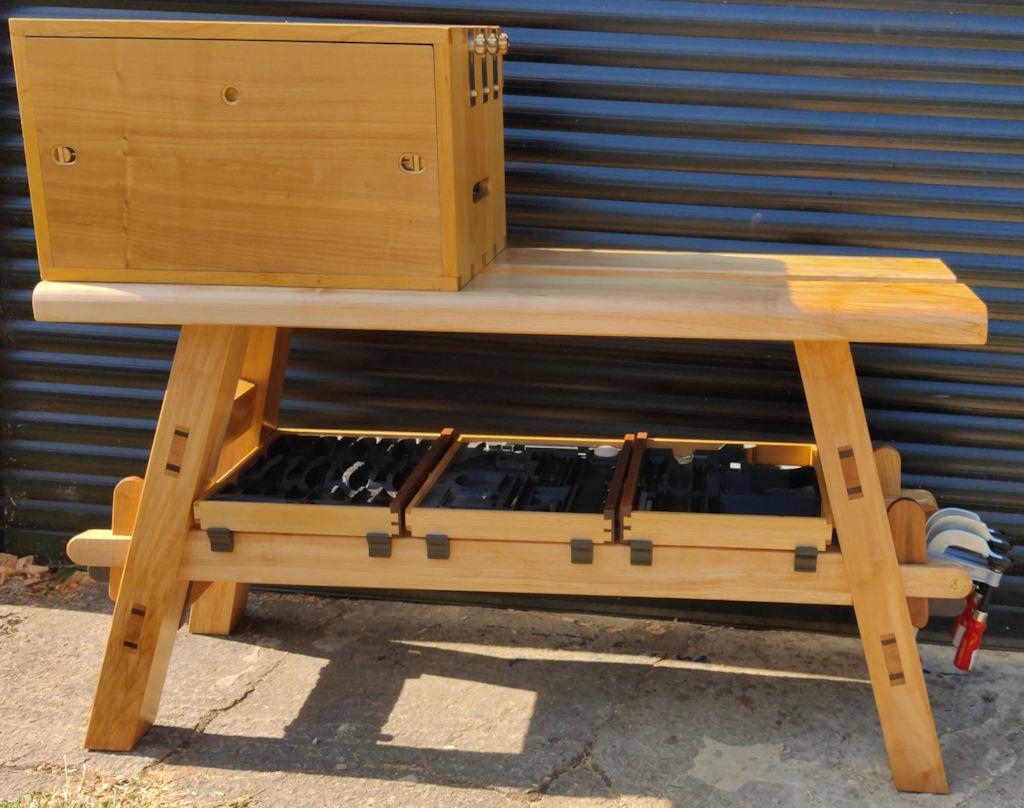
I've also fitted now fitted the drawer supports:
The eagle-eyed among you will notice the lack of screws in the screw holes. For now I've just fixed them in place with double-sided tape. If I find I'm using them a lot when I'm away, I'll fit the screws. If I don't use them then I can peel the tape off a lot more easily than fill in screw holes!
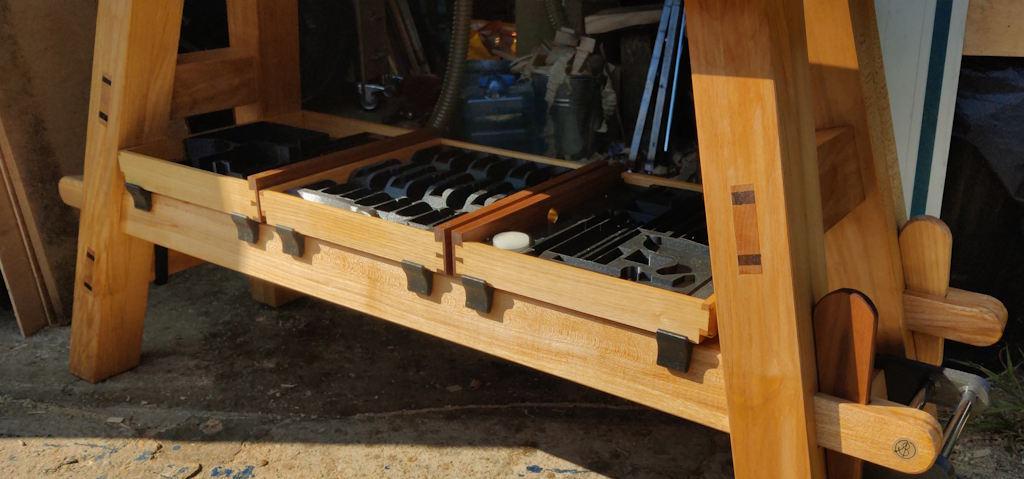
The drawers fit nicely and feel stable:
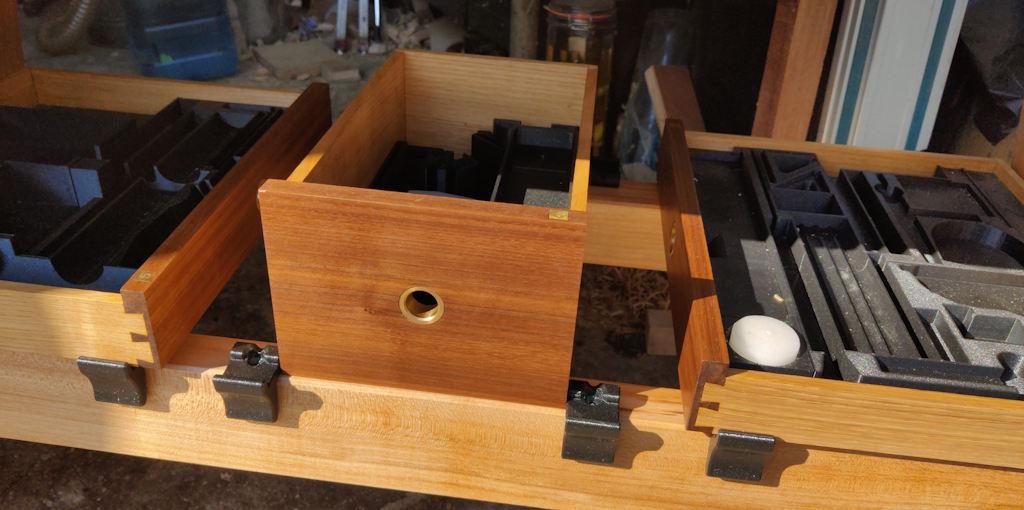
The central two supports on each stretcher are positioned so that, if I choose to, I can mount the narrower router plane drawer there, although it's not as well supported:
If I find I want to do that a lot, I can 3D-print some extra bits that slot into the existing ones and support it properly.
To finish off, here's a couple of photos with the chest on top; firstly just resting and all closed up...
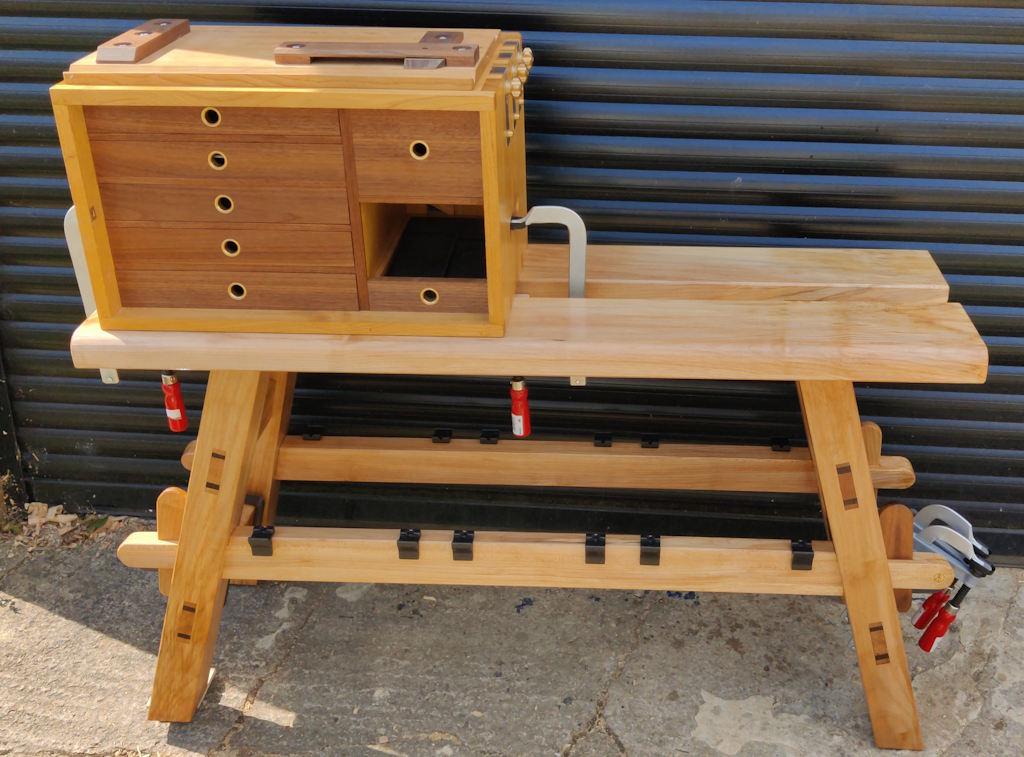
... and then clamped in place properly, with the photo showing off how uneven the ground is outside my garage!
I've got some spacers prepared to go under a leg in case I need to stabilise it when I'm away, but I'm sure it won't be as bad as this patch of ground.
And that, as they say, is that. Thanks for reading.
Page 38 of 38
This website is free and ad-free, but costs me money to run. If you'd like to support this site, please consider making a small donation or sending me a message to let me know what you liked or found useful.

 Return to main project page