Portable Workbench Build Process
Page 51 of 67
Posted 29th March 2021
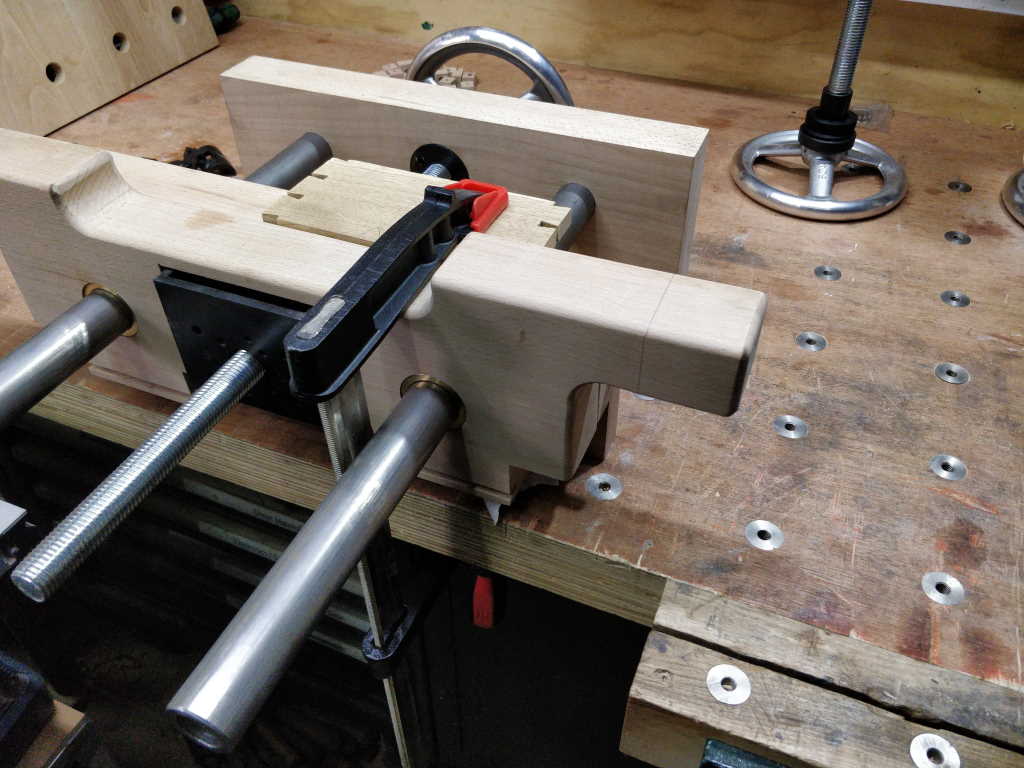
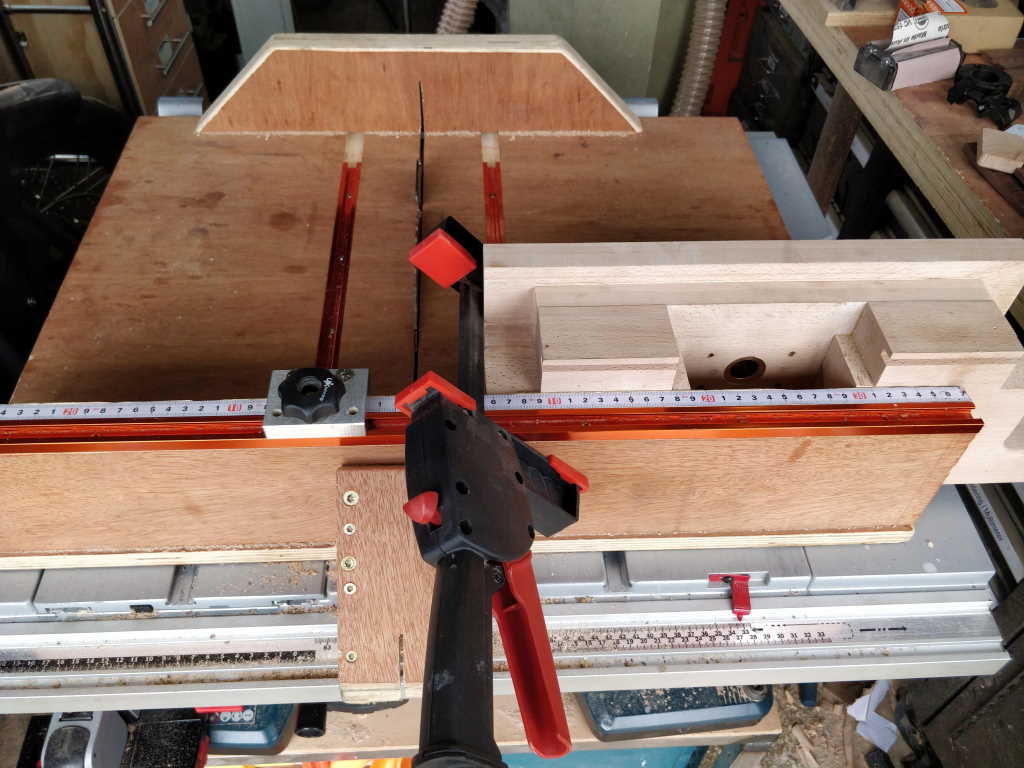
I went out this morning and marked up where I was going to cut the feet off to shorten them a little. I decided to go for 20 mm shortening rather than 15 mm as it looked like plenty. I marked all four feet with some pencil lines around three sides, then clamped one of the parts to the bench:
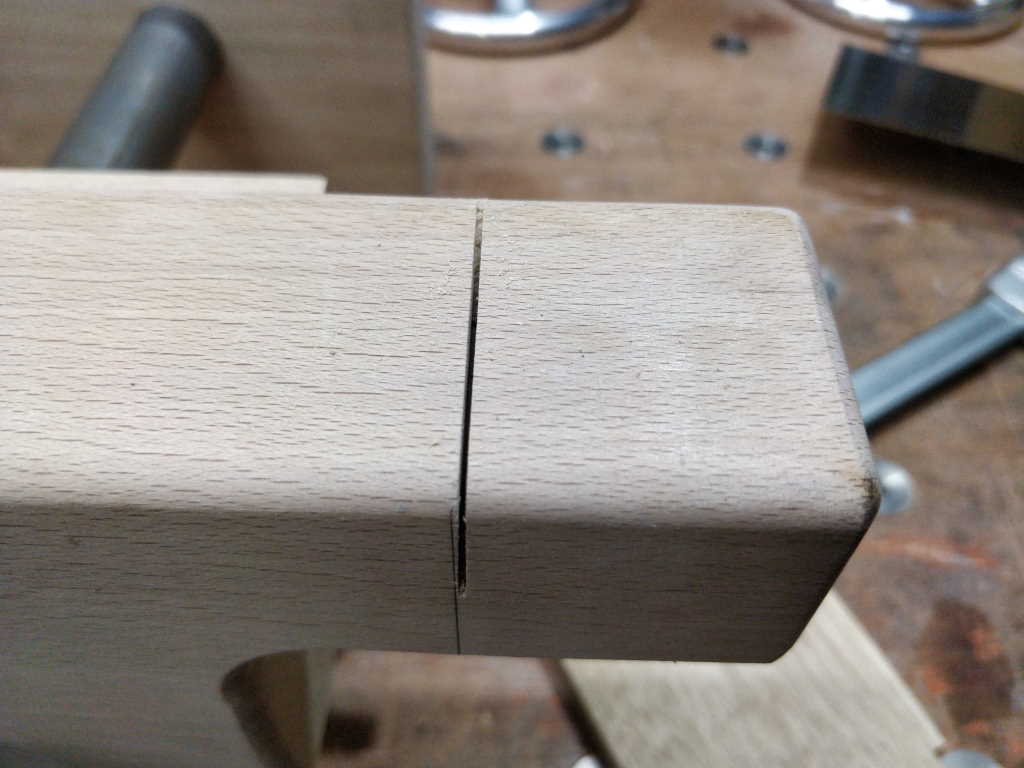
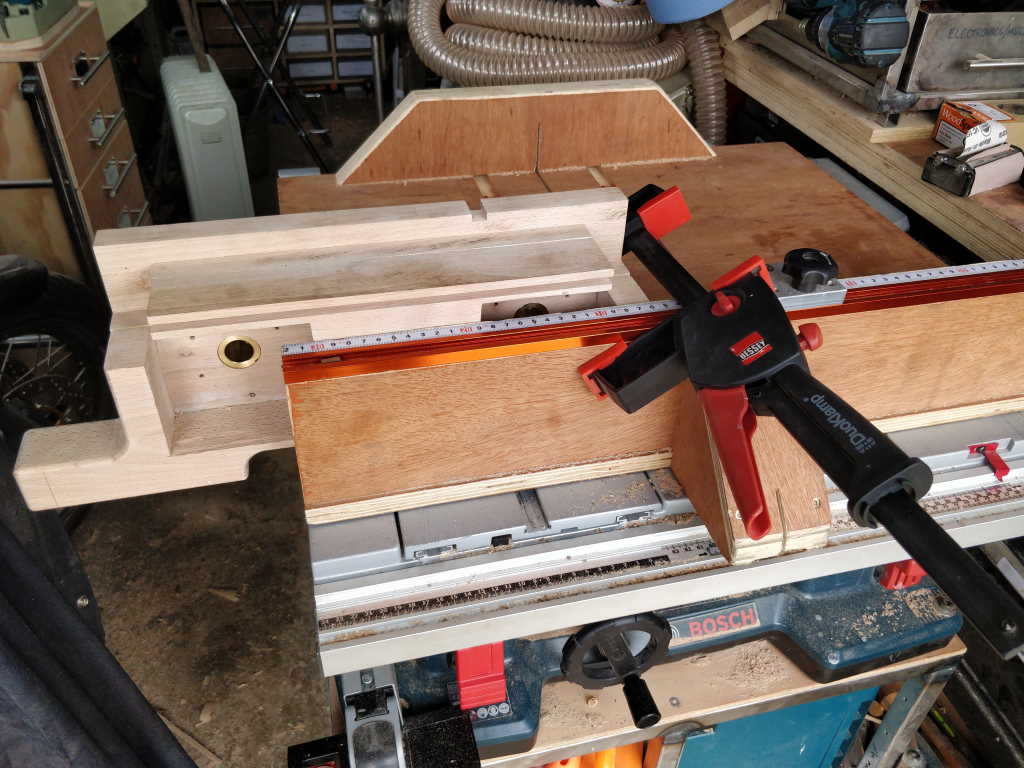
I then started sawing. This is how far I got before I realised I'm a moron:
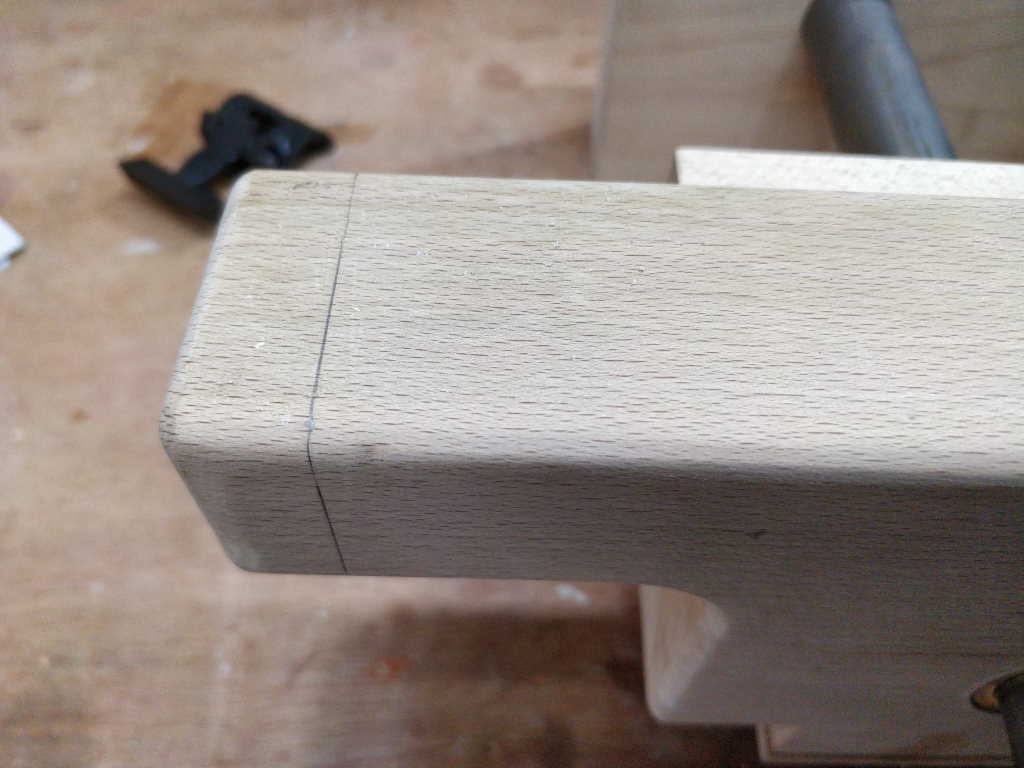
This is where the line should have been:
I marked up three of them correctly and one of them completely wrong and in my morning groggy state, I didn't notice that one looked completely different to the others and, of course, started with that one.
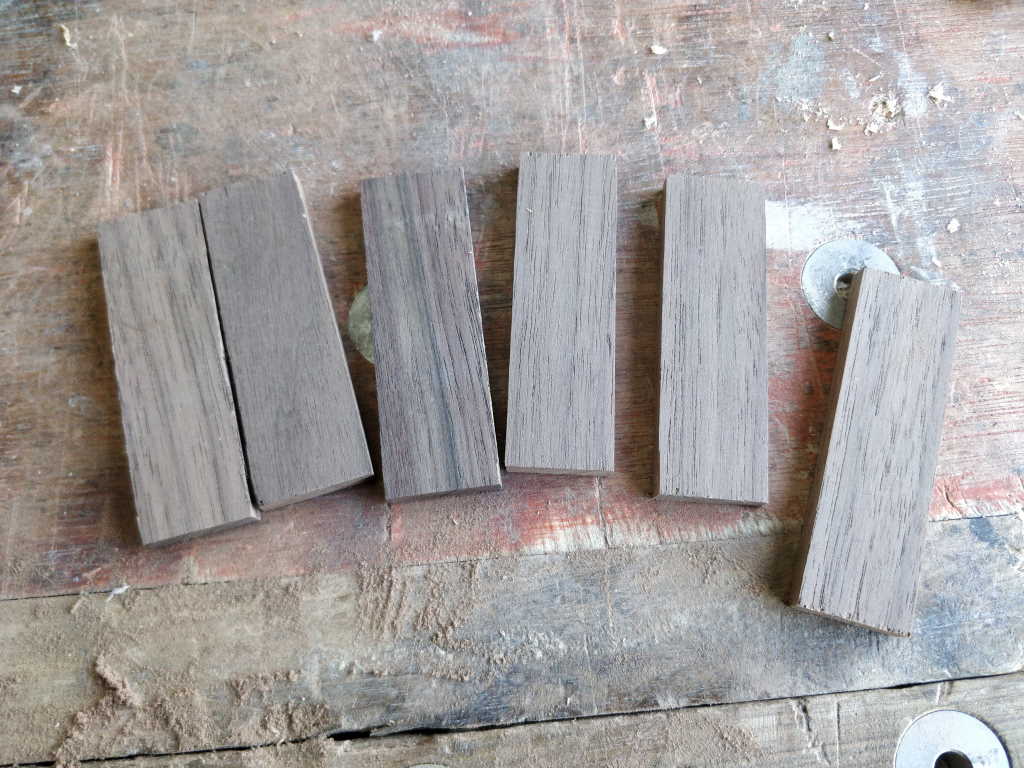
After playing around with a hastily made test piece, I decided to fix it in a similar way to my earlier non-concentric hole. I dug out an offcut of walnut from my drawer and cut it into pieces (with extras as spares just in case):
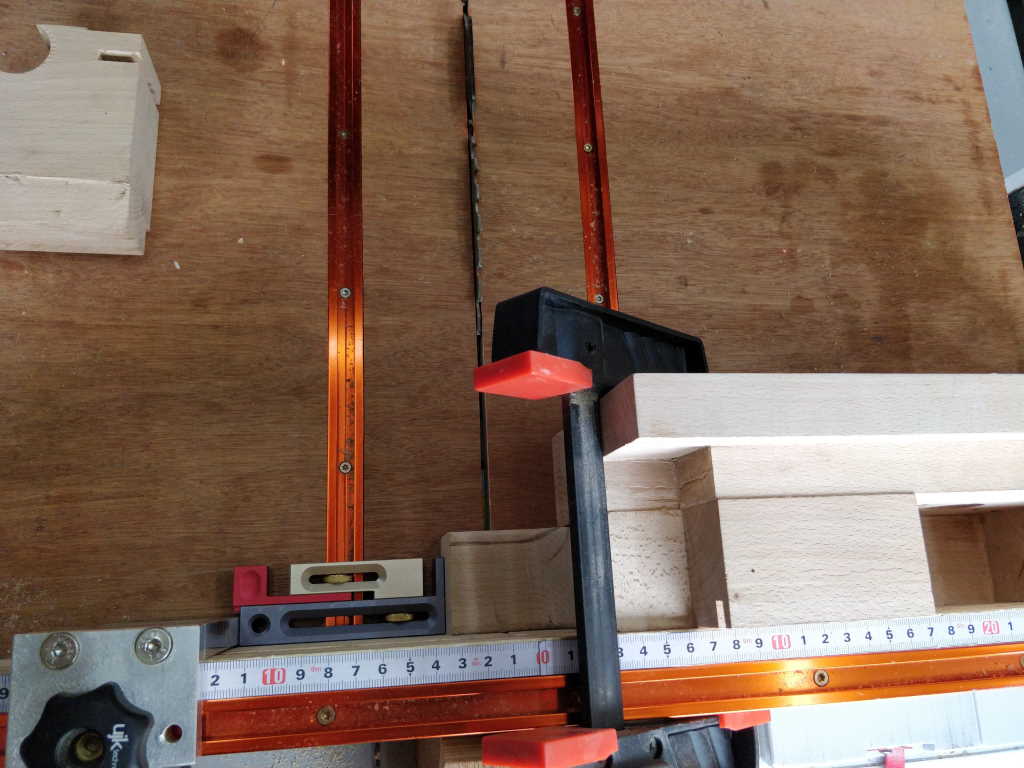
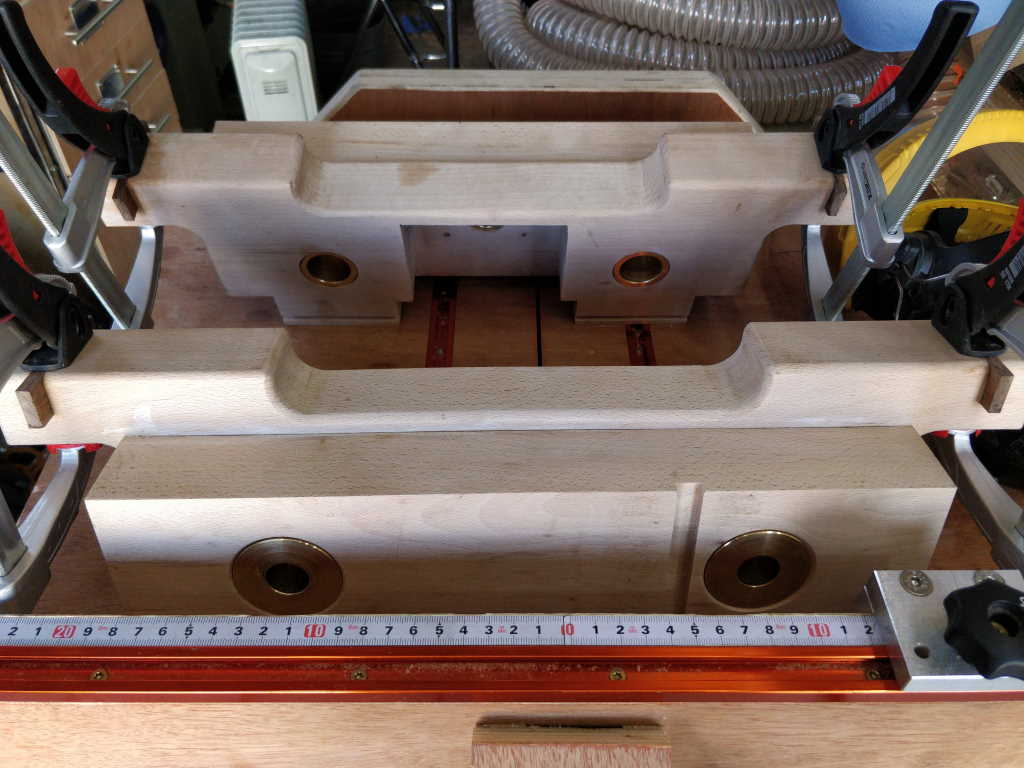
I decided to use the table saw to do all the cutting as I can set-up the stop on the cross-cut sled and ensure consistency (i.e. stop myself from being a moron twice in one day!). It was a bit awkward as the foot is a lot wider than the support area for the sled, but there's enough of a flat area that I can get it sitting flat on the sled and then clamp it in place. I had to use the stop in one position for the one side of each foot...
... and in another position for the other side of each foot:
I then used my kerfmaker thing to cut the grooves. As I was feeling paranoid and in case of small differences in the walnut thickness, I re-set the kerfmaker for each walnut piece and also did a test cut in a piece of scrap for each walnut piece.
My baby router plane is too big to fit into this slot (it's about 6 mm wide), so I used my 3 mm chisel to square up the bottom of the cut (I actually cut it a bit concave as that was safer than cutting it convex). I checked the walnut pieces sat properly against the two edges (front and back) and then glued and clamped them into place.
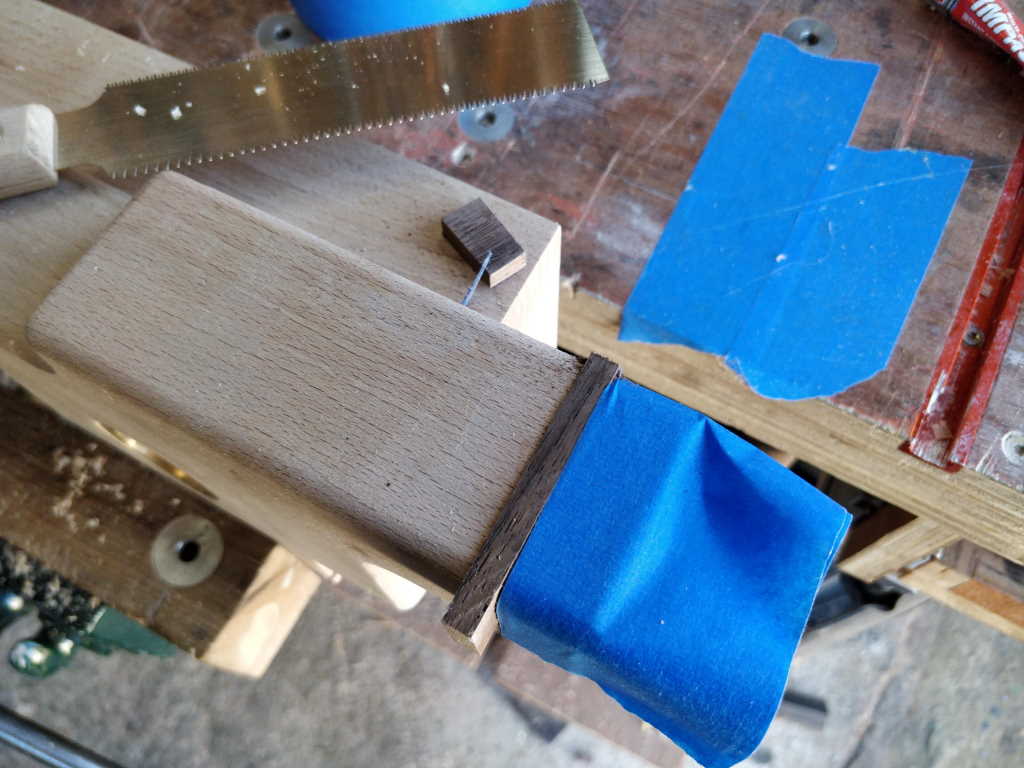
Once the glue had been left for long enough to be thoroughly dry (and I'd enjoyed sometime sitting in the sun in the garden), I went and had a look at the feet. I decided I wasn't going to take any risks, so I wrapped three layers of masking tape around the end of the feet and used my flush cutting saw to cut the walnut flush to the masking tape (this avoided any chance of undercutting).
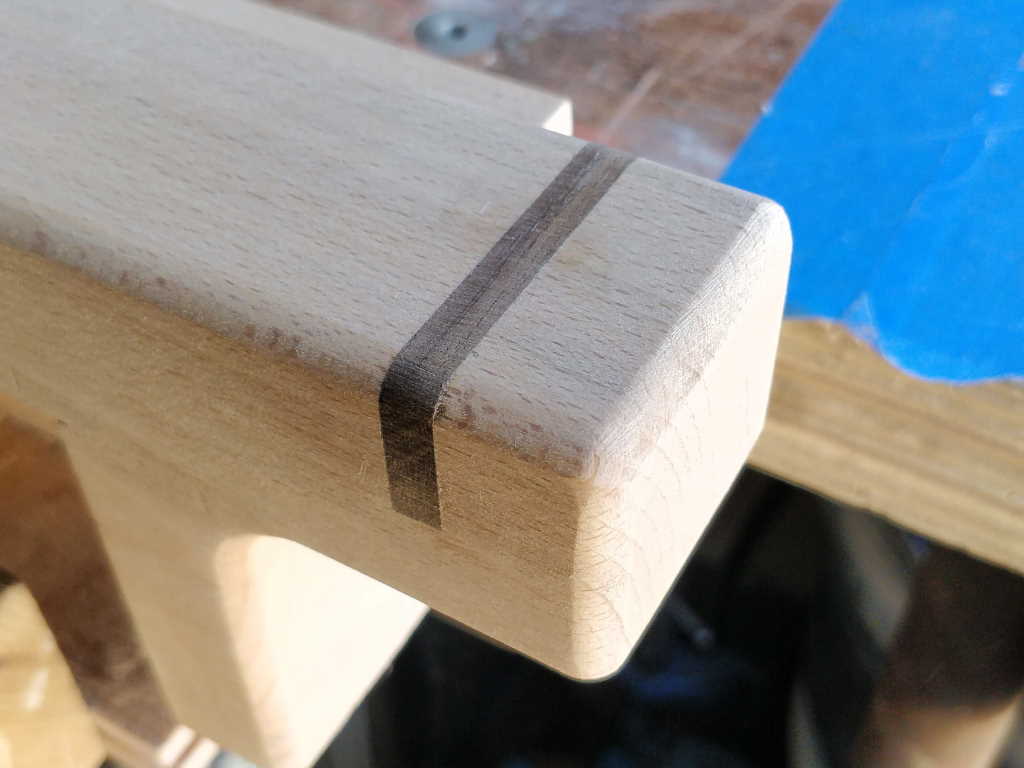
I then attacked it with some 120 grit sandpaper until it looked right:
Page 51 of 67
This website is free and ad-free, but costs me money to run. If you'd like to support this site, please consider making a small donation or sending me a message to let me know what you liked or found useful.

 Return to main project page