Portable Workbench Build Process
Page 53 of 67
Posted 30th March 2021
I started today by doing some test assemblies. I put each of the vices together separately and played around with them a lot. They work really well!
I then slid the two assemblies together with the screws of the dual-screw vice running in the rails of the standard vice. In this configuration, the friction was massively increased (and I hadn't even fitted the stretcher bar) and I had to have the vices clamped to the bench to slide the standard vice in and out with the quick-release mechanism released (otherwise pulling on the vice jaw just moved the whole bench).
I decided I wasn't happy about this so that necessitated a change of plan! The original idea was that the rails would support the screws as they move, but with 20 mm threaded rod, it really isn't necessary. The holes in the tube I used are a fairly close fit on the threaded rod, so any slight misalignment of the two ends of the vice means it all gets a bit jammed up.
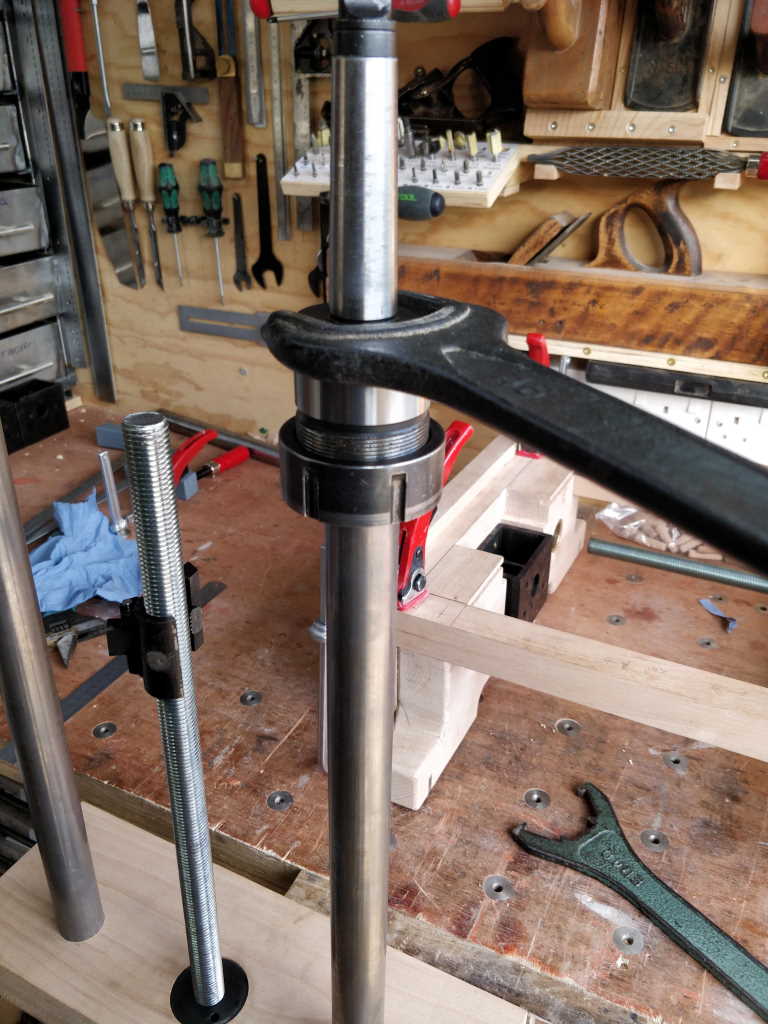
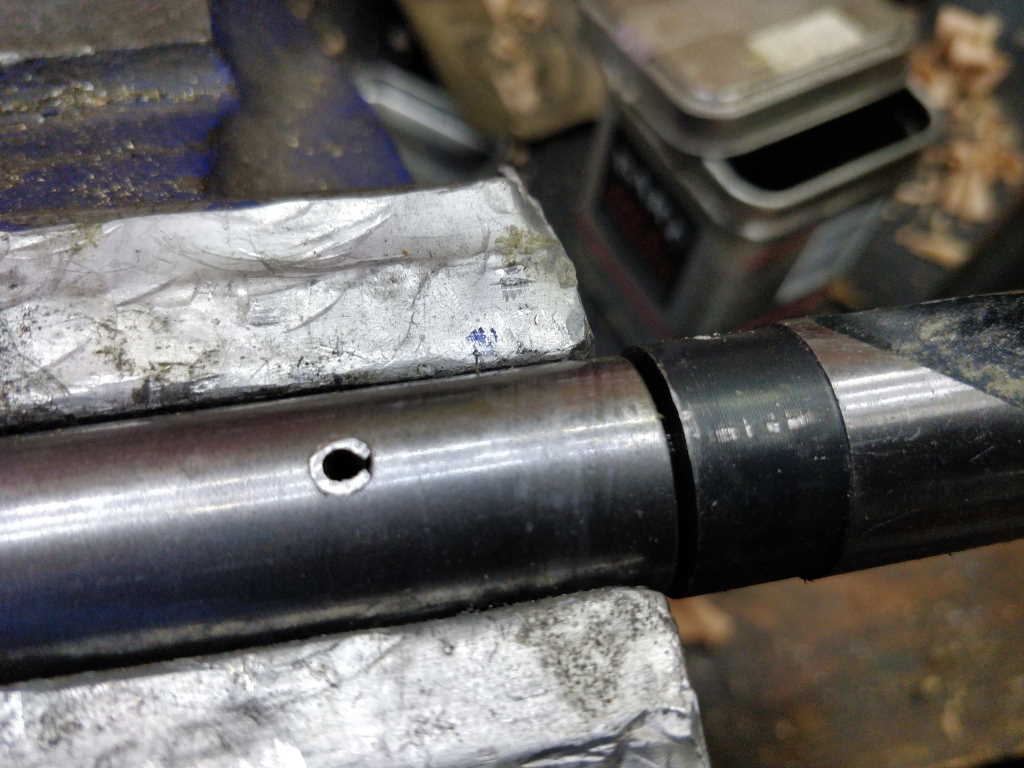
So, onto plan B: make the holes in the tubes a bit bigger. First I had to remove the rails from the moving jaw as I'd epoxied them in. That was quite straightforward: grip them in an ER40 30 mm collet and give them a quick twist:
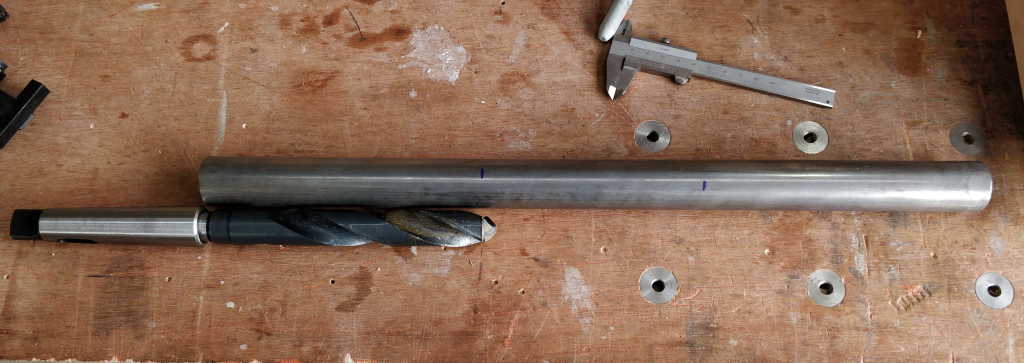
I then dug around in my big drill drawer to find a 22 mm drill bit. It's not quite long enough...
I've got a cheap old set of blacksmith's drills with a 12.7 mm (1/2") shank. I got a piece of 20 mm EN8 out of a drawer and drilled the end out 12.7 mm.
I then went with a belt-and-braces approach as I really don't want this to come loose while it's binding a bit deep in a tube, so I glued it into the hole with Loctite 603 and then cross-drilled.
I then banged in a (shortened with a Dremel) roll-pin.
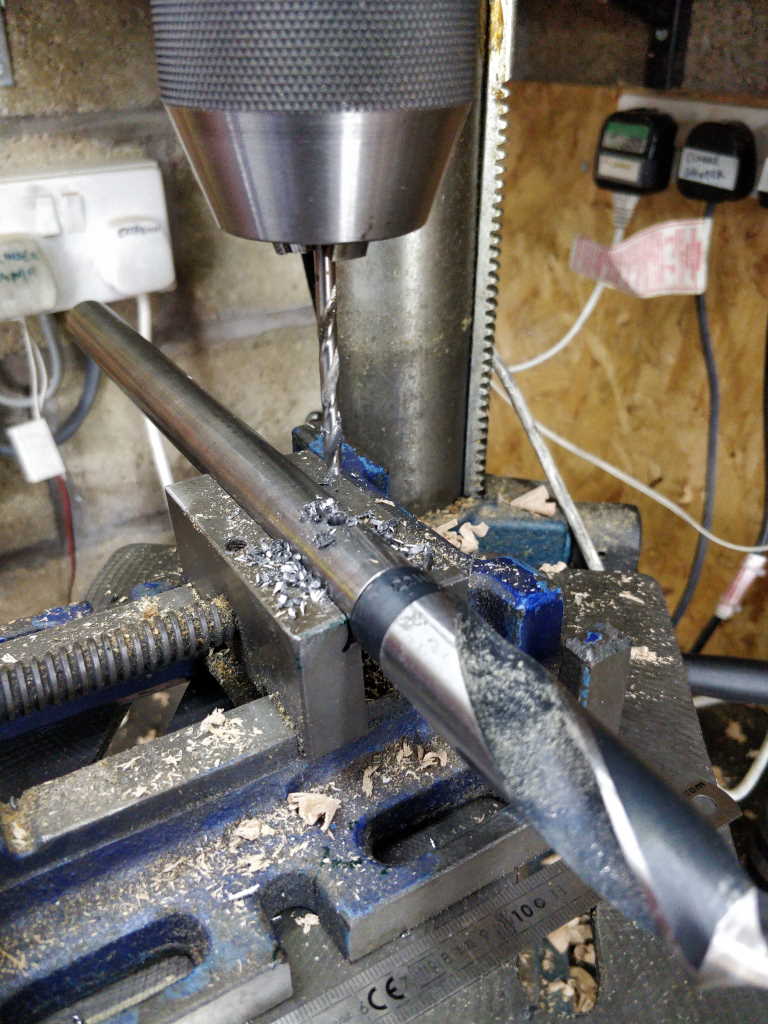
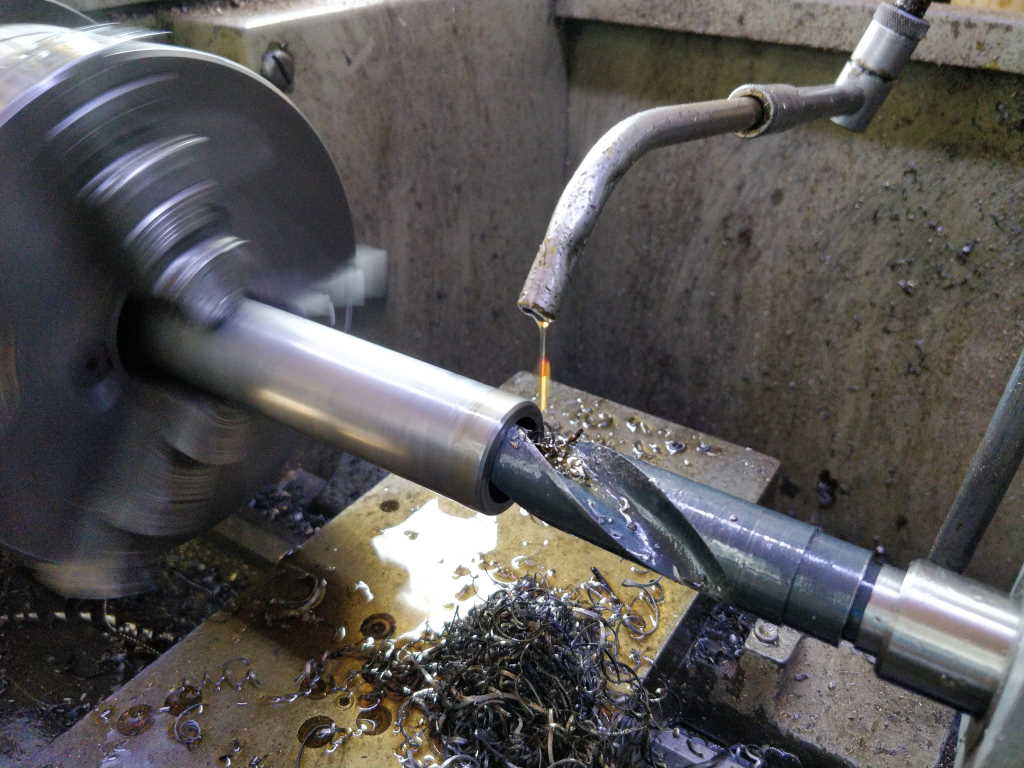
I started by drilling out from each end with my Morse taper 22 mm drill bit. Since the bore is going to be 2 mm wider than the threaded rod that goes into it, I (thankfully) don't have to worry about this being pretty.
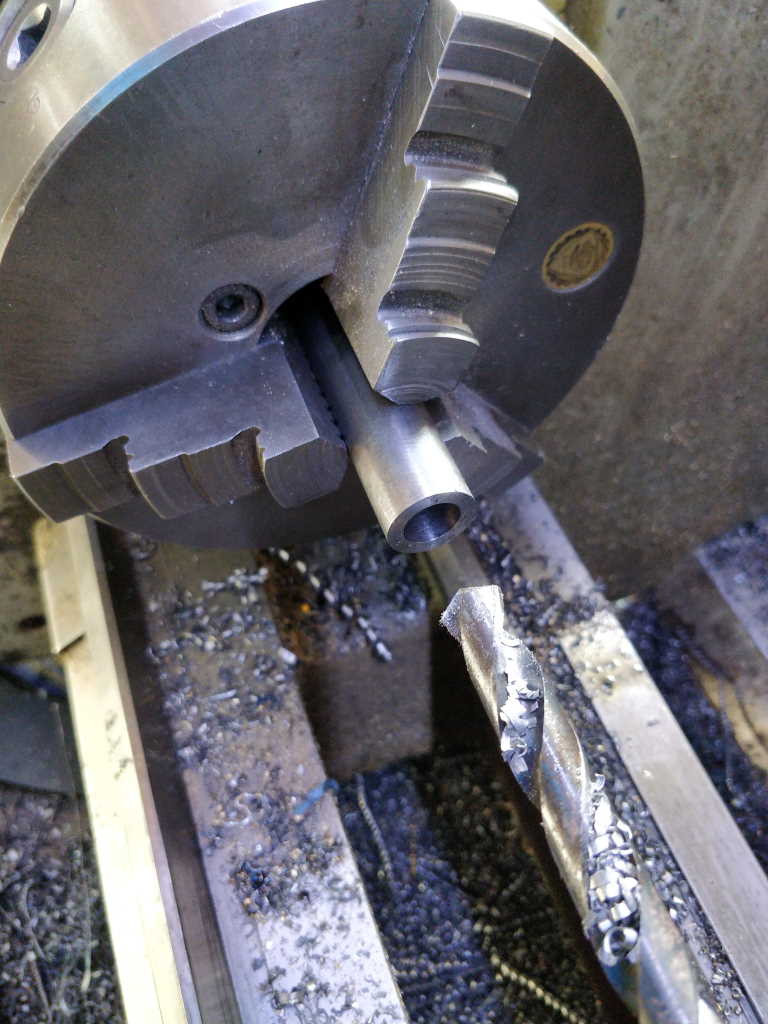
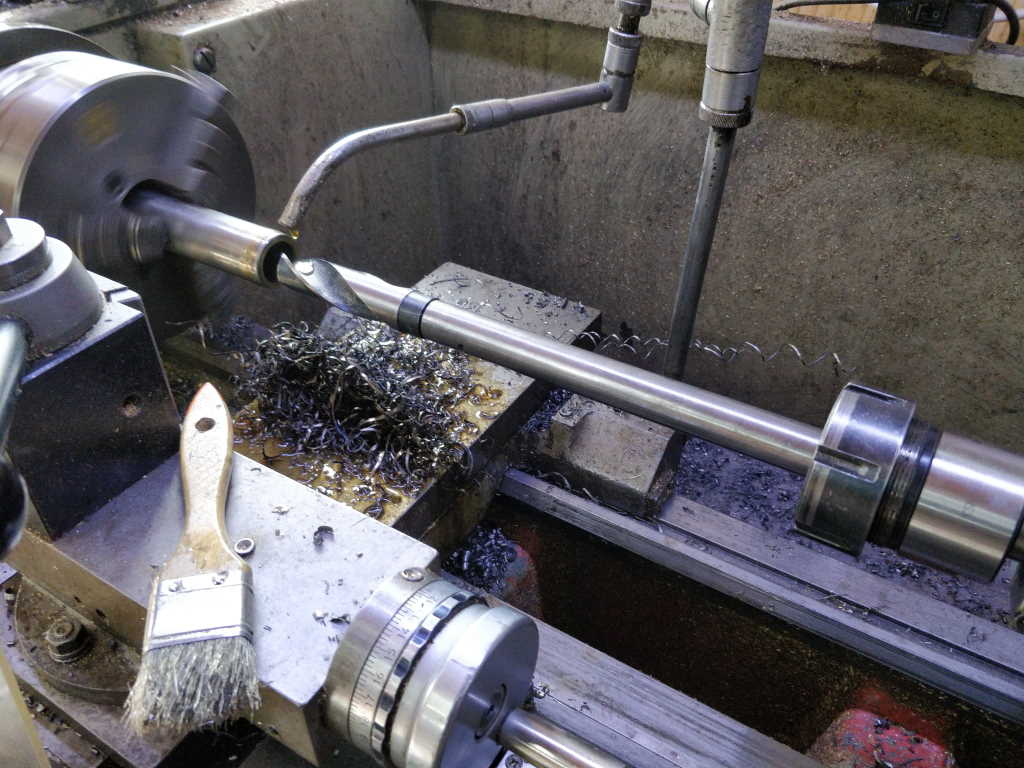
I went in as far as I could from both ends and then fitted my super-long drill bit in a collet chuck in the tail stock:
As the flutes of the blacksmith's drill are so short, I had to withdraw the drill after every couple of millimetres, but I got there in the end.
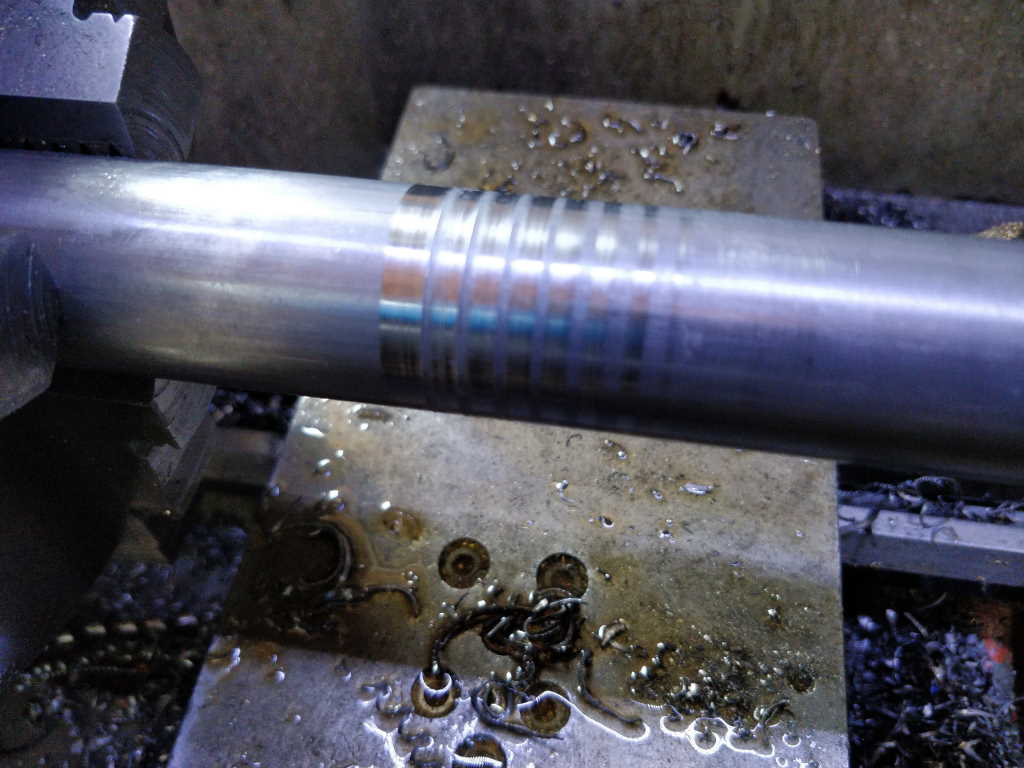
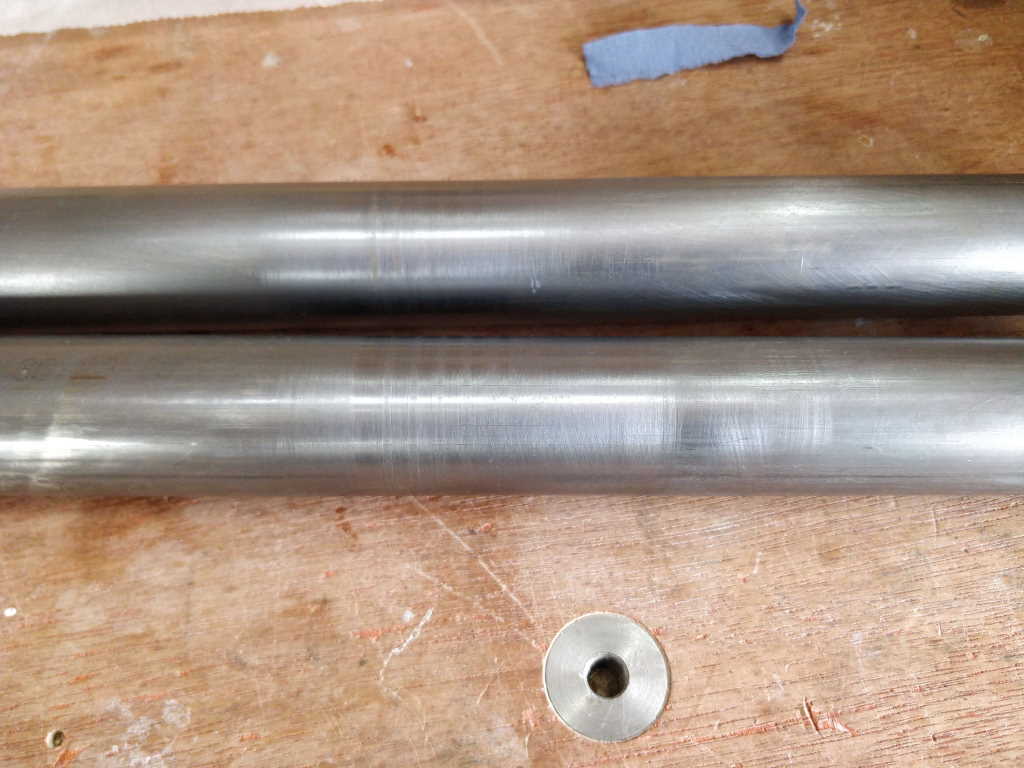
At one point in each of the two rails, the Morse taper drill be bound, resulting in the part spinning in the chuck. It was easy enough to free it up, but it left some grooves in the rails:
I cleaned these up with emery cloth so that the rails still slide freely in the bushes.
I don't think it's a problem really - that bit of the rail is only in the bush when the vice is opened to about 200 mm (which won't happen often, or possibly ever) and I can't feel any difference in the rail movement: the bit that's been emery-clothed is much shorter than the length of the rail bush.
While I was drilling the rails, I also did the stretcher bar. I then drilled the stretcher bar out to 25 mm from each end. There's a little bit (about 10 mm) in the middle where the 25 mm drill bit didn't reach, but I just drilled that out to 22 mm with my long drill bit as it didn't seem worth making a long 25 mm drill bit, especially since I don't think my blacksmith's drill set goes that big. The main reason I went further with the stretcher bar than the rails was just that it doesn't do much and I figured it would save a little weight!
Page 53 of 67
This website is free and ad-free, but costs me money to run. If you'd like to support this site, please consider making a small donation or sending me a message to let me know what you liked or found useful.

 Return to main project page