Process
Page 5 of 5
Posted 18th October 2025
The last job I wanted to have a go at was inspired (as, partially, was the last post) by a This Old Tony video.
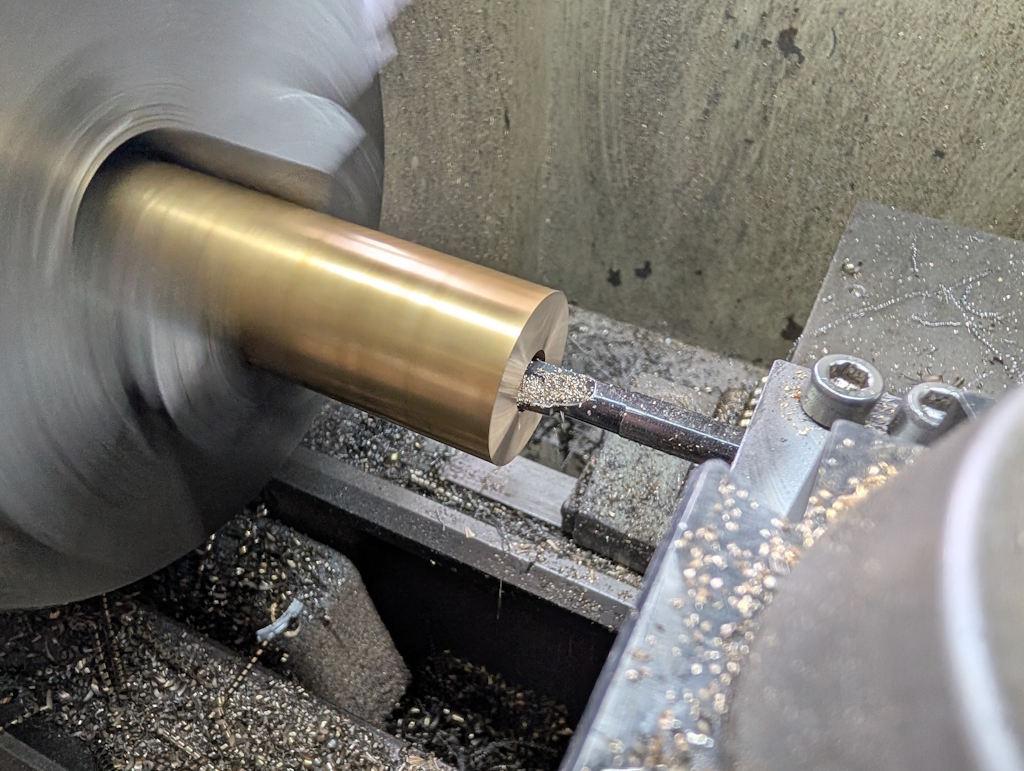
After measuring the bore size of the Tormek adjustment nut, I put a bit of 32 mm diameter brass bar in the lathe chuck and drilled it out to 10 mm. I then used a small boring bar to increase the bore size to 11.4 mm:
I've got an 11 mm, and 11.1 mm, an 11.5 mm and an 11.6 mm drill, but no 11.4 mm one. I'm sure the 11.5 mm would have been fine, but I wanted to match the original nut as closely as possible given that the thread is such an odd one with limited thread engagement.
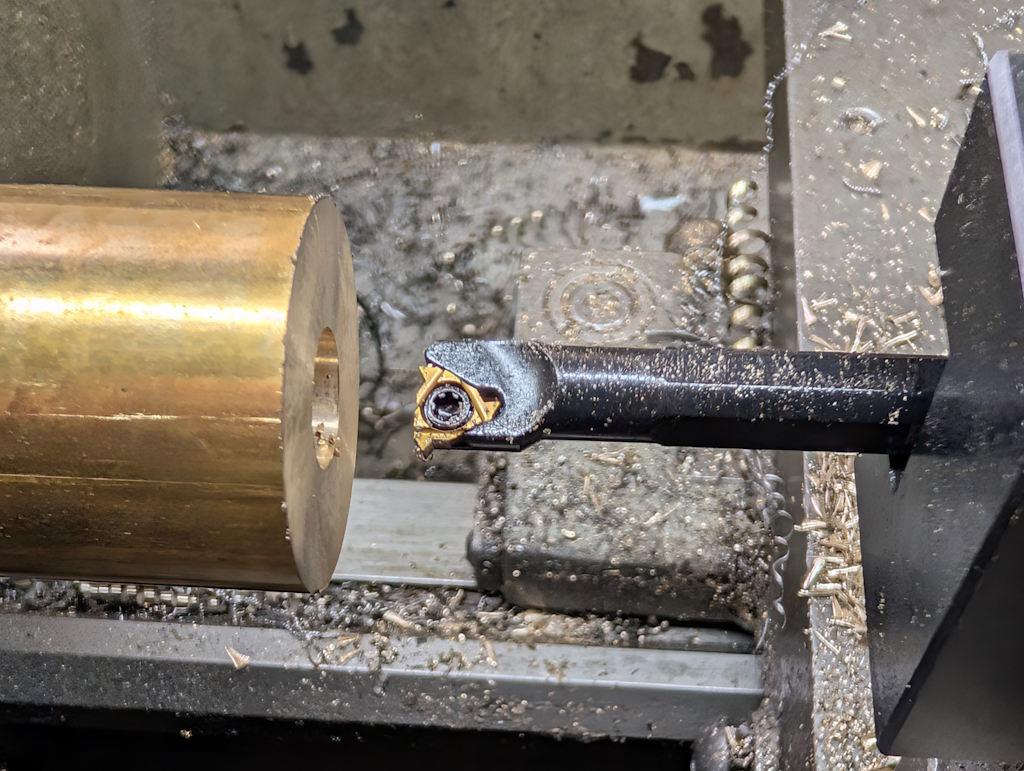
The next job was to cut the thread. For this I used a recently-acquired small internal threading tool, which will (I think) go into a 10 mm or bigger bore:
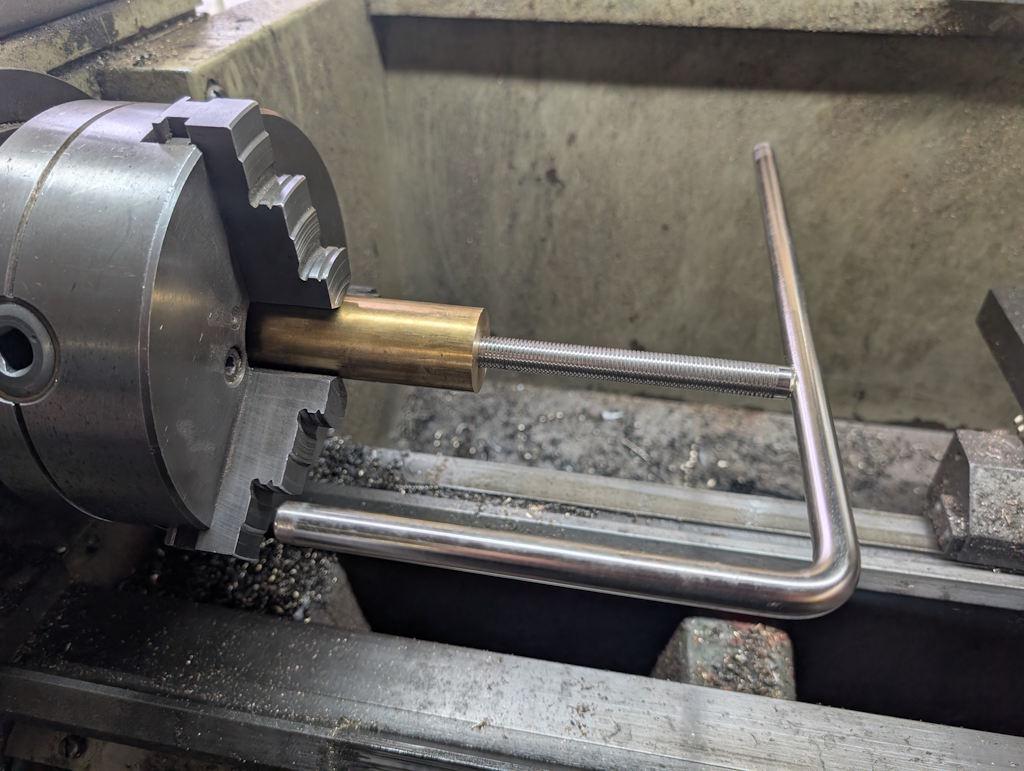
After going back and forth with the threading tool a few times, I started test fitting after each pass until the standard support bar fitted (at this point, I hadn't yet made my custom one but I wanted it to fit the standard bar anyway):
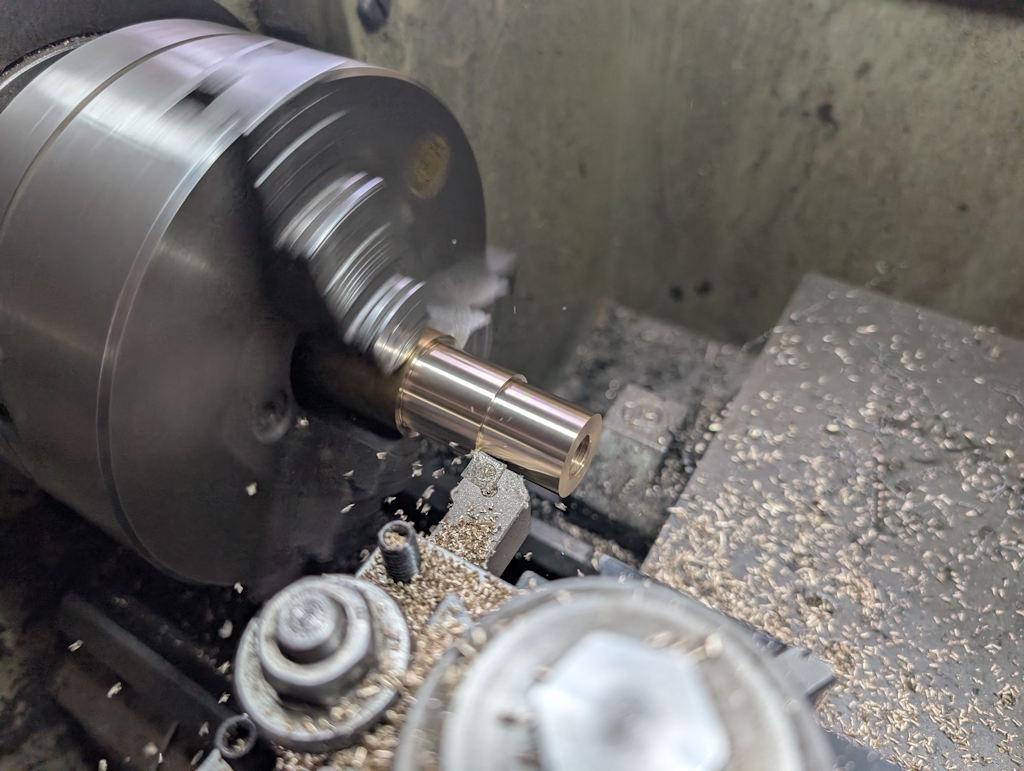
I then turned the outside diameter down to 24 mm (to match the standard nut)...
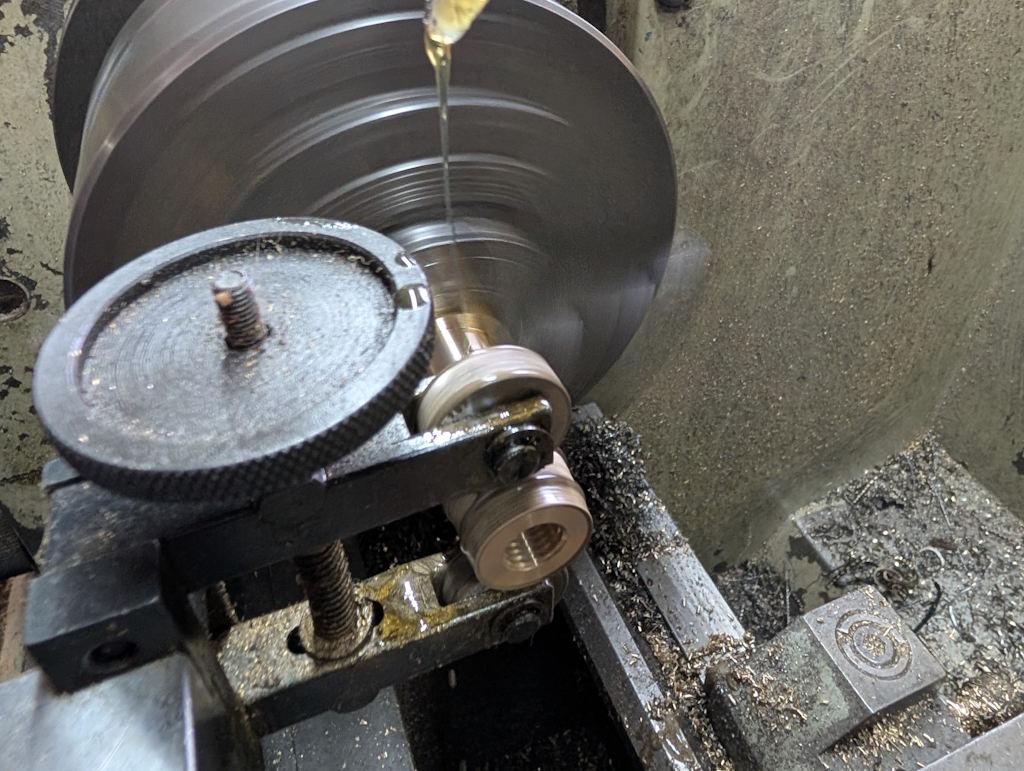
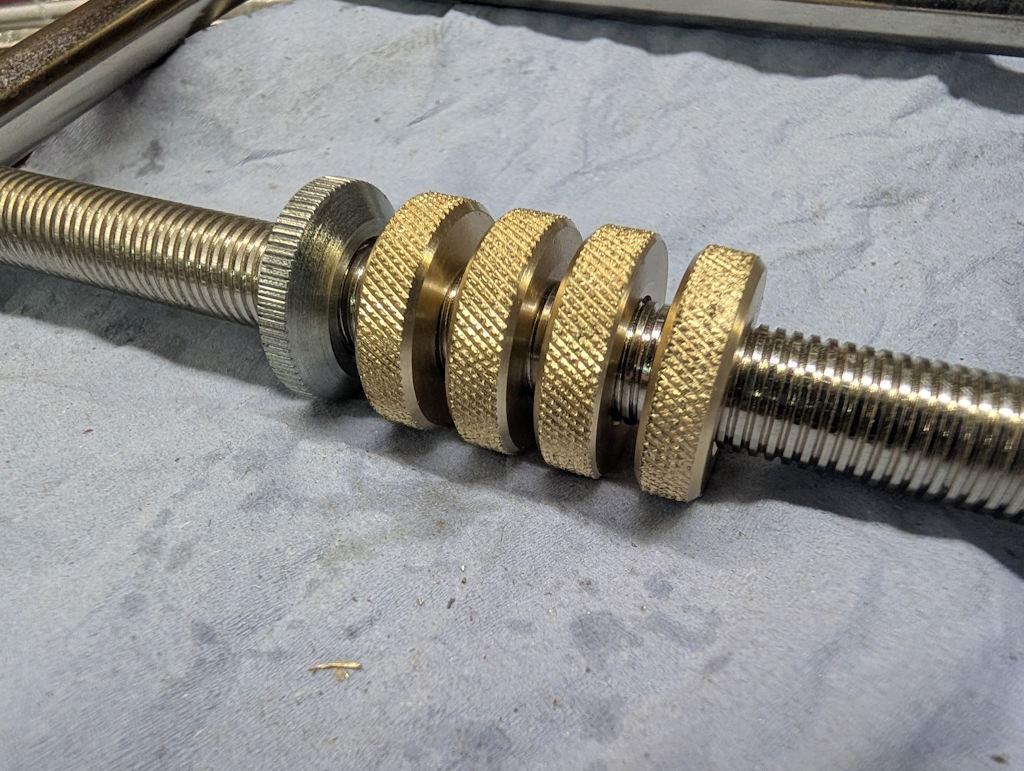
... and knurled the outside:
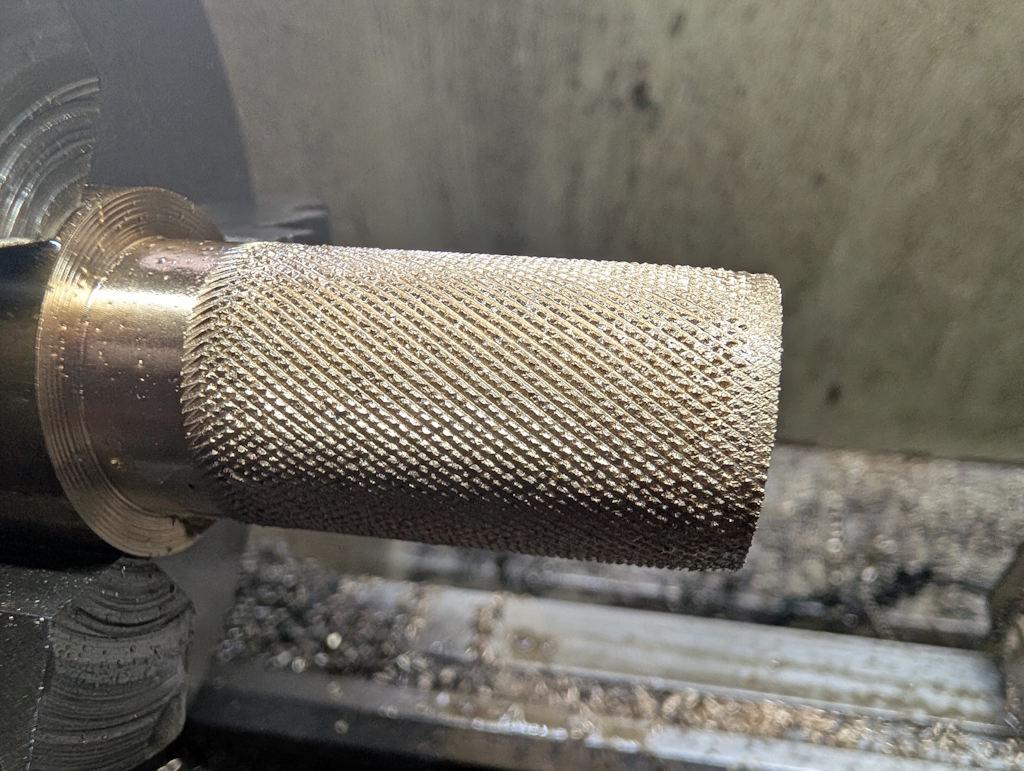
The knurl wasn't great (probably not enough oil flow to clear away the swarf), but it'll do:
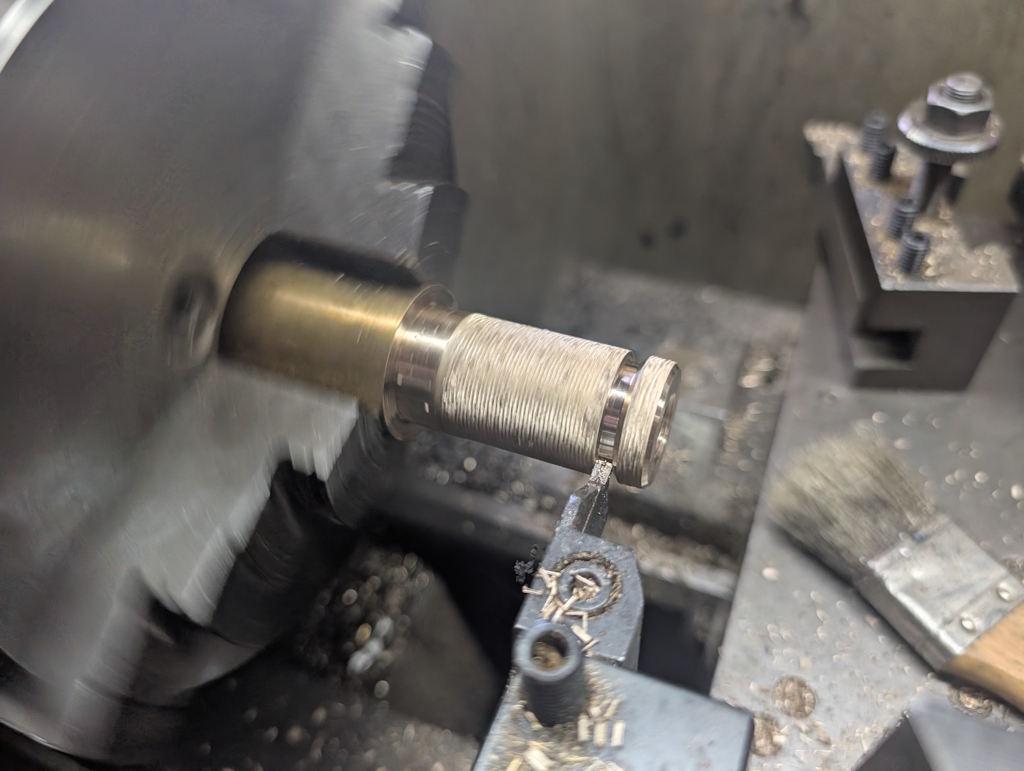
I then went through a sequence of facing off, partially parting, chamfering and then finishing parting (and rinse and repeat):
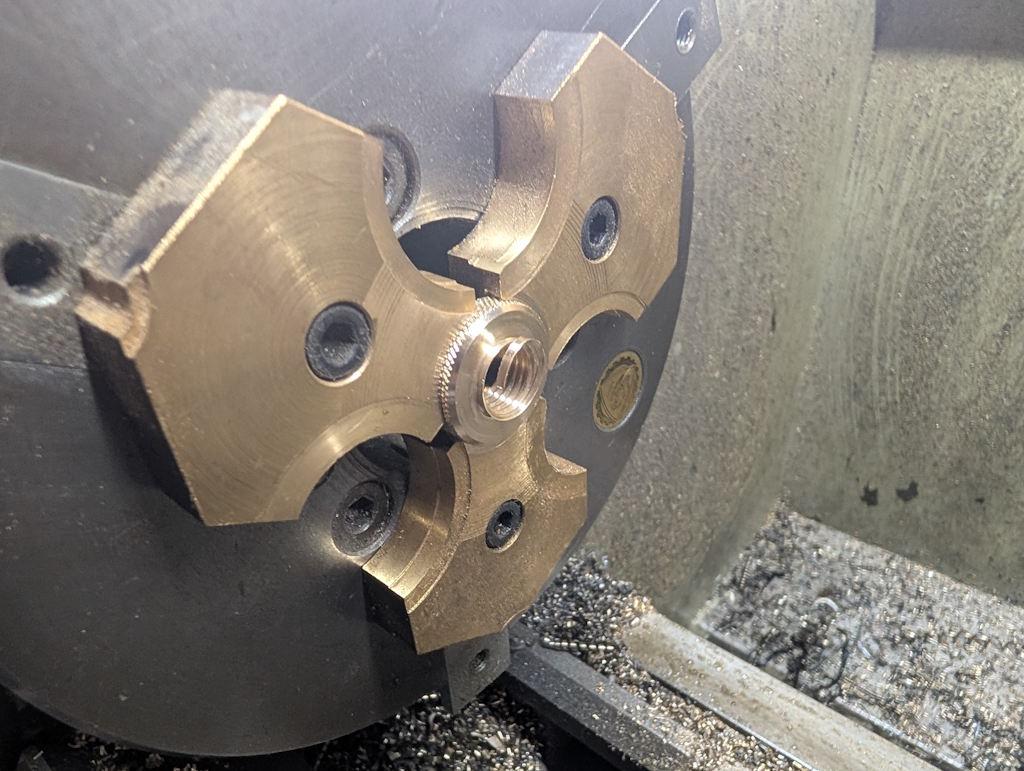
The home-made soft jaws then got used to hold the parts so that I could clean up the parted off end:
With that done, I had four new nuts:
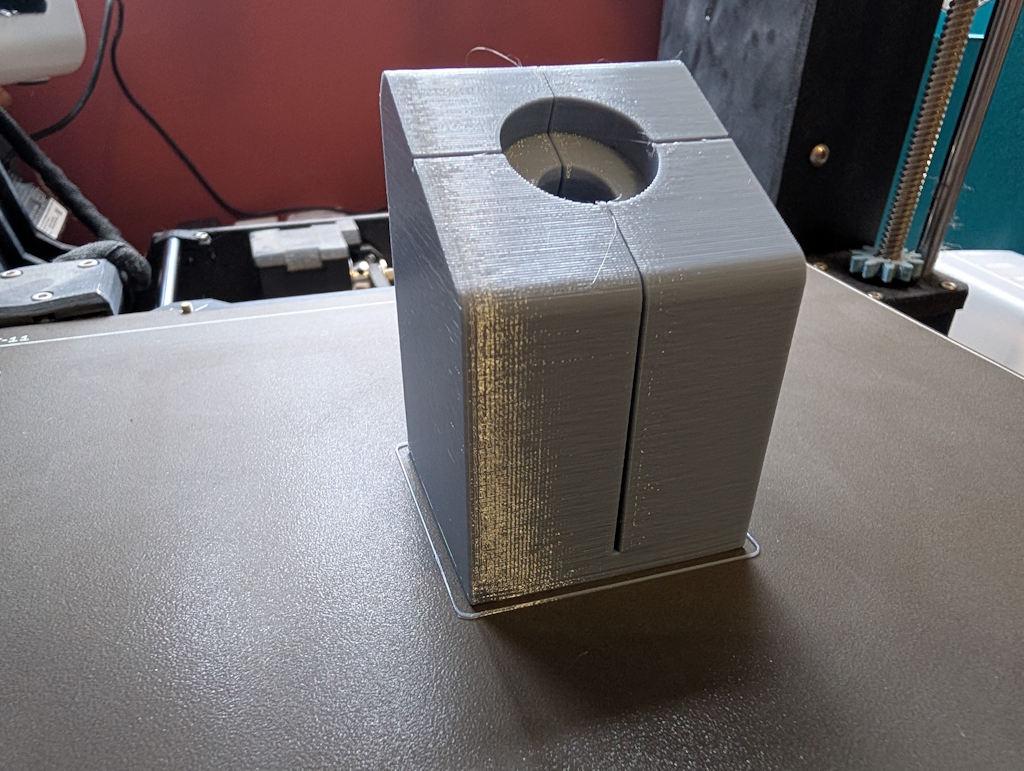
In the meantime, the 3D printer had been busy again making this little jig (which was printed with a fairly high in-fill percentage and with quite a few extra perimeters to make it as strong as possible):
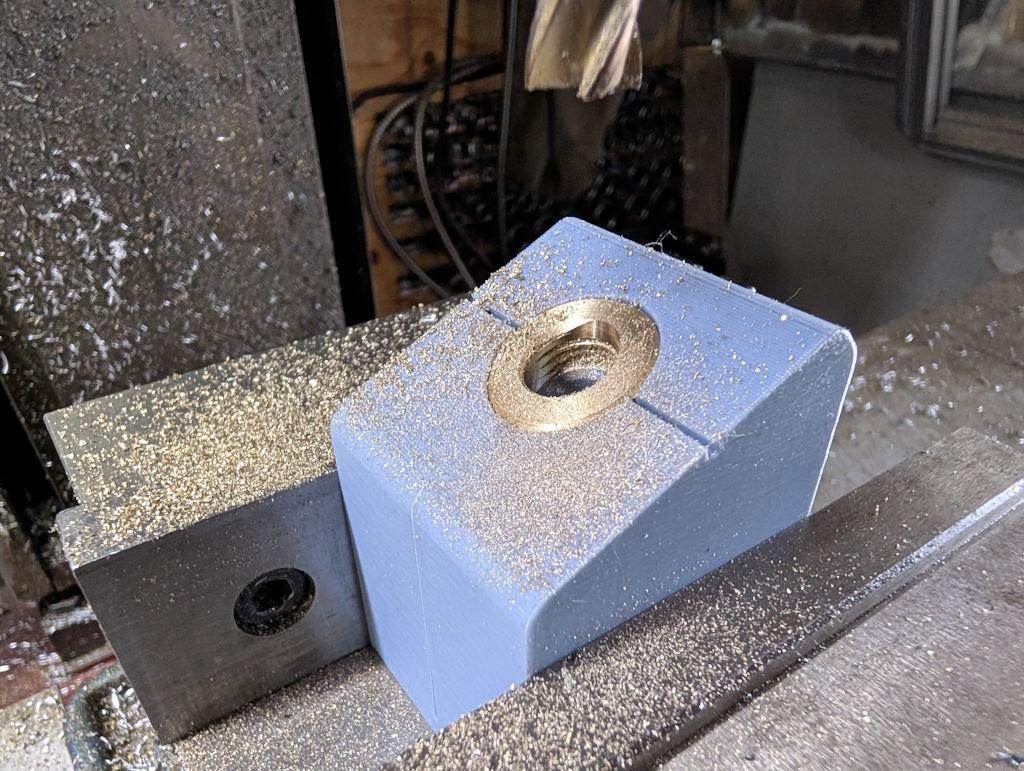
That jig went in the milling machine vice. The table could easily be positioned such that the spindle would be in the right place as I could reference off the four sides of the jig. A 12 mm end mill was put in the spindle and plunged down through the nut:
I did three out of the four nuts, but it'll be easy enough to do the fourth one at a later date if I ever decide to.
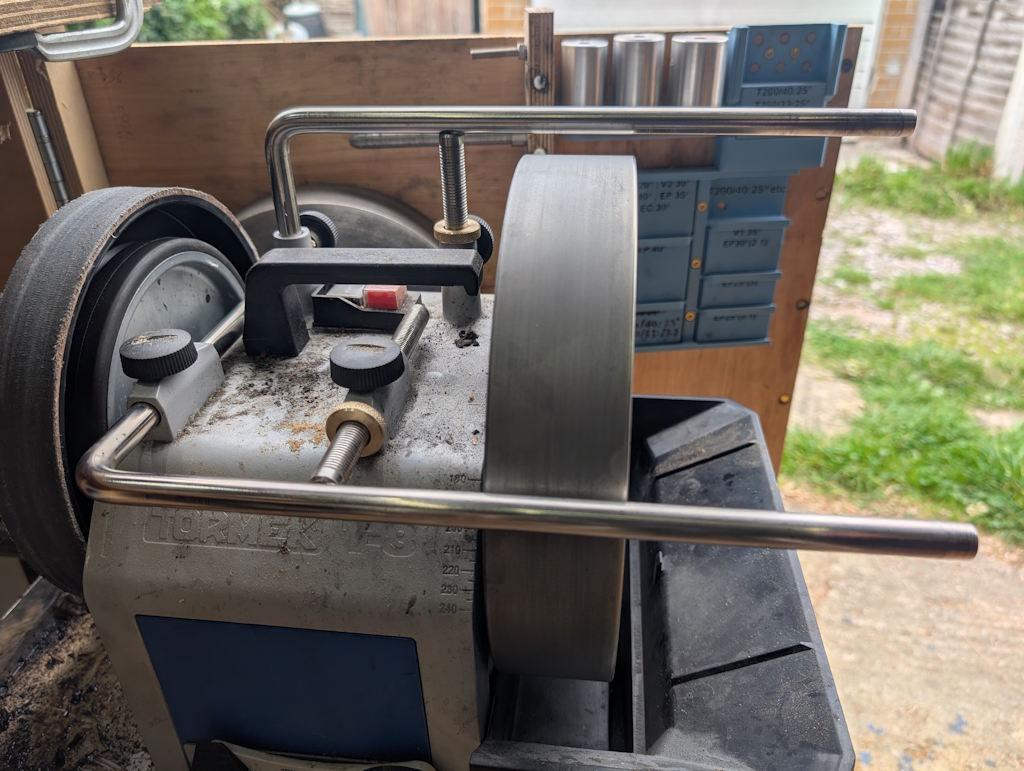
With that, the speed nuts were finished and could be tested on the bench grinder. It works well. It's a bit stiff re-engaging the threads after sliding it up and down, but it got easier after a few uses and even while stiff it was far quicker than winding the nut all the way by hand.
As I'd made spares, I could also remove the original nut from the Tormek itself (using the method Tormek recommend for moving the nut swiftly) and fit a speed nut over there too:
As the home-made bar has freed up the universal support that used to be on the bench grinder, I can now use the spare on the Tormek and just keep one in each mount:
With three speed nuts, the two original nuts and the one new nut that I didn't drill out, I've now got one speed nut and one normal nut for each bar.
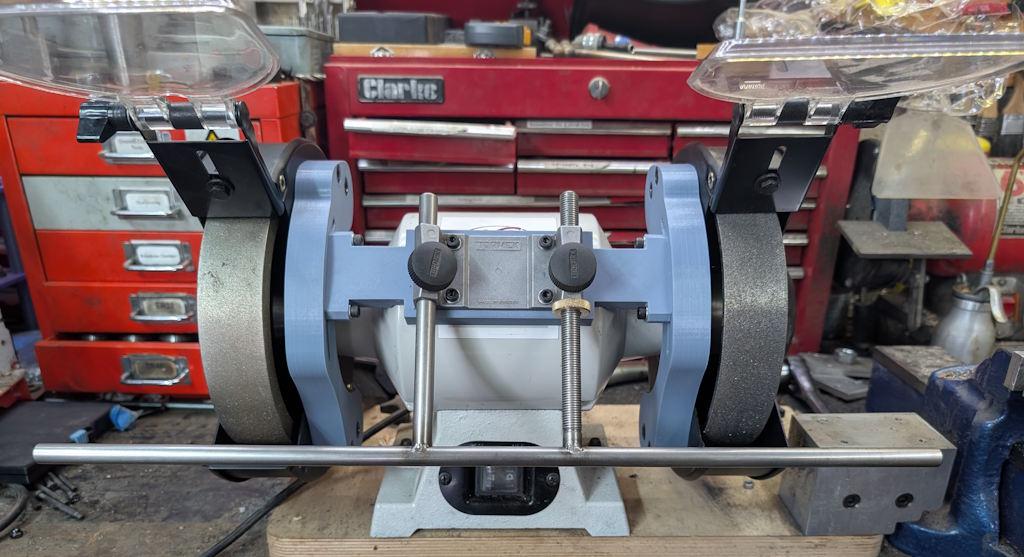
That, as they say, is that: the end up my little series of bench grinder updates. Just time for a completed photo:
Thanks for reading.
Page 5 of 5
This website is free and ad-free, but costs me money to run. If you'd like to support this site, please consider making a small donation or sending me a message to let me know what you liked or found useful.

 Return to main project page