Mini Moravian Bench Build Process
Page 12 of 38
Posted 12th July 2025
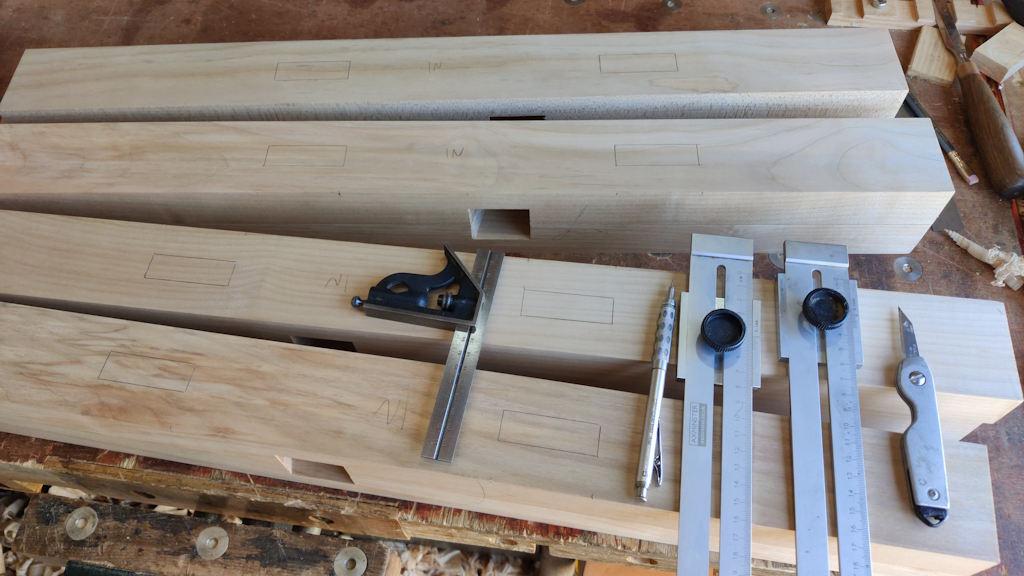
I'm having to do things in relatively short stints, but before lunch I marked up all the mortices for the short cross-pieces. I started by using my two edge-distance gauge things and a square to mark (with knife and pencil) the locations of the mortices on the inside faces:
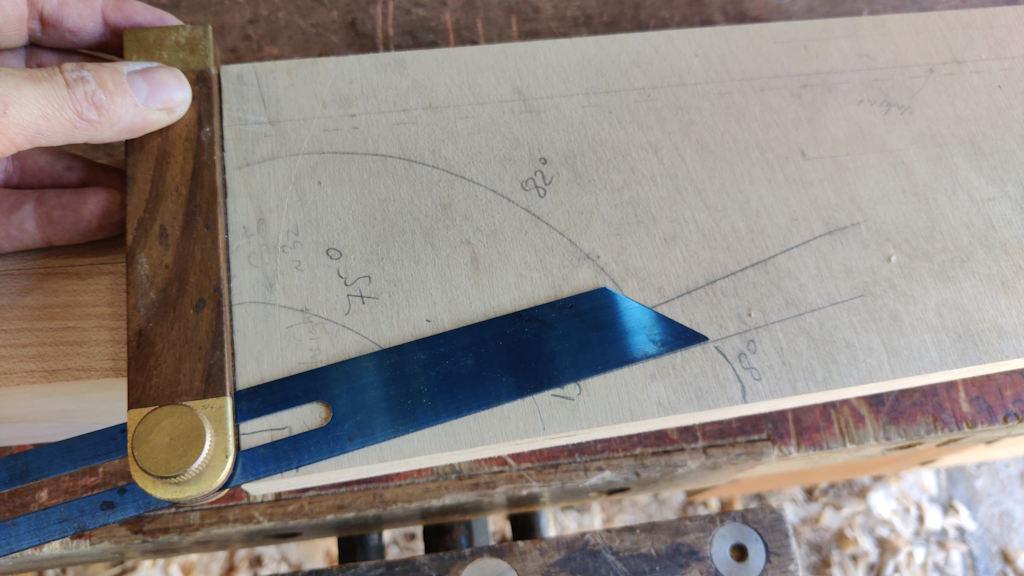
I got one of my sliding bevels and set it up for 82° as I've decided on an 8° splay for the legs:
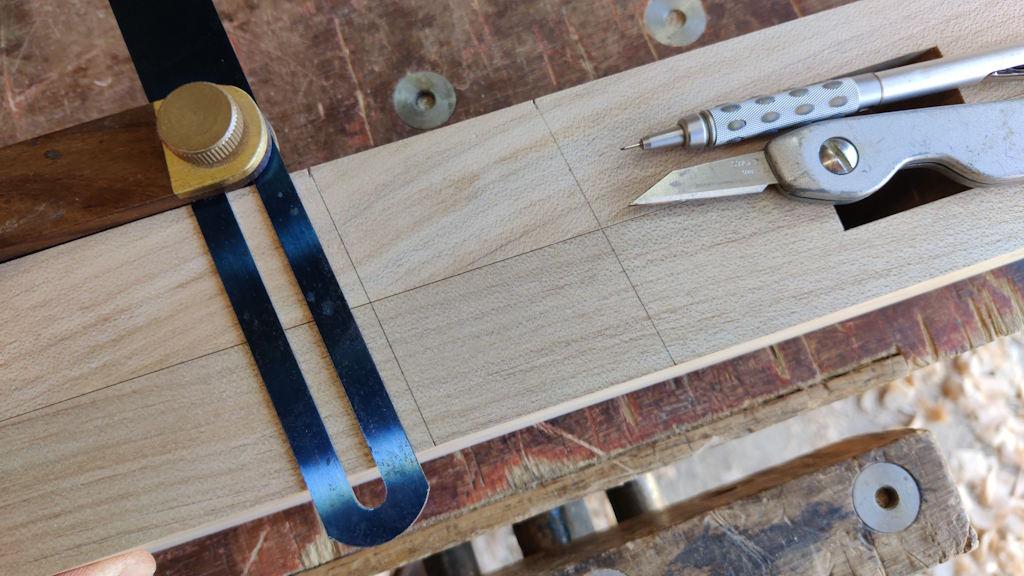
I could then use it to transfer the mortice edges around the face (with a knife mark on the corners and a pencil line across the face to help avoid mistakes later):
After a quick sanity check to make sure that each pair had mirrored angles...
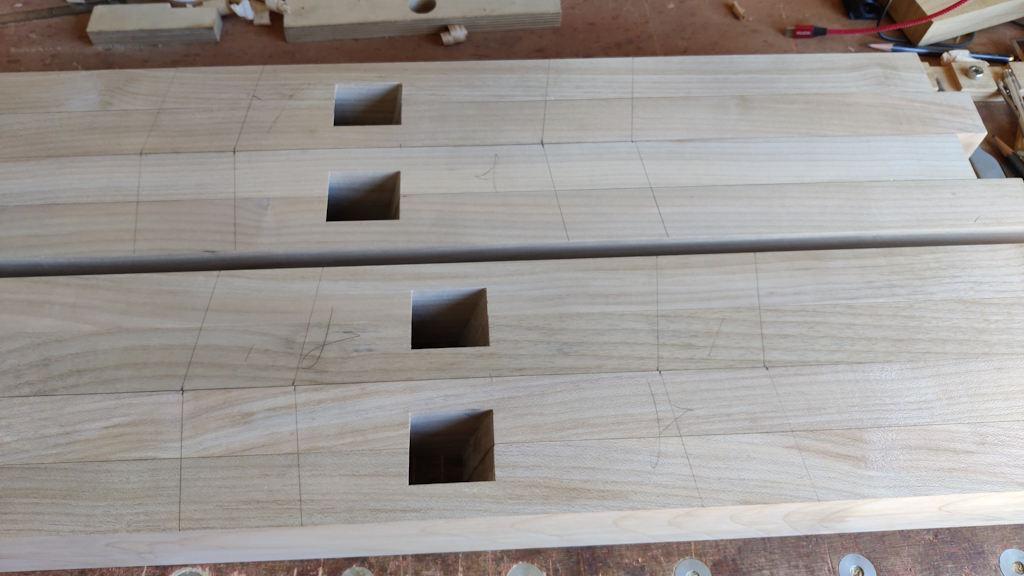
... I could mark the outer edge as well:
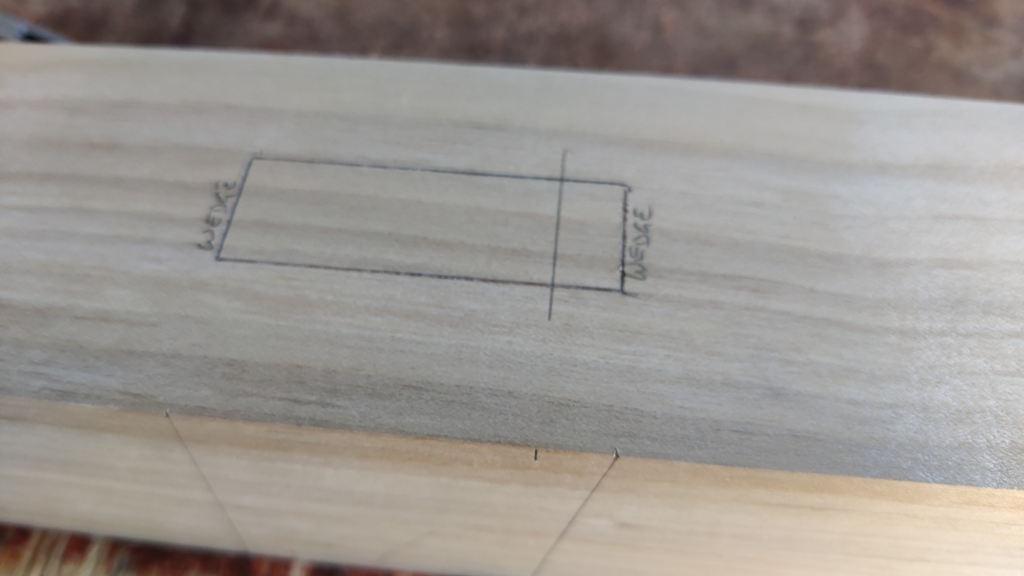
The "wedge" writing is showing me clearly which face will have the mortice opened up so that the tenon can be wedged. The area around where the writing is will go, but I'll cut the mortice as if it isn't being wedged initially and then expand it later.
The pencil line about a fifth of the way from the right-hand edge is there to show me how much of the mortice could be cut straight down (i.e. ignoring the bevel angle). I thought that might be helpful as I could chop out the central bit square and then sort out the angled sides afterwards.
I haven't decided yet how I'm going to approach these enormous mortices. They're 20 × 60 mm and 70 mm deep so they're by far the biggest mortices I've ever tried to cut (if you don't count the other ones in these legs that I cut as a pair of half-laps). It's quite tempting to drill out a lot of the waste, but I am conscious that when I've tried that before it has made the subsequent chiselling a bit more awkward.
Page 12 of 38
This website is free and ad-free, but costs me money to run. If you'd like to support this site, please consider making a small donation or sending me a message to let me know what you liked or found useful.

 Return to main project page