Mini Moravian Bench Build Process
Page 17 of 38
Posted 13th July 2025
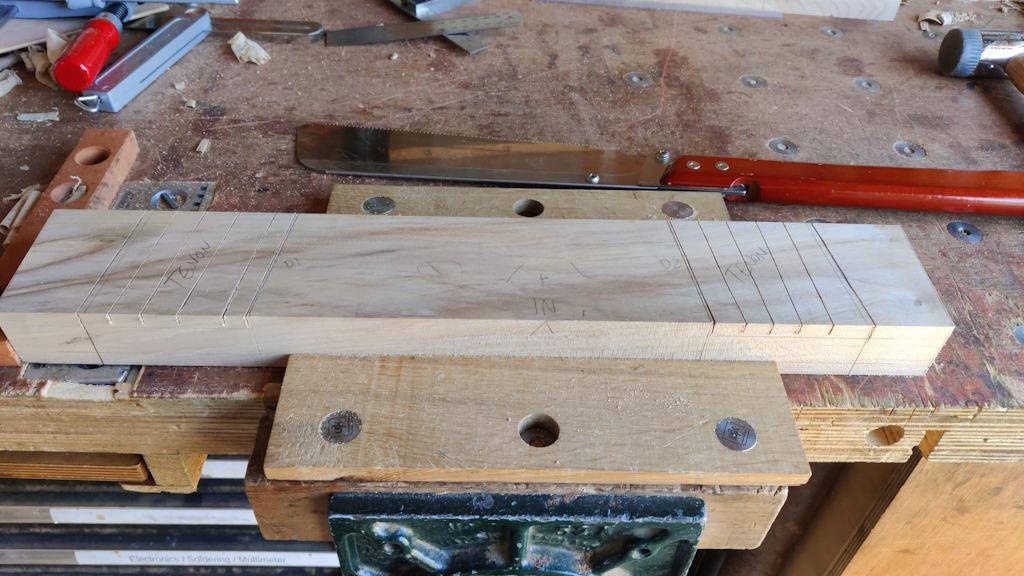
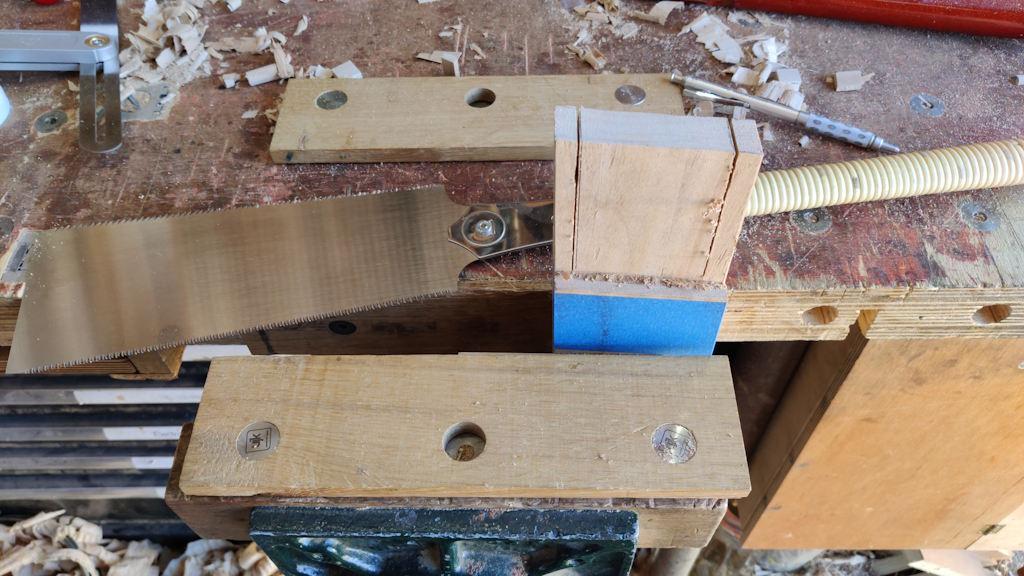
With the mortices cut, I could get on with the tenons. For the first side of the first one, I decided to try cutting the tenon as a half-lap (with the to-be-off-cuts still in place on the ends of the cross-piece):
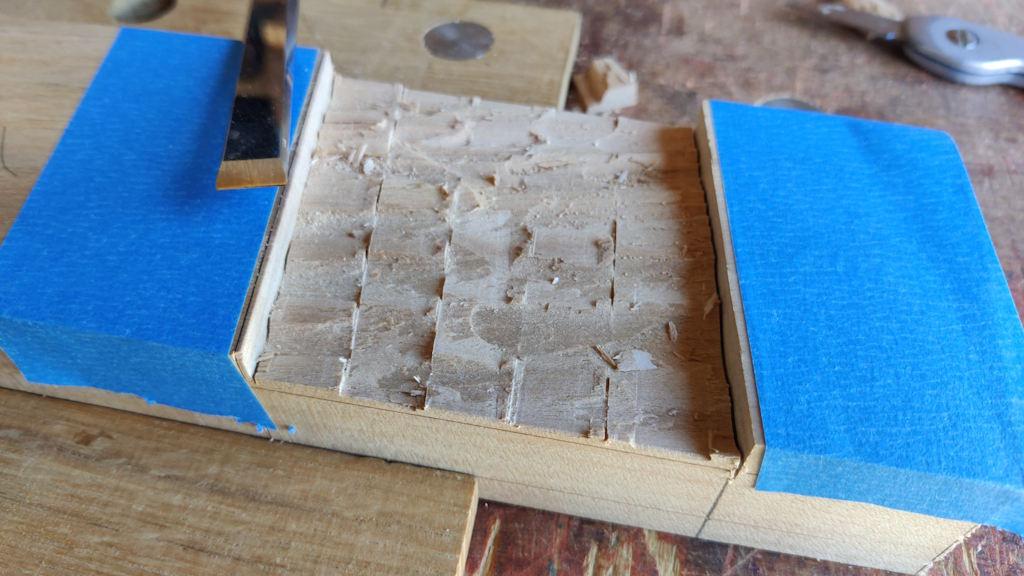
After sawing a few places across the bit to be cut out, I chiselled out the bulk of the waste:
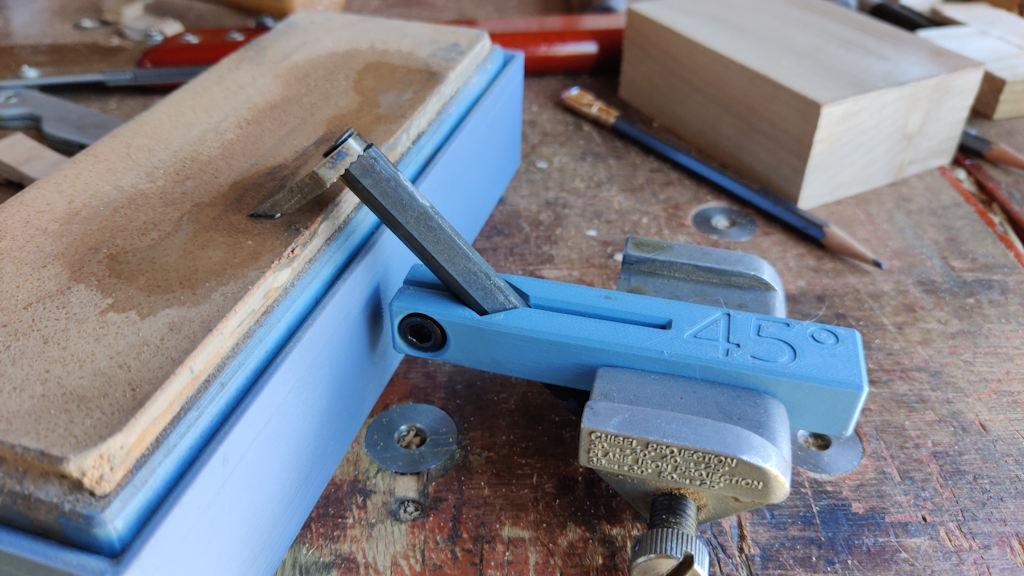
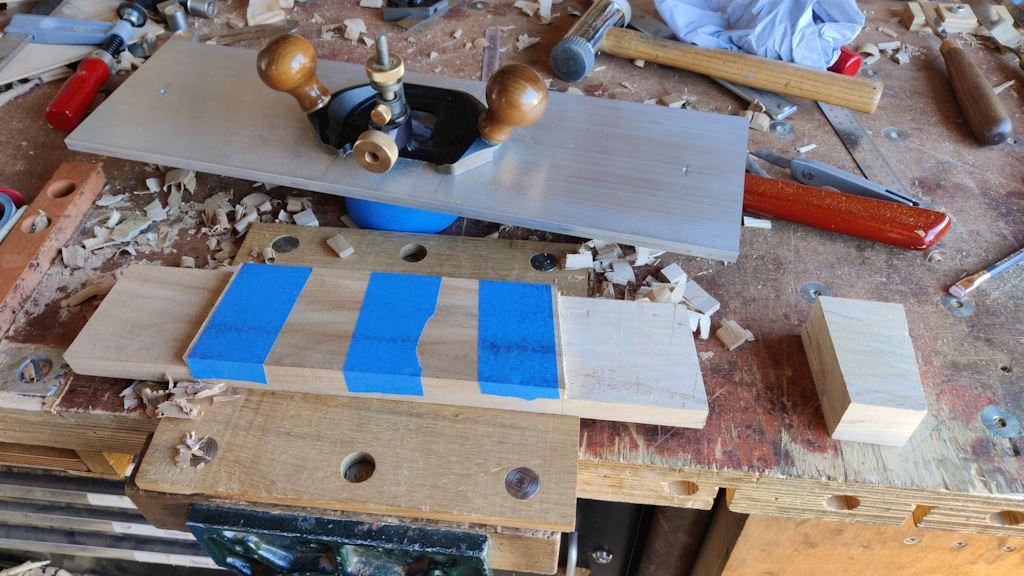
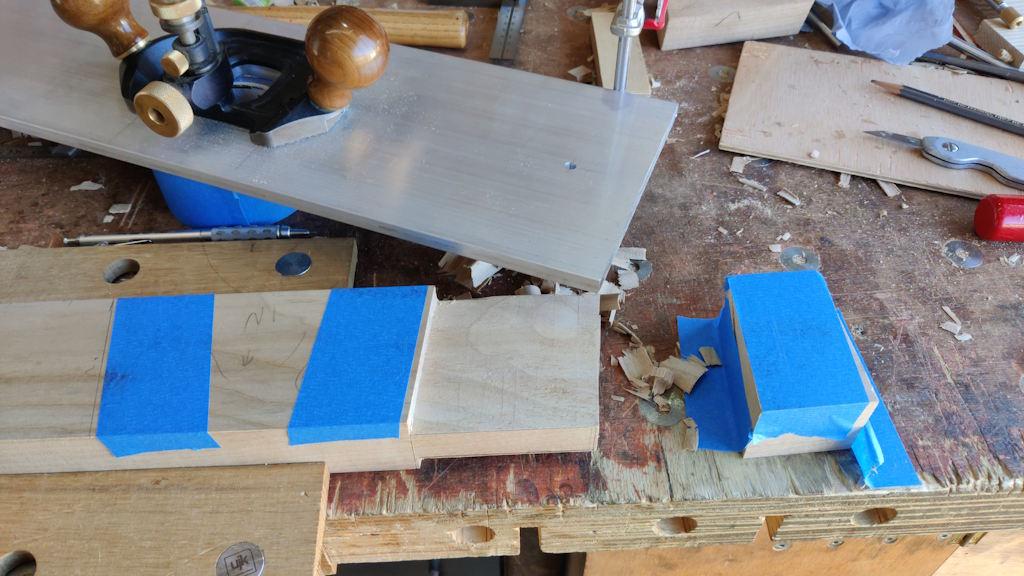
I fitted the biggest cutter to the router plane and started to cut, but it was leaving a pretty shabby finish, so I figured it was time for a quick sharpen:
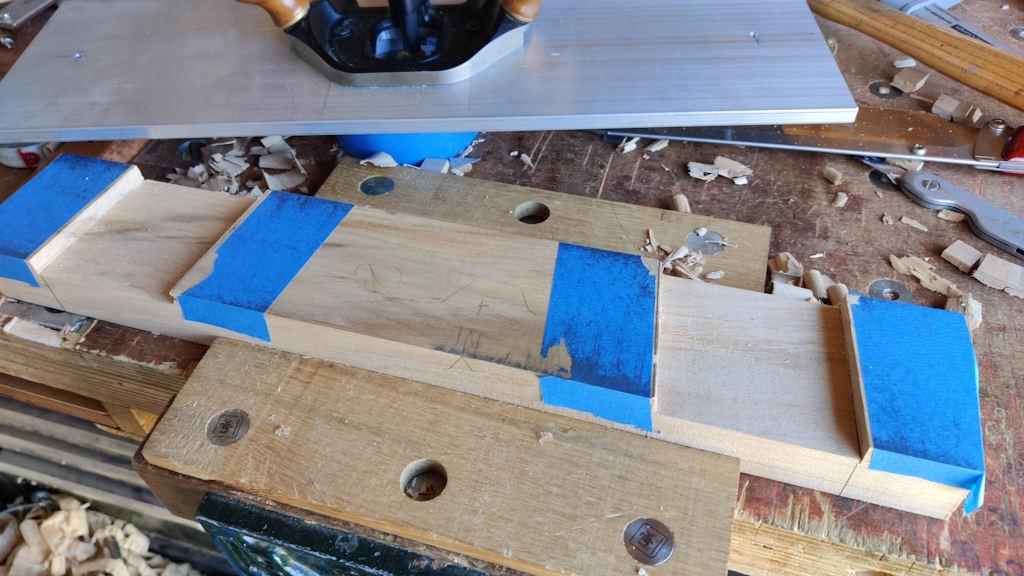
With that done, it cut much better and I could get on with cleaning up the tenon faces:
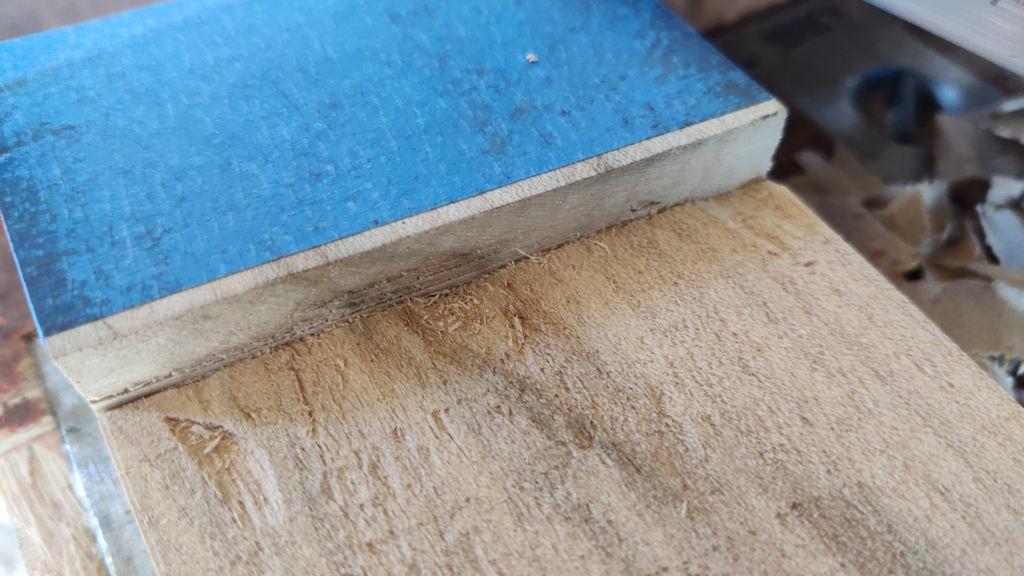
Unfortunately, I'd been a bit over-enthusiastic (or perhaps overly-inept) with the chiselling and the grain was quite steep in places, resulting in some bits breaking out deeper than I'd like:
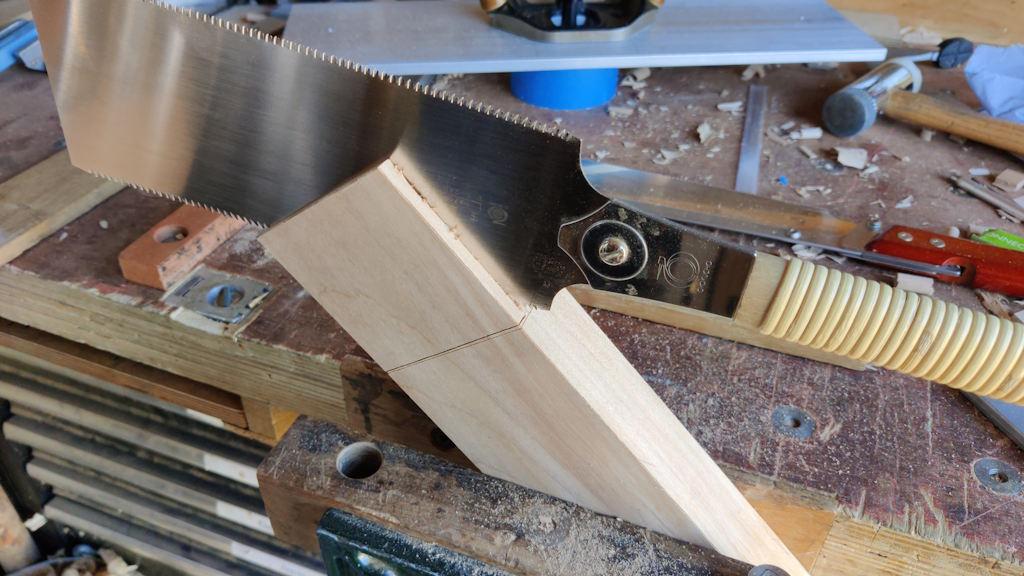
Although it doesn't look like it, that's the outer edge (the shoulder you can see is the bit that will be cut off), so there's a high chance it'll be visible on the outer edge of the joint when it's assembled. Feeling a little disheartened with that approach, I decided to cut the end off and saw off the waste for the other side:
That then got routered as well:
After checking and tweaking the fit for the outside of the mortice, it was time to cut the tenon down to width:
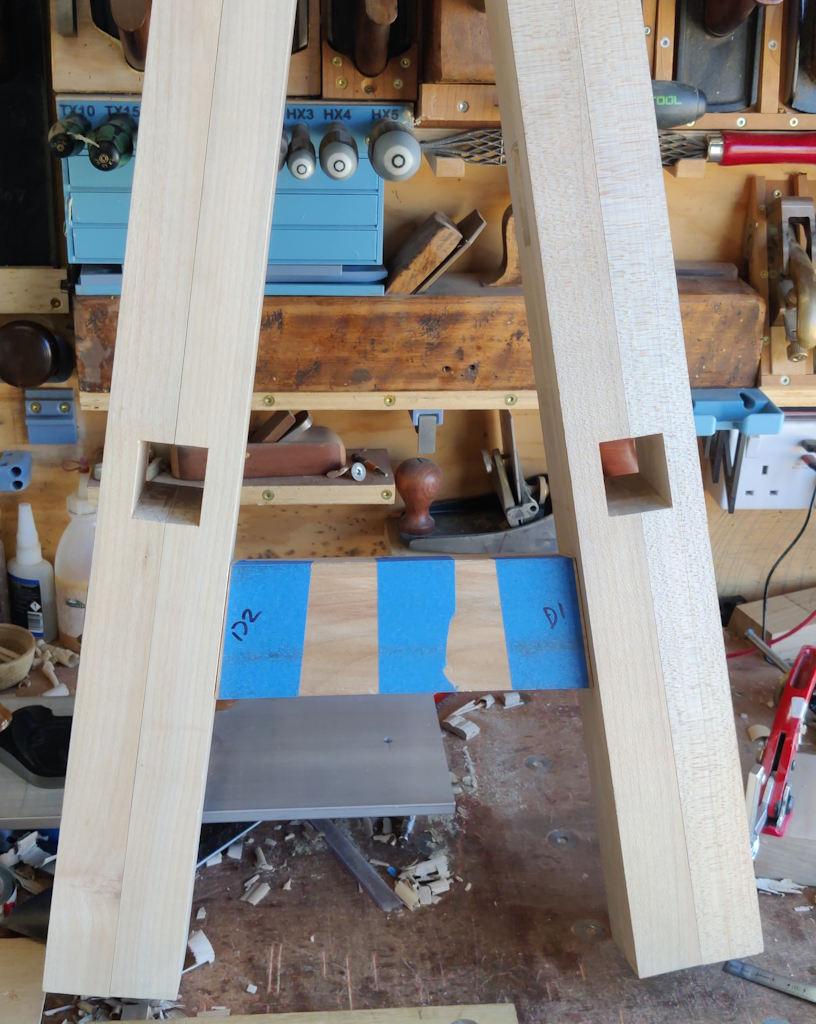
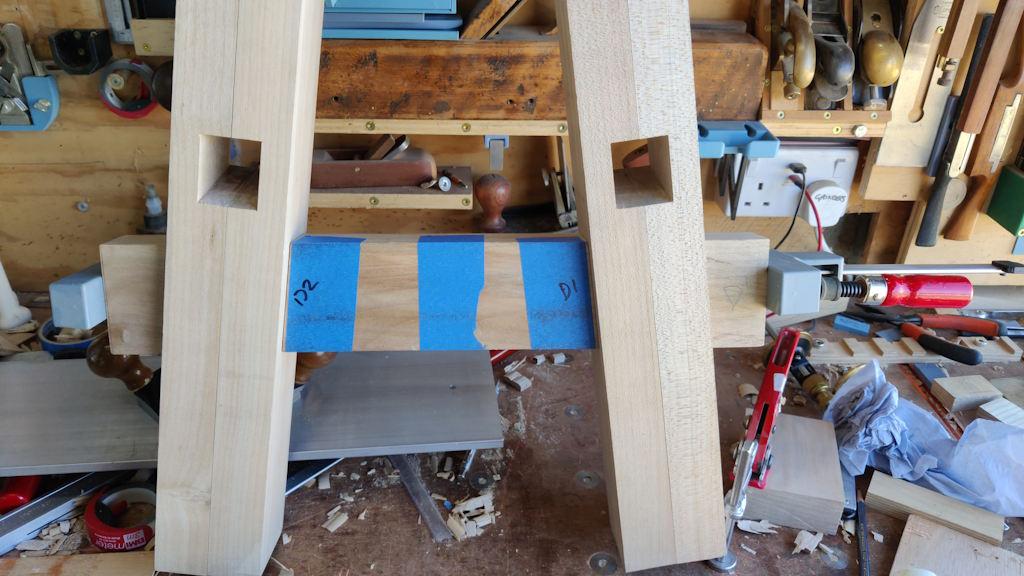
A little tweaking later and I could fit the first cross-piece to the two legs:
I'm much happier with that sawing-off technique so I'll do that for the rest.
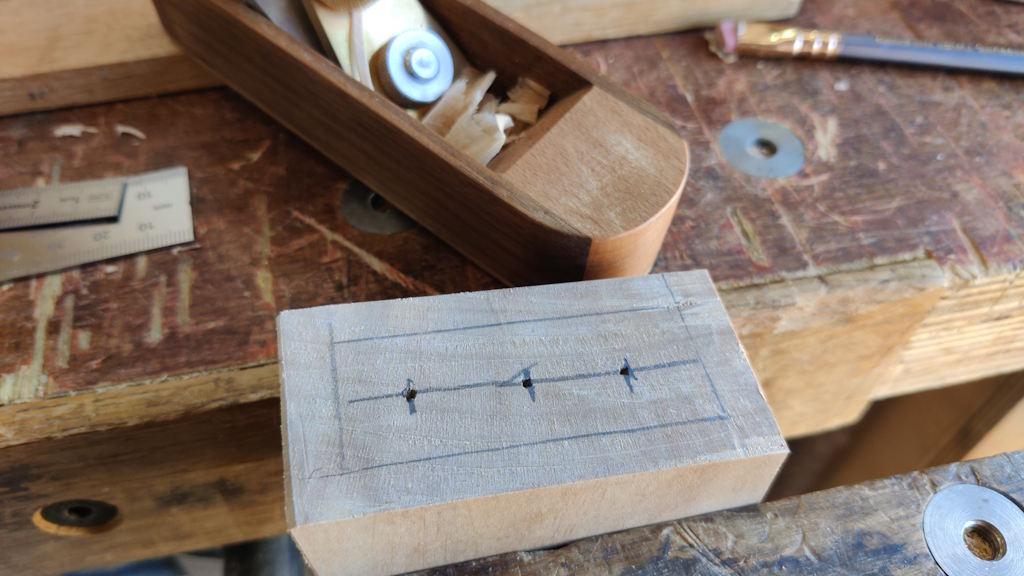
I want to use the off-cuts from the cross-pieces to help with clamping the leg frames together. As the tenons are currently over-length, the off-cuts need a little clearance. I took the cut-off end, planed it's face smooth and then marked an over-size rectangle on it, along with a few awl marks:
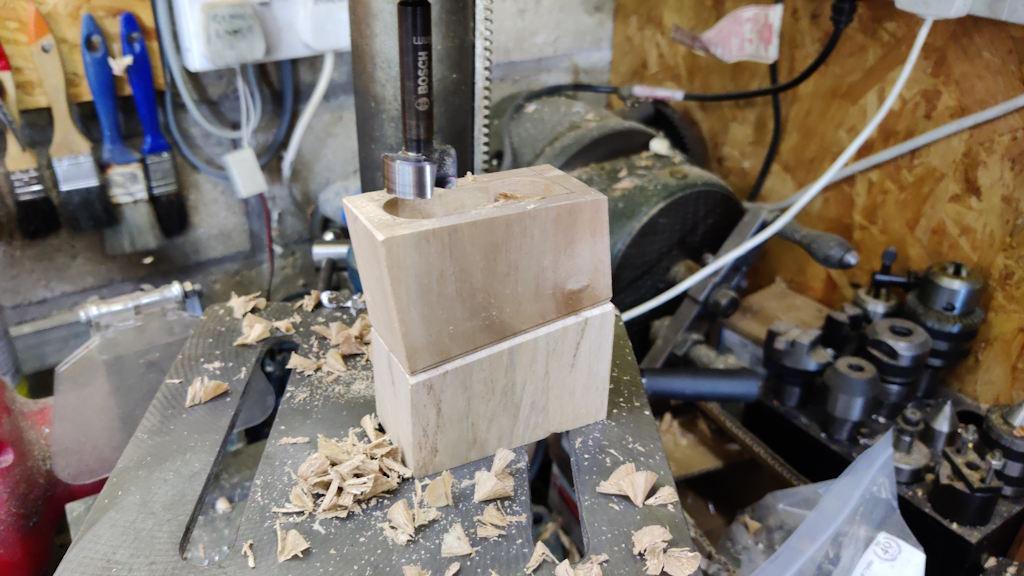
Mounting one on top of the other (so that the end face was parallel with the pillar drill table), I used a 24 mm Forstner bit to hog out the waste...
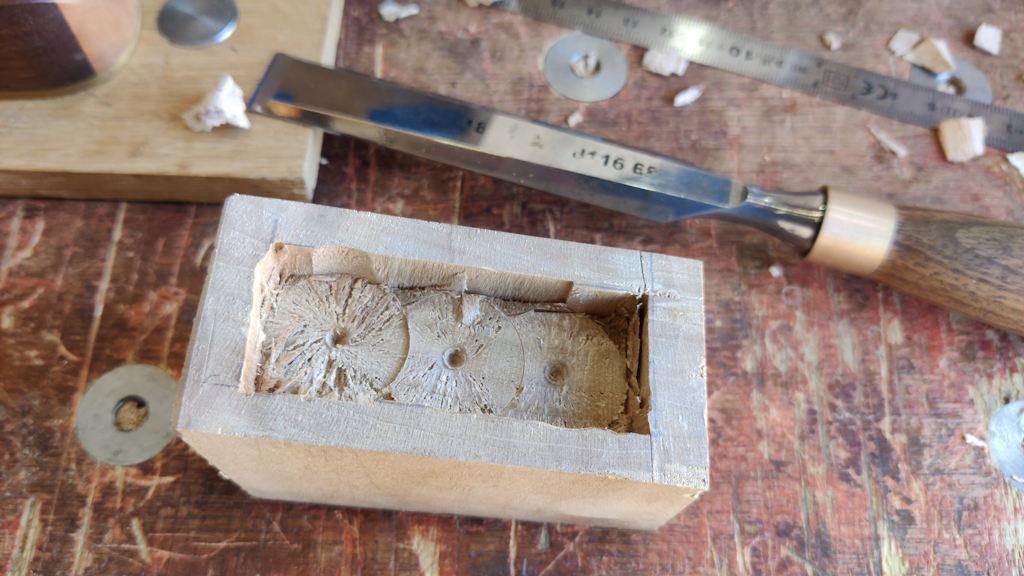
... then did some very rough chiselling to square the hole up:
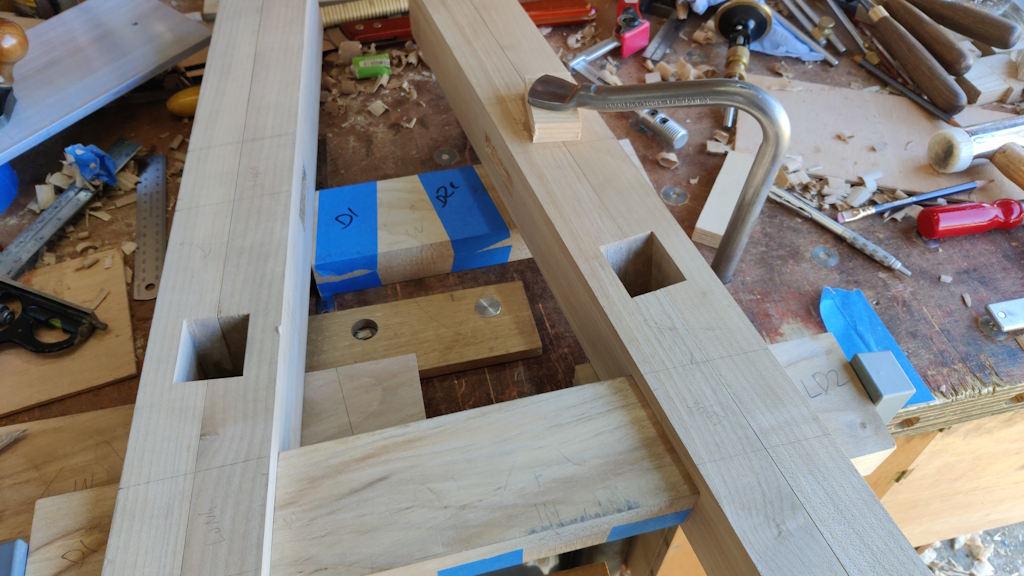
I could then do a quick test of clamping the legs to make sure the principle works:
For the upper cross-bar, I went with the same process as before: sawing off the waste and then using the router plane to clean the faces up:
After fitting the first side of the tenon into one of the legs, I could mark the location of the bottom of the cross-bar and then disassemble it and clamp everything in place for marking the location of the other shoulder:
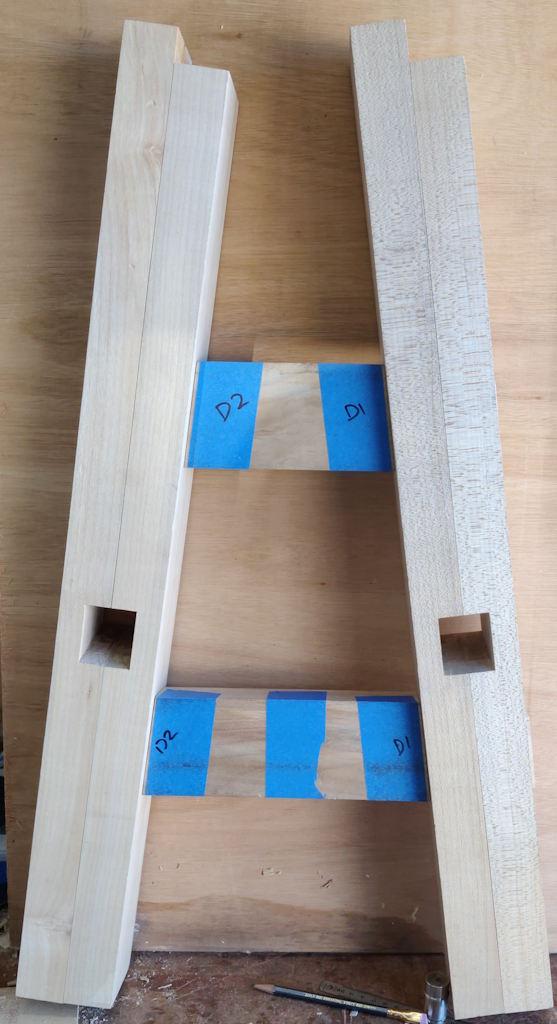
I then did the same thing again (sawing tenon cheeks, chopping shoulders and router-planing faces) on the other end of that cross-bar. That went fairly smoothly and quickly and I could then dry-assemble the first leg frame, which felt like quite a land-mark:
By then it was 5pm and I'd been in the workshop on-and-off since 4.30am so I decided it was a good time to call it a day.
Page 17 of 38
This website is free and ad-free, but costs me money to run. If you'd like to support this site, please consider making a small donation or sending me a message to let me know what you liked or found useful.

 Return to main project page