Mini Moravian Bench Build Process
Page 16 of 38
Posted 13th July 2025
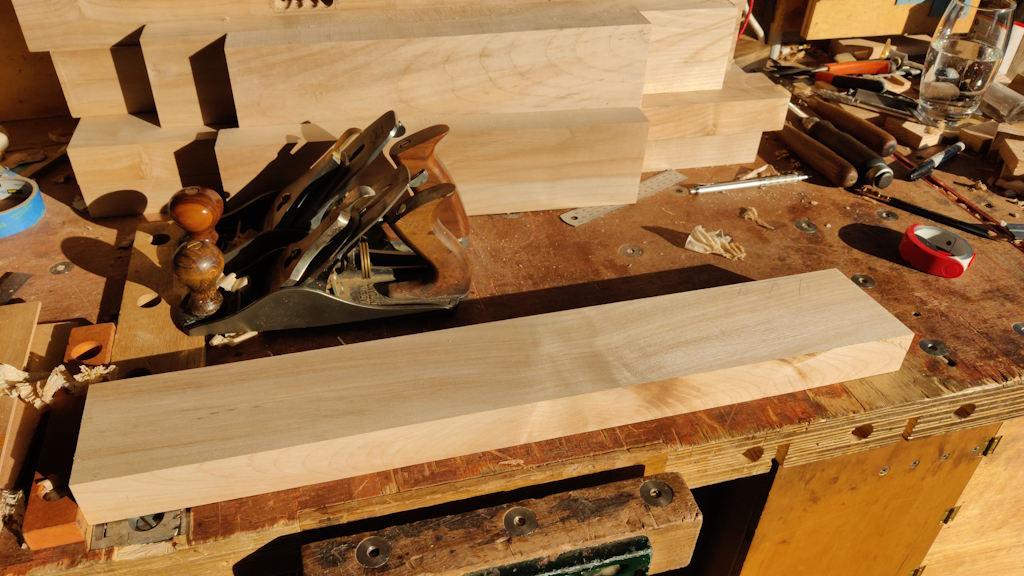
When I went back out to the garage, it still felt a bit early to be hitting things with a mallet, so I got the thicknessed cross-pieces out and cleaned up the machined faces with a couple of hand planes (a Clifton #4½ set for moderate shaving and a Stanley #4 set for a very light one):
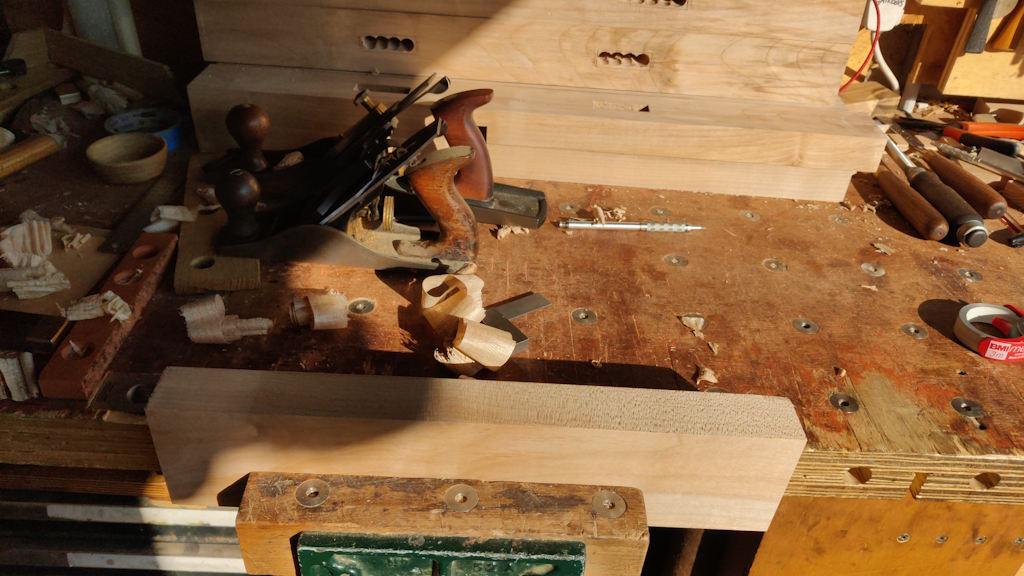
I then planed one edge square, using my Axminster #5 and a different Stanley #4. The reason for the different Stanley #4 was that I was finding some of the edges of these pieces had changeable grain and that #4 has a back bevel on the blade so cuts at a higher angle. The #5 left a bit of tear-out but was nice and quick to get the edges flat and square; the #4 sorted the tear-out.
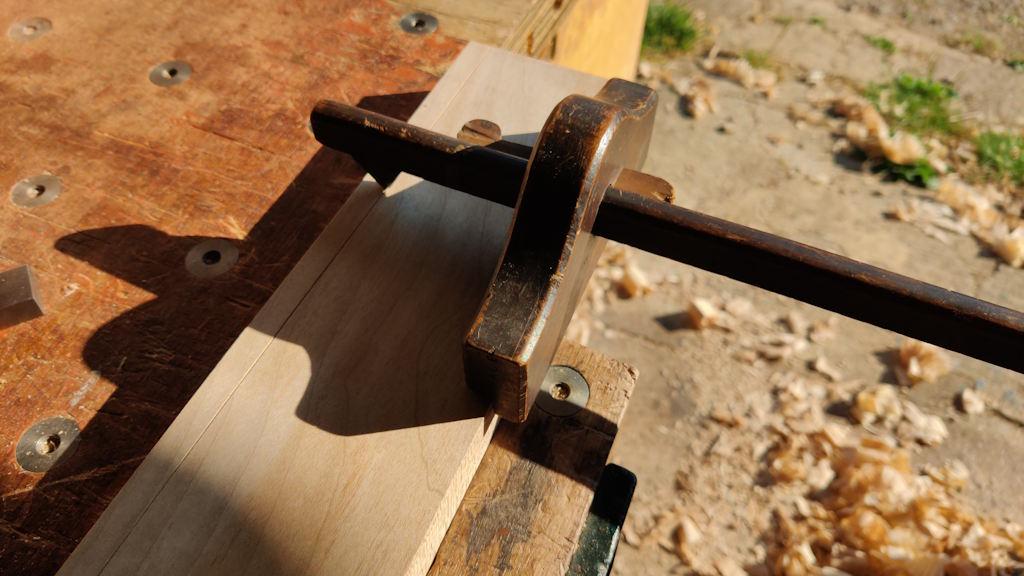
To sort the other edge, I used my panel gauge to scribe a line along both faces:
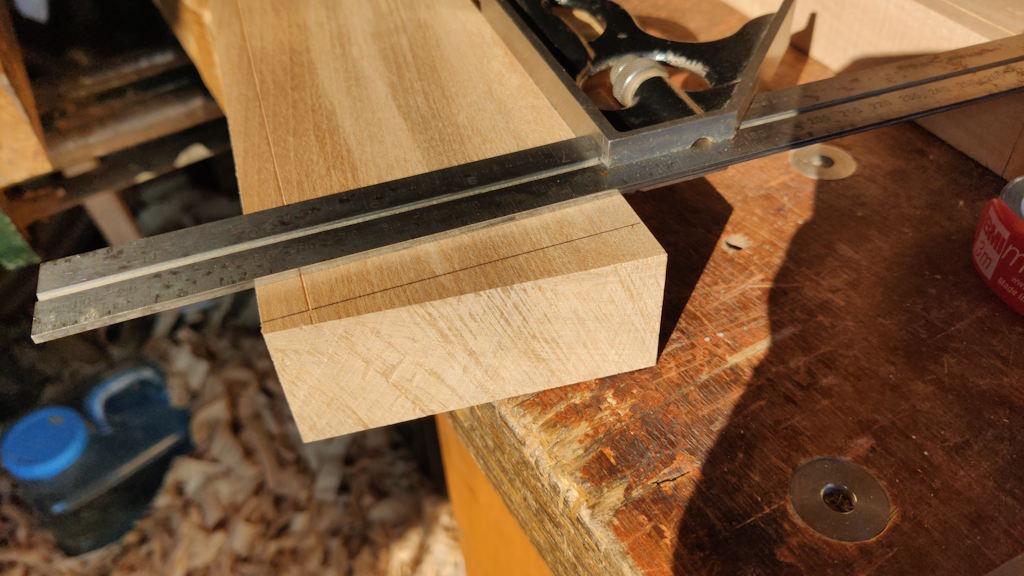
Before sawing to width, I also marked a square line on the ends that weren't square...
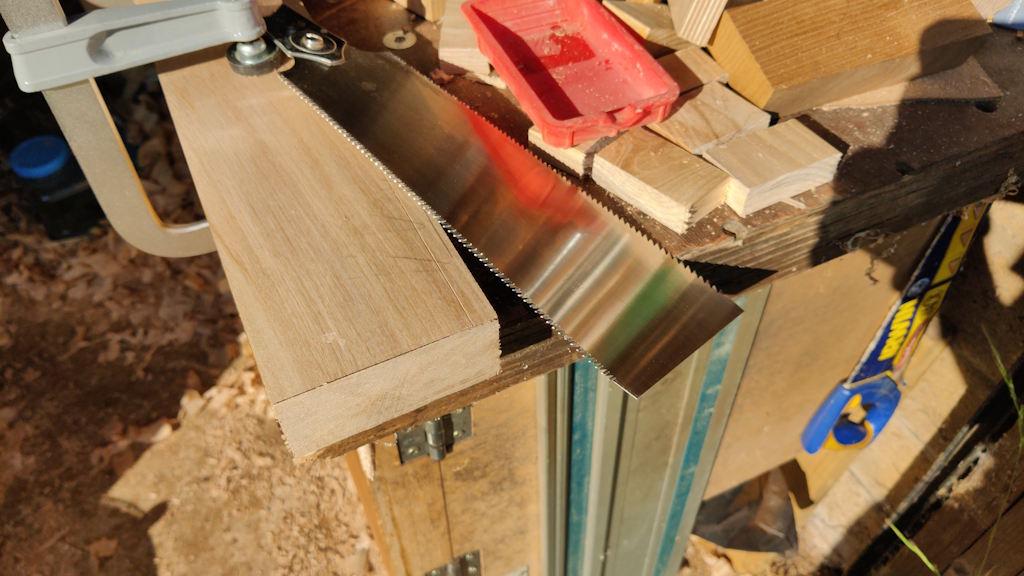
.. and then chopped the end off:
The ends of the final pieces will get cut off at an angle rather than square, but having made the planks square-ended, I should be able to use the off-cuts as clamping blocks.
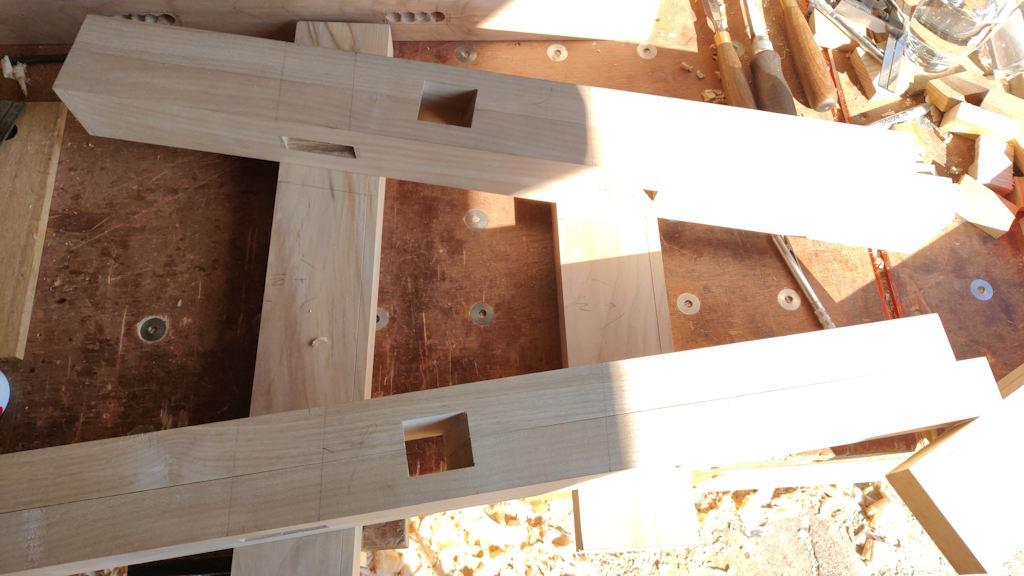
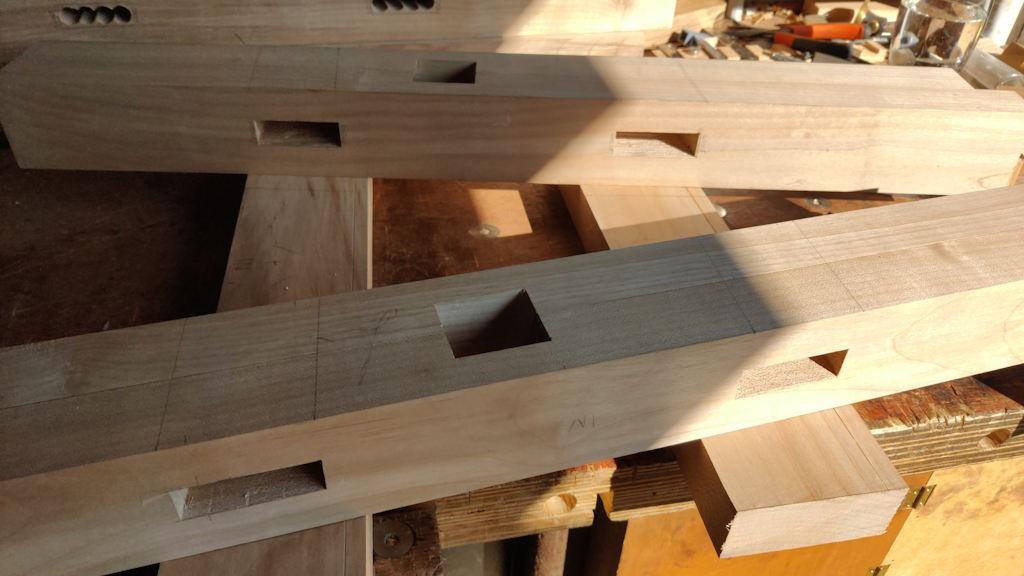
I then offered the legs I finished yesterday up to the cross-pieces and realised I'd made a mistake...
Somehow, I'd managed to mark (and chop) the cross-piece mortices at the wrong angle, so the face I'd selected as the inside face is now the outside face:
Thankfully, it's isn't a serious problem. I had to transfer the "wedge" markings round to the other side and the one with the incorrect wedge line will forever have that line, but it'll be hidden under the shoulder of the cross-piece so it doesn't matter. It also means that the positions of the cross-bars won't be quite the same as they were in the model, but I've updated the model to match reality and it still looks fine.
The only downside of the new positions is that the clearance above the cross-bars for a saw (being used through the gap between the two top pieces) will be slightly lower than designed (185 mm rather than 200 mm). If I decide that's an issue, I can always put a little notch in the top cross-bars, so I'm not going to worry about it for now.
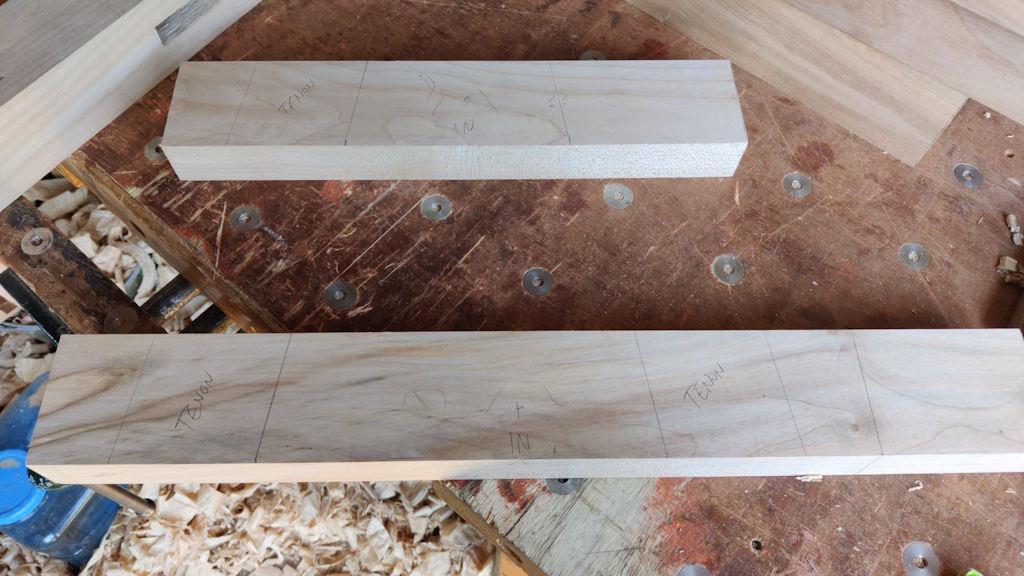
Anyway, I got on with marking the cross-pieces to show where they'll be cut (to match the updated model!):
There's a lot of excess on the bottom one; that's partly because I prepared them oversize, but also partly because I changed the splay angle to 8° instead of 15° and that brought the legs closer together at the bottom.
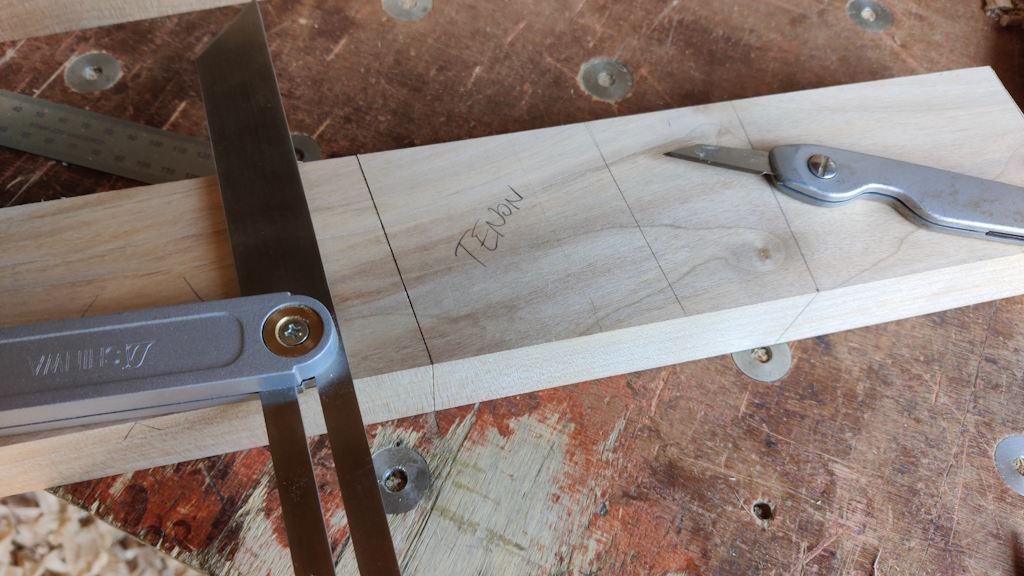
Having pencilled the marks in, I decided to bite the bullet and knife the tenon shoulders:
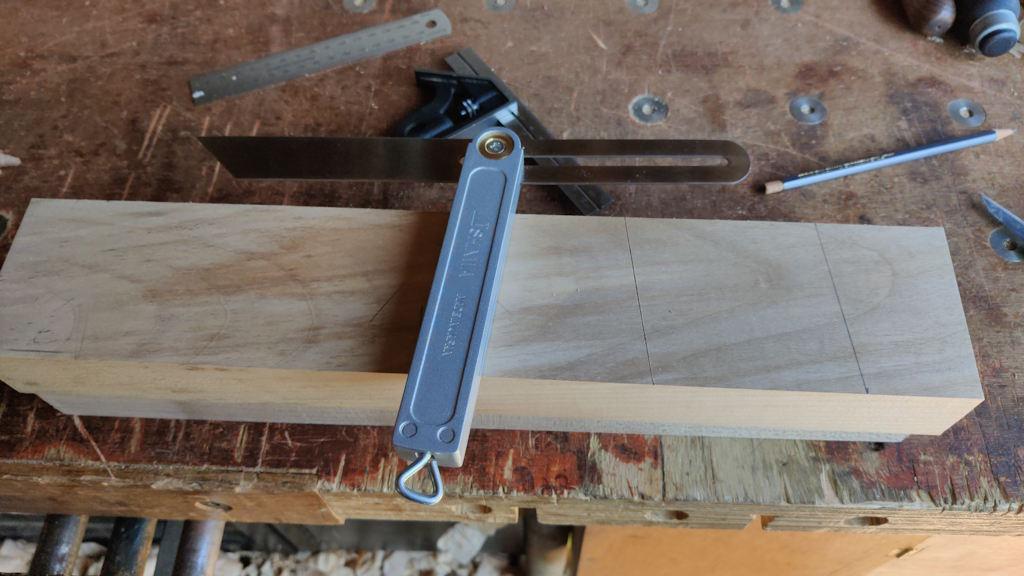
The most observant among you may have noticed that I've swapped to the Shinwa sliding bevel (which was previously set to the 15° angle for the stretchers). I had planned to use the Shinwa one for the stretchers (and leave it set) and the other one for these cross-bars, but I found the other one didn't seem to line up with some of the marks I'd previously made.
I've never had great results with the wooden-handled sliding bevel to be honest (that was part of the reason for buying the Shinwa one). I never understood why before, but today's confusion made me investigate properly. It turns out that the "stock" (wood/brass bit) of the other sliding bevel isn't straight (it's bowed along it's length) and also isn't parallel (one end is about 0.5 mm narrower than the other). I can probably sort it out with a lot of tedious work with sandpaper, but it's much too hot for that sort of thing, so I just decided to swap sliding bevel to the one I trust.
Before changing the angle on the Shinwa sliding bevel, I used it to knife a line on a bit of scrap. I should be able to use that bit of scrap to set the bevel back to the stretcher angle when I get to that stage.
Anyway, with both ends of the lower stretchers knifed all round the shoulders, I knifed round the shoulder on the upper ones too, but only on one end:
The other end will get marked up after assembling the legs to the lower cross-bar.
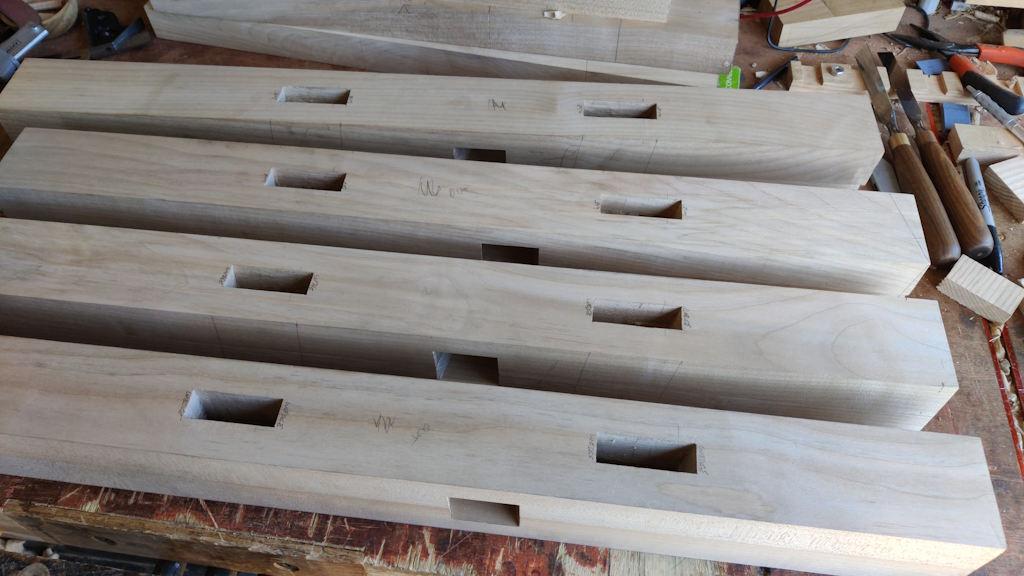
By this point, it was 10am and I felt it was probably reasonable to make a little bit of noise, so the mallet and chisels came out and I finished off the mortices in the last two legs:
If I did those legs again, I'd be quite tempted to chop more of the mortices with the mortice chisel. I'm sure it's partly that I've done four in a row, but I was getting quite fed up with the long-winded tidying up process that follows drilling. At the moment, I feel I'd enjoy using the mortice chisel more, even though it would take longer. Of course if I did four in a row with a mortice chisel, I might be saying I'd do it with a drill next time!
Page 16 of 38
This website is free and ad-free, but costs me money to run. If you'd like to support this site, please consider making a small donation or sending me a message to let me know what you liked or found useful.

 Return to main project page