Mini Moravian Bench Build Process
Page 19 of 38
Posted 26th July 2025
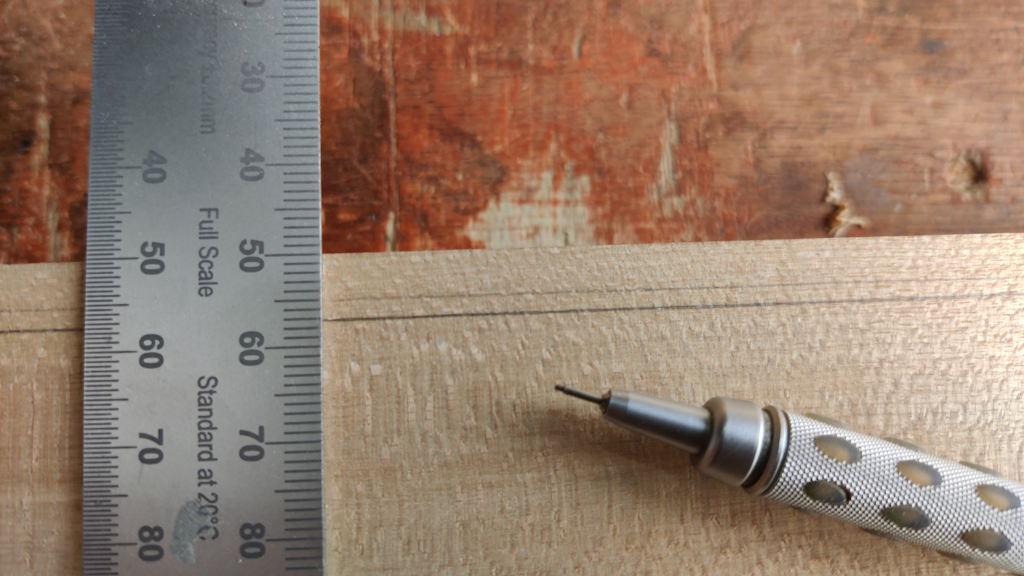
This morning I got started on the work for the stretchers. A few weeks ago when I was cutting the (split) mortices for the stretchers, I got the stretcher planks out and noticed that they'd bowed slightly since being chopped up with the tracksaw. I drew a straight line near the edge so that I could work out how wide they would be (and hence work out the size of the mortices). You can see the bow here hopefully:
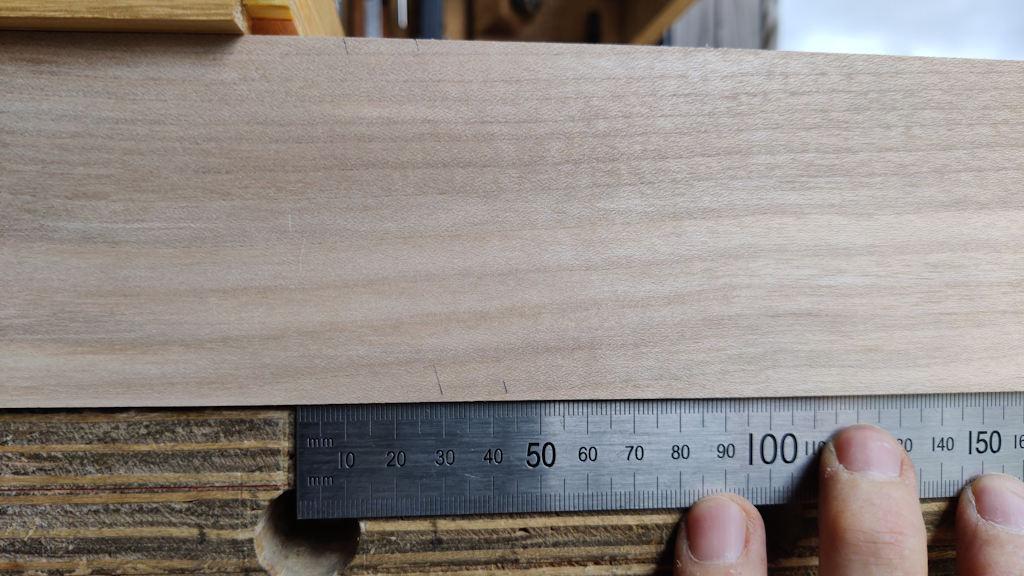
When I got them out this morning, I found that the straight line I'd drawn was no longer straight! They've obviously bowed a bit more in the last few weeks. You can perhaps see that in the next photo: the faint line is the previous pencil line (which goes corner-to-corner; this is the mid-point) and the darker line is a new one:
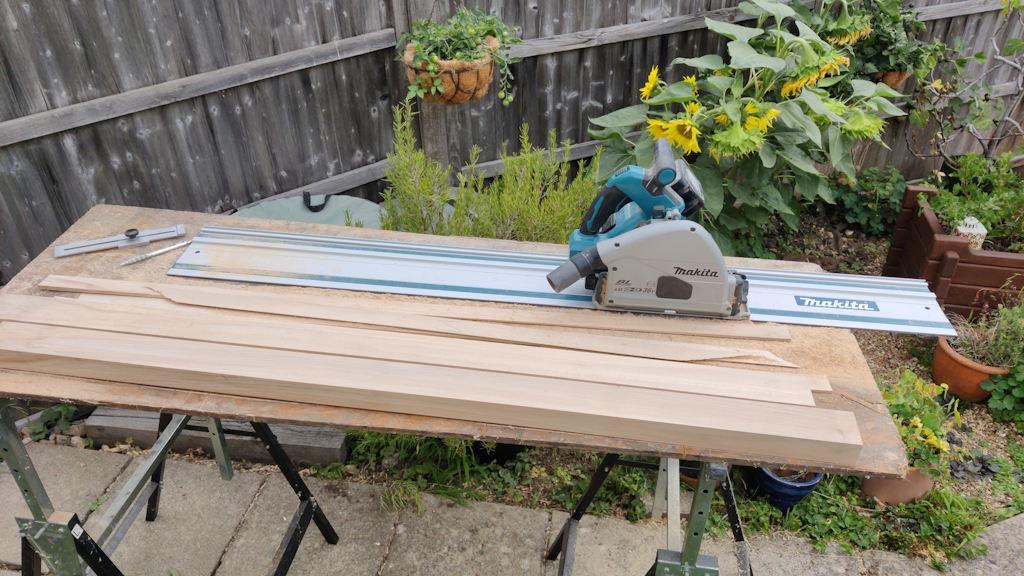
Thankfully the difference is quite small: they'll end up about 73 mm instead of the expected 75 mm. There should still be plenty of width for a decent shoulder I think. To get rid of the bow, I got the tracksaw out again:
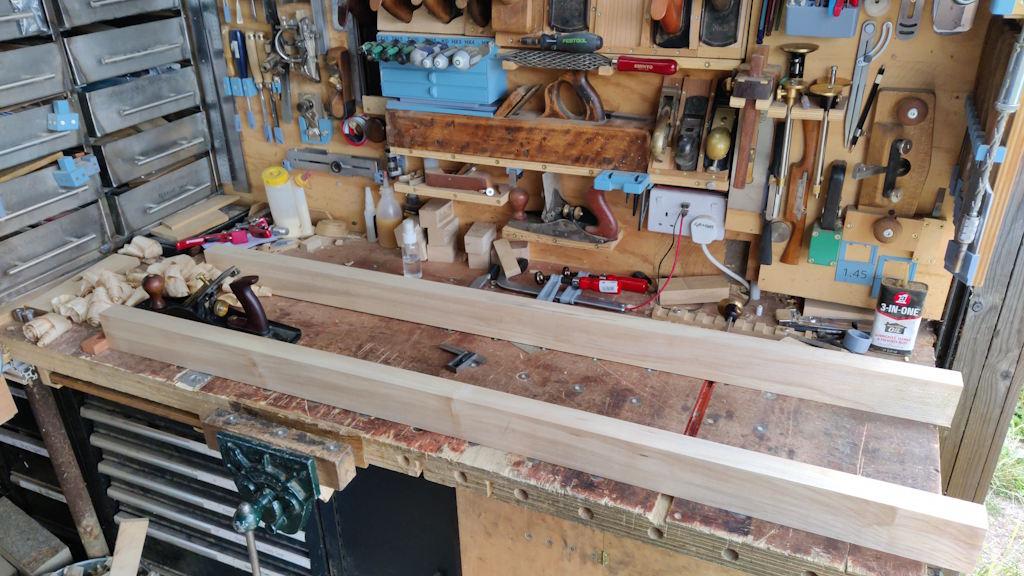
The edges then got planed square to the face side:
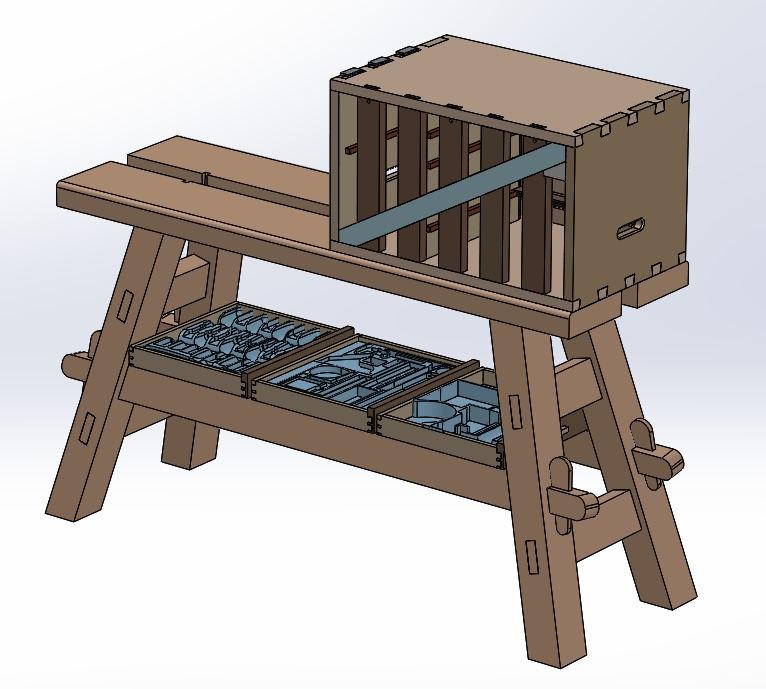
I'd like to be able to (temporarily) store three of the drawers on the stretchers (with some little brackets to stop them falling off), as shown in this CAD model screenshot:
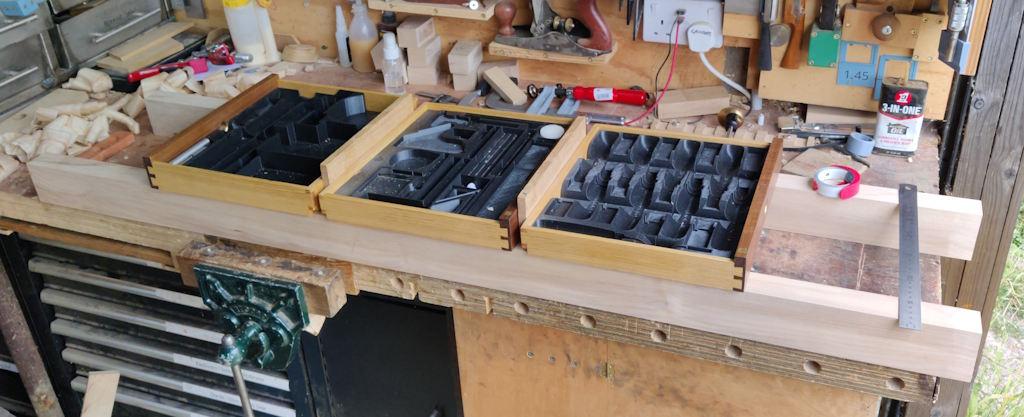
For that to be possible, gap between the legs at the top of the stretcher needs to be longer than three drawers. I got the three biggest drawers out and lay them on the stretchers with some spacers in between and with the drawer fronts (which are the highest bits) facing out:
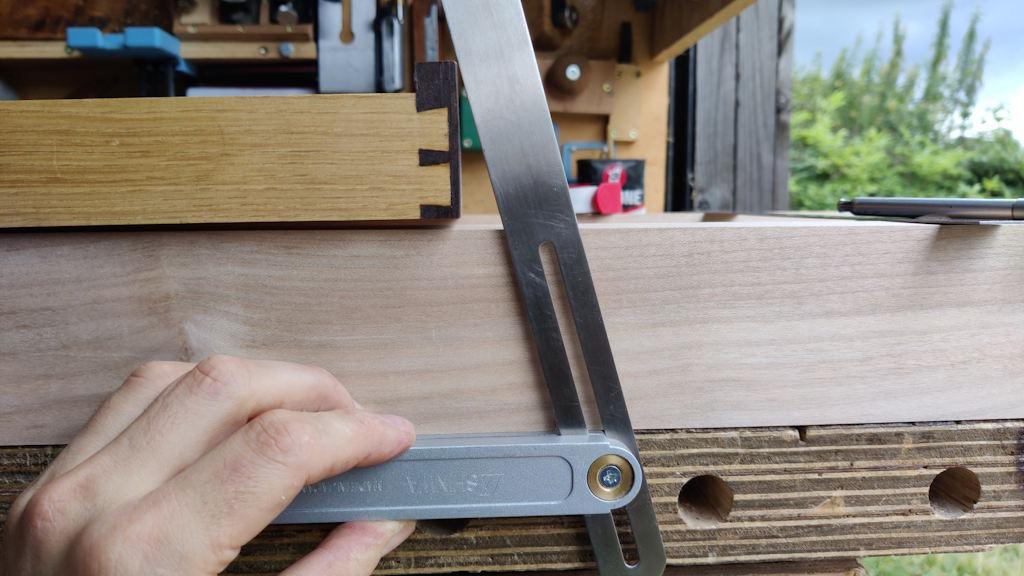
I then used the sliding bevel (reset for the 15° angle of the leg frames) to mark where the legs would sit:
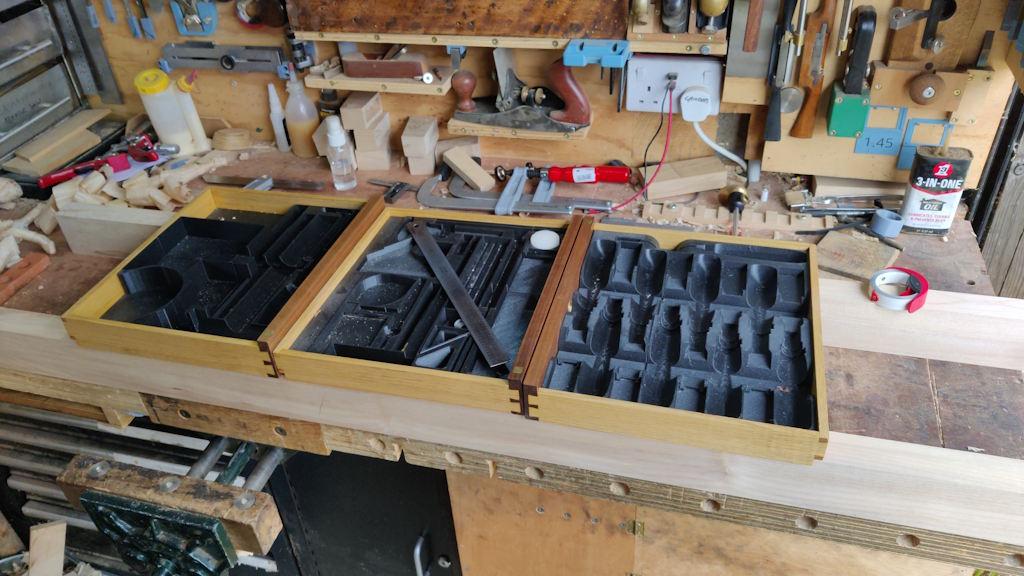
As an alternative, I turned the drawers round so that the (lower) backs were facing out and I removed the spacers:
That gave me two pencil marks at each end of the stretchers and I could see what the difference was between the absolute minimum length for the drawers to fit and a length that would be very comfortable:
The measurements (at the top of the stretcher) came out as 886 mm and 915 mm. After a quick retreat to the CAD model, I settled on 910 mm as looking reasonable, so that's what I'll use.
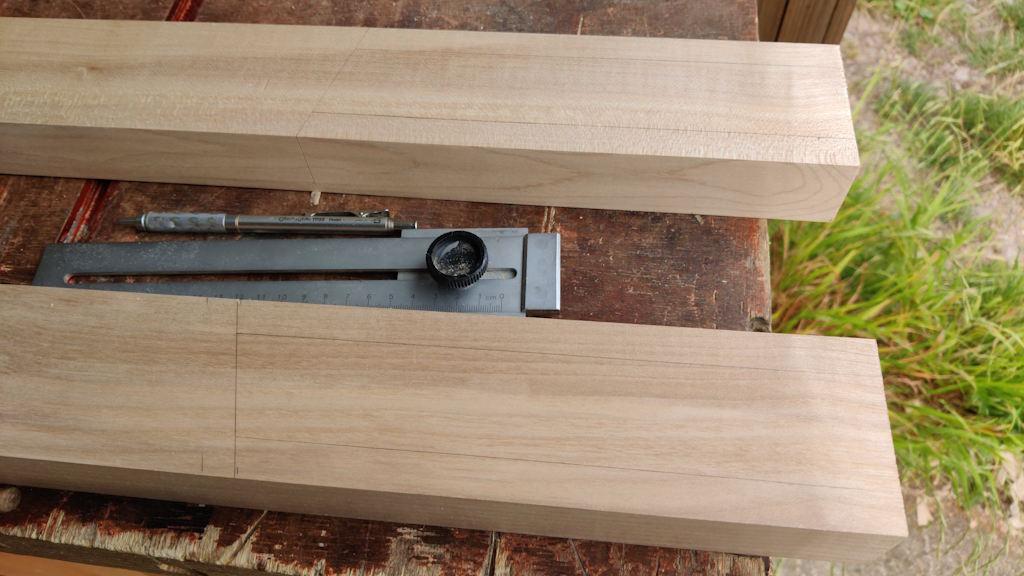
The next job was to mark out the bare-faced tenons:
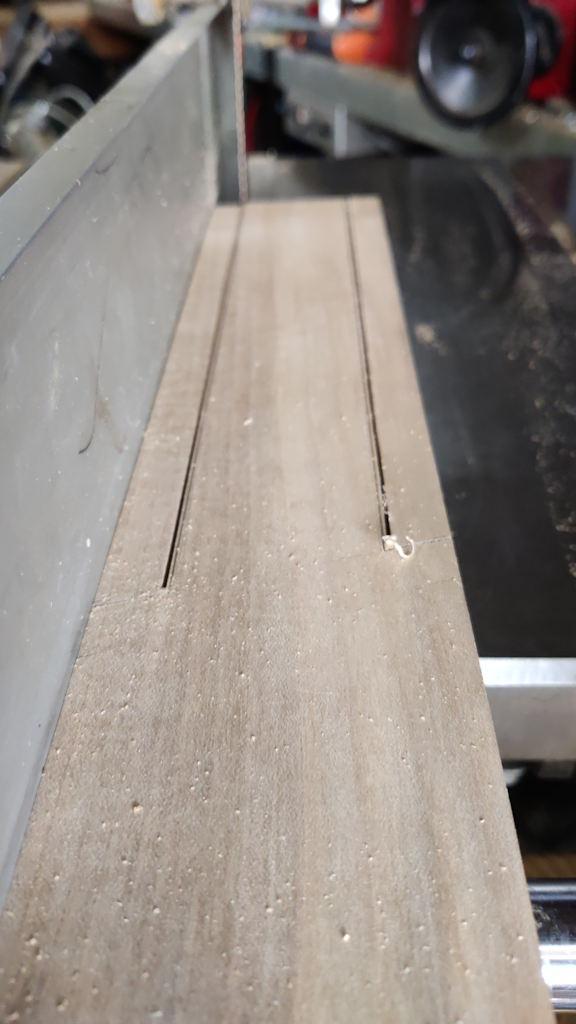
I decided (as usual) to do one from start to finish and then work on the other three together. After a bit of pondering, I opted for the bandsaw to rough out the long cuts:
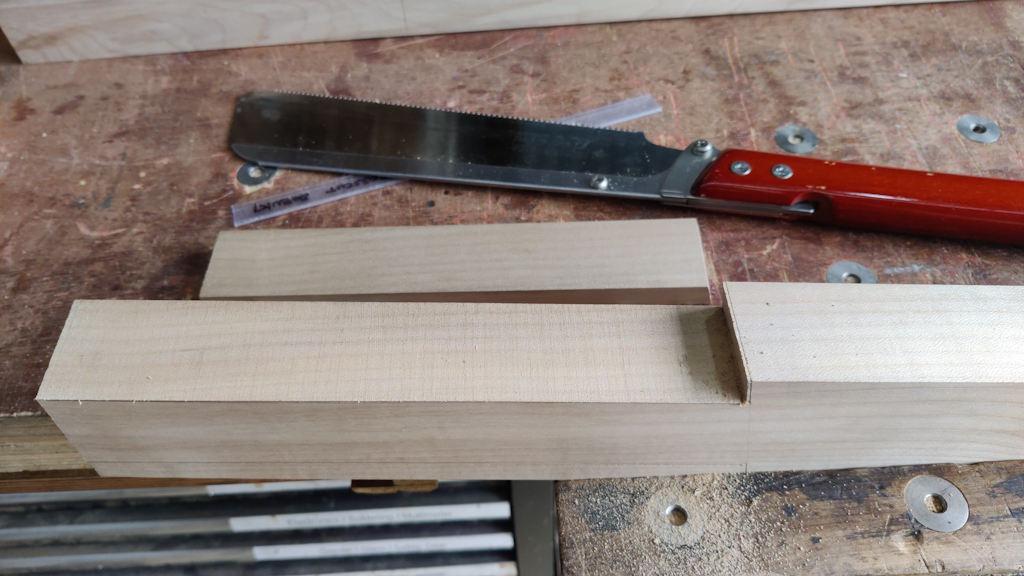
The cross-cut Dozuki made light work of its job:
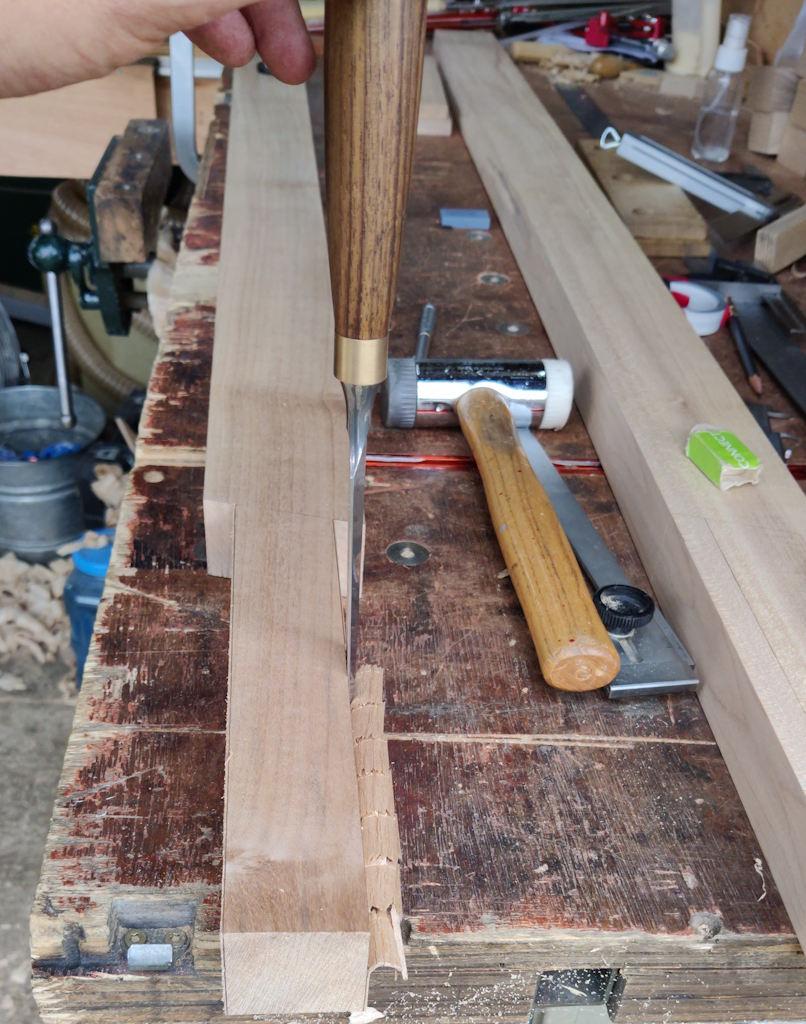
I then worked along the marking gauge line with an 18 mm chisel, coming in from the sides:
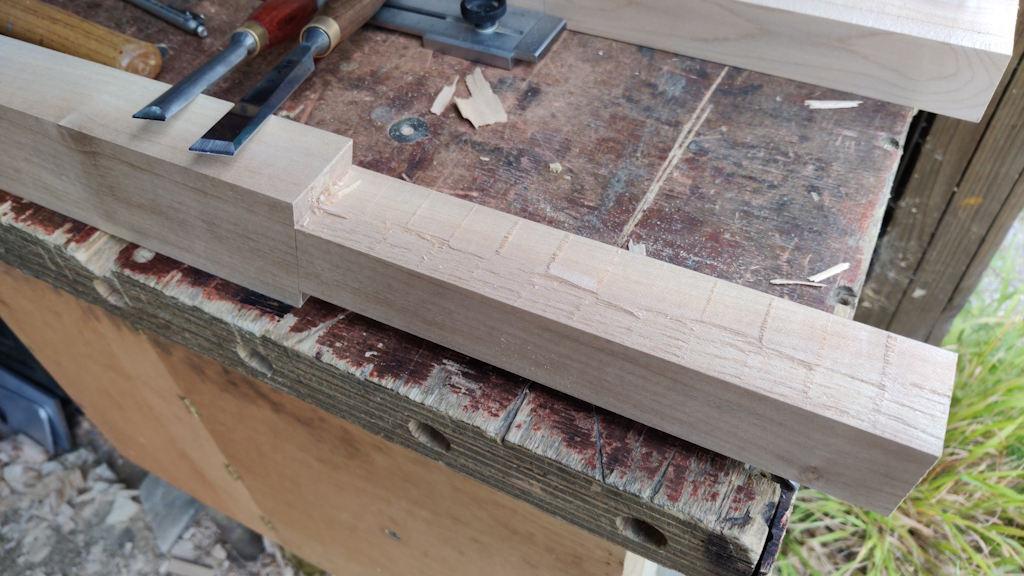
A smaller (12 mm) chisel sorted out the shoulders. The chiselling left a somewhat rough finish:
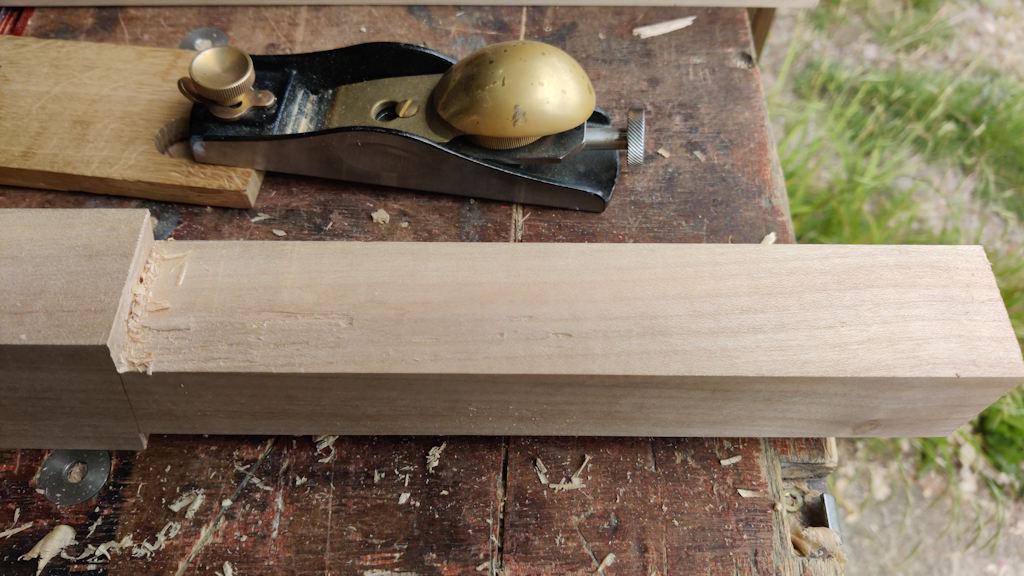
On the side where the grain resulted in a planing direction towards the shoulder, I did as much as I could with a block plane:
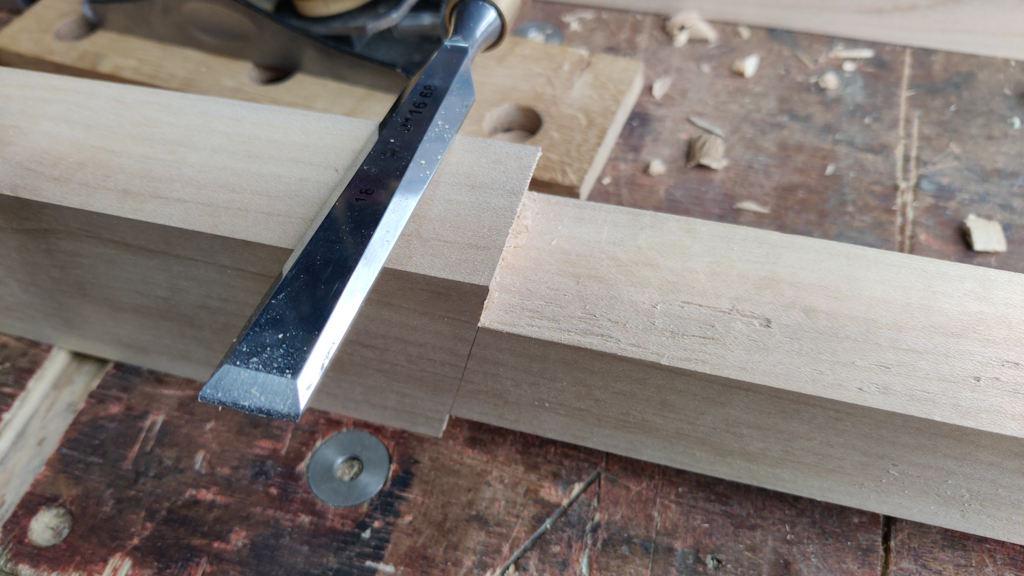
Then tidied up the end a bit with a chisel:
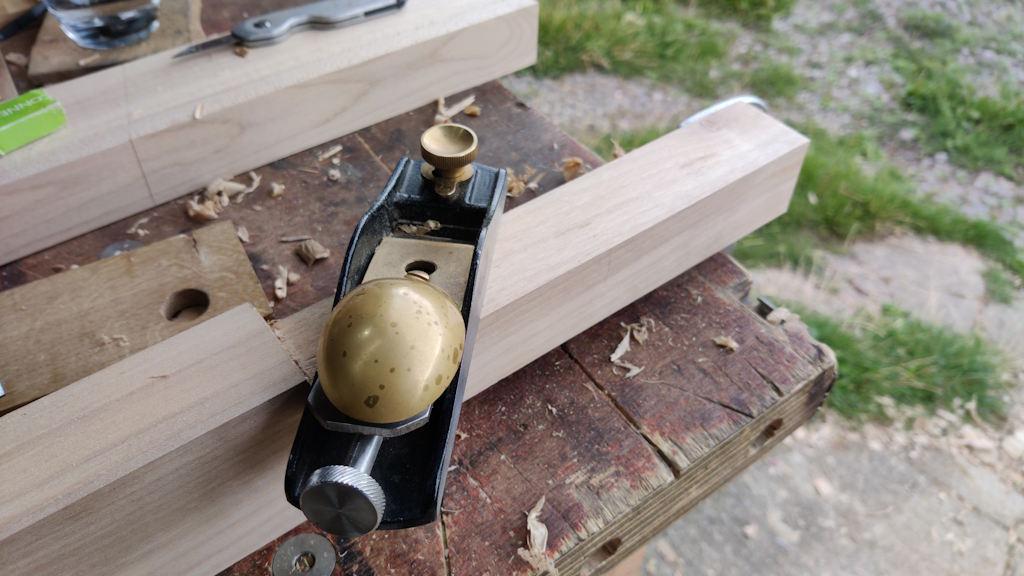
For the other side, I had to use the block plane at a jaunty angle:
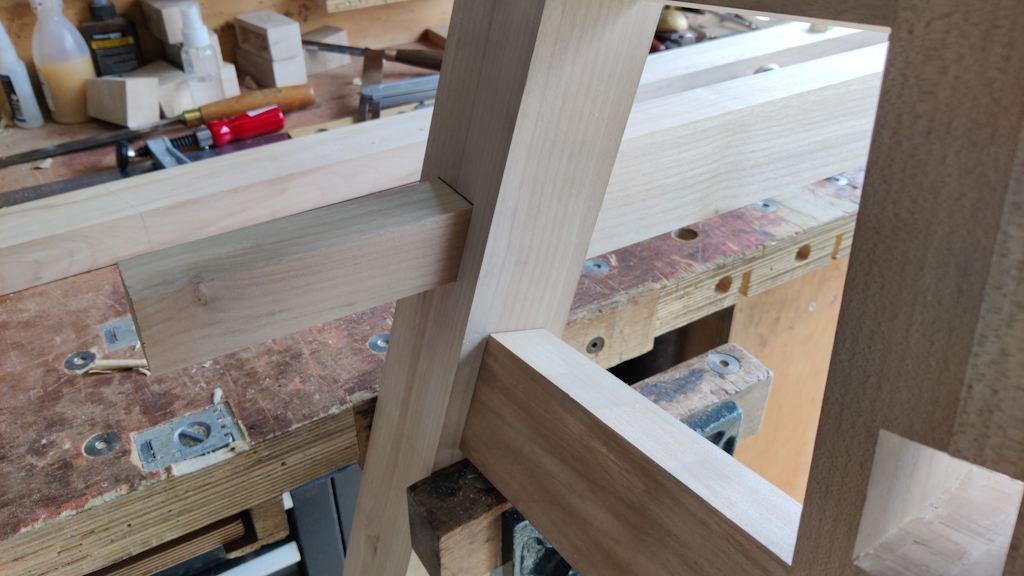
At this point, the tenon was the right height, but a bit too wide to fit in the mortice, so it was time for a bit of attention with a couple of planes (#5½ and #4½) to bring the board width down to be a nice sliding fit in the mortice and I could then do a test fit:
The tenon will get shortened quite a bit in due course, but I'll do that after cutting the mortice for the wedge.
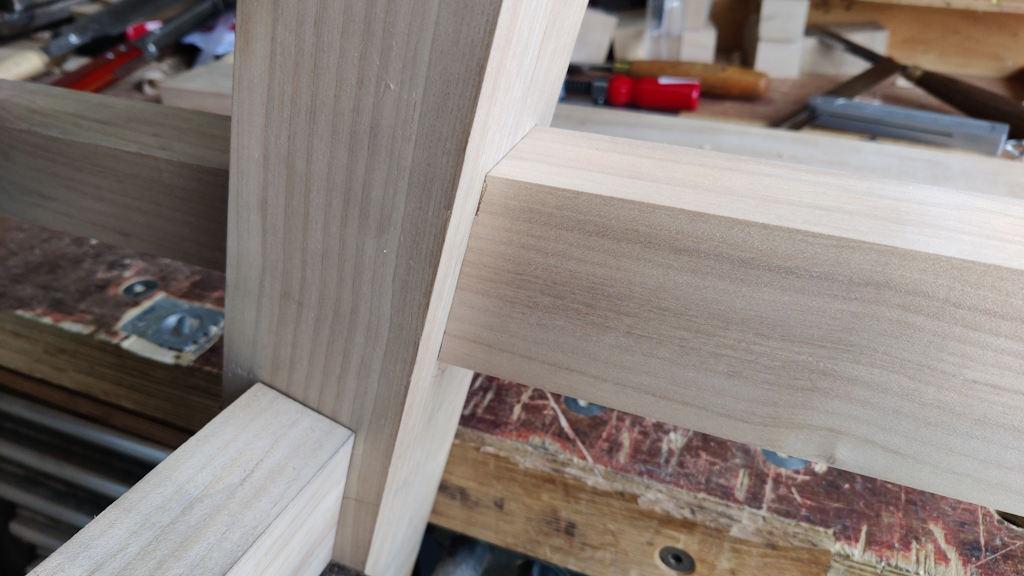
Shoulder:
Now I've got three more to do, so that should keep me occupied for the afternoon.
Page 19 of 38
This website is free and ad-free, but costs me money to run. If you'd like to support this site, please consider making a small donation or sending me a message to let me know what you liked or found useful.

 Return to main project page
