Mini Moravian Bench Build Process
Page 5 of 38
Posted 5th July 2025
Today I have been mostly planing...
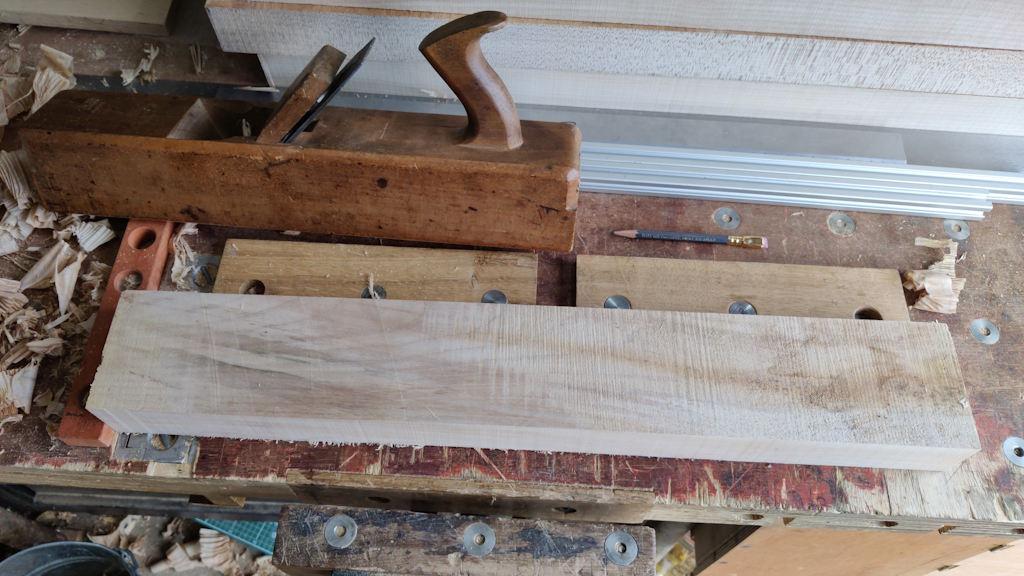
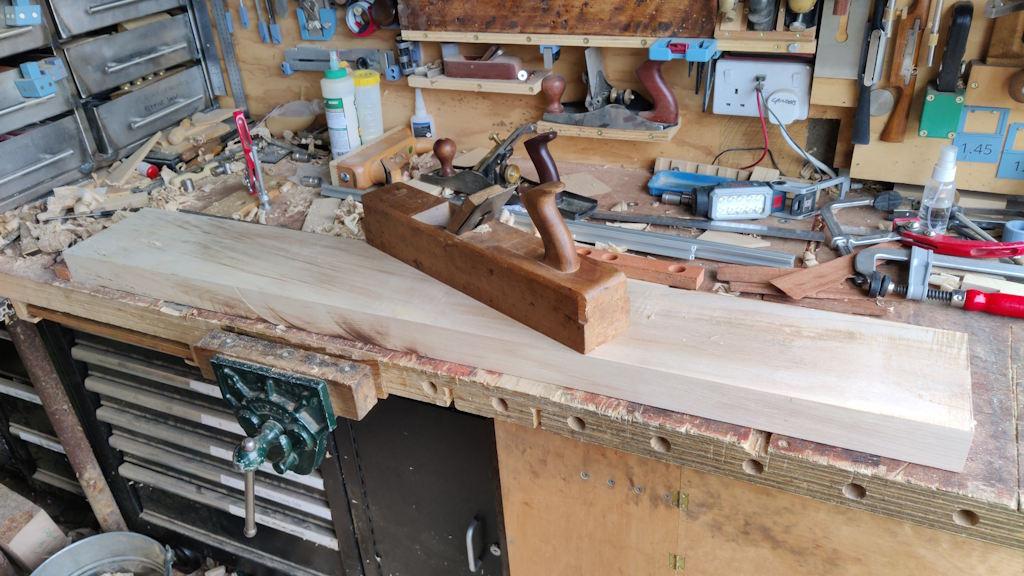
What I was aiming for with the planing today was to get one face flat enough that it could serve as a reference for the opposite face when the board goes through the thicknesser. When I've got a lot of material to remove, I generally prefer to use wooden planes as they're so much lighter than their cast iron counterparts. This is the one I use most often:
I'd like a slightly shorter (but preferably still handled) wooden plane; I think that's something to add to the project list as it would be nice to make my own.
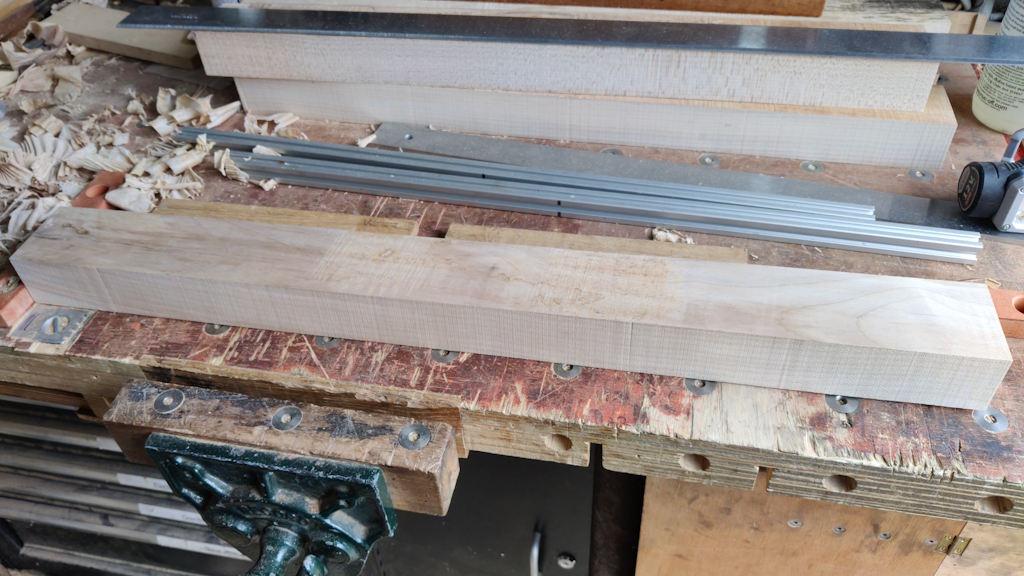
This photo shows a finished leg board:
Most of them ended up quite a bit smoother than that one, but I wanted to give an idea of what I mean by "flat enough". The two areas that are still rough are small enough that I don't think the (50 mm thick) board will distort as it goes through the thicknesser. As such, it should allow me to get the opposite face flat and then this one can be dealt with afterwards.
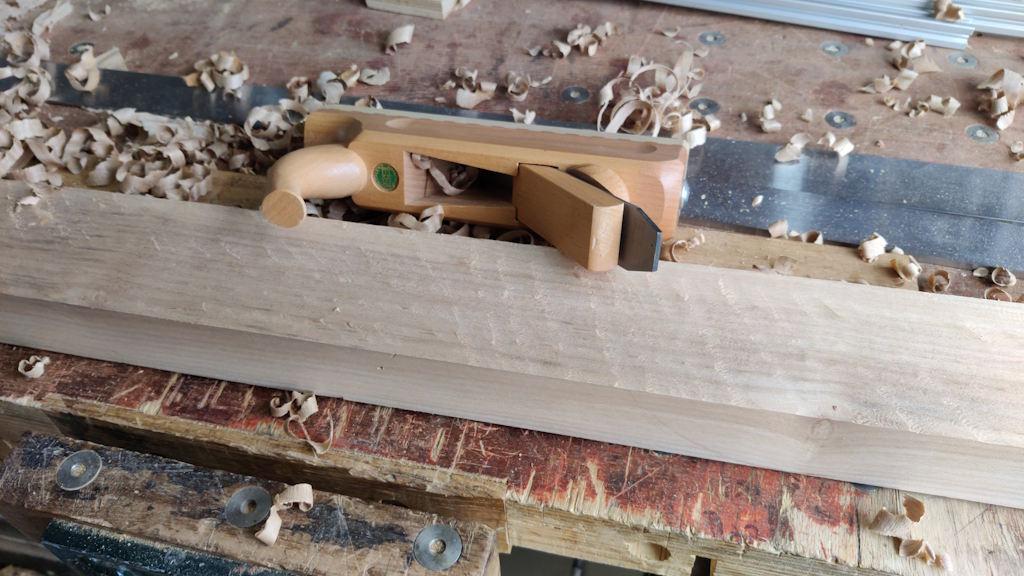
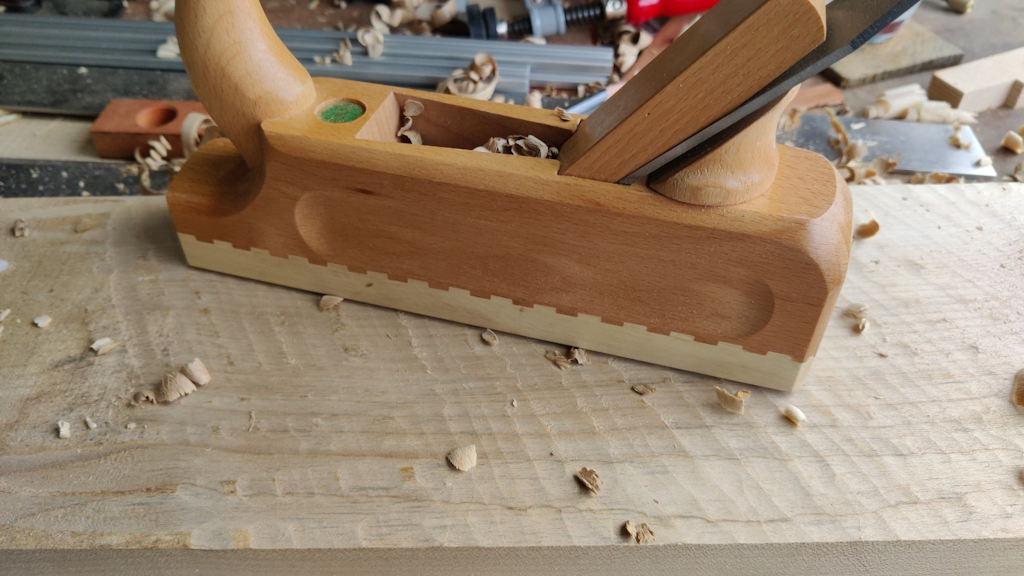
Getting all the short cross pieces and the leg halves done was quite straightforward as they didn't have much bow. The stretchers needed rather a lot more work. The first one wasn't bowed as much as the one I shared a photo of in the last post, but it still needed quite a bit of work. That called for the scrub plane:
When planing the first stretcher, I put a piece of leather (which seemed about the right thickness) under the middle of the board to stop it pushing down as the plane passed over the top. As you'll see in later photos, the other stretcher needed rather a lot more shoved underneath.
Checking it was done was a combination of:
- An igaging 600 mm straight edge (that is nice and thick so stands on its edge, but isn't long enough for this board) - used for checking it was flat enough across the width.
- A Maun Industries 1 metre straight edge (that is thinner and likes to fall over, but is longer than the igaging one) - used for checking across the length (in stages as the board is quite a bit longer than the straight edge).
- My 2020 extrusion winding sticks.
- The simple expedient of flipping the board over and making sure it sits flat on the bench! That one relies on the bench being flat, but I tend to just check it in a couple of different areas of the bench to be safe.
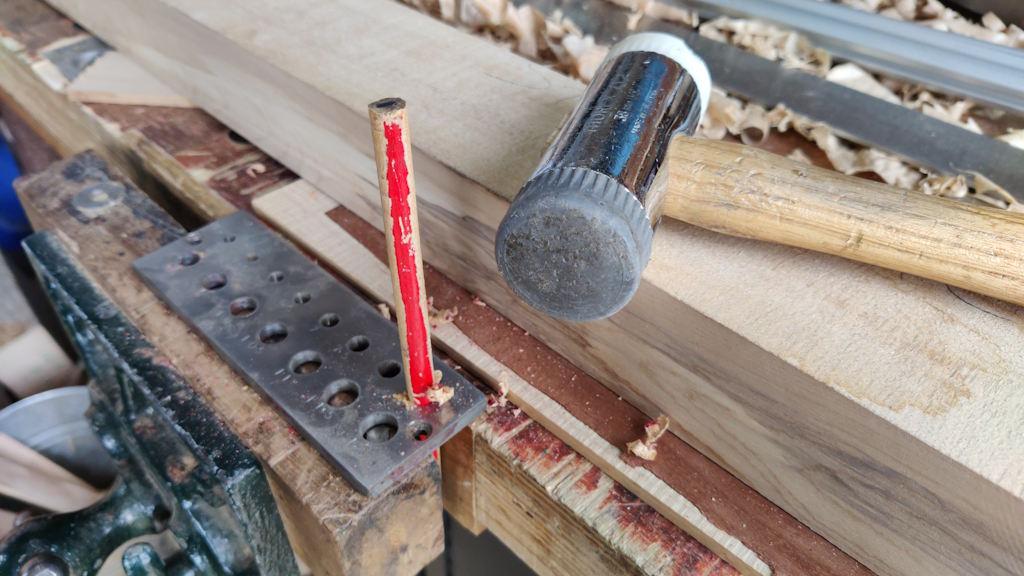
For the second stretcher, there was a lot of material to remove and I thought it would be useful to have a gauge line to work to. After a quick rummage around for a good option, I picked a surface gauge that I inherited from Carolyn's father. However, the hole in the mounting clamp was too big for any of the pencils I have, so I picked a cheap and relatively small carpenter's pencil (not an ideal choice, but it's what I had) and whacked it through a home-made dowel plate, gradually working down in size:
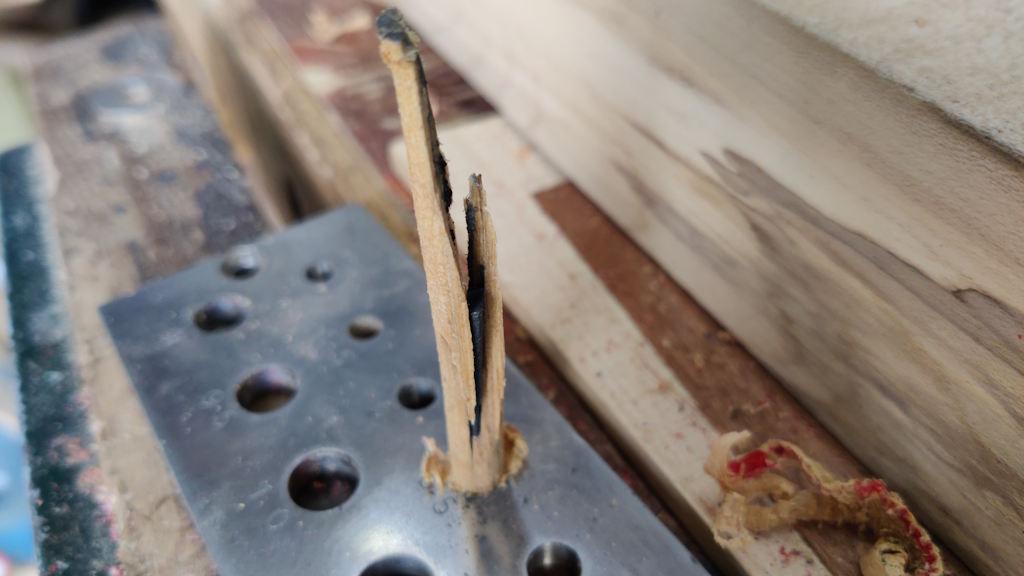
On the penultimate hole (6.5 mm), the pencil snapped...
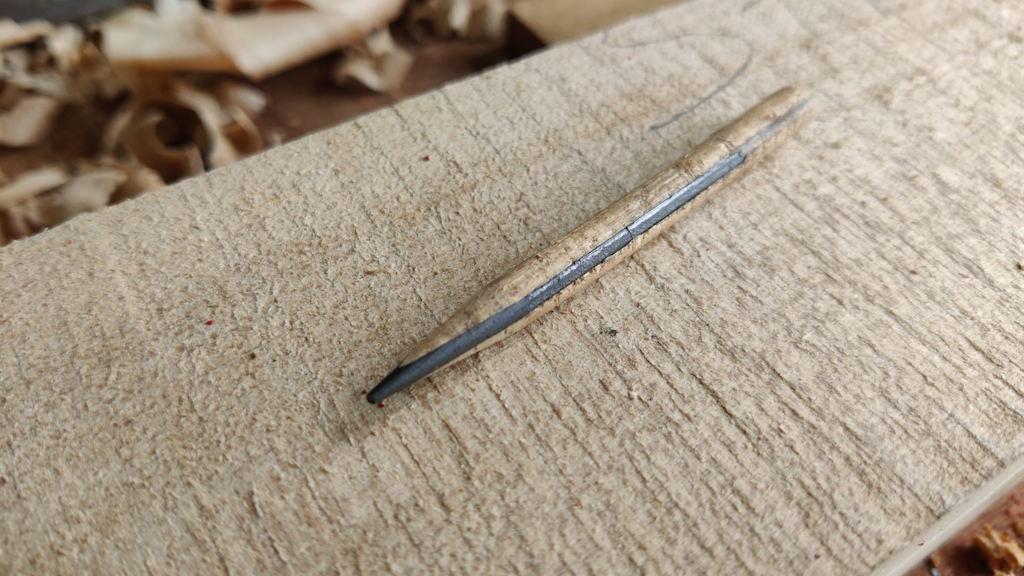
...but there was enough that had already gone through the dowel plate that I could just saw off the broken bit. The carpenter's pencil really wasn't a good option as the lead is rectangular, so it ended up poking out the side of the reduced-size pencil:
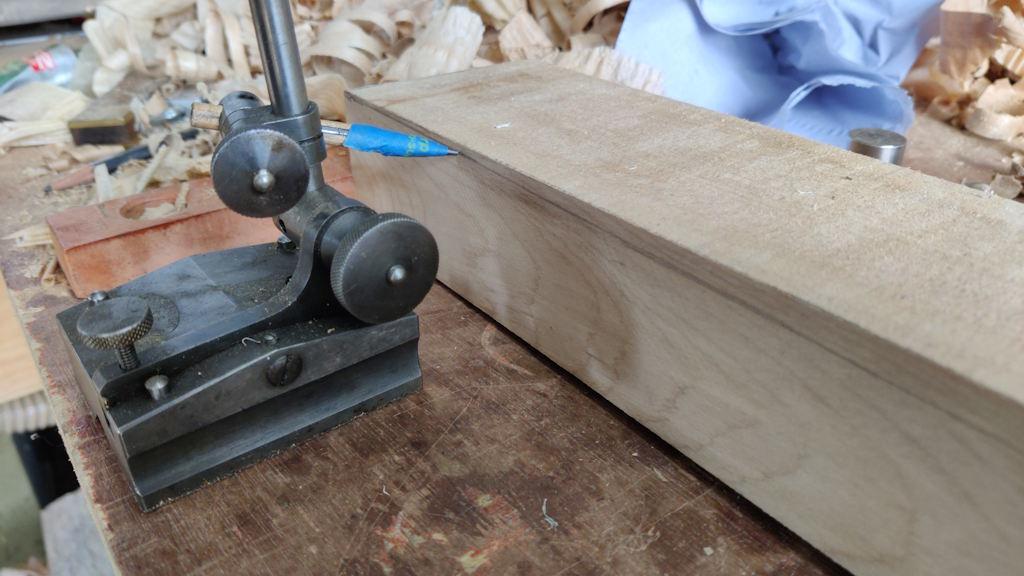
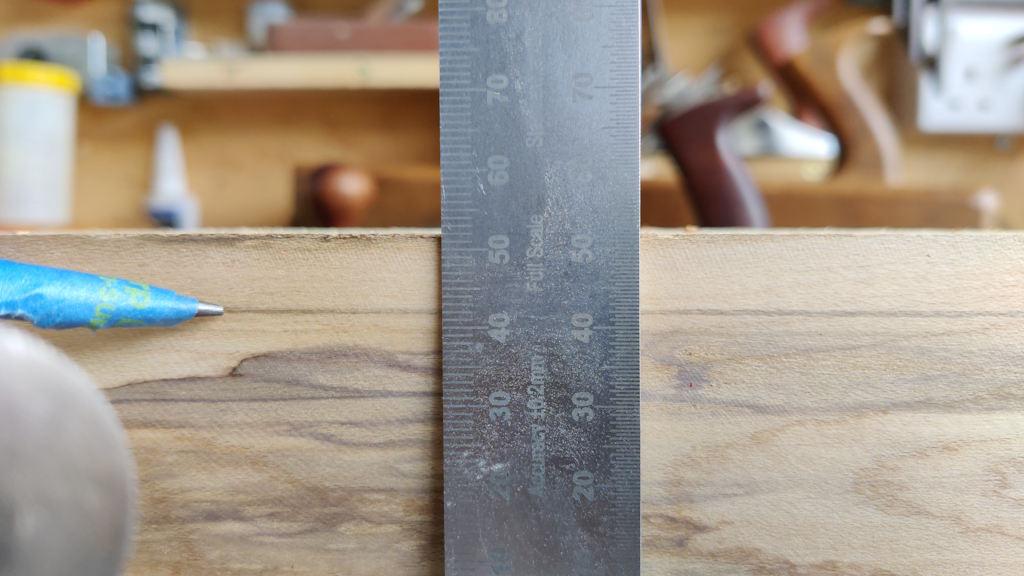
Nevertheless, it did the job and I could mount it in the surface gauge (with some tape to stop the lead coming out the side) and mark along the length of the board:
That's rather a lot of material to remove (although I was being dense yesterday when I said it would take it down to 36 mm - it'll only reduce by the distance from the edge to the pencil line, not twice that):
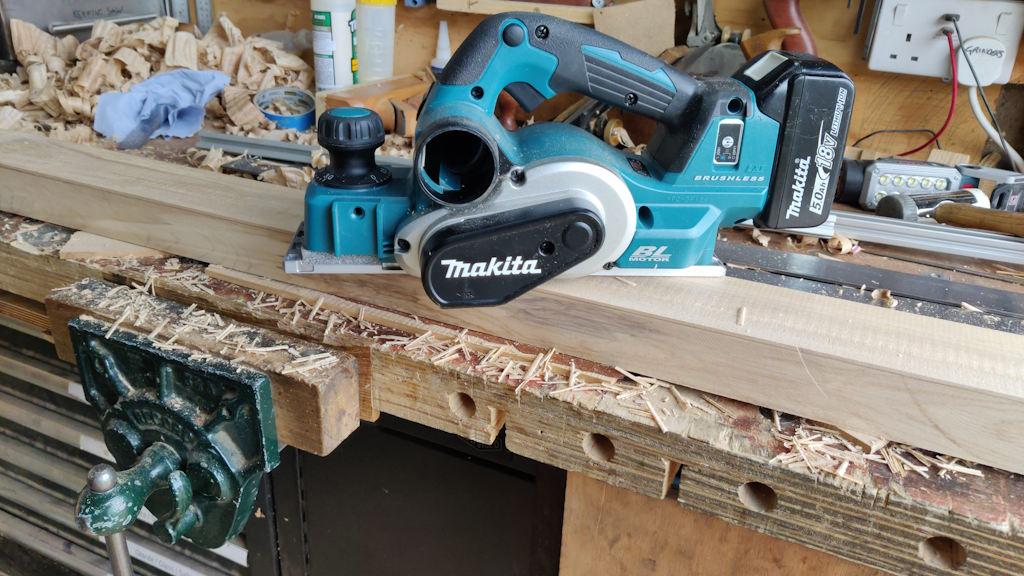
I was already feeling a little hot and bothered by all the timber I'd dealt with up to this point so for this (second) stretcher, I decided to cheat. I considered putting the board up on its edge and feeding it through the bandsaw, following the line as best I could, but it felt a bit awkward and unwieldy for that so I dug out a tool I associate far more with rough-and-ready DIY than I do with fine (ish) woodworking - an electric planer:
In that photo you can see all the bits of wood that are piled up underneath the plank to support it and stop it bowing.
That made pretty light work of bringing the board down to a little above the line, leaving a millimetre or so to be dealt with the hand planes and winding sticks again:
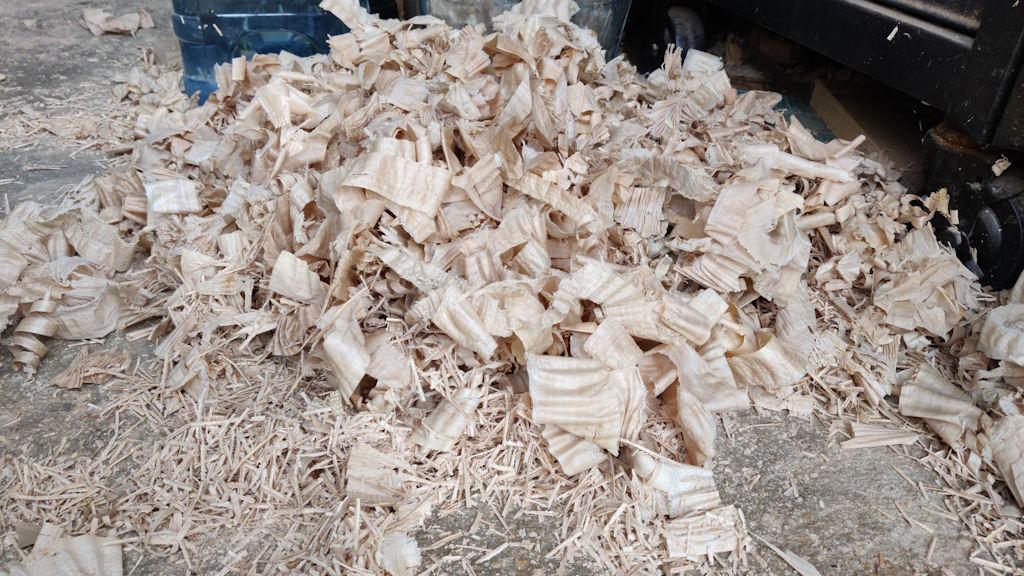
All of that left a mixture of different shavings on the floor, with the pretty hand plane shavings, the little scrub plane curls and the long and thin planer curls.
The last pieces to deal with were the top planks. These had a little bit of a bow to them but nowhere near as much as either of the stretchers so I decided to stick with the hand planes for them, starting with the scrub plane:
This feels a good time to sing the praises of that little scrub plane. I bought it in March 2022 and it has been used fairly regularly since. Whenever I've got a reasonable amount of stock to remove, but not enough to be worth bandsawing, the scrub plane is my tool of choice. Before I bought the bandsaw, the scrub plane was the only option short of a lot of hand saw effort.
Being wooden bodied, it's nice and light, which is ideal if you've got to do a lot of passes to take enough wood off. The thing that amazes me about this plane is that, having bought it in March 2022 and used it fairly often since, I've yet to sharpen the blade (it still has the factory edge). I'm sure that won't be true forever (and it certainly doesn't produce a nice finish!) but for now it just seems to keep on going.
Anyway, after the scrub plane had done its thing, it was back to the wooden jack plane to get the plank flat enough that it wouldn't rock when face-down on the bench:
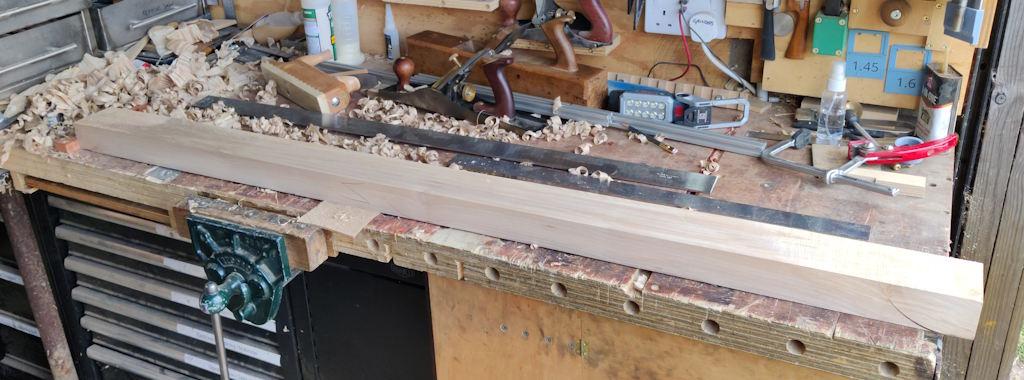
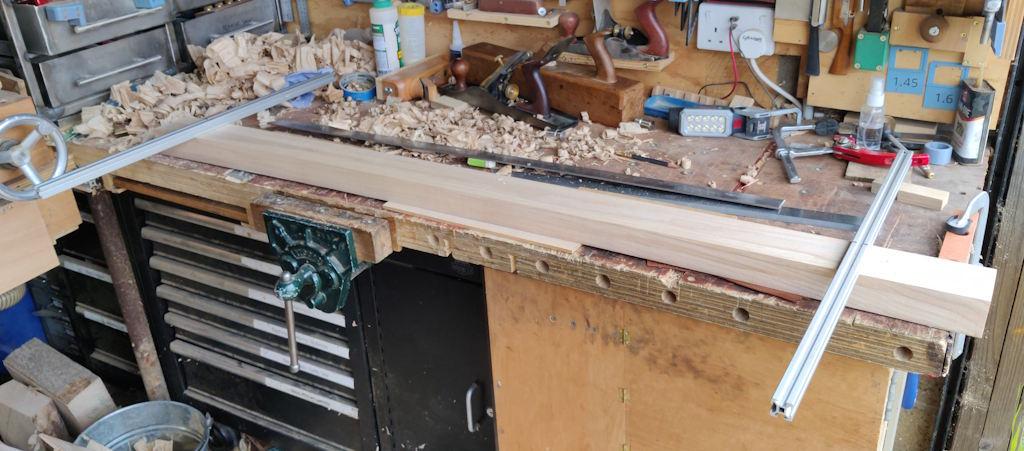
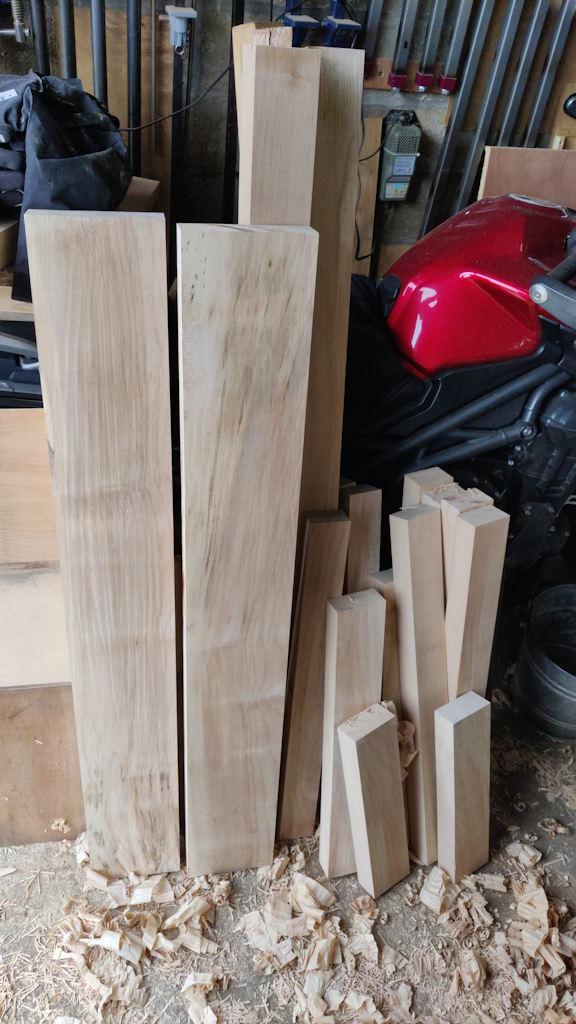
With that (and the other one, obviously), all the planks have had one face roughly prepared and they're ready for feeding through the thicknesser:
I needed a break after all that effort, so it seemed a good time to come in and write this post!
Page 5 of 38
This website is free and ad-free, but costs me money to run. If you'd like to support this site, please consider making a small donation or sending me a message to let me know what you liked or found useful.

 Return to main project page