Portable Workbench Build Process
Page 15 of 67
Posted 13th March 2021
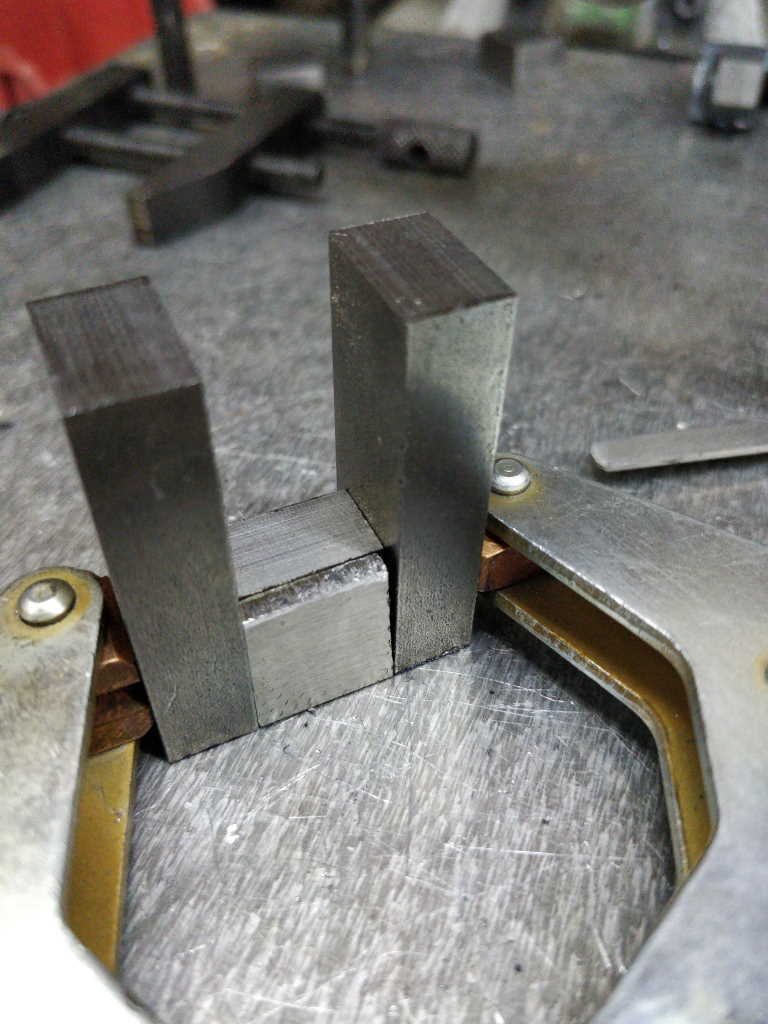
Next up was the hinge block on the nut. I wanted this to sit in the right place, so I used a few bits of metal I had lying around to help clamp everything up. I started by sandwiching the hinge block between two longer blocks, with a small piece of 3 mm aluminium to make sure the face of the hinge block is 3 mm back from the front of the clamping blocks:
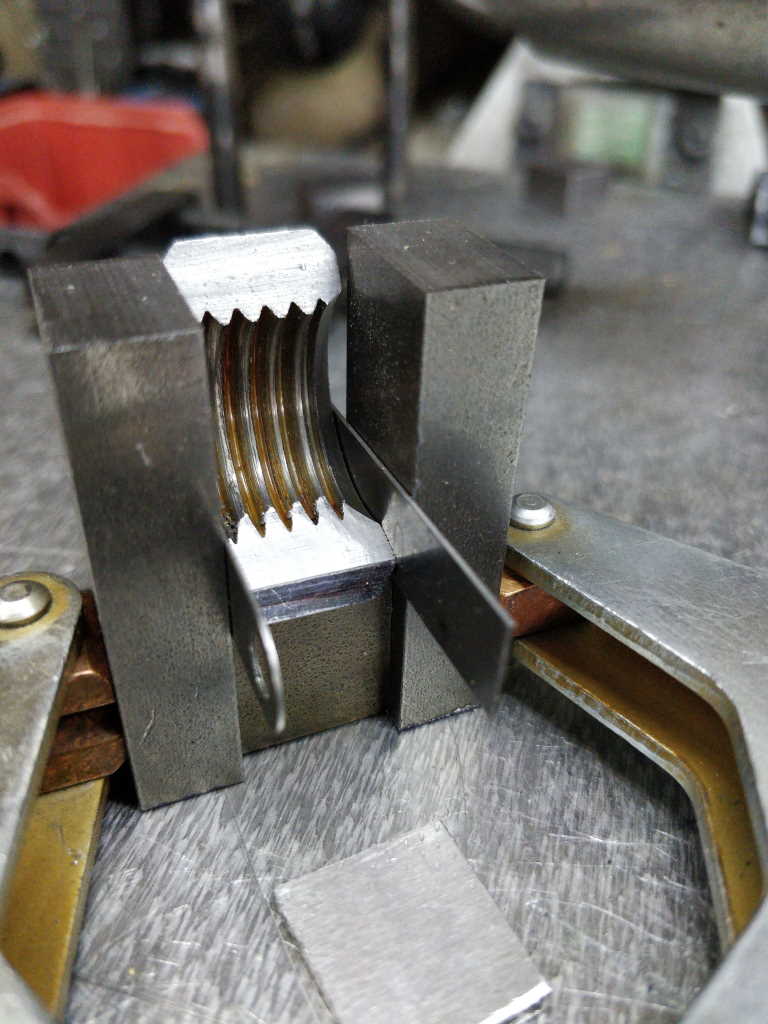
I then added the nut, flush with the front of the clamping blocks (and hence 3 mm from the face of the hinge block). The nut is slightly narrower than the hinge block, so I used a couple of feeler gauge bits to make sure it was centralised and held in place.
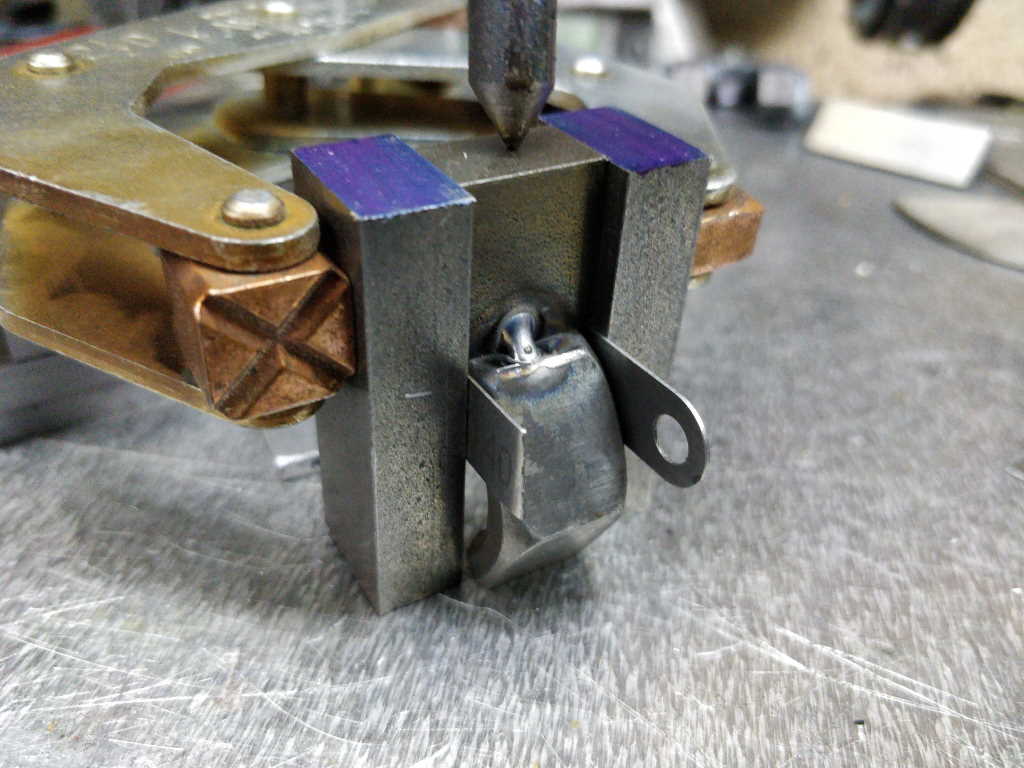
Then I could tack weld the first side:
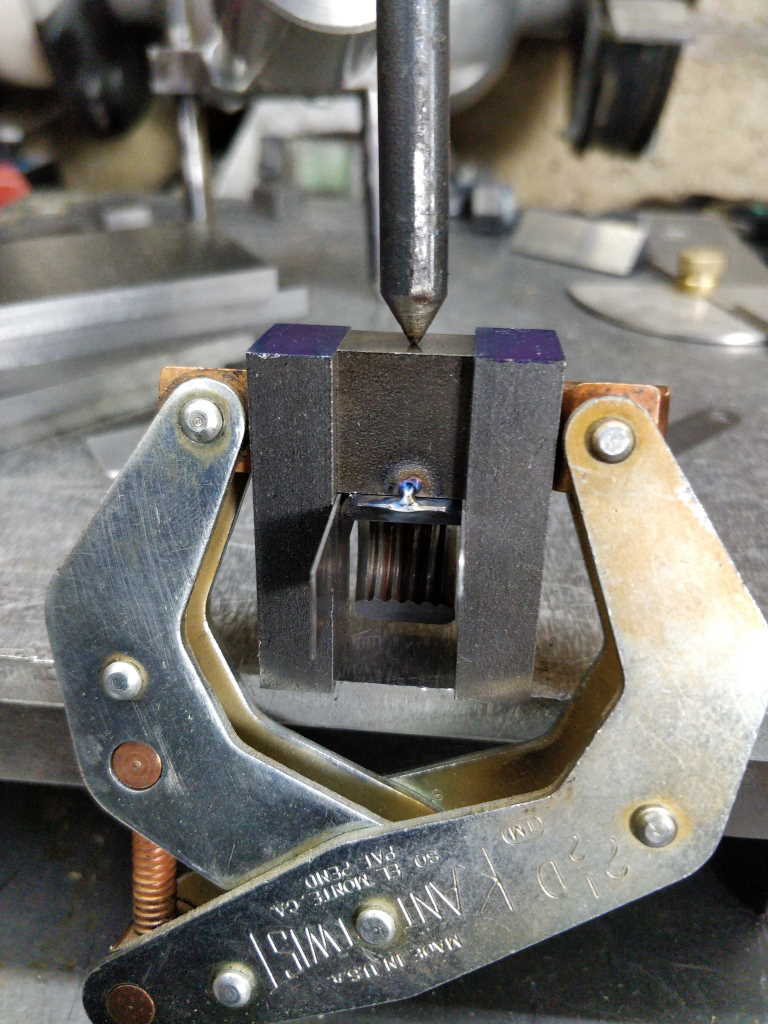
and the second:
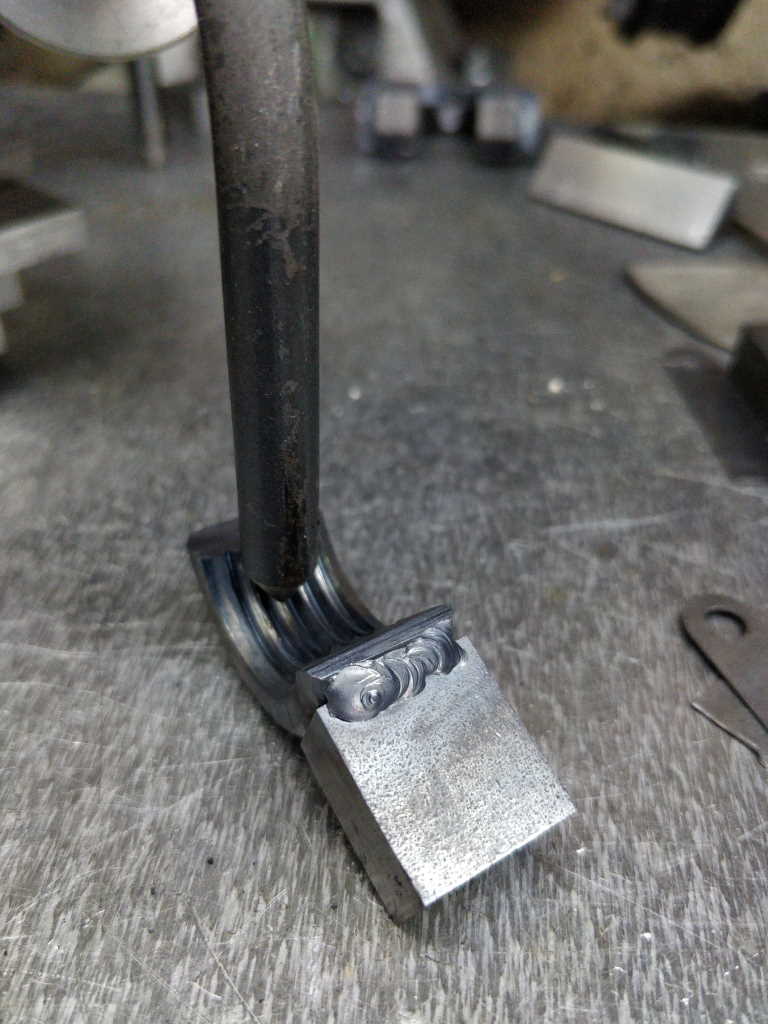
I then removed it from the jig and welded two sides (again leaving the sides that could interfere with the hinge motion):
Page 15 of 67
This website is free and ad-free, but costs me money to run. If you'd like to support this site, please consider making a small donation or sending me a message to let me know what you liked or found useful.

 Return to main project page