Portable Workbench Build Process
Page 25 of 67
Posted 19th March 2021
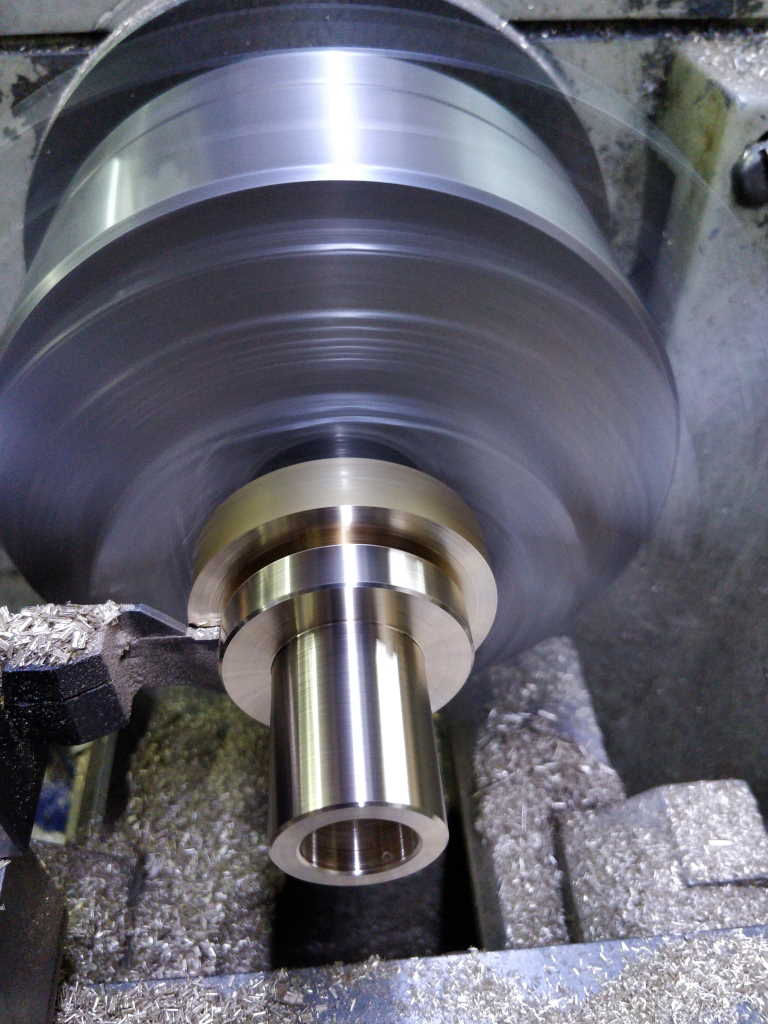
I spent this afternoon turning lots and lots of brass. I started by putting the vice rail bush in the photocopier:
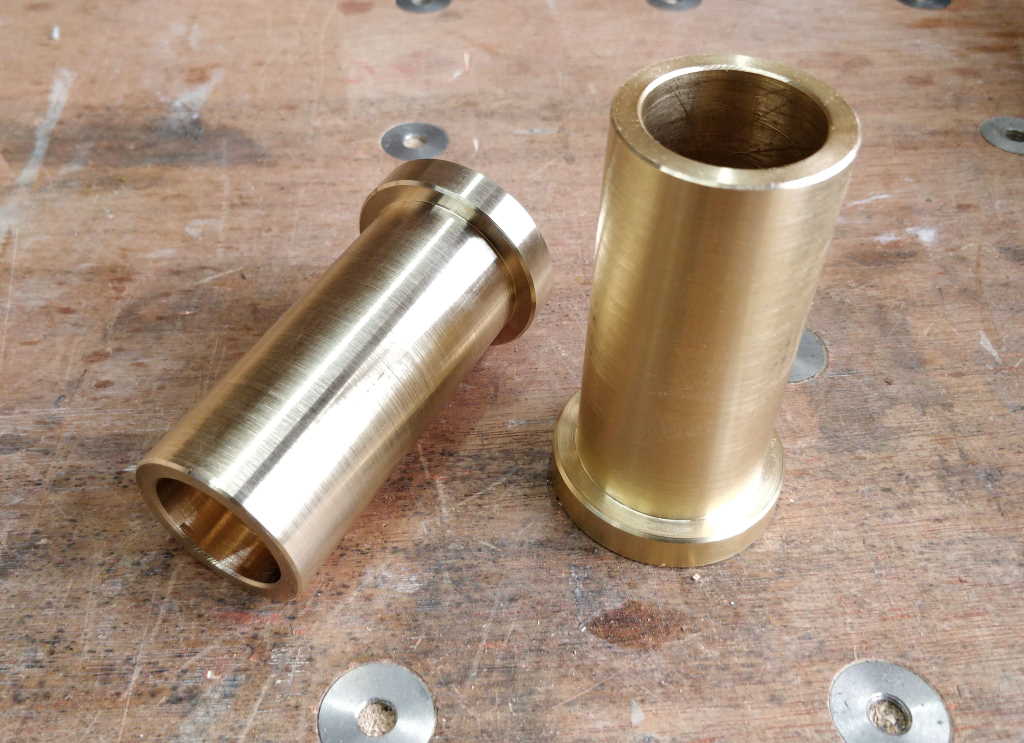
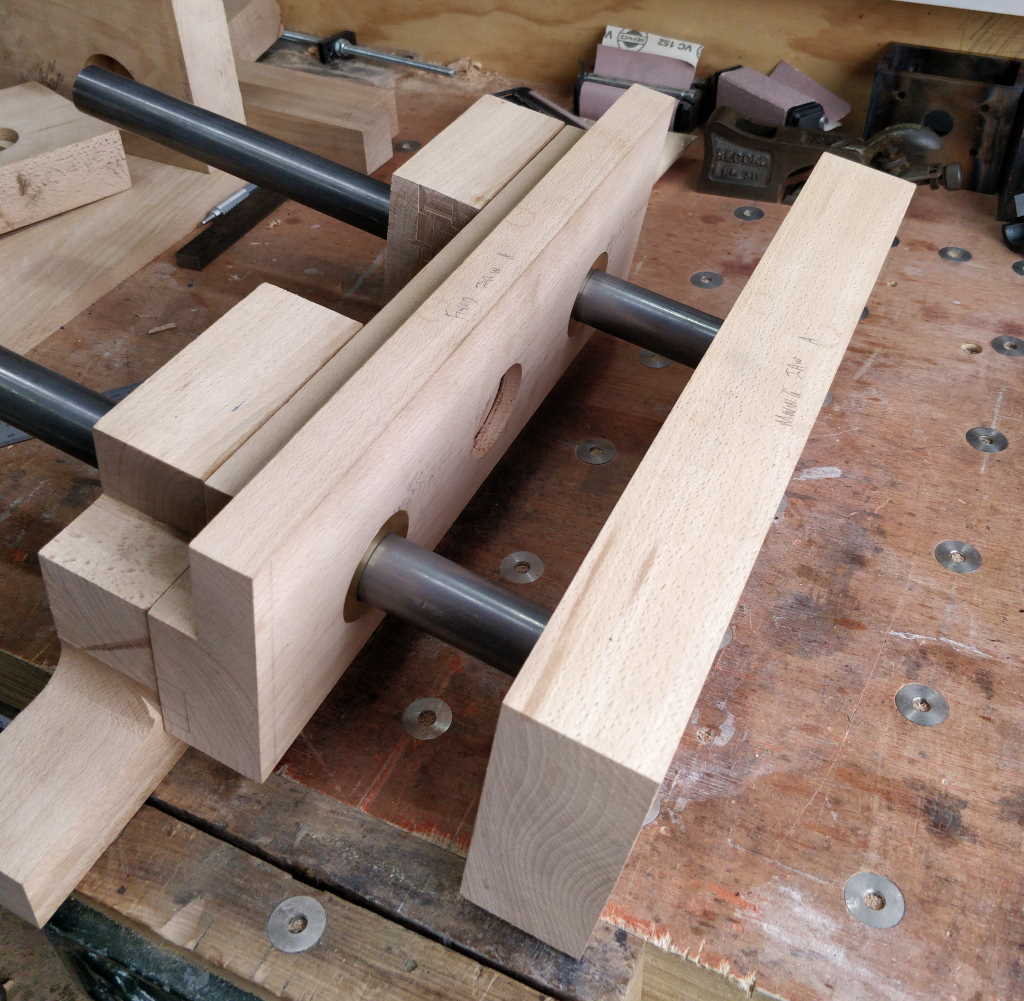
With both of them complete I could do a quick test fit of the standard vice parts to make sure it slides okay. It's difficult to tell at the moment (without the screw present), but it certainly moves, so that's a good start!
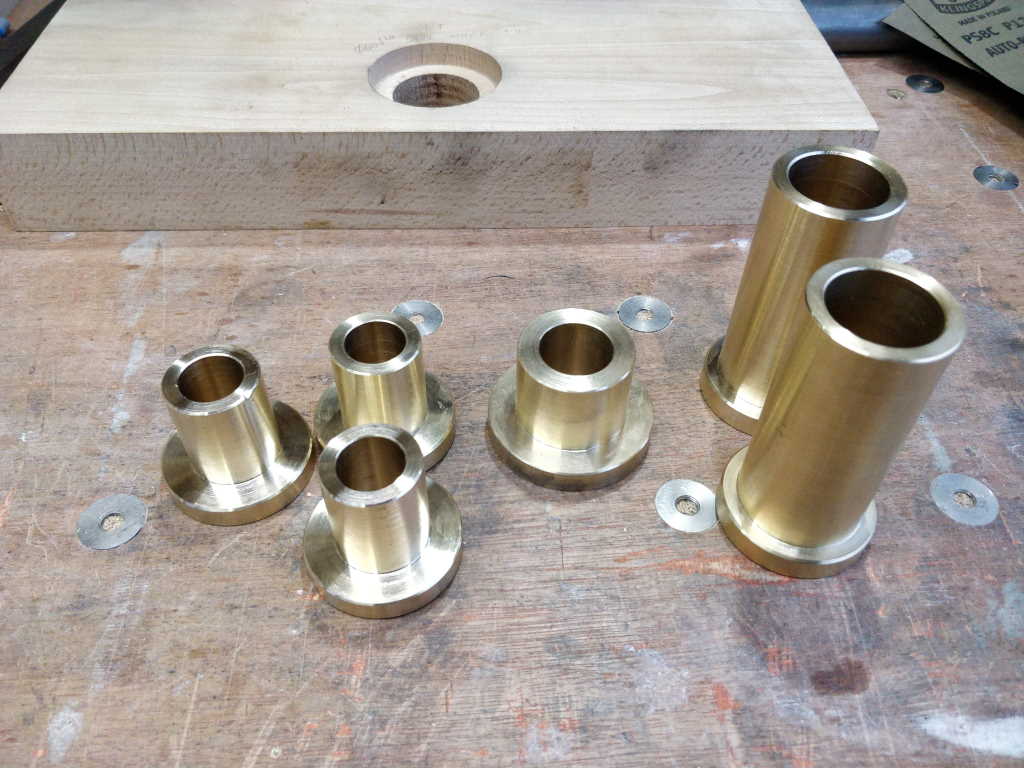
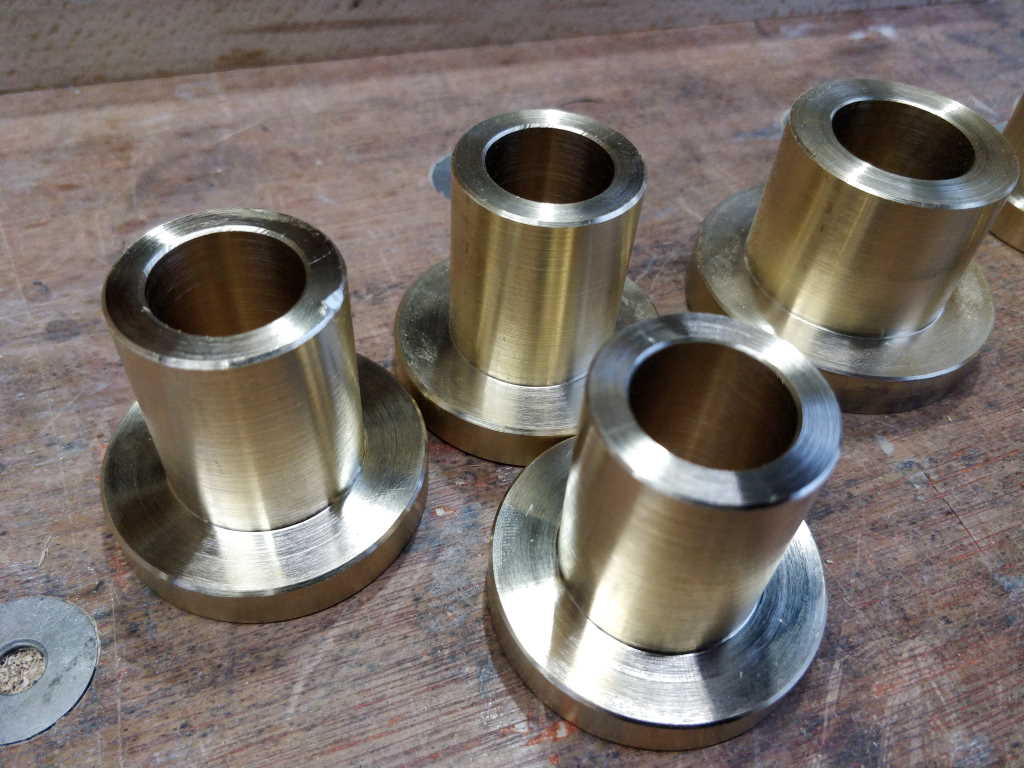
I then got going on the other (simpler) flanged bushes. These were made in a similar way to the vice rail bushes with a few minor differences:
- Accuracy was far less important, so I bored the hole out in one go (rather than letting it cool down part way through).
- The parts are much shorter, so I turned the larger diameter at the same time as the smaller diameter.
- I parted the pieces off in the lathe rather than using the bandsaw. I still flipped them round and faced the parted-off end, but doing it this way was a bit quicker and didn't involve worrying about how to hold relatively short, stepped pieces in the bandsaw:
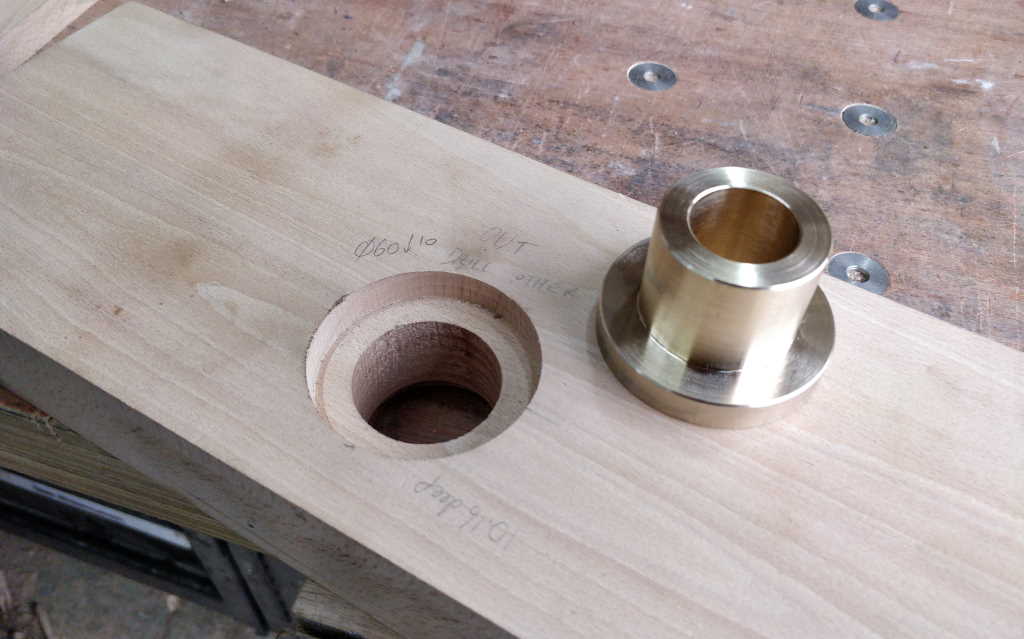
The first one I made was the bearing for the thread in the standard vice. This one will have a (similar looking) steel part running inside it to give a (hopefully) smooth action to the screw and also to make sure the jaw moves in and out with the movement of the screw:
There were then three identical flanged bushes in which the threaded rod will slide. The bore of these is 19.8 mm as the threaded rod I've got seems to be 19.7 mm diameter.
Slightly irritatingly, I dropped one of the flanges on the floor and it got a "dink" in one end. I've decided not to worry about it as this dink is in the end that's hidden between the inside face of the fixed jaw and the steel body of the vice mechanism. No-one will ever see it.
Page 25 of 67
This website is free and ad-free, but costs me money to run. If you'd like to support this site, please consider making a small donation or sending me a message to let me know what you liked or found useful.

 Return to main project page