Portable Workbench Build Process
Page 28 of 67
Posted 20th March 2021
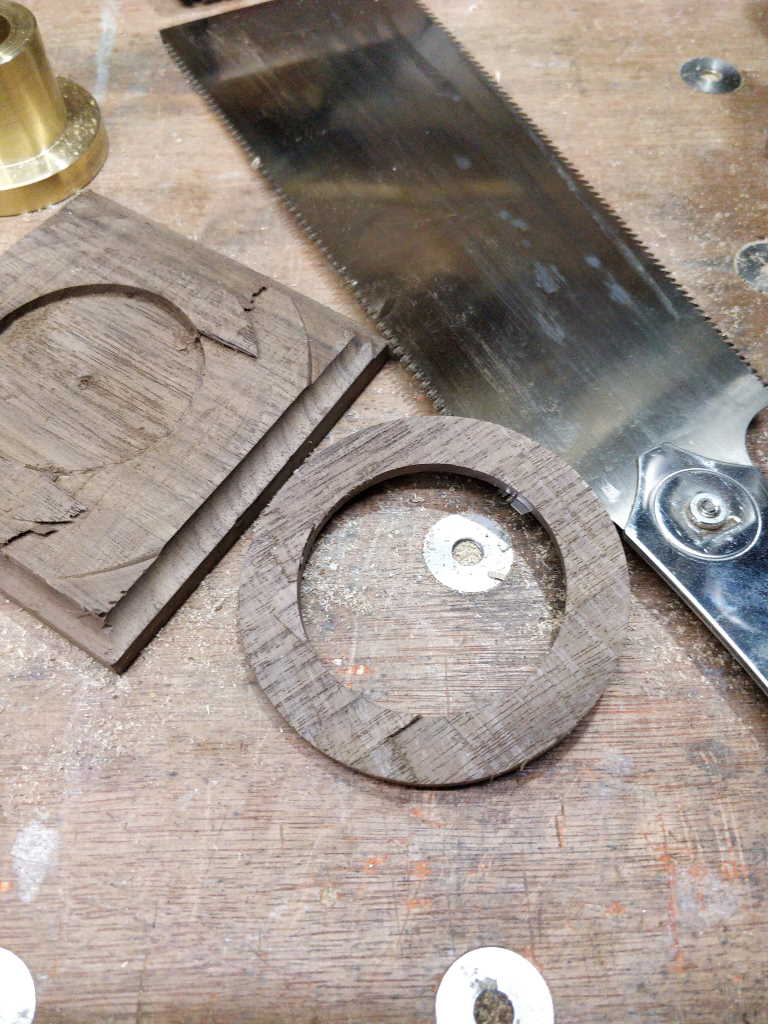
Last year for my other half's birthday, I made her some brass pattern weights and a stand for them to sit on. When I was making the stand I had a test run for the base and wasn't very happy with it, so it got tossed into the "might-be-useful-at-some-point" drawer. Today it was useful!
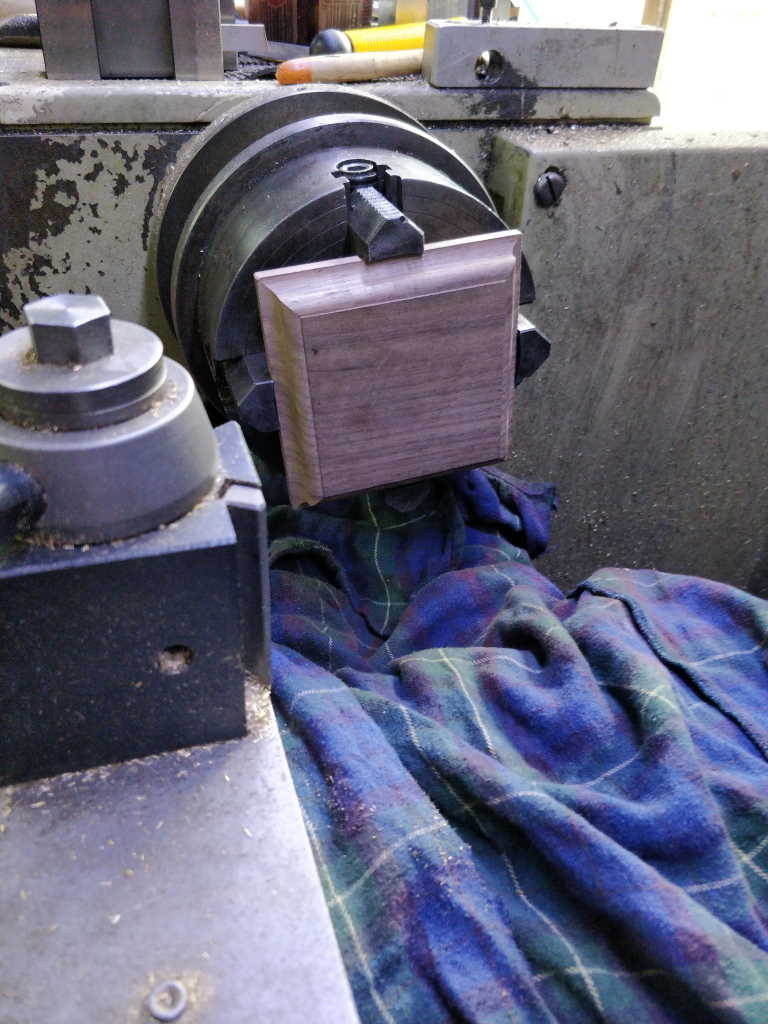
I fitted the four jaw chuck to the lathe, covered the ways with a big rag and fitted the offcut of American Black Walnut.
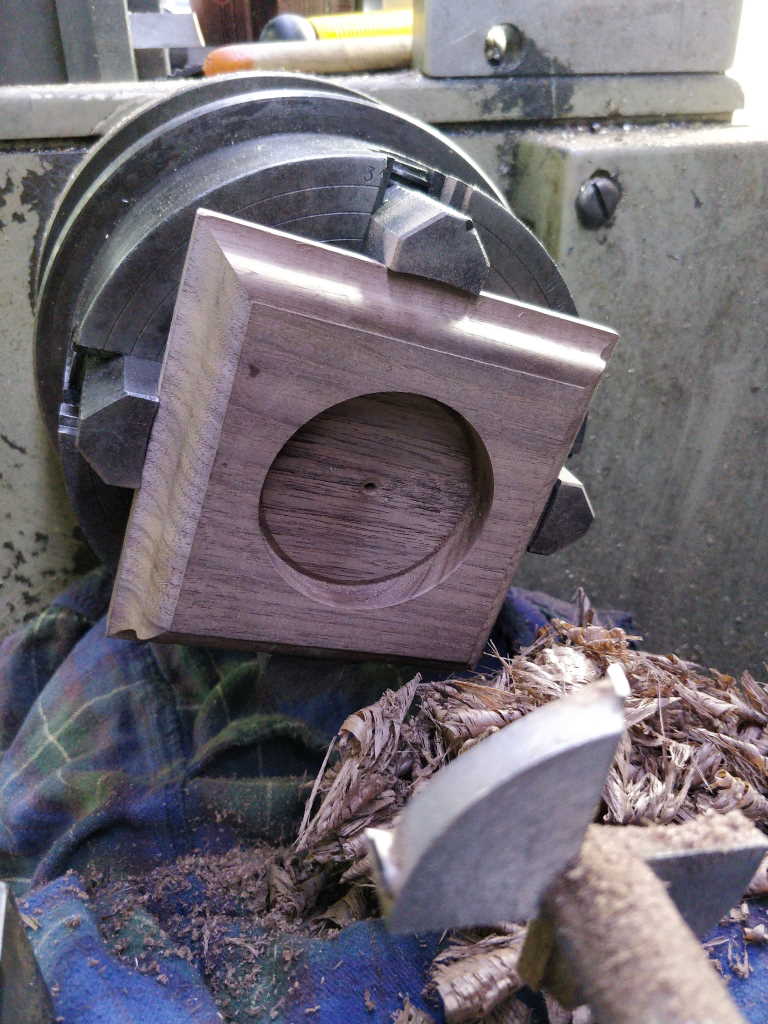
I used the same bargain-basement Forstner bit that I'd used for the original hole to make a central hole that should fit the brass bearing housing thing.
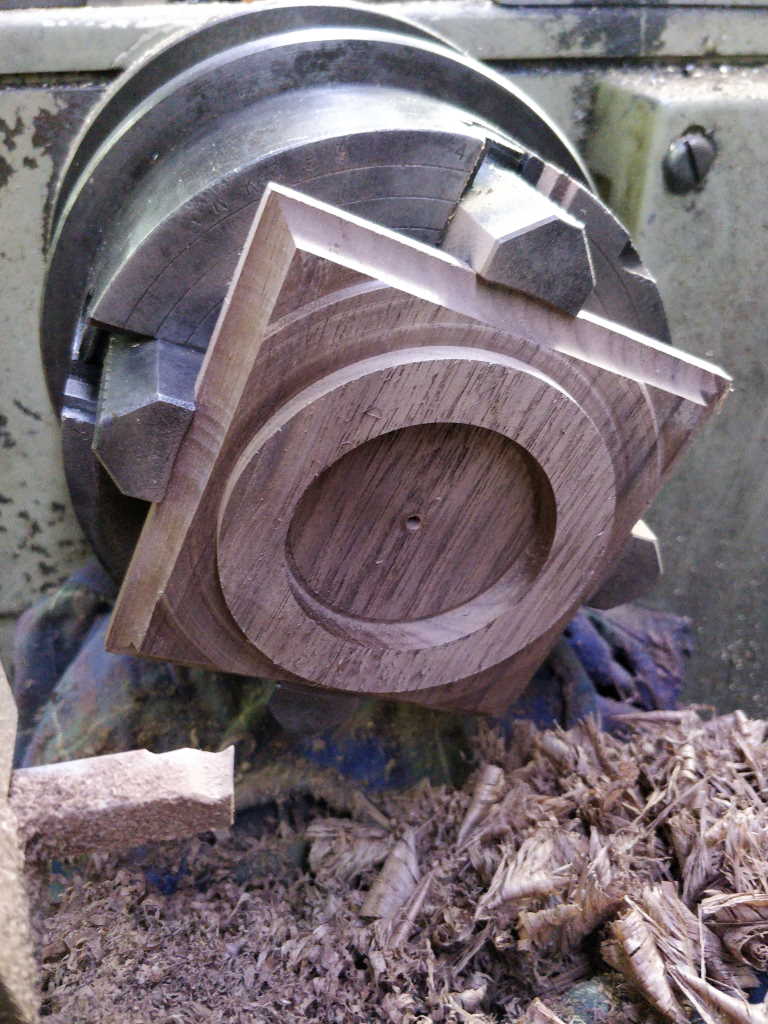
I then faced the block off and turned a portion to size. Facing left a pretty awful finish, but then I was using a tool ground for aluminium, not walnut!
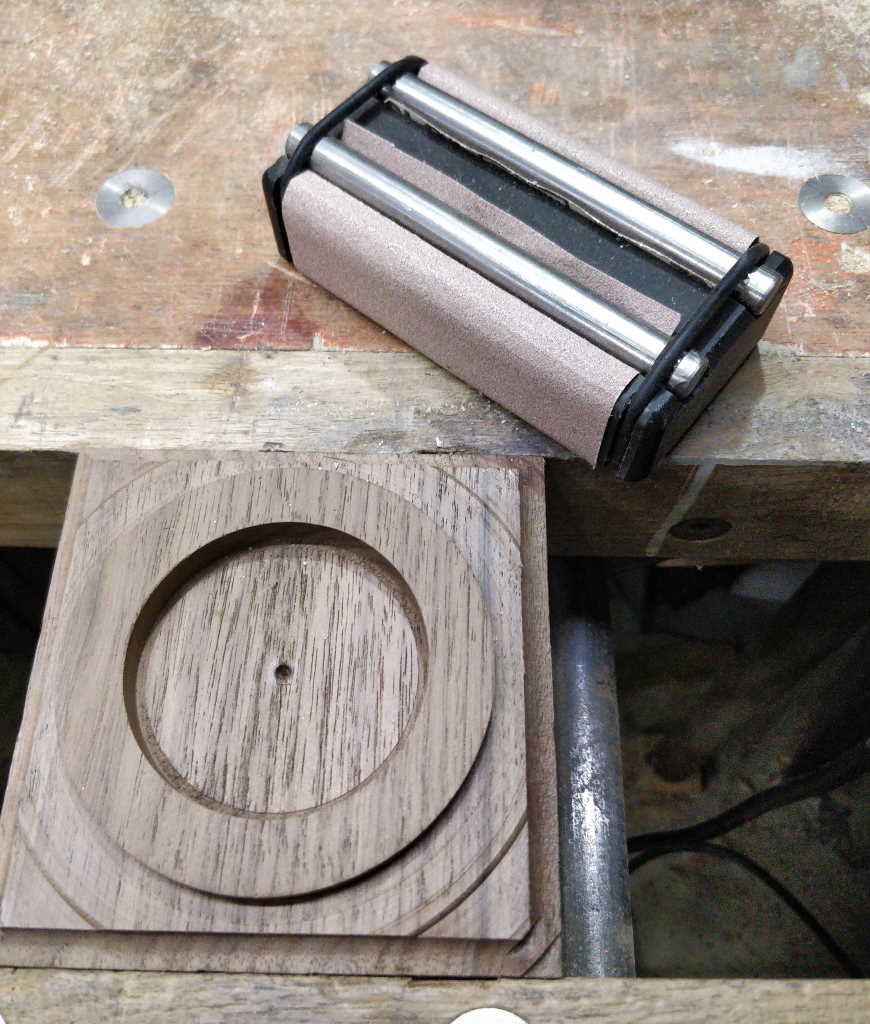
With the block removed from the lathe, I gave it a bit of a rub with some sandpaper.
I then used a saw to separate the ring from the rest of the block.
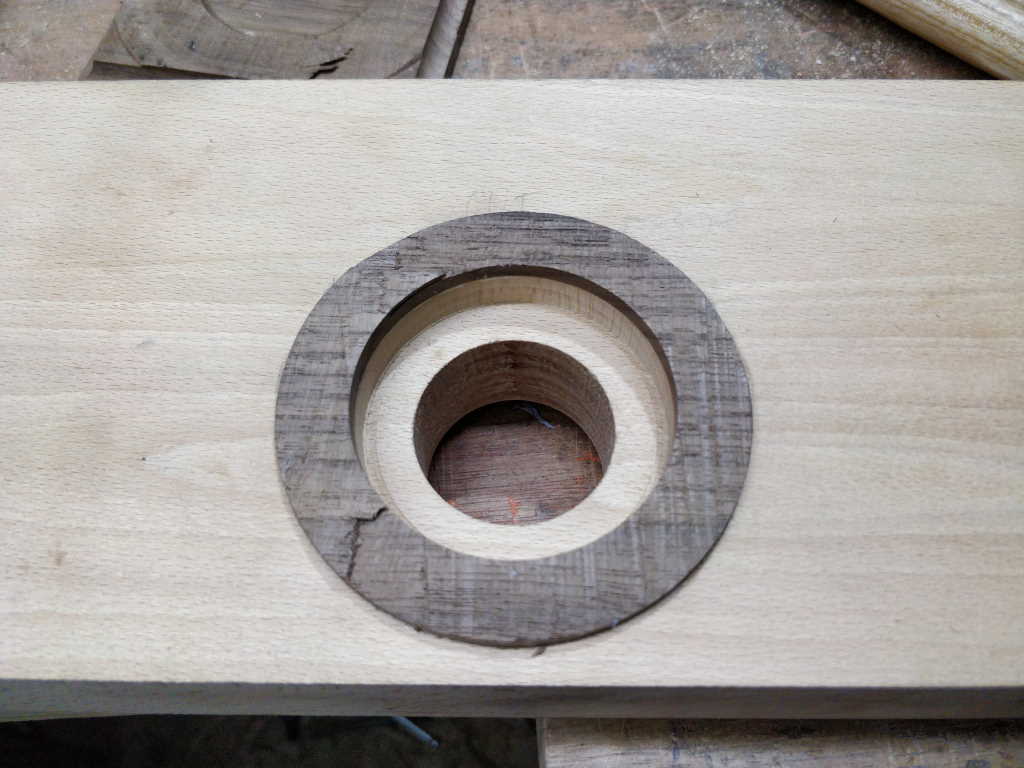
That could then be glued into place, sanded side down.
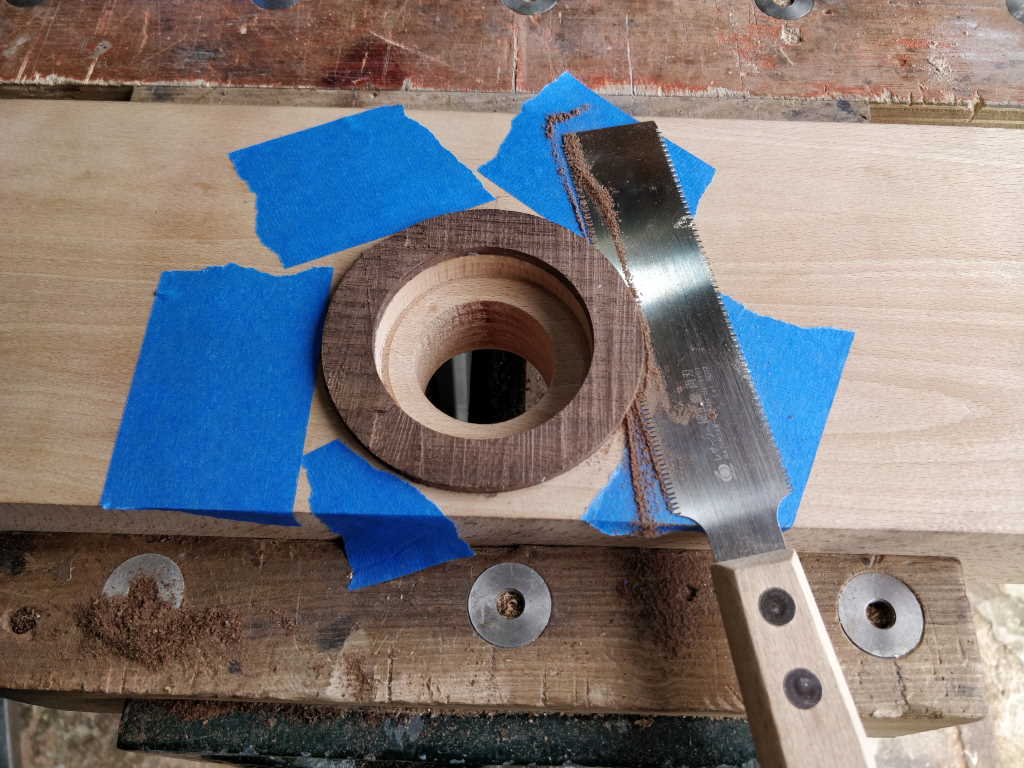
Once the glue was dry, I used my flush trim saw to trim it down to length. The masking tape was intended to lift the saw up a bit and make sure it was still proud after trimming:
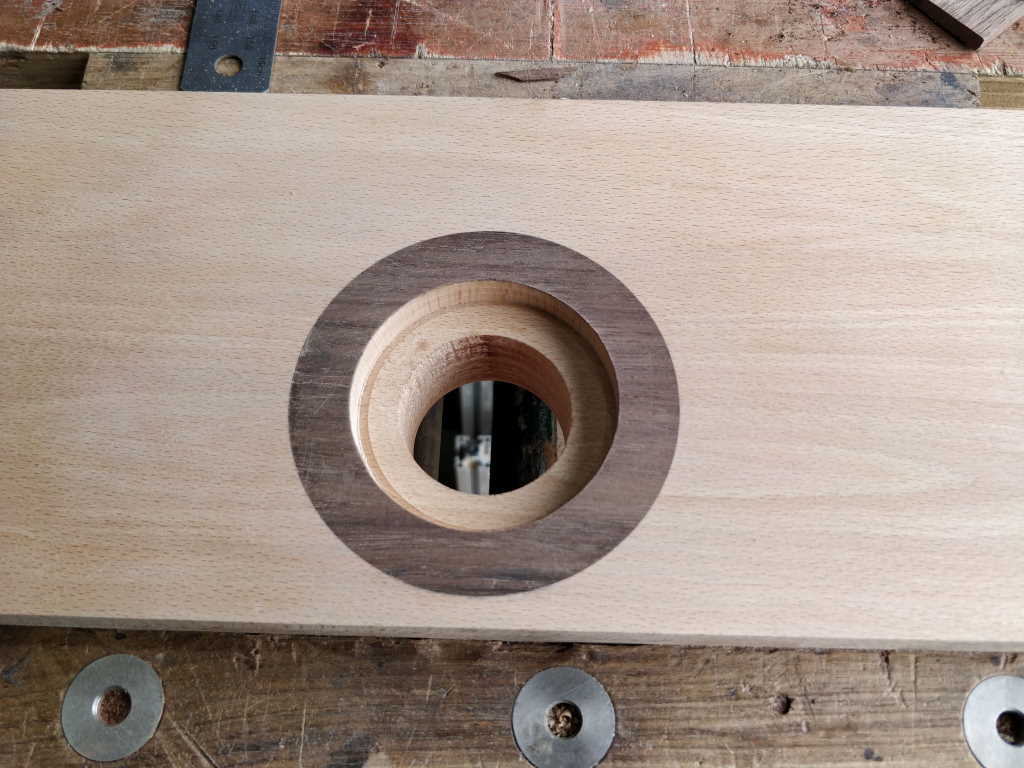
That didn't work especially well and I managed to undercut the walnut a bit, so I used a #5 plane and planed the whole surface of the moving jaw down until everything was flush:
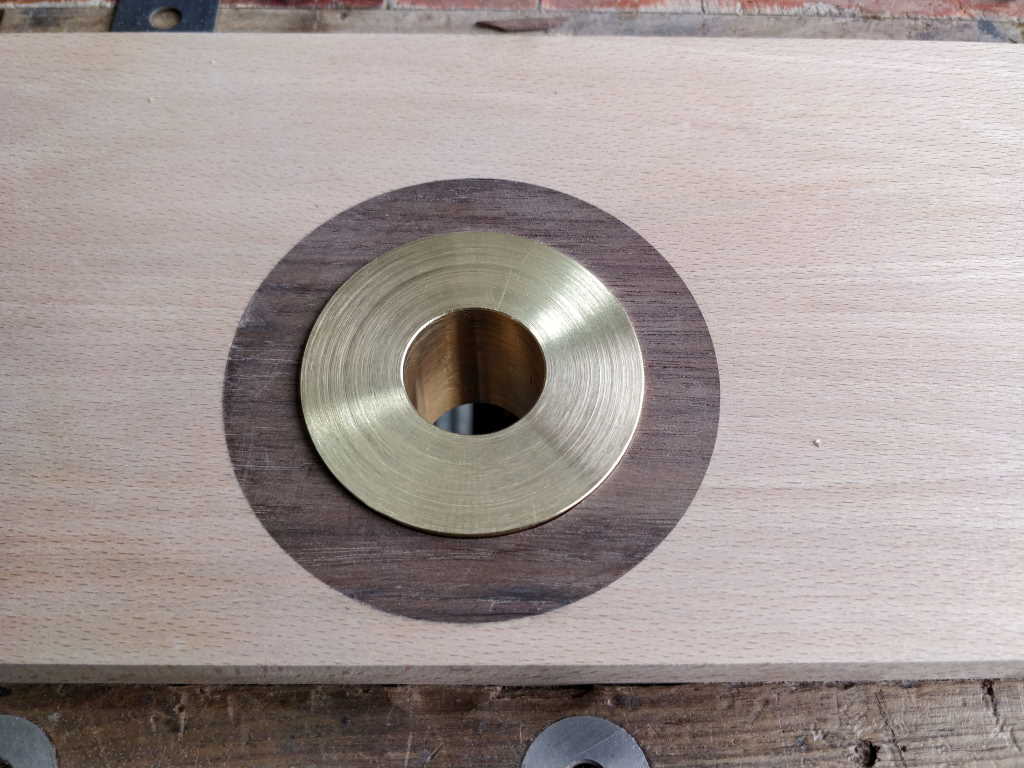
Here it is with the brass bearing block in place. I'm much happier with how this looks. It'll probably look even better if I oil the moving jaw.
The brass is now slightly proud of the surface of the wood, but I quite like how that looks and, being on the outside of the jaw, it won't affect function.
Page 28 of 67
This website is free and ad-free, but costs me money to run. If you'd like to support this site, please consider making a small donation or sending me a message to let me know what you liked or found useful.

 Return to main project page