Portable Workbench Build Process
Page 38 of 67
Posted 23rd March 2021
I wasn't expecting to have any time in the workshop today, but I got the food shopping done fairly early and couldn't resist spending an hour or so in the workshop.
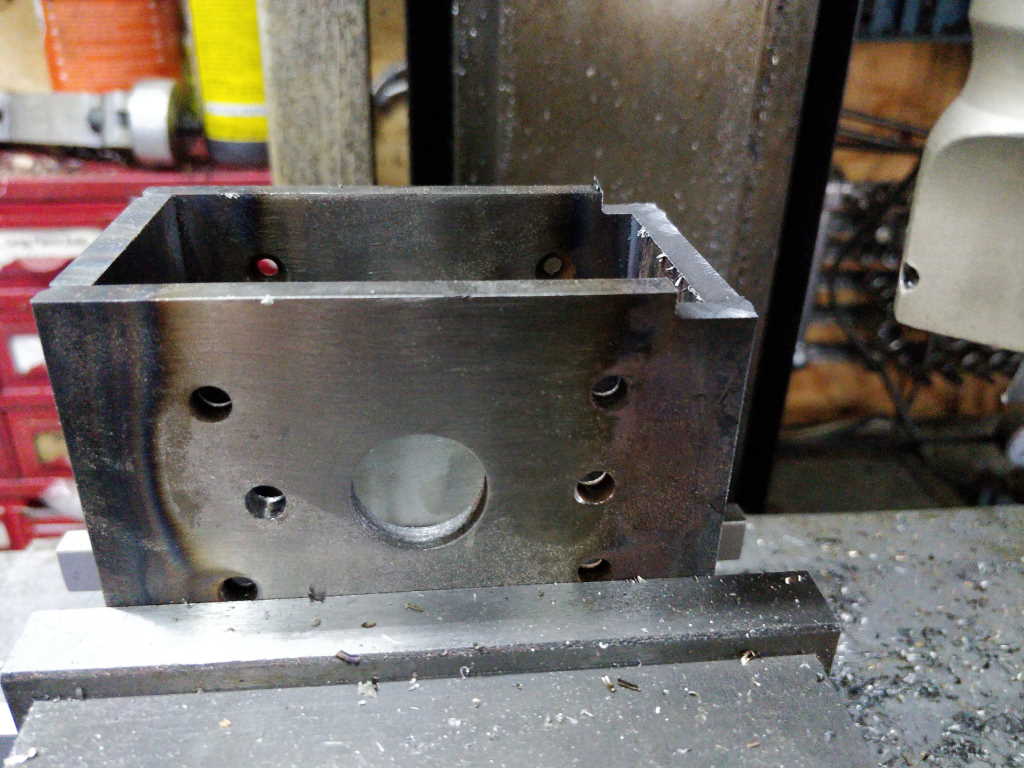
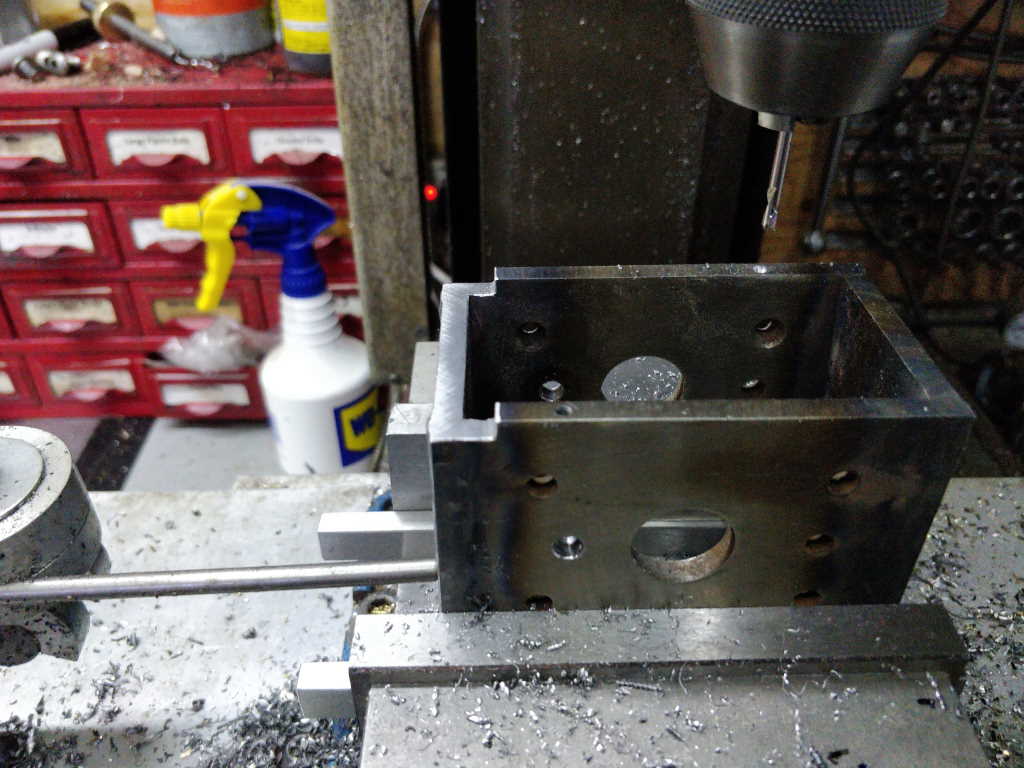
The vice mechanism bodies for the dual-screw vice interfere with the beech rails that run along the sides underneath the top. My original plan was to cut away a section of the rail to allow for the vice mechanism bodies, but I decided to cut away the body instead. I put two of the vice mechanism bodies in the milling vice (one at a time) and hogged out a 12 mm × 4 mm section from the corner:
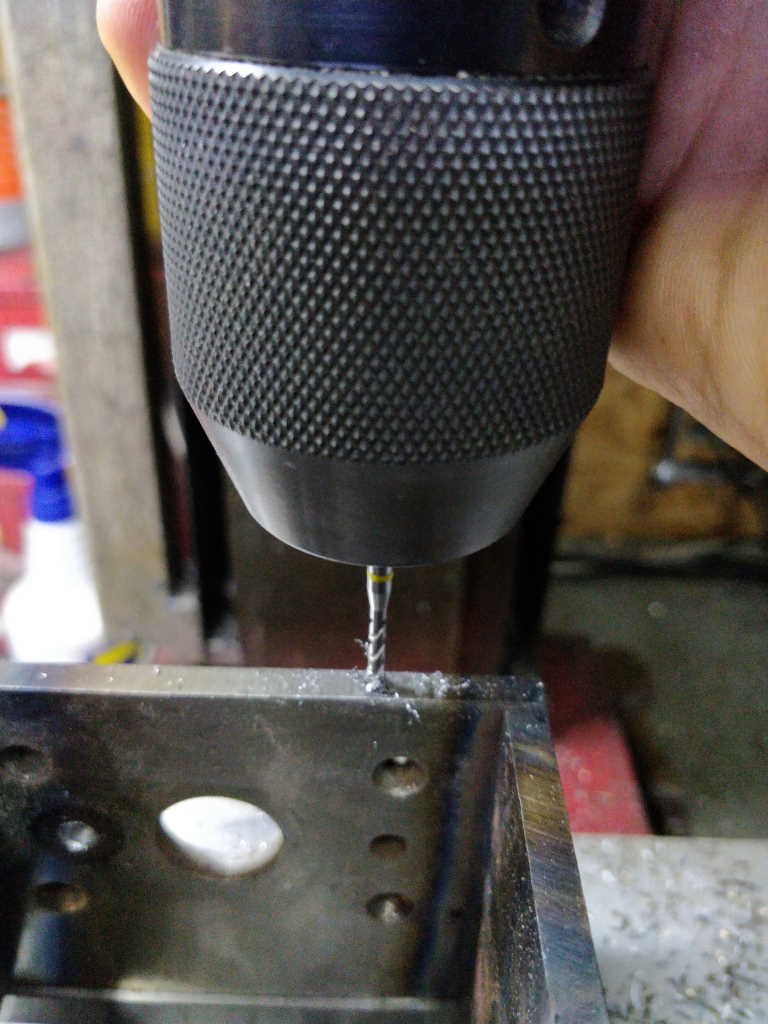
I then put each of the three vice mechanism bodies in the vice, centre drilled 3 mm and (very carefully) drilled 2.5 mm:
I then put an M3 tap in the chuck and turned it by hand to tap the holes. I generally avoid tapped holes as small as M3 given the choice, but I wanted a size that had a cap screw head diameter smaller than the 6 mm thickness of the plate.
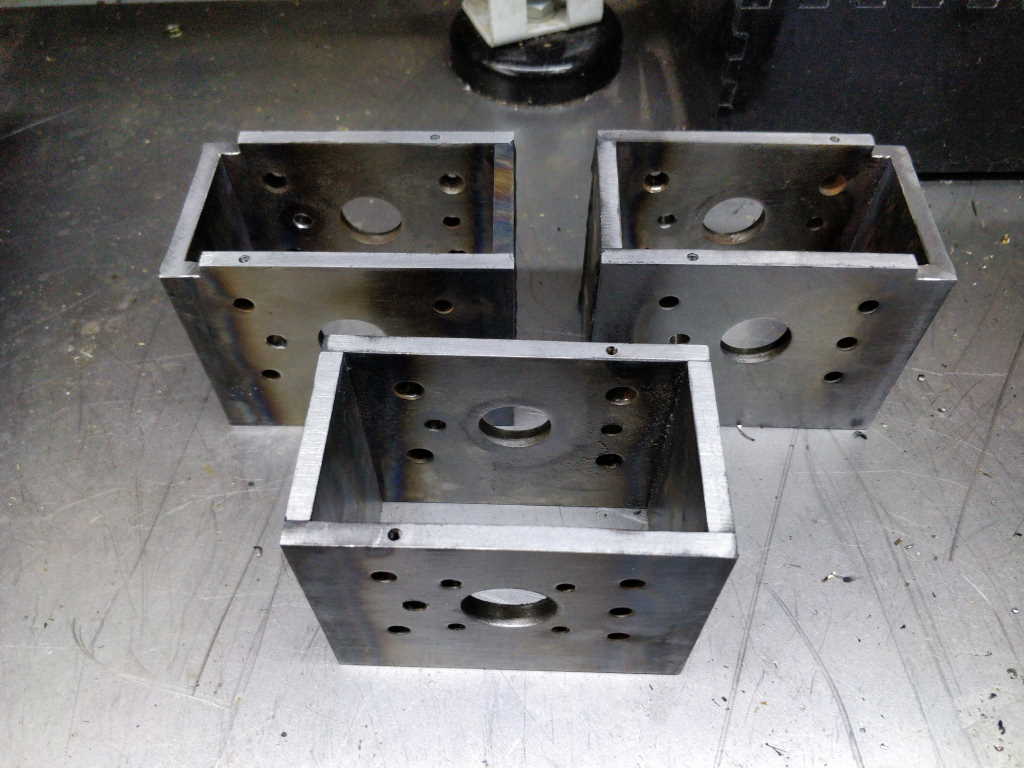
Here you can see the tapped holes in all the bodies:
The reason for these holes is that the top surface of the workbench will have a number of dog holes drilled in it. Inevitably lots of sawdust etc is going to fall through the holes and I'd rather keep it out of the workings of the mechanism if possible (the mechanisms at the dual-screw vice end have to be removed from the workbench in order to get to them for cleaning or whatever).
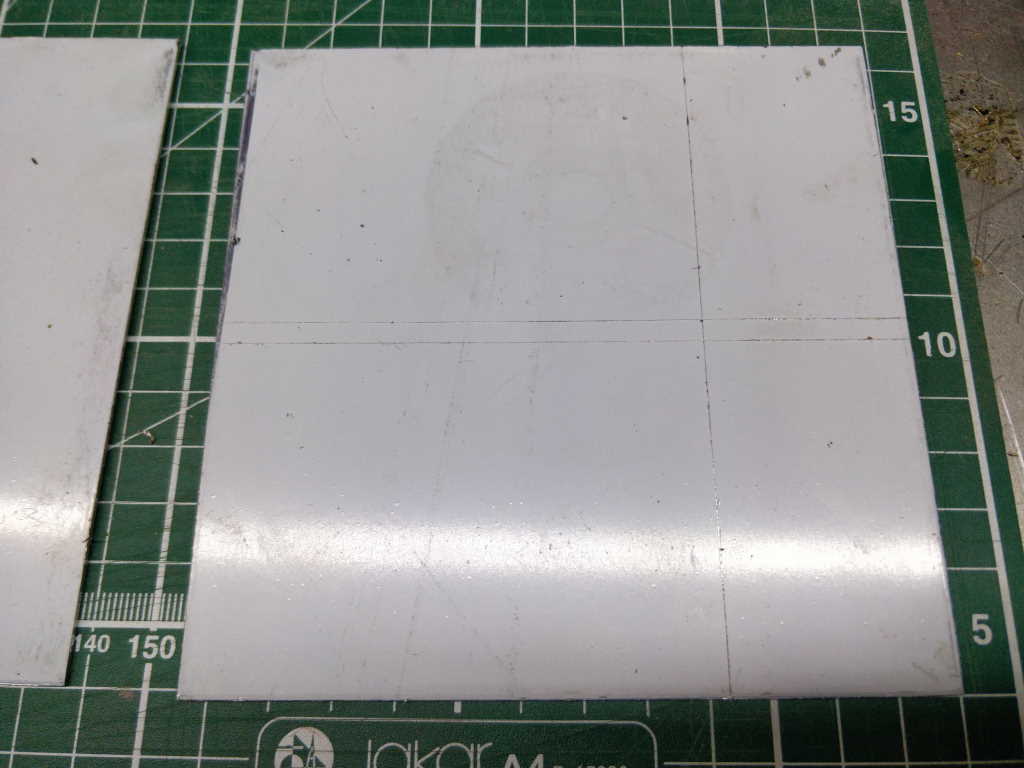
To that end, I got some bits of 1.3 mm aluminium sheet out and marked the plastic-coated side:
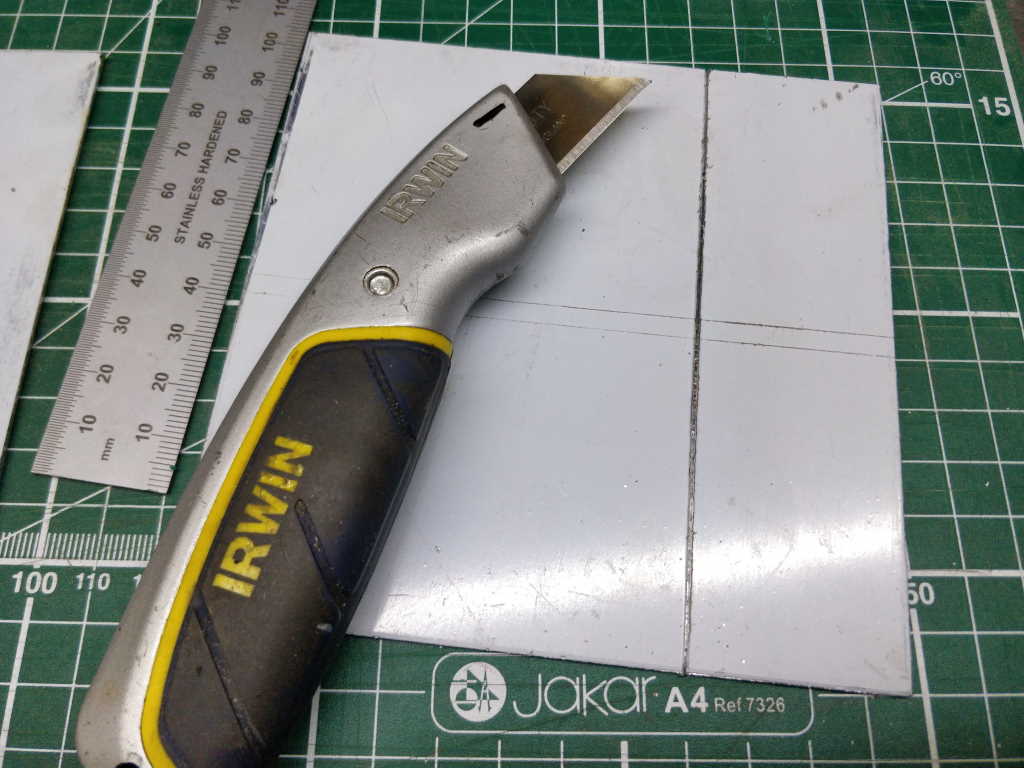
I then used a Stanley knife to score along the marked lines. I find 10 strokes of the Stanley knife on each side of the sheet and then a little bit of bending back and forth results in a very clean and straight cut:
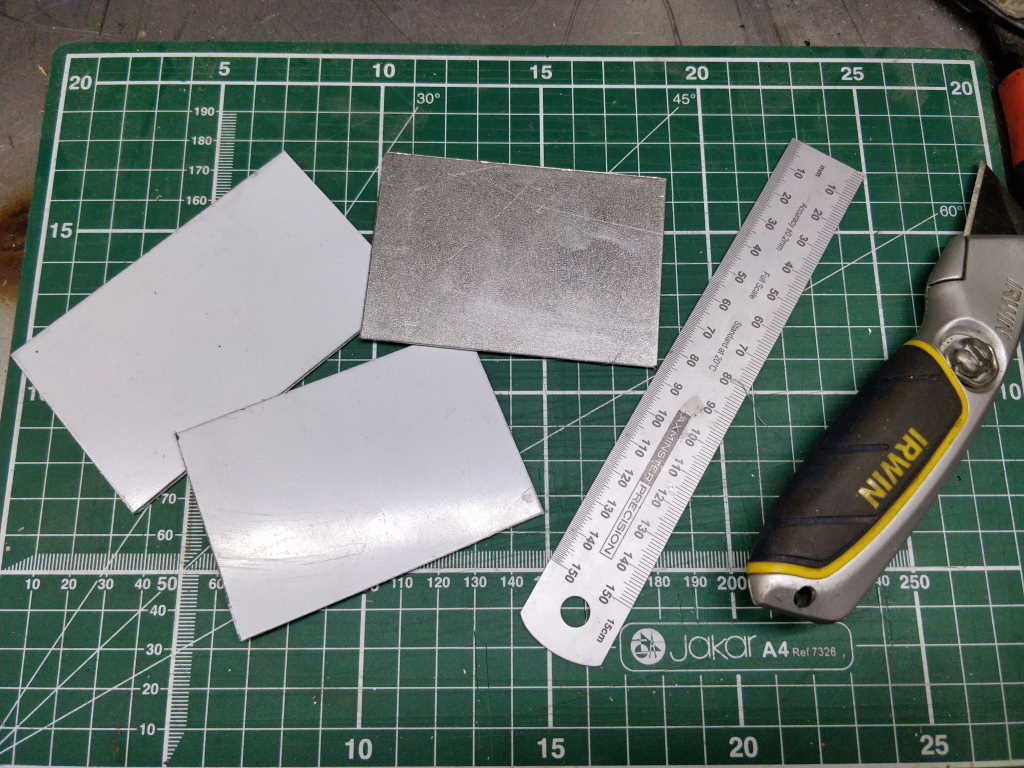
The resulting pieces:
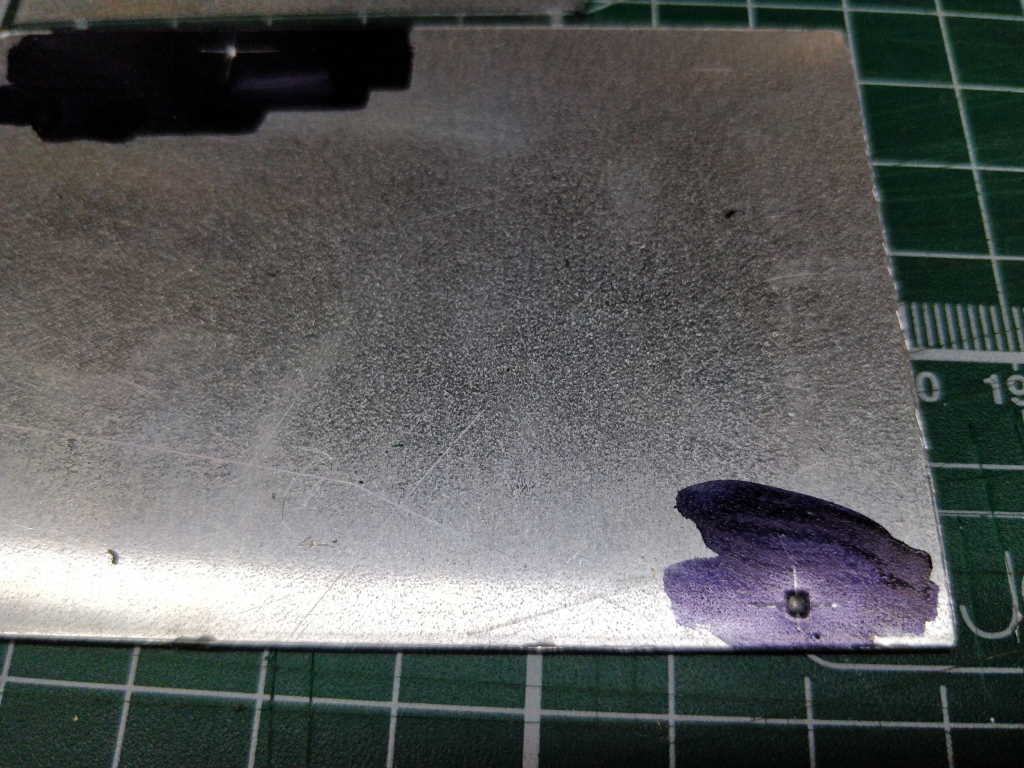
I then marked the sheets out for the holes and centre punched fairly deeply:
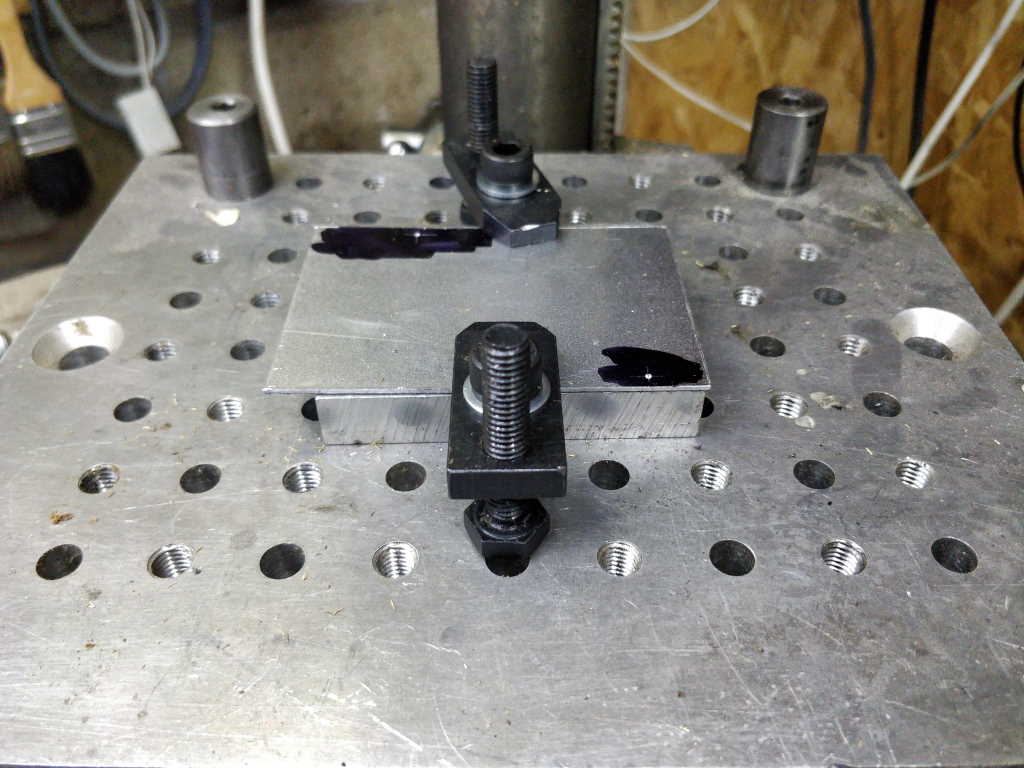
Each sheet was then clamped down to my home-made fixture plate (drilling sheet metal is scary!) and drilled out 3.5 mm. The centre punch marks were deep enough that I didn't need to use a spotting drill first:
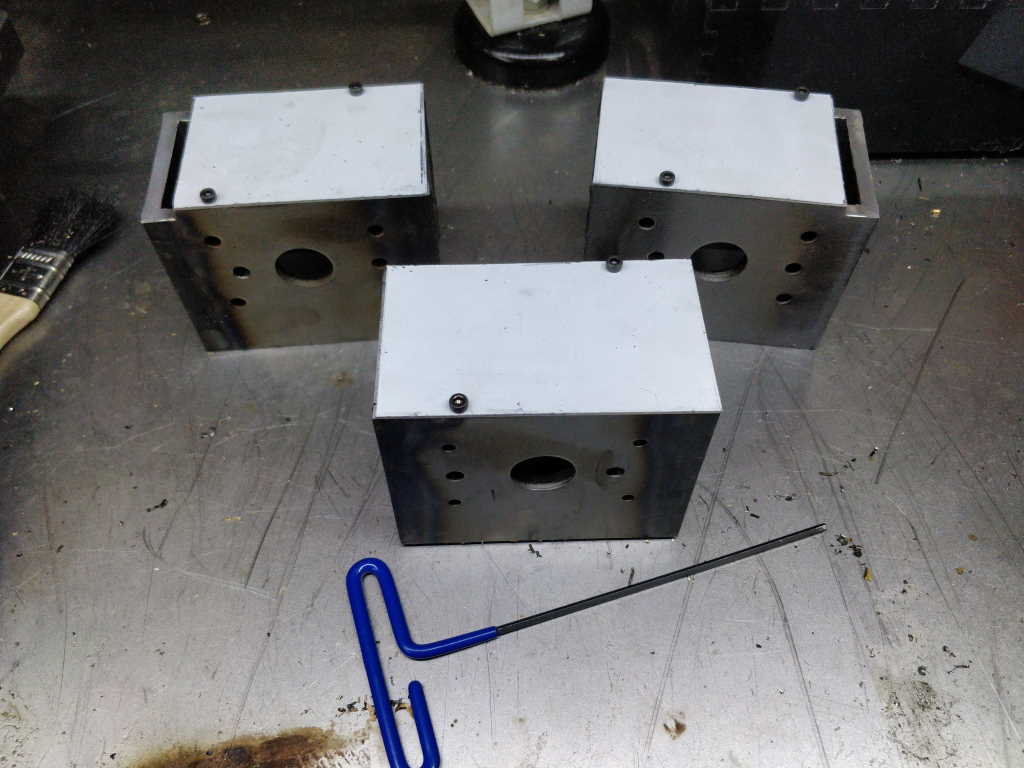
This is what the bodies look like with their lids attached:
I've left the plastic sheet on the aluminium for now; I'll peel it off when I'm closer to finishing everything.
Page 38 of 67
This website is free and ad-free, but costs me money to run. If you'd like to support this site, please consider making a small donation or sending me a message to let me know what you liked or found useful.

 Return to main project page