Portable Workbench Build Process
Page 37 of 67
Posted 22nd March 2021
What with it being a work day again I didn't get much time today, but I did manage a little.
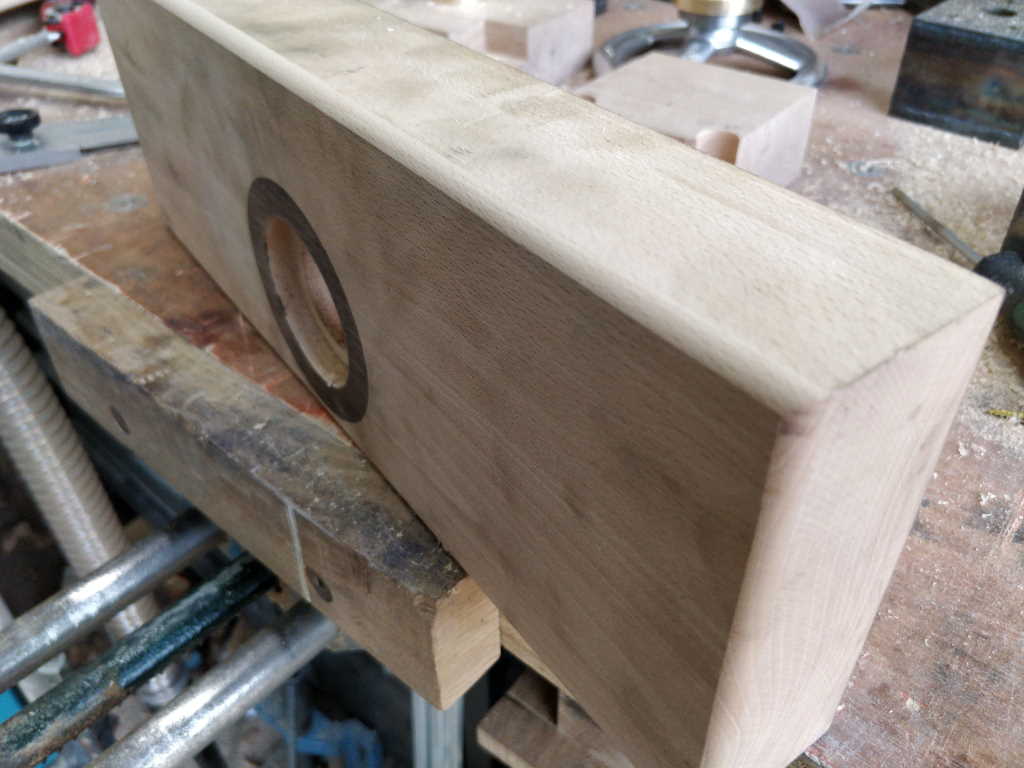
I took everything apart again and ran round a few of the edges (outside of the moving jaws and the edges of the feet) with a 6 mm Arris bit in my small router.
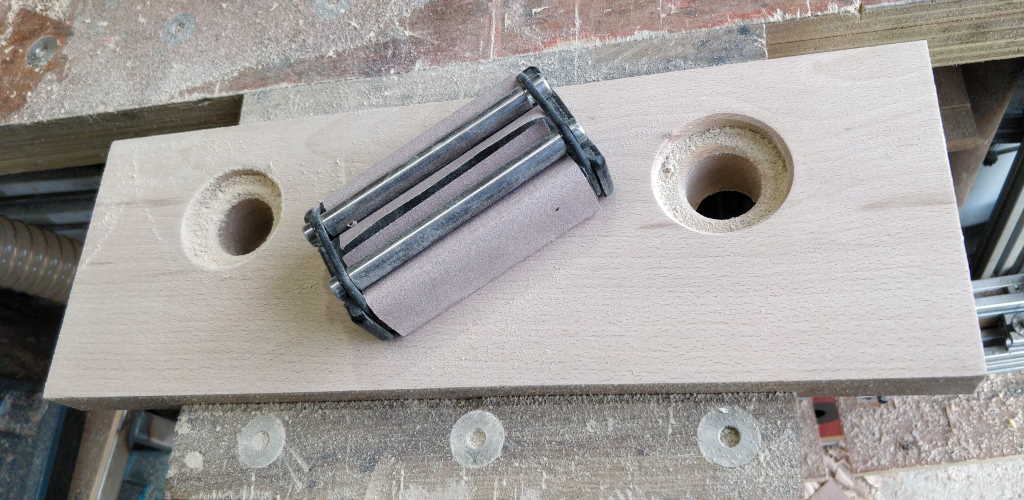
I then got some 120 grit sandpaper and gave everything a once over. For some strange reason, I elected to do this by hand rather than using any power tools. I don't know what came over me!
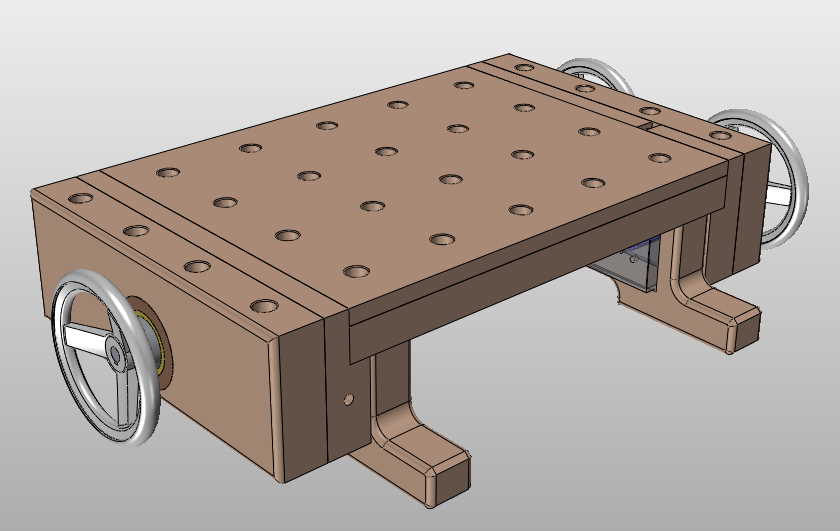
I'd been debating what to do about the feet as I wanted to round over the corners of the feet but it would look a bit odd if it blended into the hard edge of the fixed jaw. Without the rounded edge, I needed to do some adjustment to either the fixed jaw or the feet to either make them line up perfectly or make them look deliberately not aligned.
After playing around in the CAD model, I took the plunge and went round all the outside edges of the feet; hopefully it'll look okay when assembled having a rounded edge on a join.
You can (hopefully) see the where the rounded edge of the foot meets the square edge of the fixed jaw in the latest version of the CAD model:
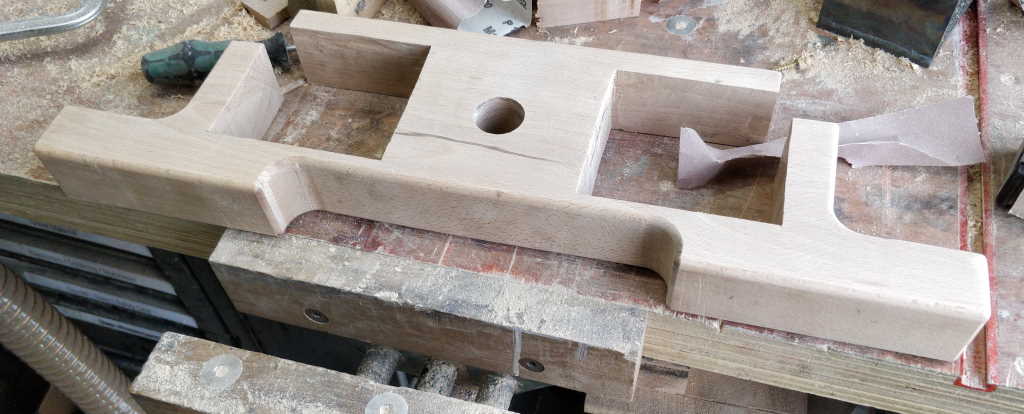
Here's what one of the feet looks like after shaping and sanding to 120 grit. I'm definitely not going for perfection here: it is first and foremost a tool rather than something that has to look pretty.
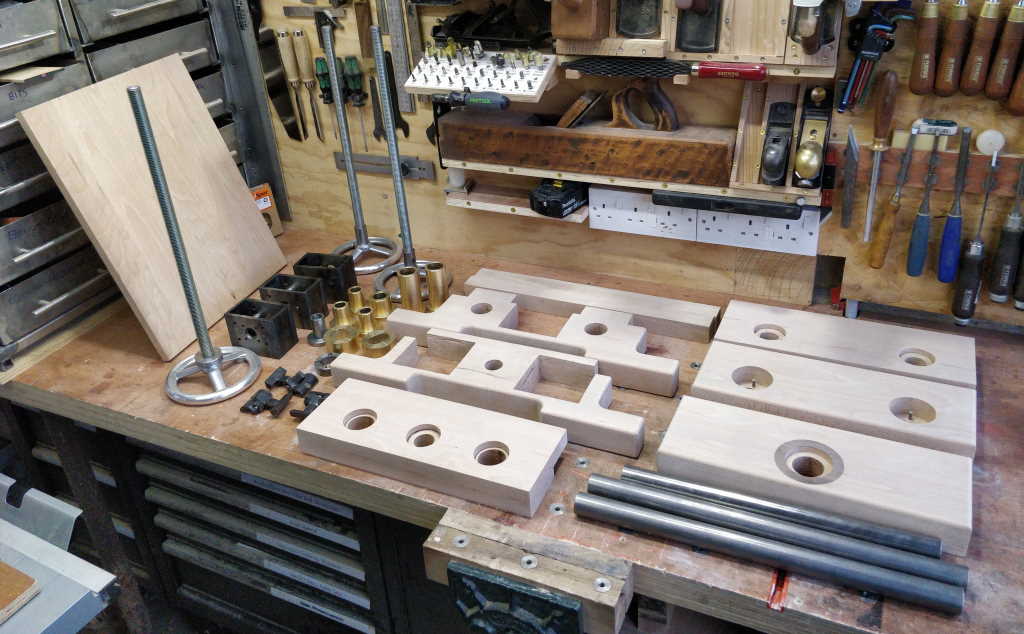
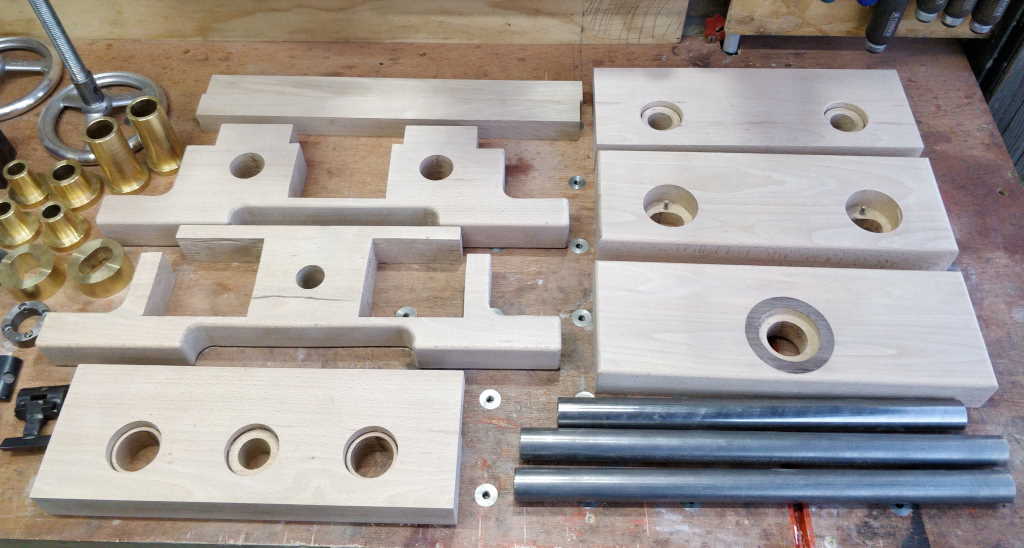
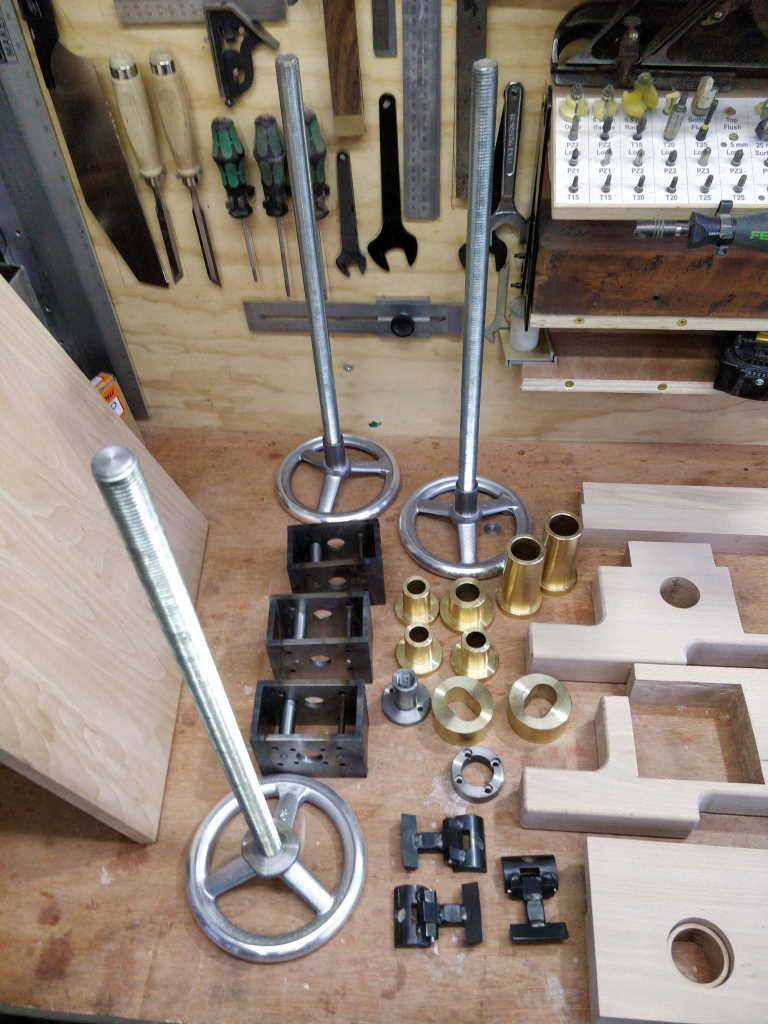
While everything was apart, I took some photos of all the bits I've made so far:
Page 37 of 67
This website is free and ad-free, but costs me money to run. If you'd like to support this site, please consider making a small donation or sending me a message to let me know what you liked or found useful.

 Return to main project page