Portable Workbench Build Process
Page 42 of 67
Posted 27th March 2021
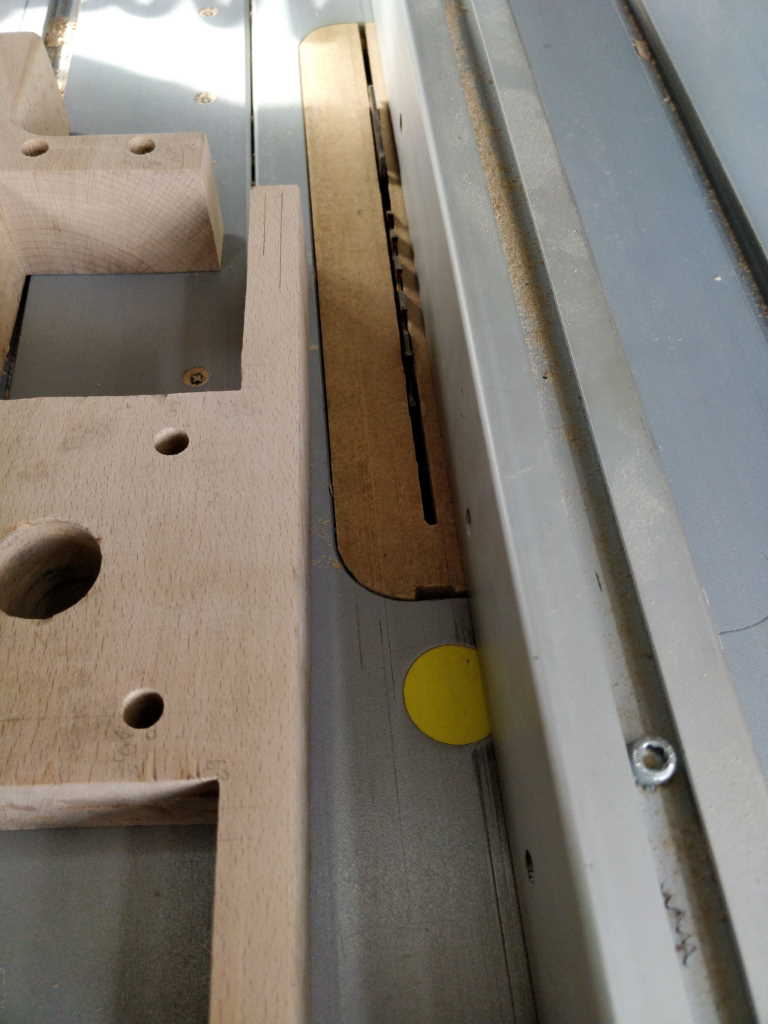
Putting the decision about how to relieve the holes to one side for a bit, I decided to get on with the buttons for attaching the table top. I started by setting the table saw up at an appropriate height and offset for one side of the groove:
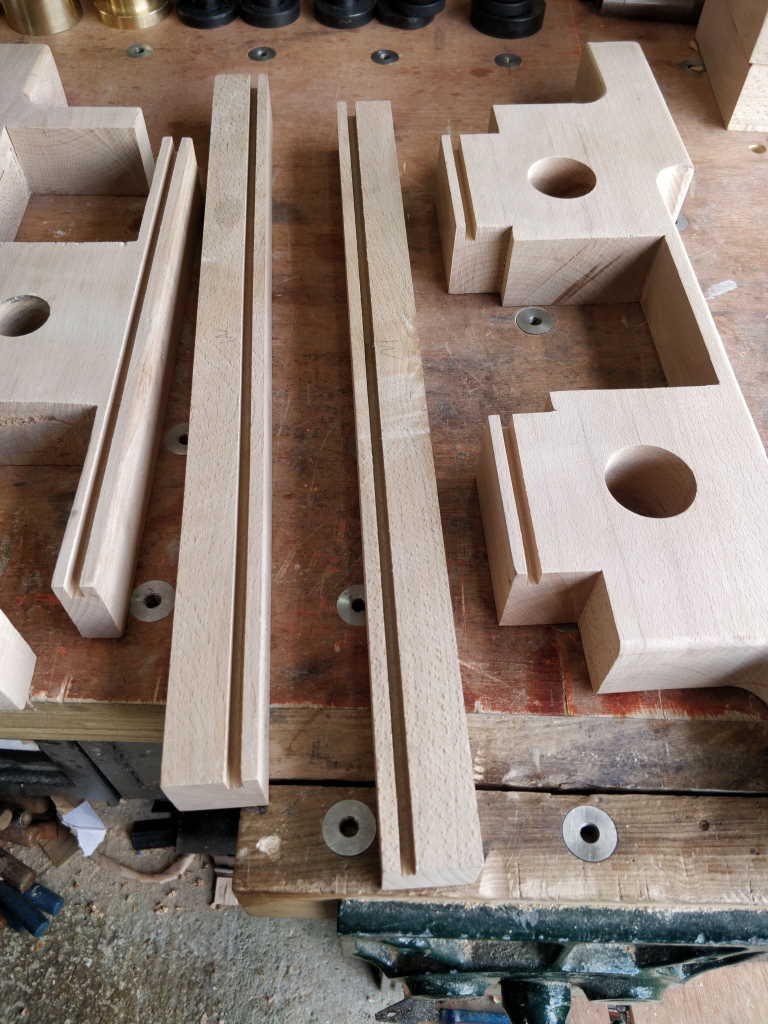
Two passes on each piece later and I have grooves all the way round so I can put the buttons anywhere I want:
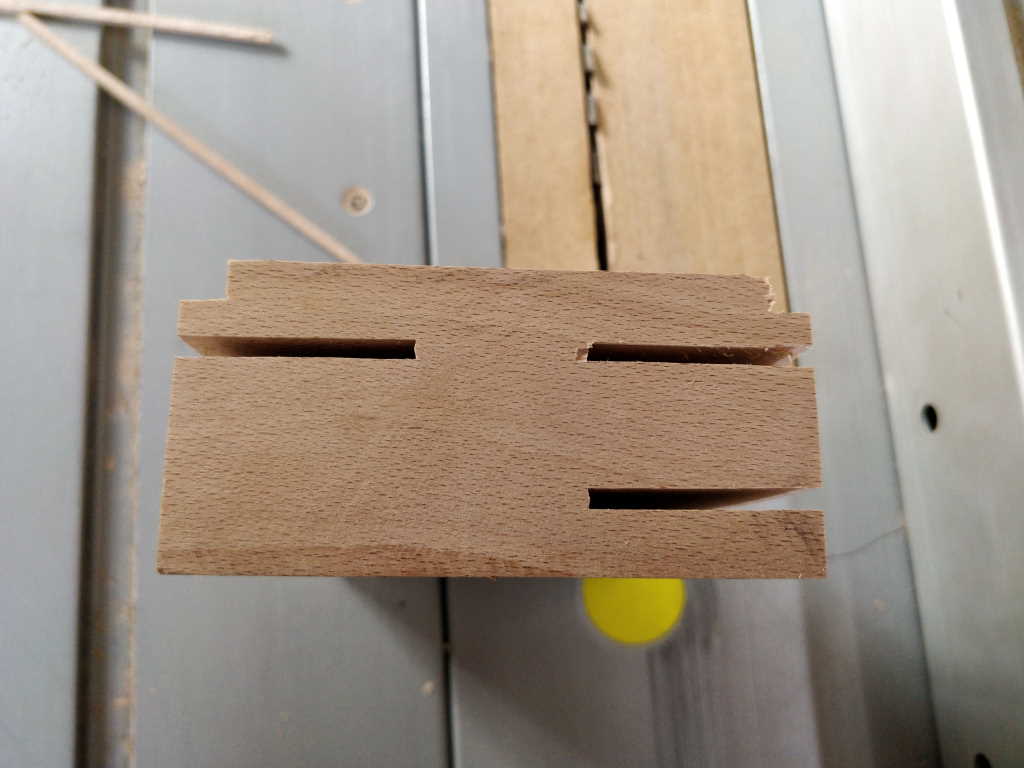
I used an offcut from the scrap bin (it had several nasty knots in it, so wouldn't be much use for anything else) and used the table saw to cut the button outline:
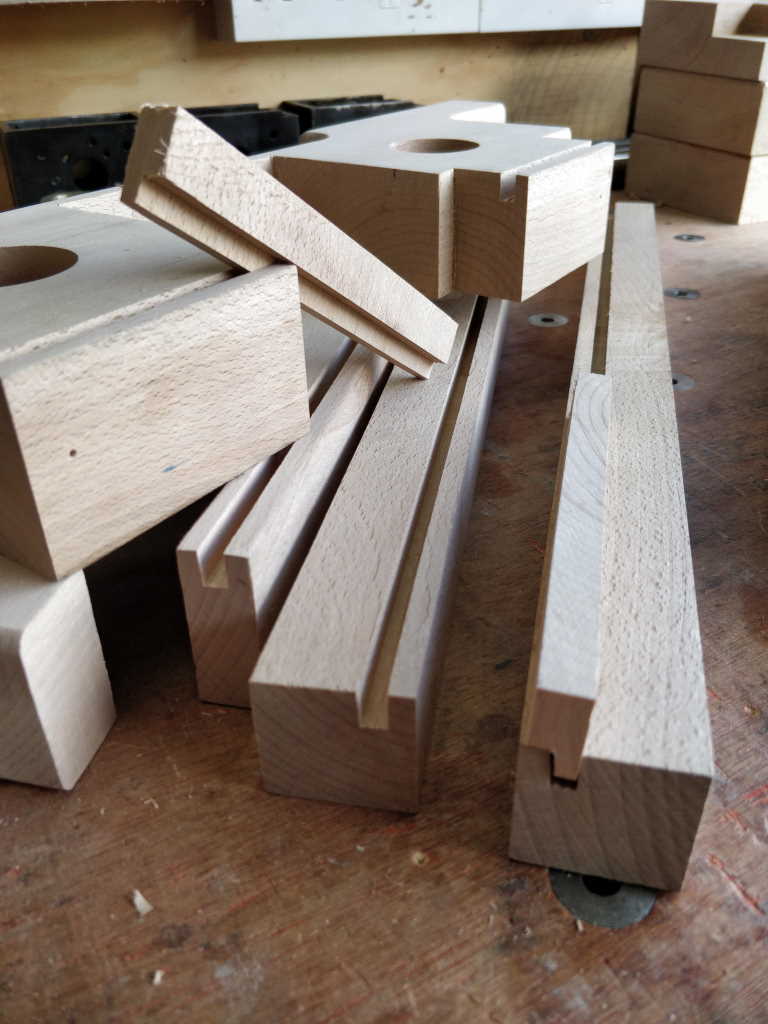
I then cut two strips away from the block and did a test fit:
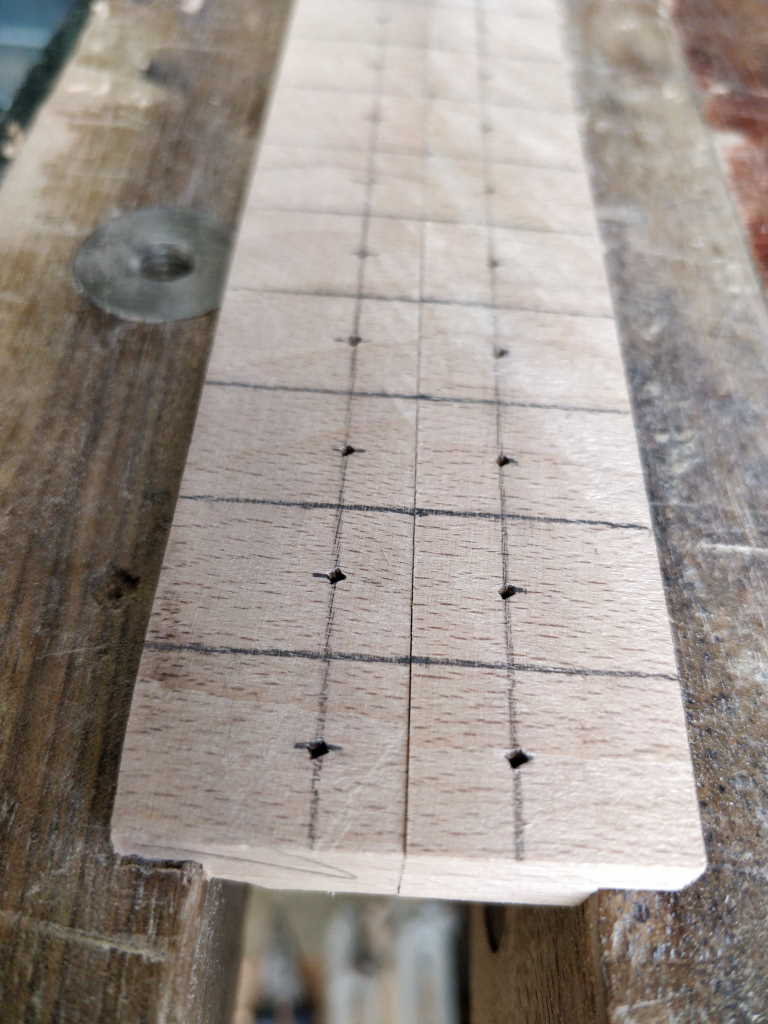
The two strips of buttons were put in the vice and marked up. This is going to produce WAY more buttons than I need, but it doesn't take much extra time to make them en masse and I can pick the best looking ones at the end:
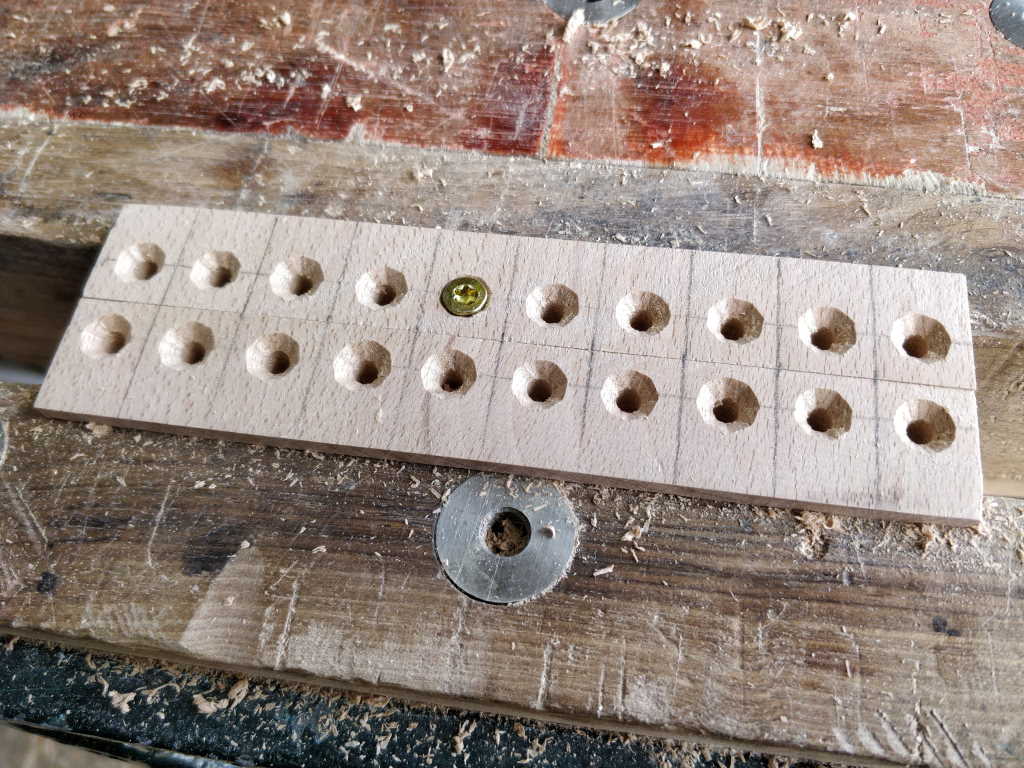
The holes were drilled and countersunk (a bit raggedly):
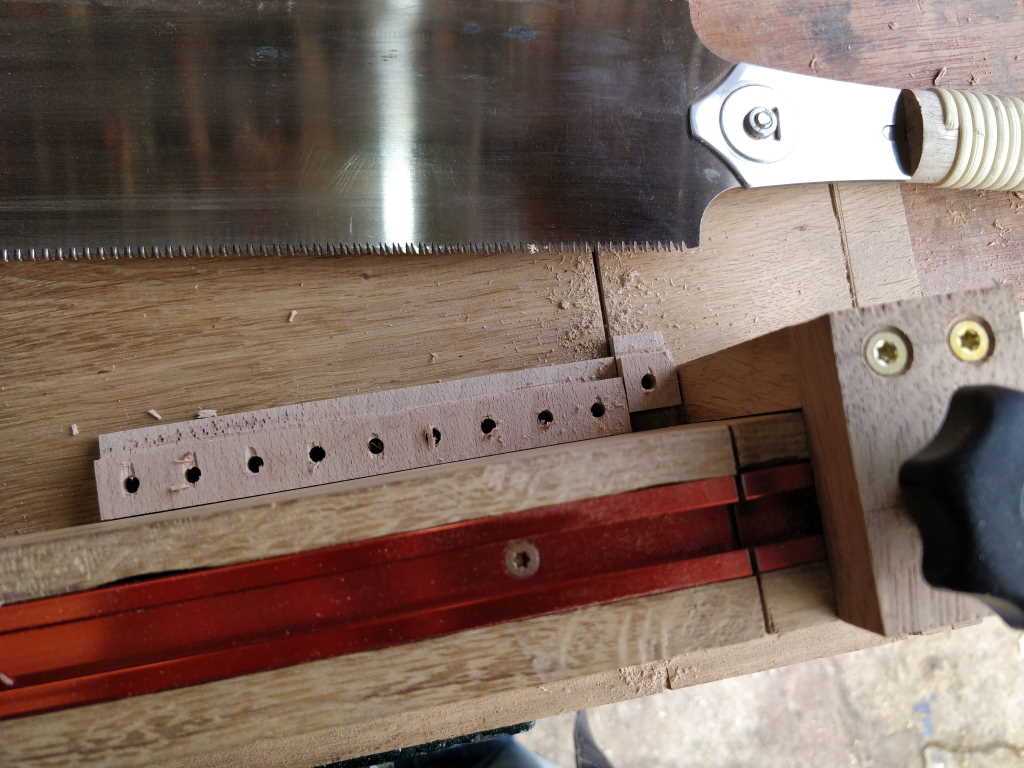
I then used my home-made bench hook thing to separate the buttons. The stop makes this very quick to do:
I now have a big pile of buttons!
Page 42 of 67
This website is free and ad-free, but costs me money to run. If you'd like to support this site, please consider making a small donation or sending me a message to let me know what you liked or found useful.

 Return to main project page