Salt & Pepper Mills Build Process
Page 2 of 11
Posted 9th March 2025
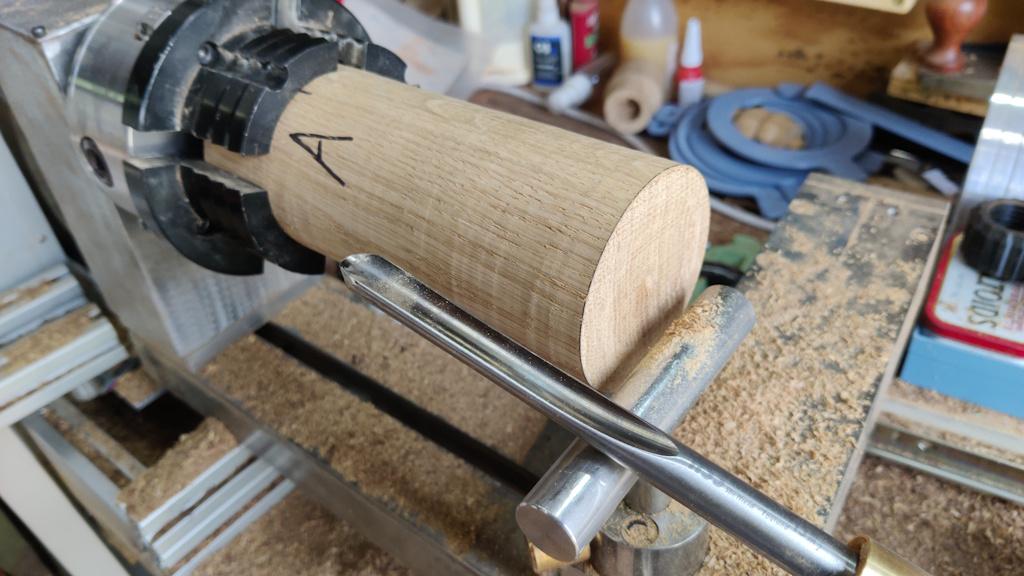
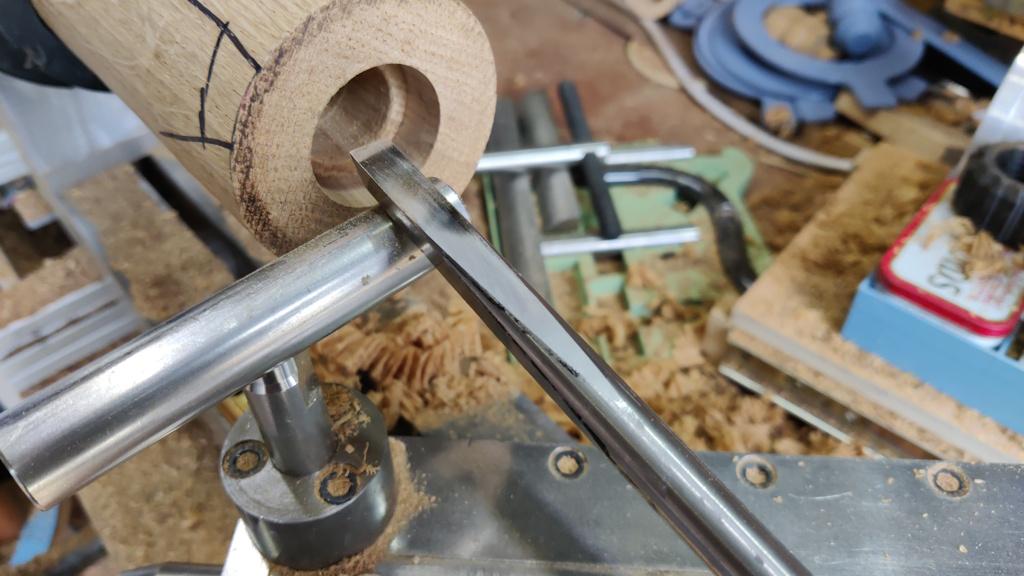
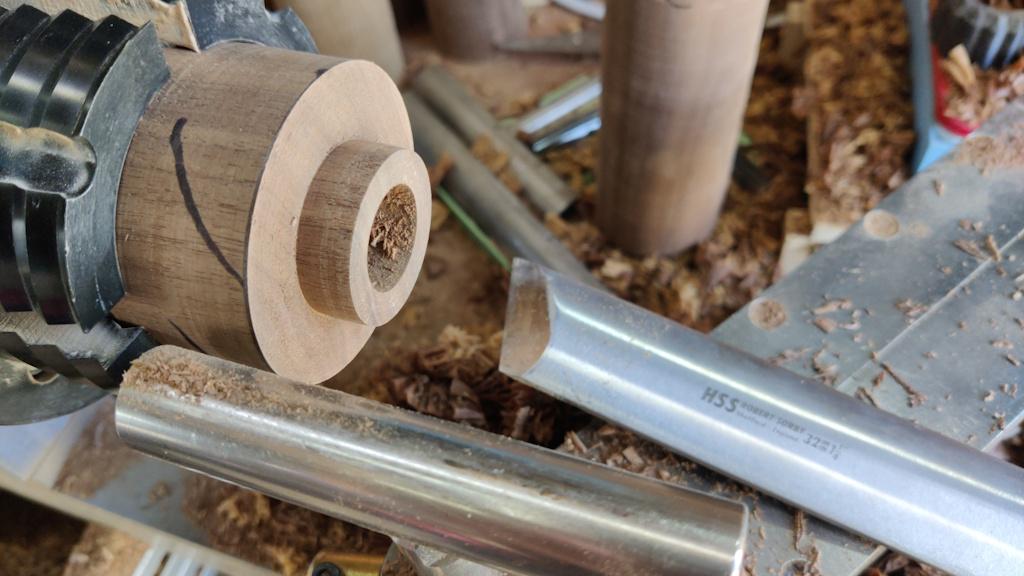
I started with the base of each blank. I used a spindle gouge to face the bottom surface:
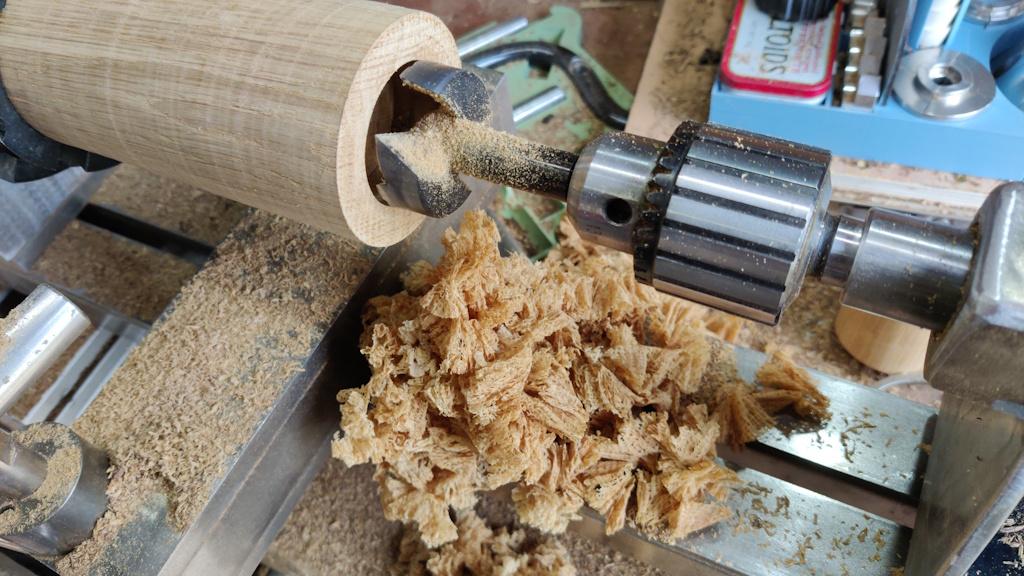
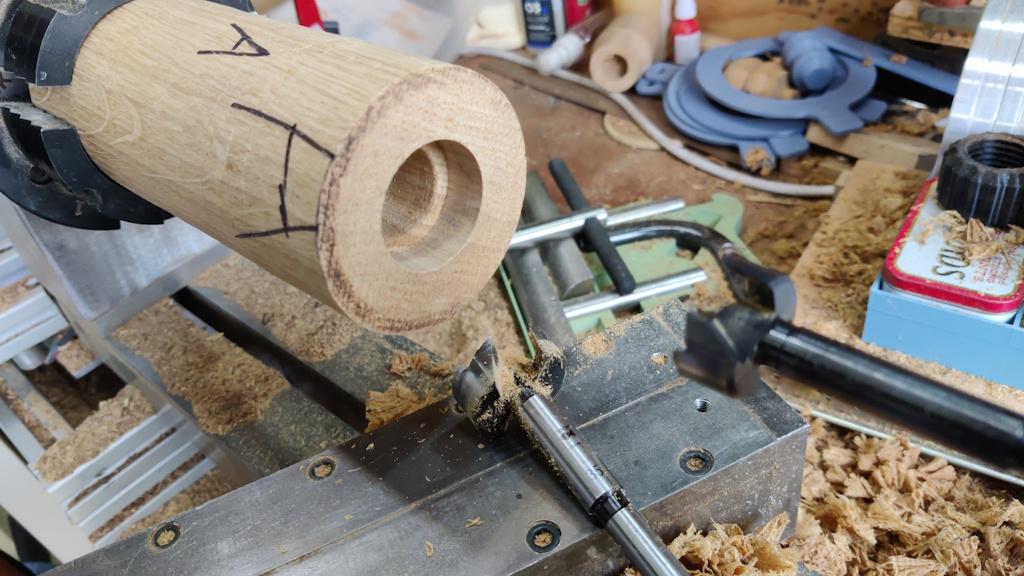
My spindle gouge skills leave a lot to be desired, but the problem I have with facing is mainly starting the cut on or near the corner. In this case, any damage I do to the outside face is going to be removed later so it wasn't too much of a problem. I still gave the bottom face a bit of attention with some sandpaper before moving onto the next step, which was to drill a 19 mm deep hole with a 45 mm Forstner bit:
The "head" of the Forstner bit is 16 mm deep and the leadscrew in my tailstock is 1.5 mm pitch, so I set the 19 mm depth by drilling until the head just disappeared into the hole and then turning the tailstock handle two more turns.
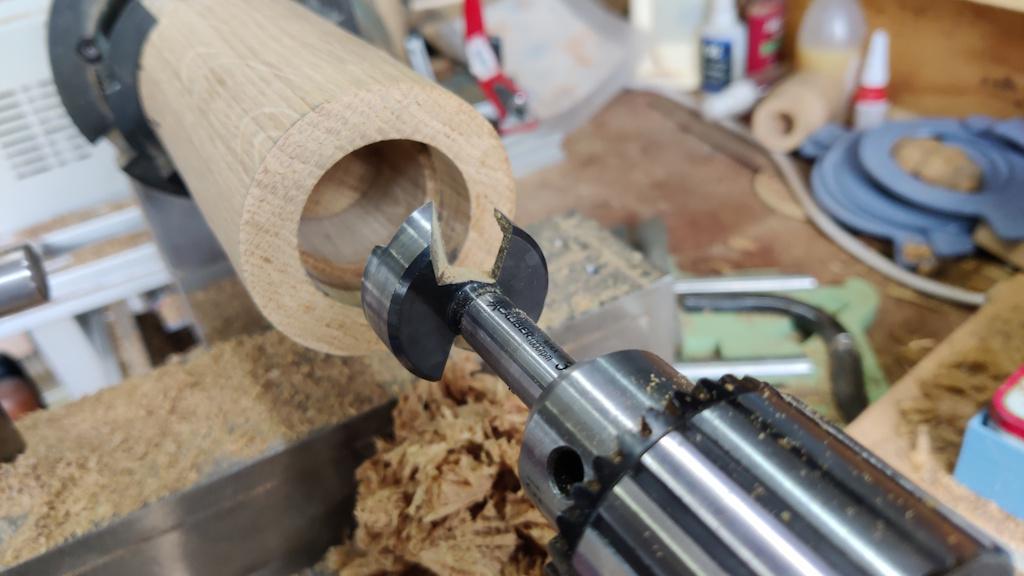
The next hole was with a 38 mm Forstner bit, to 53 mm depth. To set the depth of this one, I fitted the bit in the chuck so that 53 mm was protruding from the chuck face to the tip of the bit, which again made it easy to gauge.
This is the first stage that my home-made grooving tool was used. There are two lines on the tool; for this groove the second line is lined up with the bottom of the mill and then the tool is pulled until the main part of the tool starts to rub against the mill body.
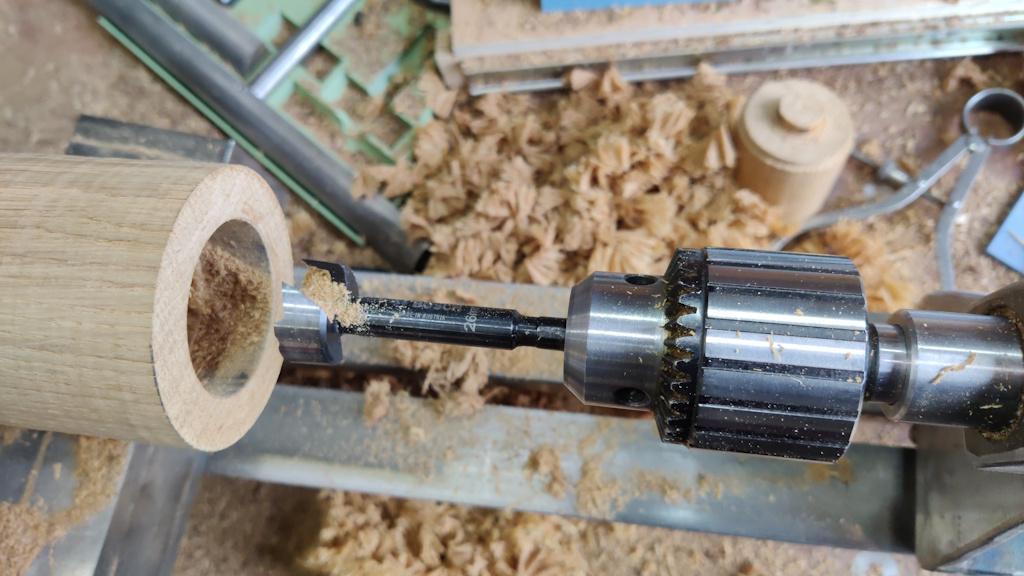
The manual that came with the mechanism suggests that the through hole can be 25 mm or 26 mm. I went with the latter as it will increase the capacity for peppercorns. I used a 26 mm Forstner bit to drill as deep as possible:
With that done, it was time to reverse the body in the chuck and deal with the holes from the other end. The manual says to use 38 mm for the pocket into which the tenon on the top of the mechanism will fit. I tried that on one of my unsuccessful attempts and concluded that for a nice shape mill, it wouldn't leave much wall thickness at the top of the body. I therefore decided to use 35 mm for this pocket. The risk with that is it makes the tenon on the lid weaker (35 mm OD and 22 mm ID) so there's a risk of it breaking when I push the mechanism into place, but we'll just have to see whether that happens when I get that far.
After facing off the top end in the same way as the bottom (spindle gouge and sandpaper), I used the two Forstner bits to drill 35 mm to a 15 mm depth and then 26 mm to meet the hole drilled from the bottom:
I'd ideally like the mills to have a good capacity for peppercorns or rock salt. The capacity is dictated by the length of the body, the diameter of the mechanism's shaft and the diameter of the hole that goes all the way through. As I said before, the manual says this should be 25 mm or 26 mm. I can see why the size at the bottom is important: it guides the peppercorns into the mechanism. The size at the top is less critical I think, so I used a simple home-made tool (based on one I used to make a box when I did a one-day woodturning course with Paul Hannaby) to taper the hole such that it is wider at the top but narrows down to 26 mm part way along:
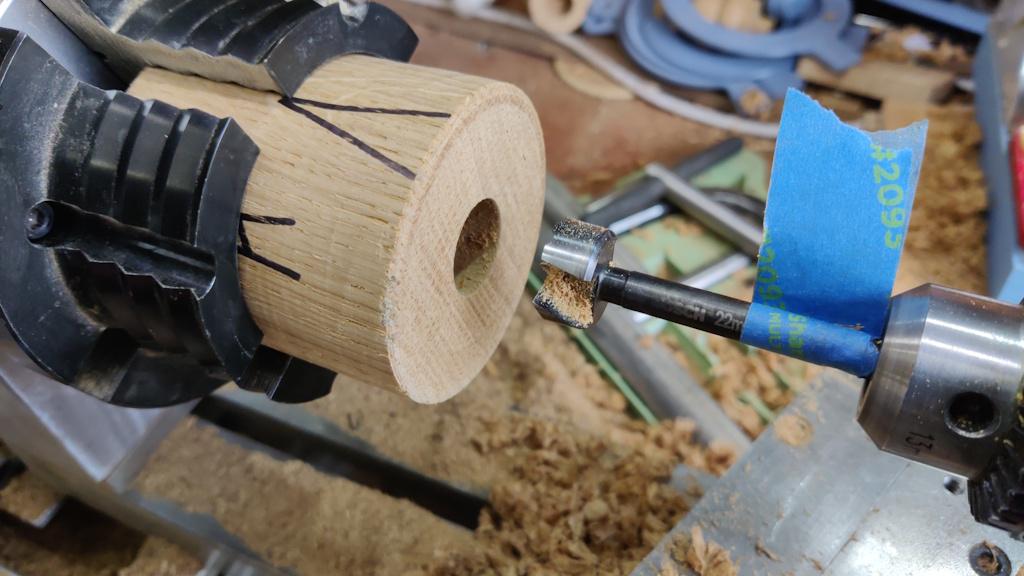
The lid was processed in a similar manner: facing and then drilling a 22 mm hole to 40 mm depth (using masking tape this time for depth setting):
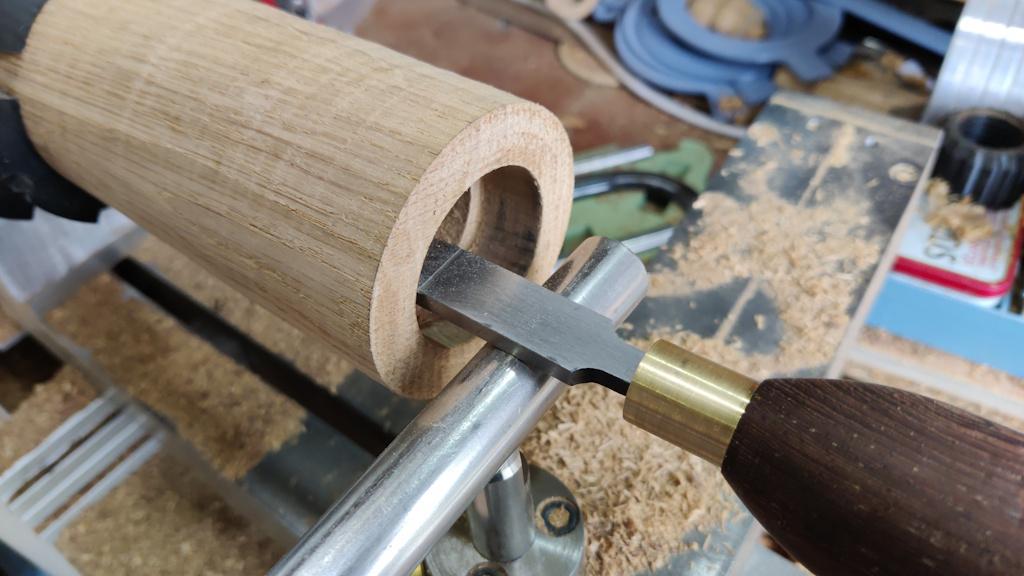
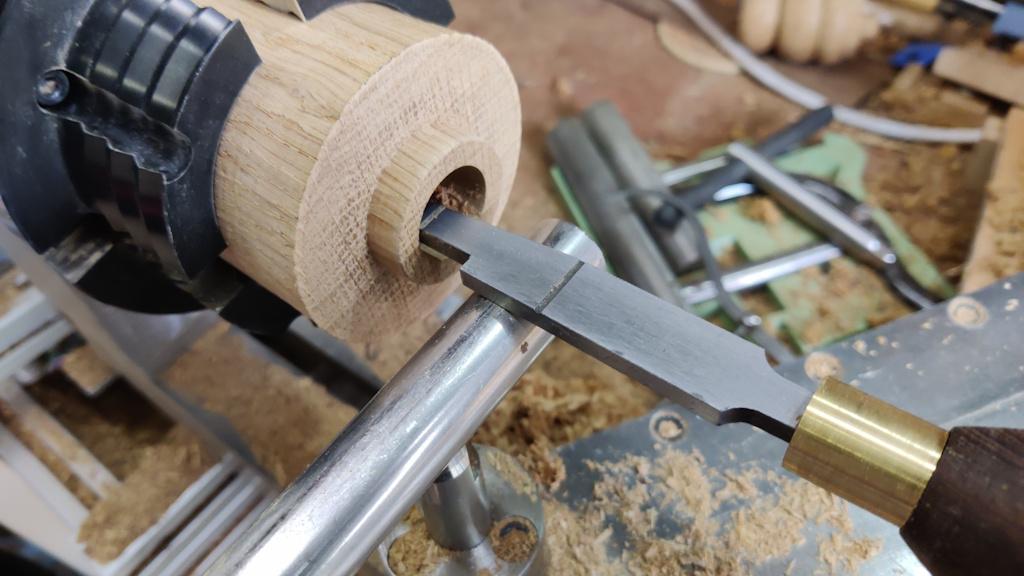
I then turned a 35 mm tenon on the end, aiming for a snug-ish fit in the base part of the mill. I started this tenon with a parting tool to get somewhere close, then faced it and made it slightly over size with a large skew chisel. After some "excitement" when I was making the previous three failed attempts, I decided to err on the side of caution and do the final dimensioning with sandpaper again:
Those tenons came out with quite variable fit: some very snug, some really quite loose. Hopefully it won't matter too much. If they're too tight in the end it should be easy enough to do a bit of extra sanding; if they're a little too loose then hopefully the shaft of the mechanism will help it feel okay anyway.
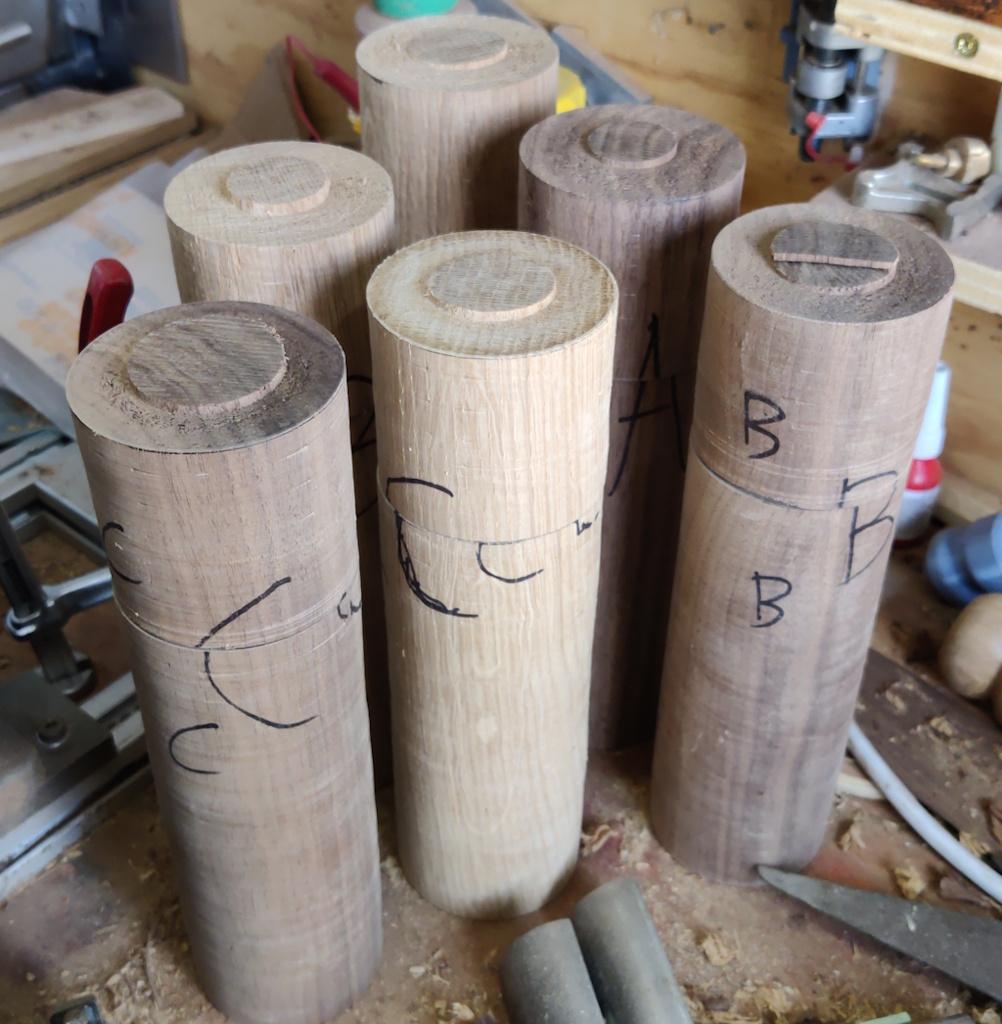
The home-made grooving tool then came out again, this time using the first line to get the groove in the correct place:
So far so good, that left me six blanks ready to turn the outside to shape.
Spoiler: it didn't go particularly well, but I managed to get two respectable mills out of that lot!
Page 2 of 11
This website is free and ad-free, but costs me money to run. If you'd like to support this site, please consider making a small donation or sending me a message to let me know what you liked or found useful.

 Return to main project page