Salt & Pepper Mills Build Process
Page 9 of 11
Posted 23rd March 2025
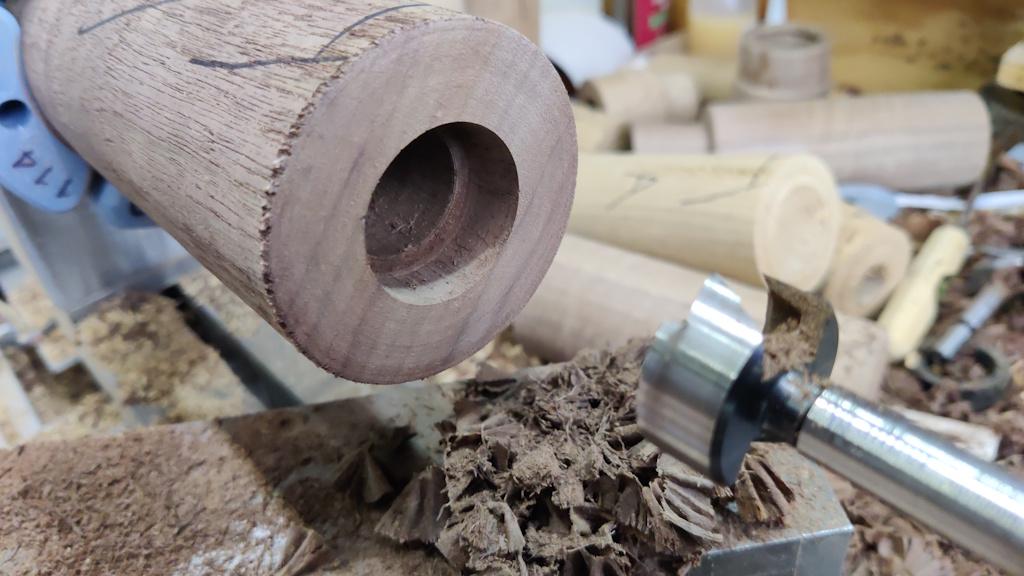
This morning I started by drilling out the top end of the base piece:
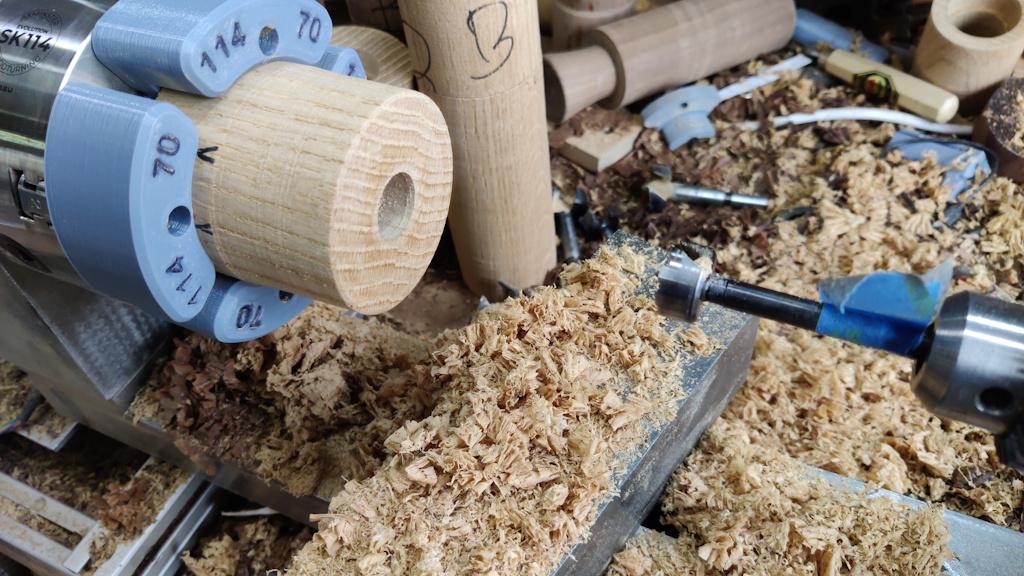
I then repeated the previous steps on the lower parts of the other three blanks. For the first lid, I started by drilling and grooving...
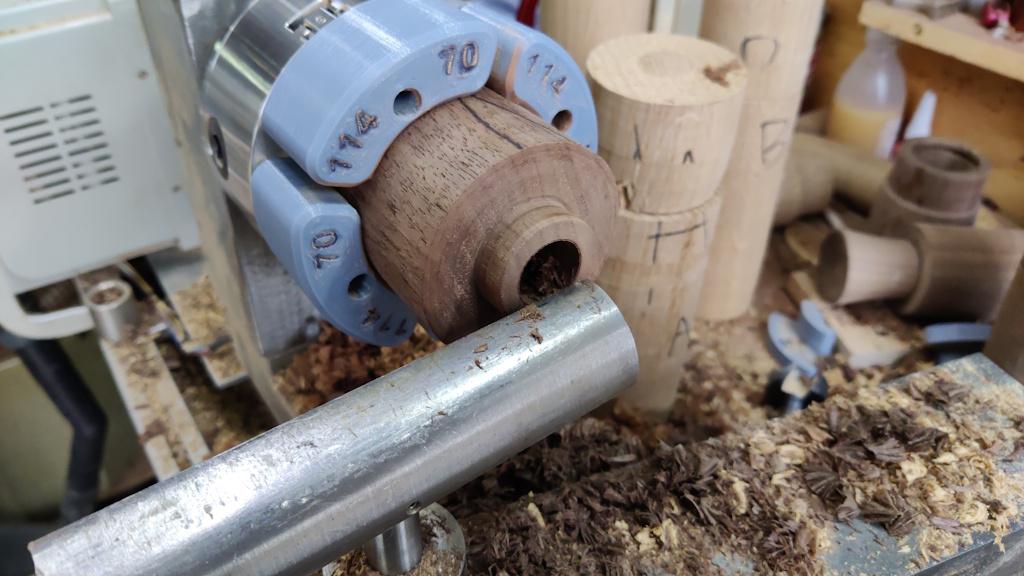
... and then cut the tenon. It felt a bit precarious cutting the tenon (I couldn't afford to mess up the shoulder as the groove was already fixing the size). Therefore, on the other lids, I cut the tenon first...
... and once I was happy with it I drilled the hole and cut the groove:
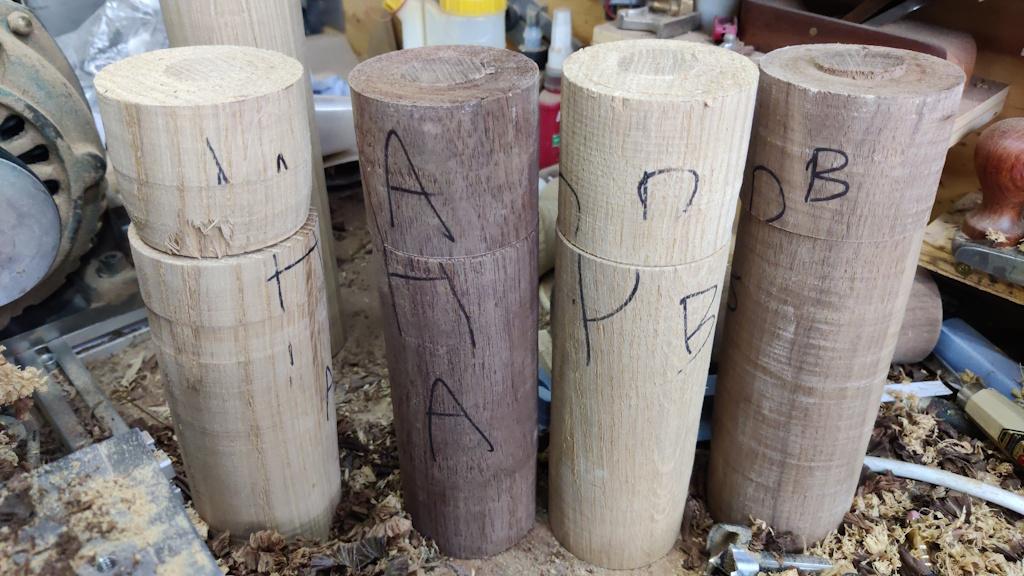
That gave me four blanks with the bores and tenons all complete:
You'll notice that the one on the left went a bit awry: that was the sort of thing that happens when I get a catch on the corner when trying to start a facing cut of a shoulder. Thankfully, the blank is about 70 mm diameter at the moment and it's going to be reduced to 43 mm in that area, so all that shabbiness will get turned away.
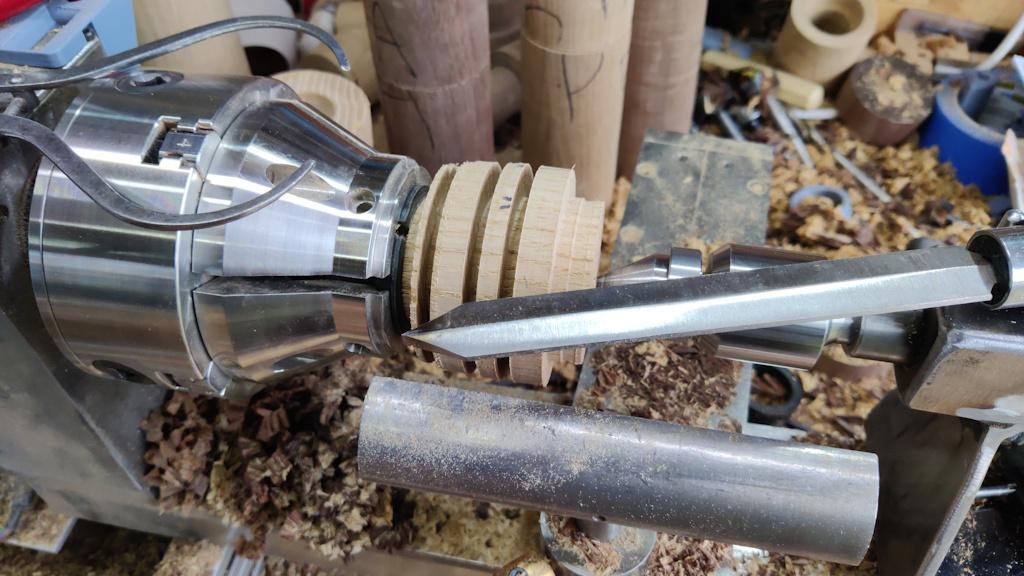
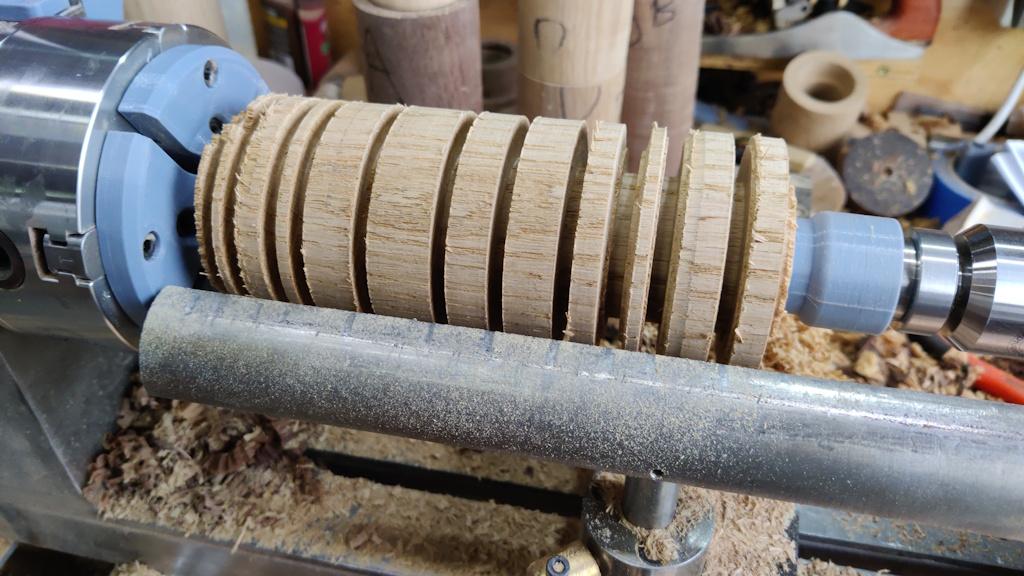
Once again I used my little dimension gauges (see an earlier post in this thread) to pick a few points for key dimensions and then I could use calipers and parting tool to bring those points down to about the right diameter:
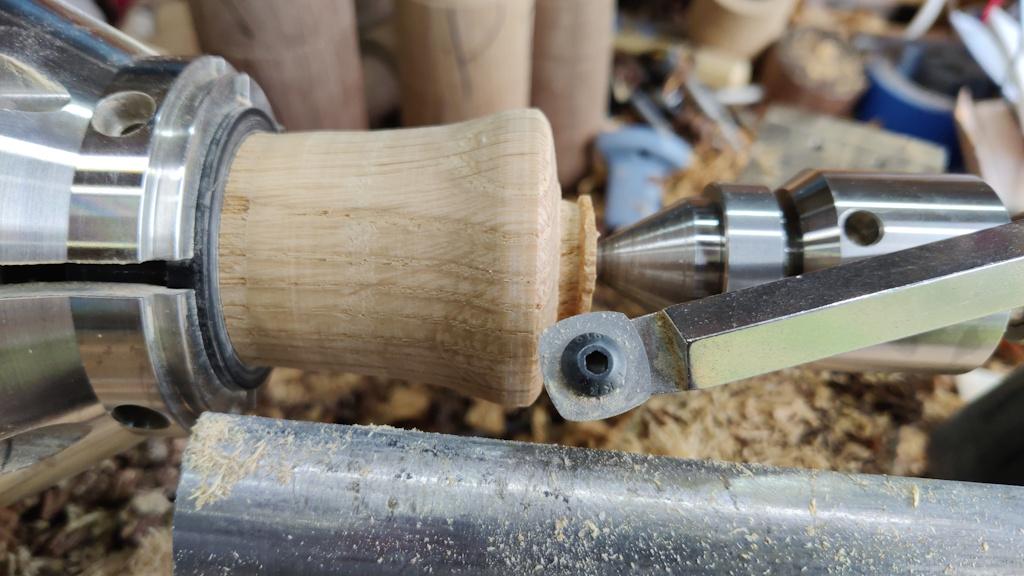
I used a spindle gouge to rough out the intermediate bits (I thought I'd got a photo of that stage but apparently not; however, you'll see one later in this post that gives the idea). I then used my "inept woodturner's saviour" tool to refine the shape:
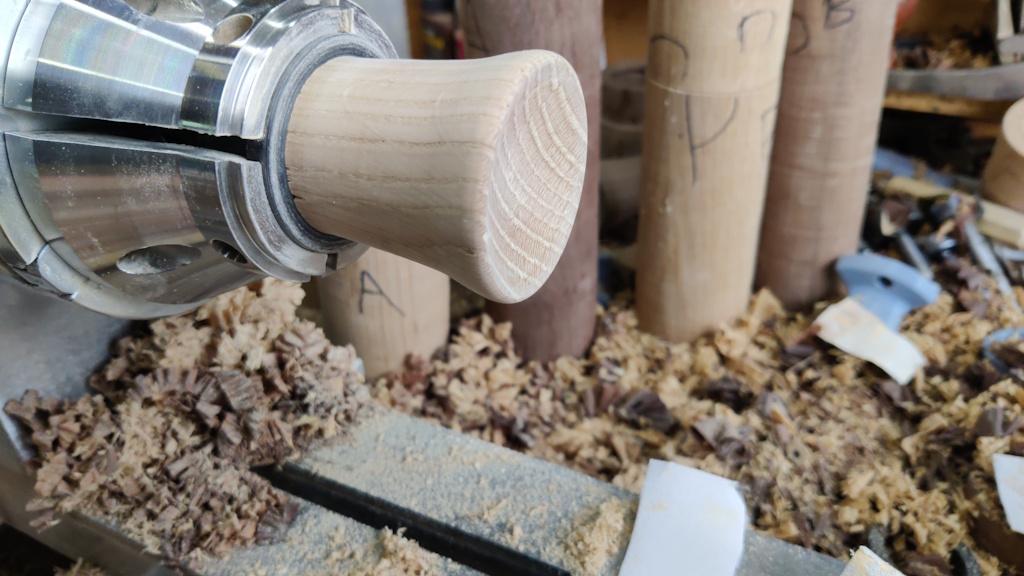
Finally, the lid was sanded:
From that photo you can see some imperfections near the chuck. I sorted them out by moving the part out slightly from the chuck and doing a little more sanding. Ideally, the black acetal bush that holds the part would be less than the diameter of the part (to give access to the corner); I might make a new one if I can be bothered.
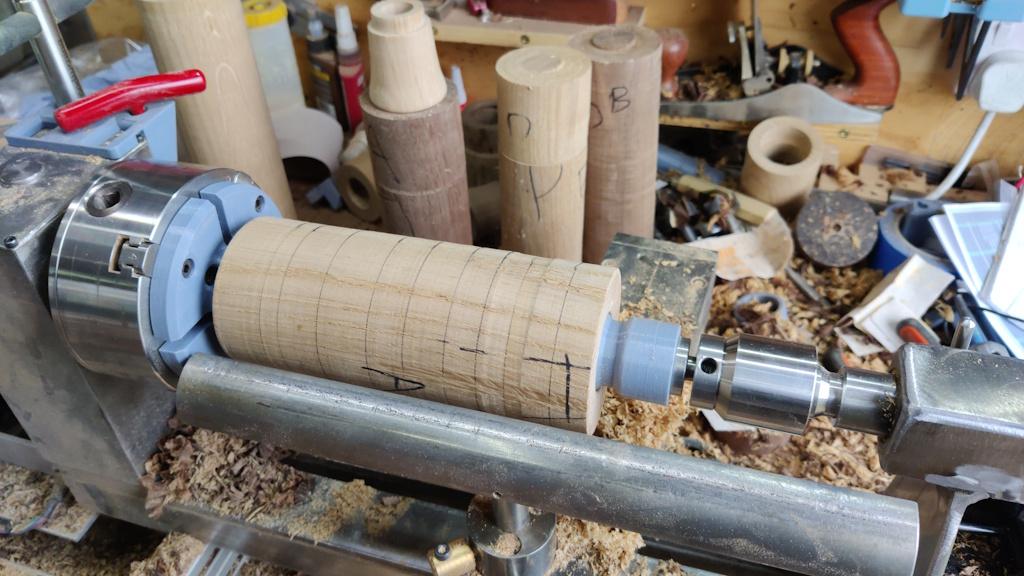
As I've now got two chucks, it's quite quick to have one set up with the O'Donnell jaws (and the acetal insert) and the other set up with my custom crushgrind internal-gripping jaws, so I decided to get on with the body rather than doing all the lids first. The body got mounted in the same was as before and pencil lines marked using the gauge as before:
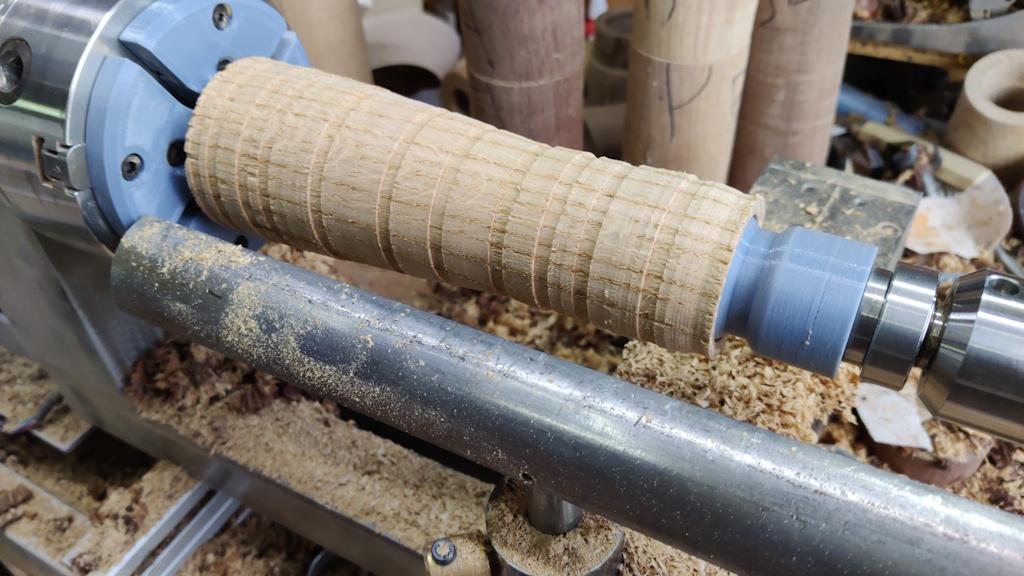
The parting tool then did it's thing:
I mentioned before that I'd missed a photo of the stage after roughing it down with a spindle gouge. This is that stage on the body:
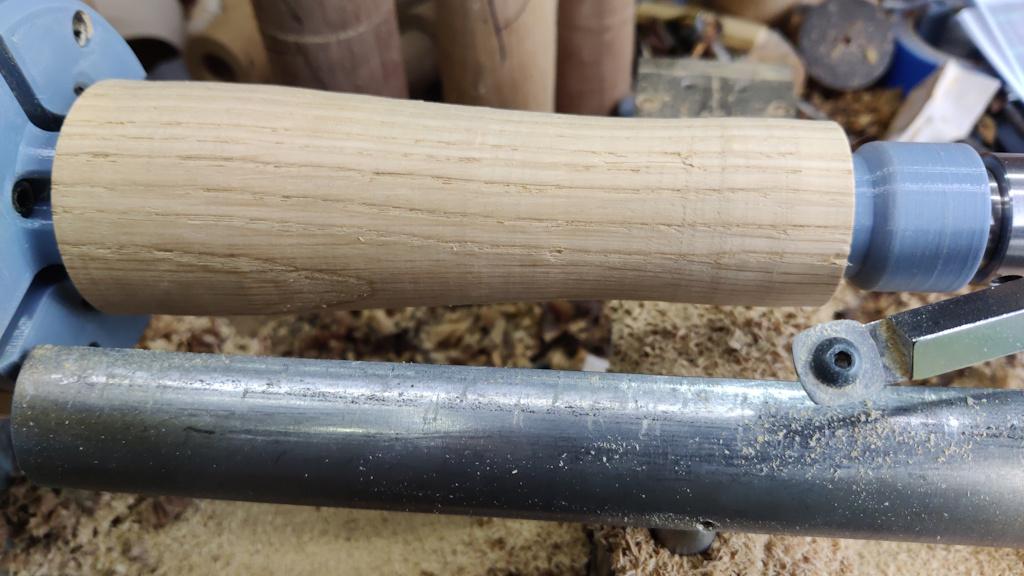
The "inept woodturner's saviour" got it to this stage quite easily:
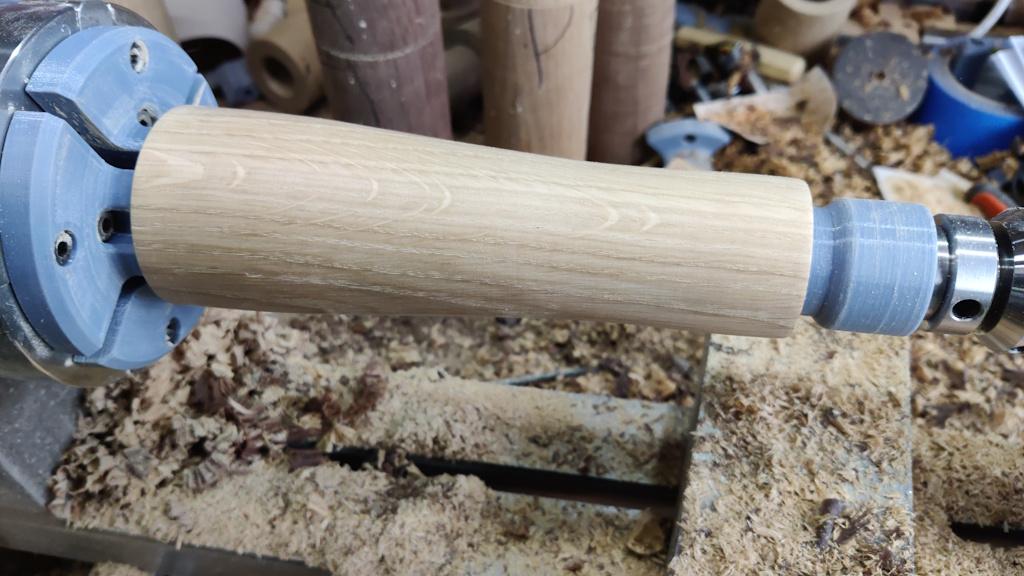
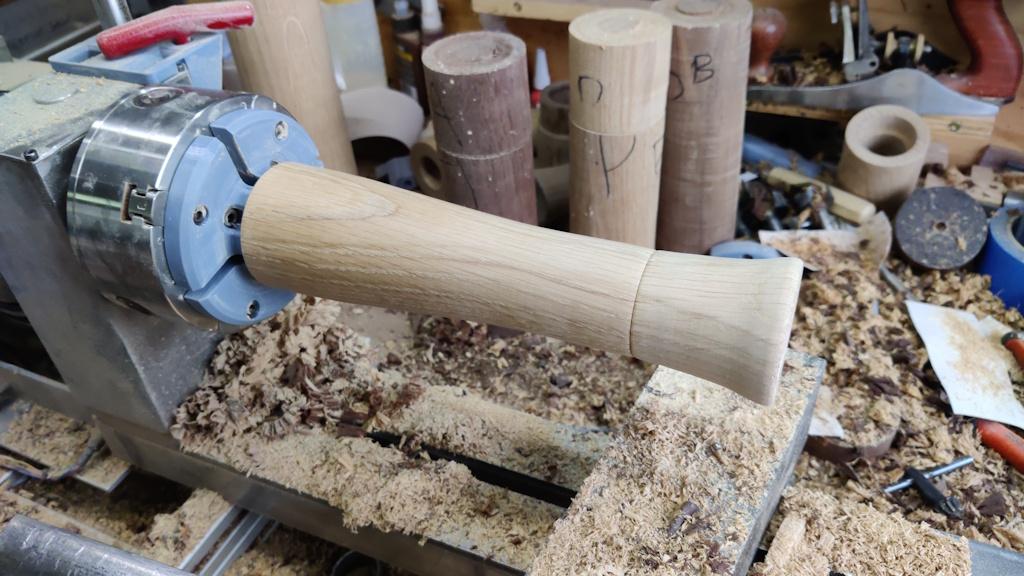
It was sanded through the various grits to this stage:
The final job was to do a trial fit with the lid:
That showed it being a slightly tight fit, so while the body was still in the chuck I used some 320 grit sandpaper on the inside of the body to loosen it up ever so slightly. I've erred on the side of caution there; I can always remount it and give it another touch of sanding later if required.
At that point, my head was telling me to stop. I tend to wear a JSP Powercap air fed mask when I'm using the lathe. While it's infinitely better than the Trend Airshield Pro thing I bought first (and returned when I realised it didn't seal to my face and the optional-extra ear defenders sat away from my ears and did nothing: it seems Trend assume everyone has a perfectly spherical head), the noise of the fan running next to my head does tend to get to me after a while and there's only so long I can keep going without needing a decent break. I'm not sure whether I'll get any workshop time before next weekend, but I'm pleased with how it went today. The shaping of the body went entirely according to plan; if I can repeat that success with the other three mills then I'll be very happy and will be able to call this project done.
Page 9 of 11
This website is free and ad-free, but costs me money to run. If you'd like to support this site, please consider making a small donation or sending me a message to let me know what you liked or found useful.

 Return to main project page