Salt & Pepper Mills Build Process
Page 8 of 11
Posted 22nd March 2025
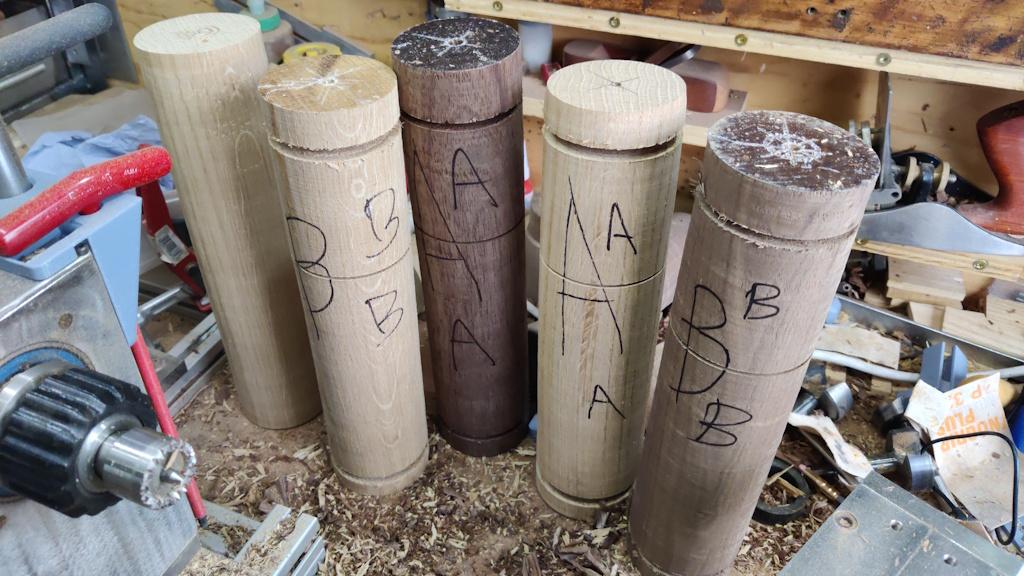
It was 5pm by the time we got back from the traffic-filled lands of the south-east of England, so I didn't get much workshop time today. I needed a little bit of quiet time though, so I thought I'd go and do a tiny bit. I started by marking the break lines on four of the blanks and using parting blades to turn those marks into grooves, much as I did last time:
There's a spare oak blank there for when I inevitably mess something up; I've got some spare walnut as well (still in square section), but I've also got a walnut mill blank that hasn't actually been messed up yet: the lid has been turned but not the body. The lid isn't as nice as the two I finished a week or two ago, but it'll do if I mess up both the walnut blanks I've got prepped.
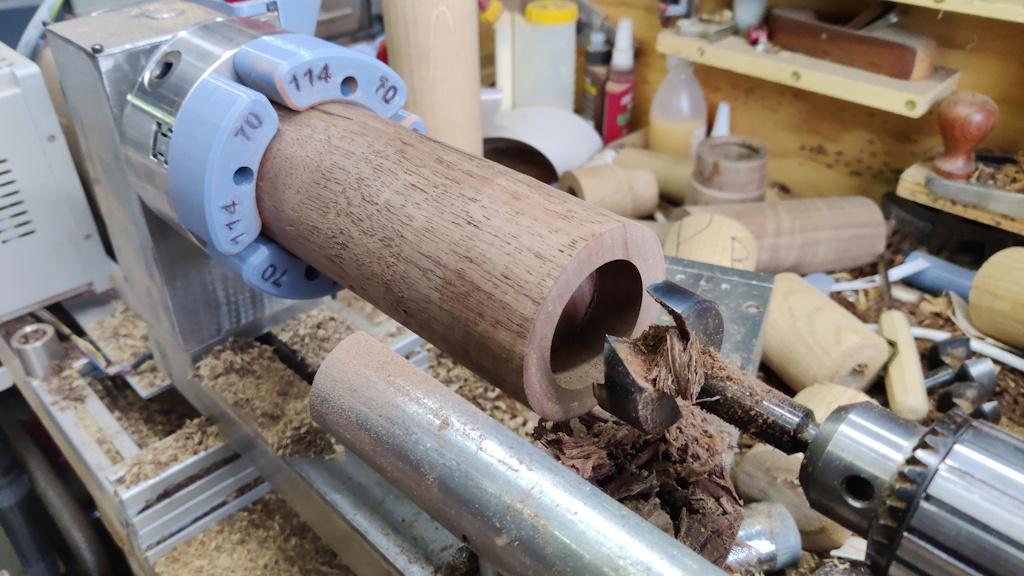
For a bit of an experiment, I thought I'd try using some 3D-printed cylindrical jaws. They worked remarkably well, with no hint of slipping even when drilling with a 45 mm Forstner bit:
I drilled the 45 mm pocket, then the 38 mm one and then used a 28 mm one for the peppercorn pocket this time (if you remember, I used 26 mm last time but opened it up at the upper end a bit; the instructions say 25 or 26 mm). I can't see a reason why 28 would be a problem and a bigger cavity means more pepper storage.
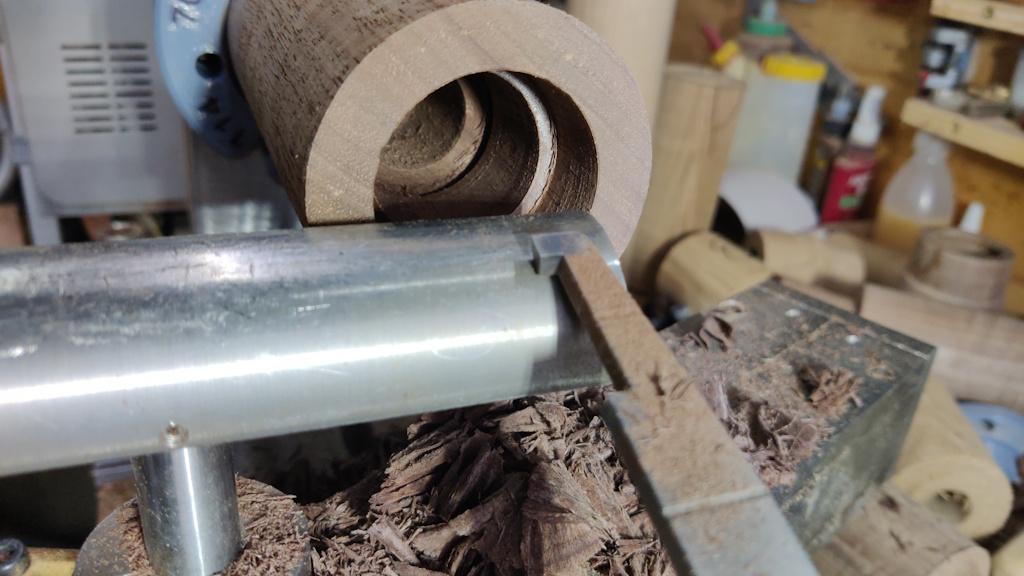
I also used my home-made tool to cut the groove in the base of the mill:
At that point all the driving and plodding through traffic started to hit me and I decided it was time to open a bottle of Brains Dark and relax for a bit.
Iechyd da!
Page 8 of 11
This website is free and ad-free, but costs me money to run. If you'd like to support this site, please consider making a small donation or sending me a message to let me know what you liked or found useful.

 Return to main project page

