Mini Moravian Bench Build Process
Page 15 of 38
Posted 13th July 2025
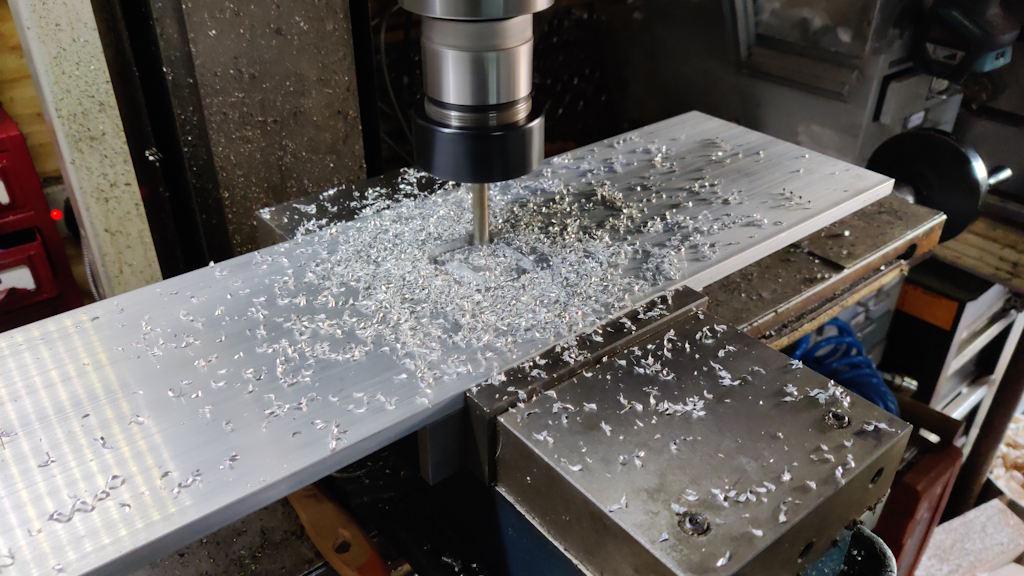
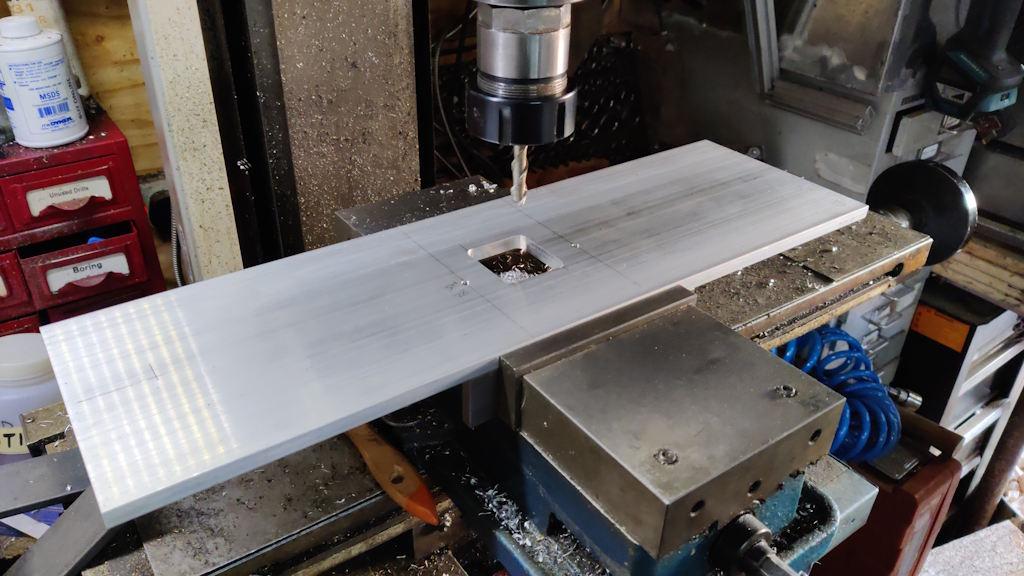
I made it into the workshop at 4.30am and it was a lovely temperature. After a bit of rearrangement of bandsaws and clutter, I set up a recently acquired bit of 10 mm thick aluminium plate in the milling vice and attacked it with drills, taps and an end mill:
After tidying up the swarf:
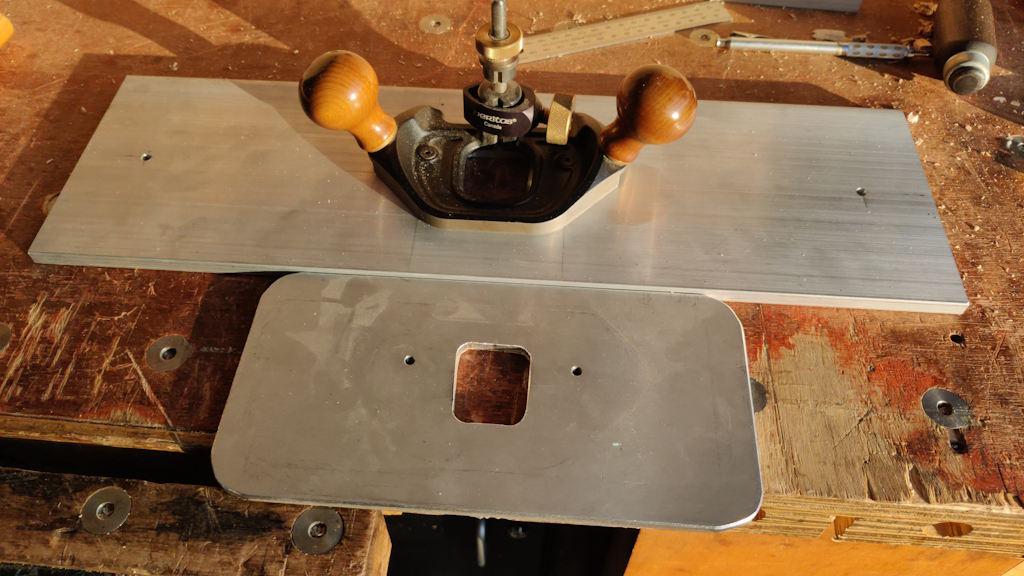
It's a new, thicker & larger version of my router plane base; here it is next to the old one:
It still needs the corners rounding off and at some point I'll make some handles to attach to those 6 mm (and countersunk from underneath) holes near the ends, but it's usable as it is. When I was doing the big angled bridle joints on the garden table, I found that, while the smaller aluminium plate helped a lot, it wasn't big enough for getting at the extremes of the joints. As this bench is going to have some fairly hefty tenons, it seemed a sensible time to upgrade the base plate.
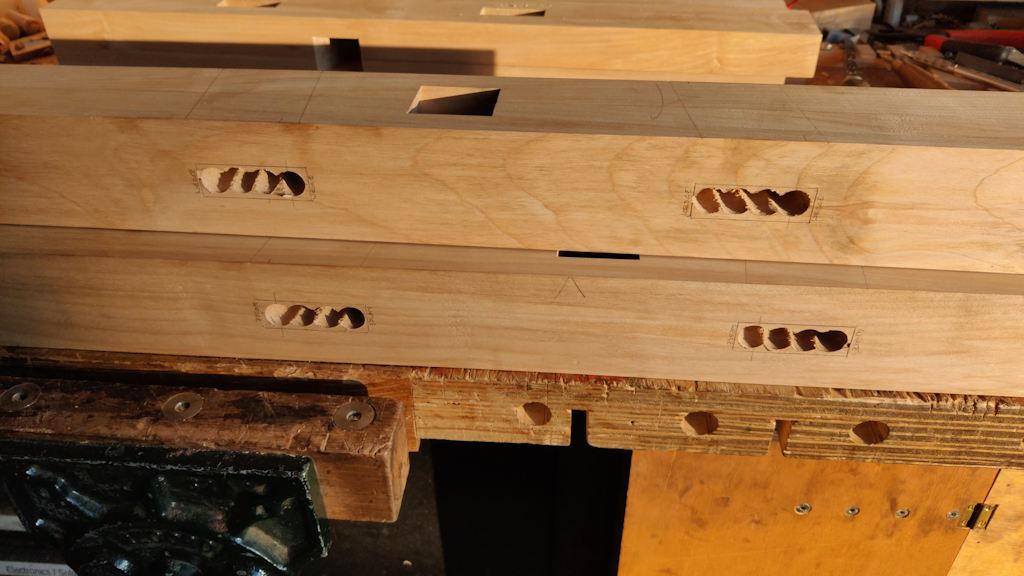
With that done, it was 5.30am and still too early to be making much noise so I got the brace out and drilled through all the mortices:
The sun was coming into the garage by that point (which only happens in the very early morning in the weeks around the summer solstice). That and the fact it was still too early on a Sunday morning for noisy hammering made me decide that it was time for coffee and breakfast! It was nice to be able to sit in the garden (which is still in the shade) for breakfast: by the time I'm usually up and about at the weekend, the sun is already beating down on the garden and I retreat indoors.
Page 15 of 38
This website is free and ad-free, but costs me money to run. If you'd like to support this site, please consider making a small donation or sending me a message to let me know what you liked or found useful.

 Return to main project page


