Mini Moravian Bench Build Process
Page 24 of 38
Posted 27th July 2025
When I made some bar clamps a few years ago, I made them dismantle-able:
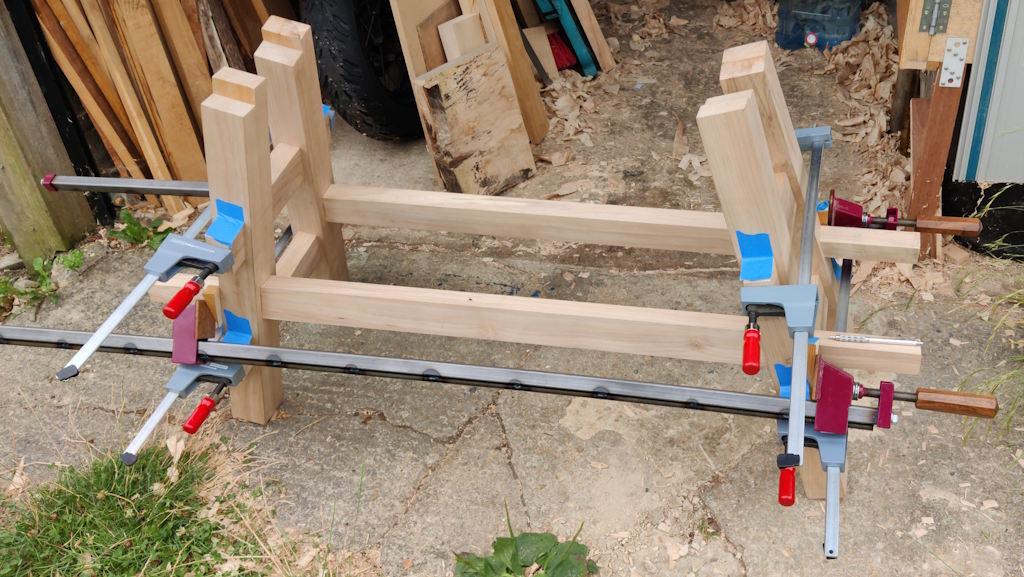
I also made some much longer bars for when I needed to clamp long stuff (I also made it possible to join multiple bars for really long stuff). I've never had to use the longest bars until today:
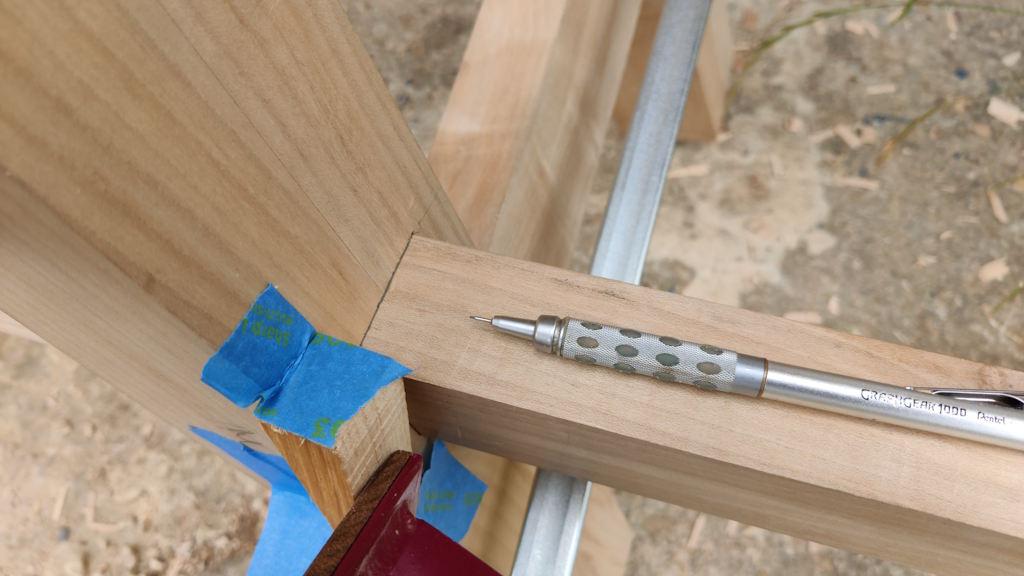
With the frame clamped together like that, I could draw a pencil line showing where the mortice needs to start:
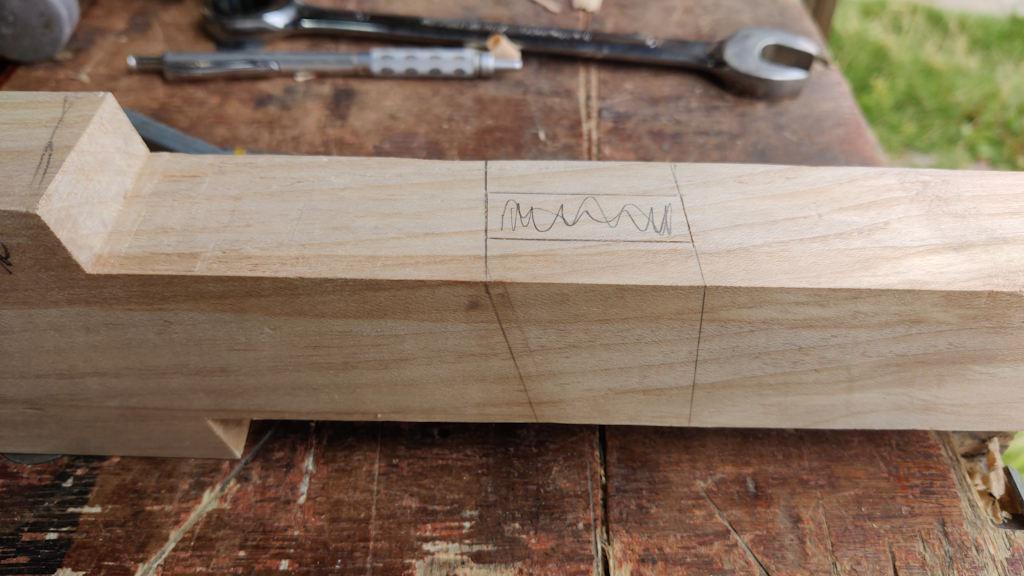
It'll need a bit of extra clearance (so I'm clamping onto the leg, not just wedging into the mortice), but it seemed easier to start with that mark. I marked out what seemed like a sensible size mortice, with a 10° angle between the two sides of the mortice:
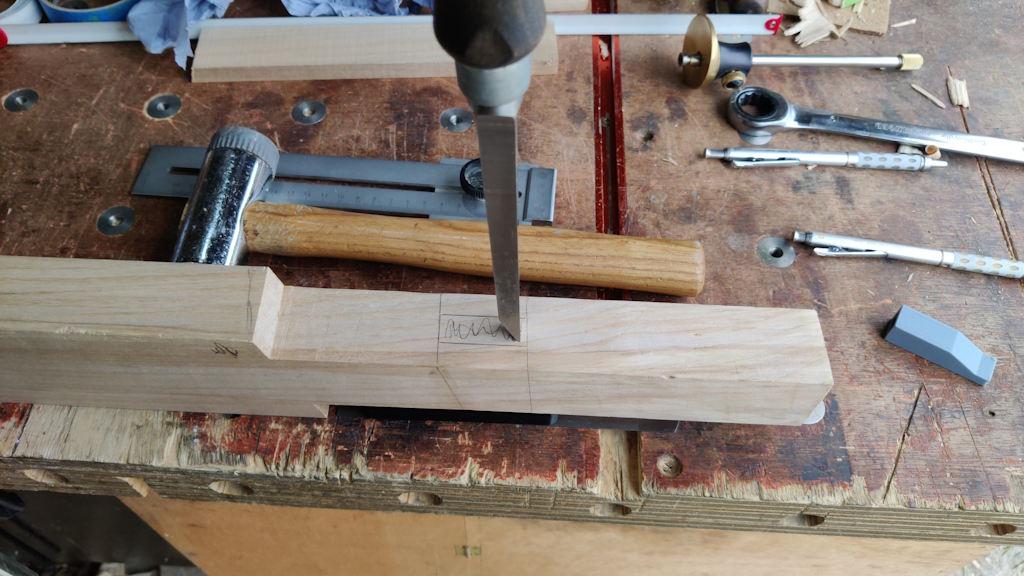
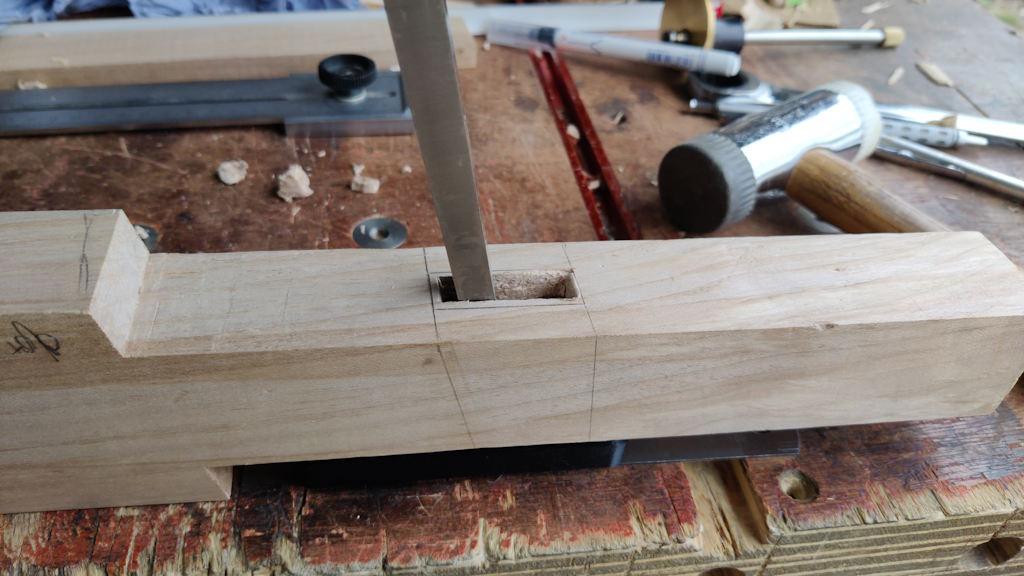
It was then time to start chopping with a 10 mm mortice chisel (and a conveniently sized support block under the tenon so I wasn't chiselling over air):
A bit further through the chopping:
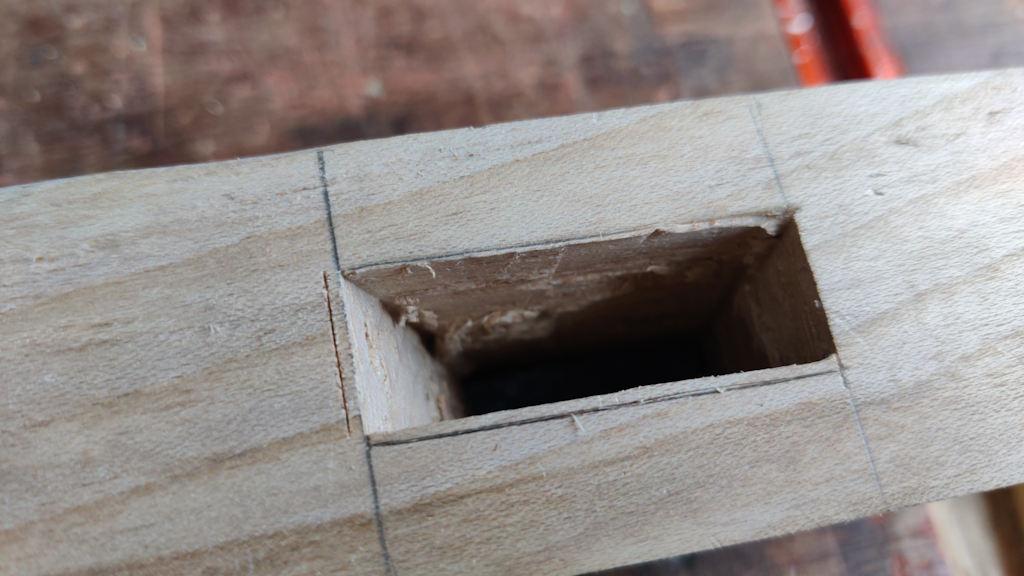
I went a bit over half-way through, then flipped it over and came in from the other side. Once the basic shape was roughed out, I marked a line a millimetre from the edge to expand the mortice so that the wedge does its job properly:
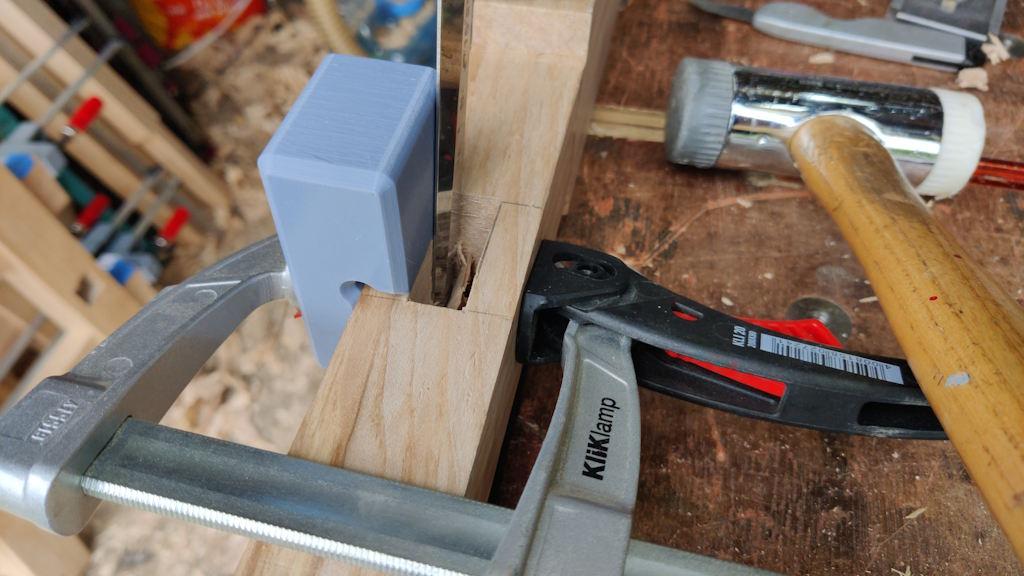
I later went back and made that 2 mm to be on the safe side. With everything else done on the mortice, the last thing to do was pare the sides, for which I'd conveniently printed another paring guide:
The actual width of the mortice isn't that important and it wouldn't be the end of the world if the sides aren't perfectly parallel, so I think it's fine to reference off the two different faces for the paring cuts. Using the paring block leaves a nice smooth finish on the sides.
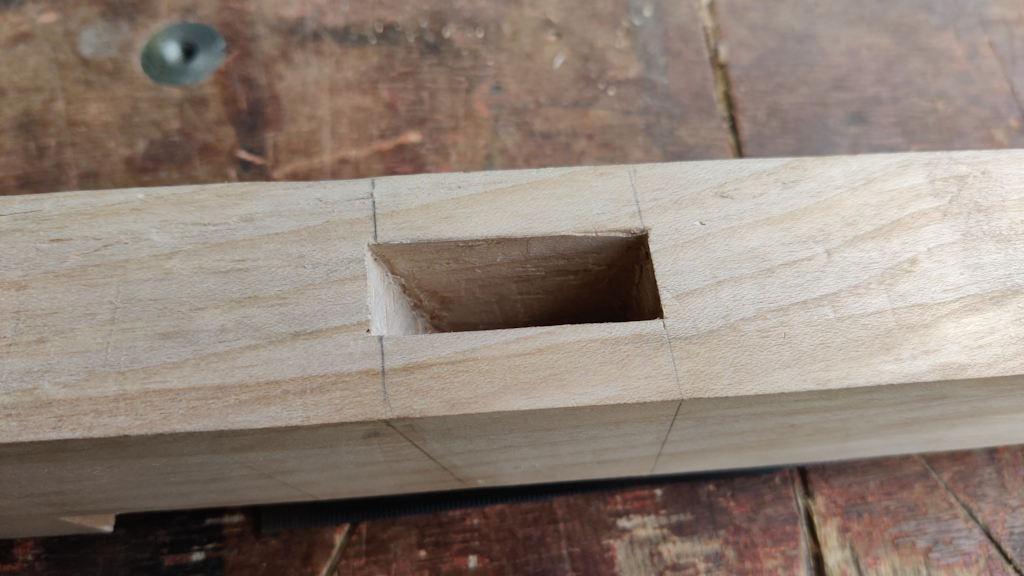
With that, the first mortice was done:
After taking that photo I noticed the little sticking out bit in the top-right, so I re-fitted the paring guide and sorted that out.
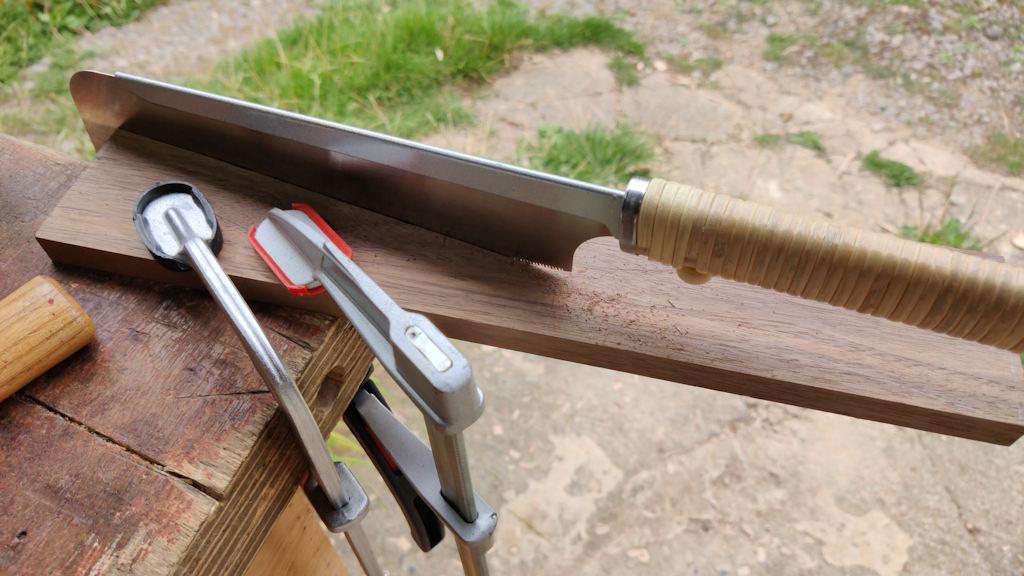
I haven't decided what wood to use for the wedges, although it'll probably be Sycamore. The off-cuts from cutting the stretcher tenons are a bit thin, and I don't have any other bits of Sycamore close to the right thickness so for now I rummaged around in the drawer and found a bit of American Black Walnut. That got Dozuki'd in half:
I really love the smell of ABW...
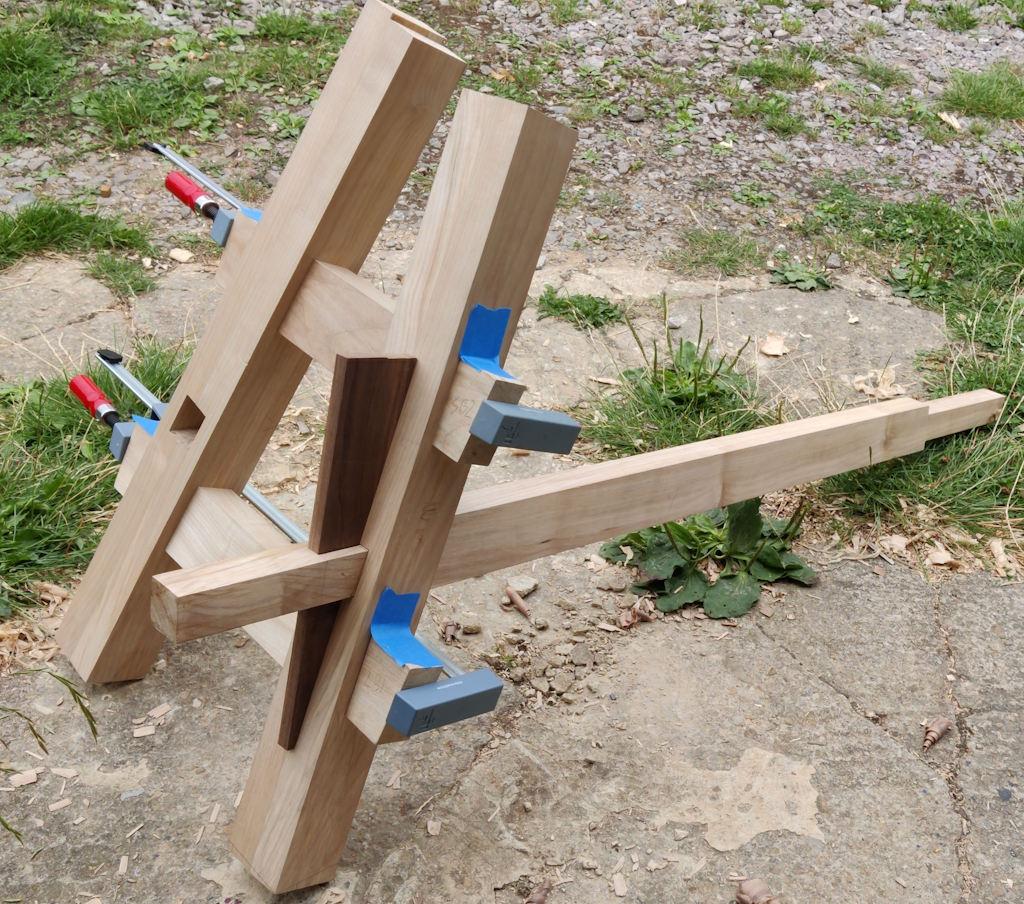
Once it was chopped at the right angle, I planed the faces to get it to the right thickness and then planed the edges approximately at the 92.2° angle of the leg-stretcher interface. Once that was done, I could do a trial fit:
To say the wedge is a bit over-size at the moment would be a bit of an understatement, but it was really just for testing. It seems very rigidly held together, which is good. The wedge also came out with a few mallet taps and then the stretcher came back out easily so that's all looking promising.
Three more to go!
Page 24 of 38
This website is free and ad-free, but costs me money to run. If you'd like to support this site, please consider making a small donation or sending me a message to let me know what you liked or found useful.

 Return to main project page
