Mini Moravian Bench Build Process
Page 33 of 38
Posted 10th August 2025
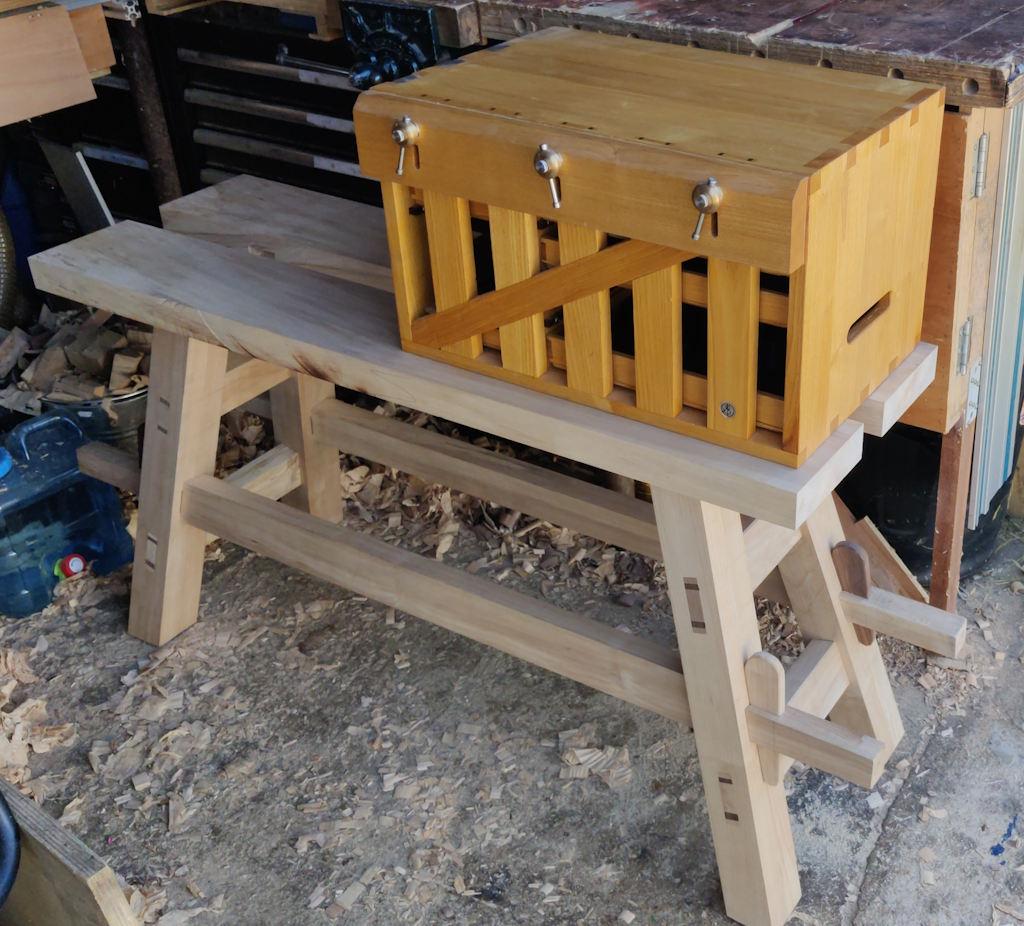
It's getting much too hot to do anything useful in the workshop now, but I couldn't resist doing some quick experiments to see how it'll look and work. The first thing I did was place it next to my bench and put the travel tool chest on top. I'm happy to say that the top of the tool chest is at about the same height as the top of the bench, so I can count that as the first success!
I haven't ruled out shortening the legs of the bench (at the bottom, obviously), but if I do that I'll make some planks to go under the tool chest and lift it up to keep the same top surface height. One advantage of doing that would be that it would make sitting-down chisel work (where I'm sitting on the bench and chiselling on the top of the chest) more comfortable (probably). I'll do some experiments when I'm on holiday and see what feels right.
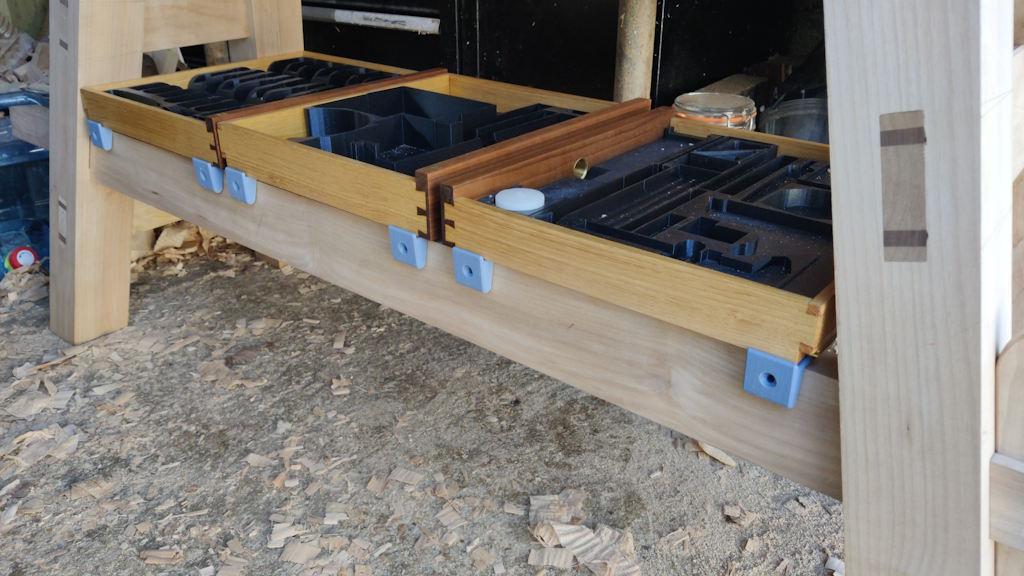
I can also confirm that there is definitely space for three drawers to sit on the stretchers:
They're currently on some simple 3D-printed brackets, but the brackets are just resting there at the moment. I haven't decided whether to screw them to the stretchers or use double-sided tape (or something else) and I expect I'll probably tweak the design a bit (if I can think of ways to improve them). The final brackets will get printed in a different filament, probably the "Galaxy Black" PETG used for the drawer liners (but I'll have to buy some more of it first!).
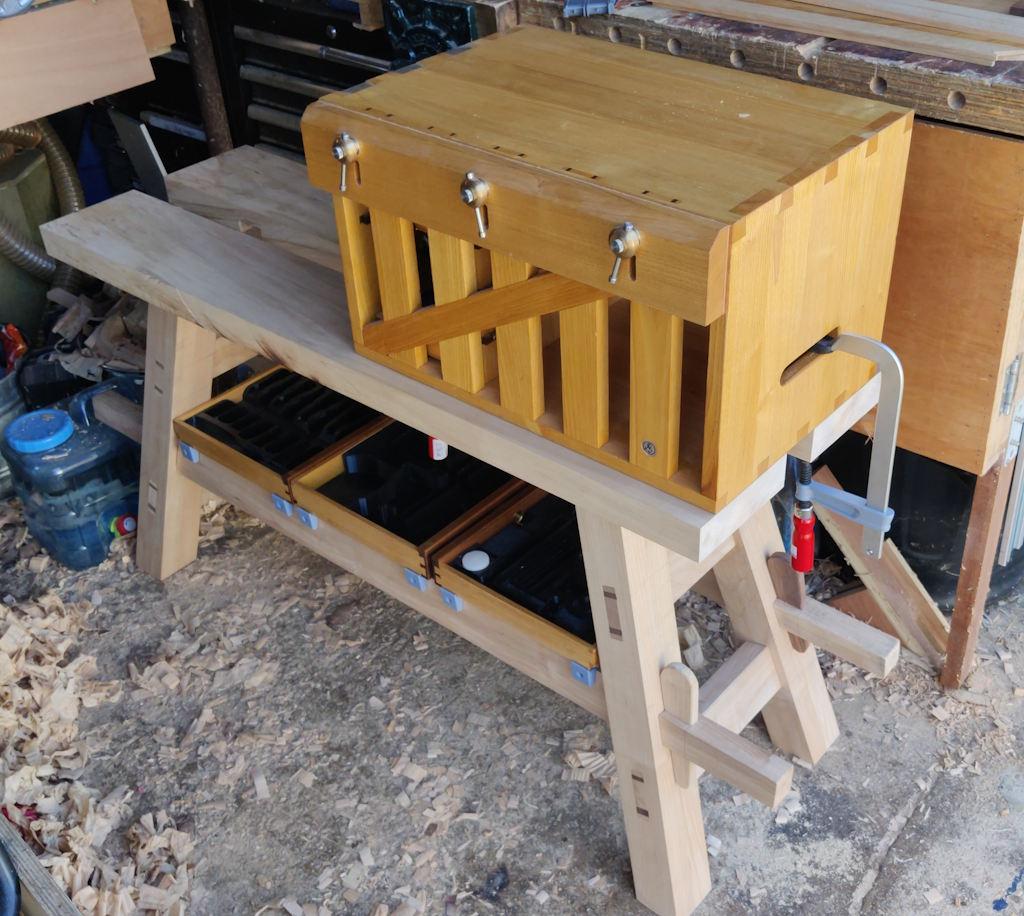
With the tool chest sitting on top, it occurred to me that it would be good to test clamping it down using the hand-hold holes, which works fine:
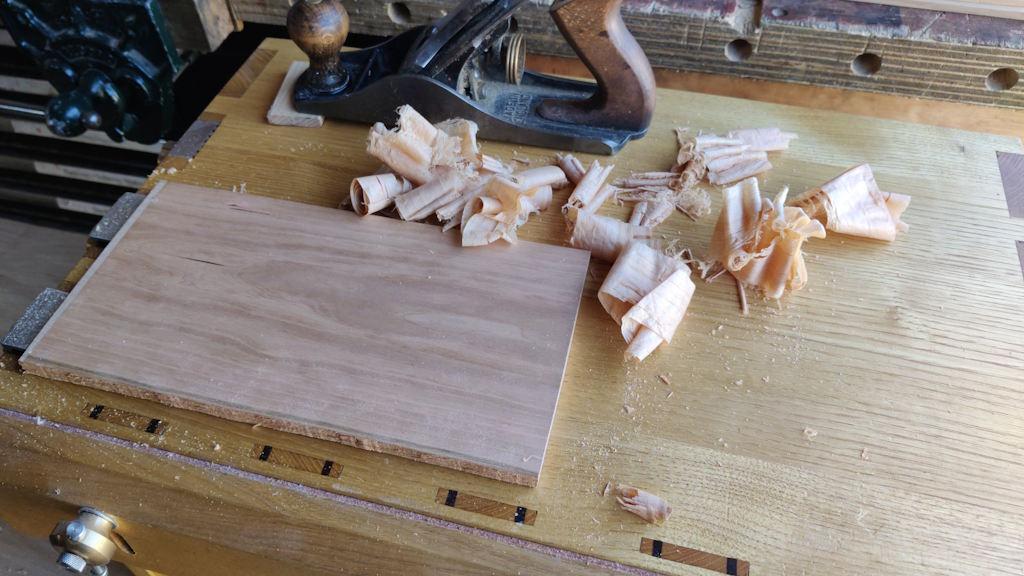
That in turn allowed me to try planing on it to test how sturdy it felt. I grabbed a bit of bandsawn cherry and planed it smooth, first with a #5 (just because I knew it was already set for a fairly heavy cut) and then a #4:
The chest didn't budge at all, which is a great result. When I was taking heavy cuts with a plane and with the chest on the Makita mitre saw stand, it would occasionally lift up the end of the mitre saw stand under the force of planing. I dealt with that by leaning my foot against the saw stand's leg, but the mini-moravian bench is a lot heavier and I think that helps it stay put without any extra help.
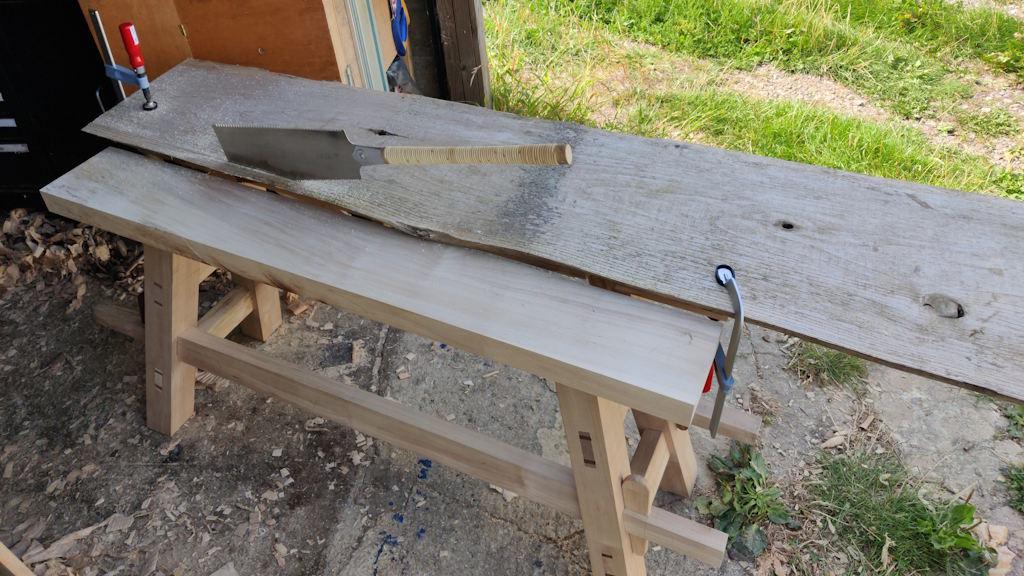
The final thing I thought I'd try is one of the extra benefits I'm hoping to gain from this bench: somewhere to do long rips. I had a bit of Western Red Cedar in the garage and I clamped it to the bench and ripped off the edge with the big Ryoba:
It worked like a charm so I'm really happy with that. The height felt about right for ripping. I started off with my knee on the cedar board (for comfort rather than stability: the clamps are doing the stability job) and it felt a good height for my knee. Towards the end of the board I just stood at the end without adding any extra weight to the cedar board and once again it felt nice and solid and stable.
We've got a heat wave coming over the next few days so I'll be doing my best to find excuses to be in an air-conditioned office as late as possible and then hiding from the sun when I get home; there won't be much in the way of updates on this project until the temperature cools down!
Page 33 of 38
This website is free and ad-free, but costs me money to run. If you'd like to support this site, please consider making a small donation or sending me a message to let me know what you liked or found useful.

 Return to main project page