Mini Moravian Bench Build Process
Page 32 of 38
Posted 10th August 2025
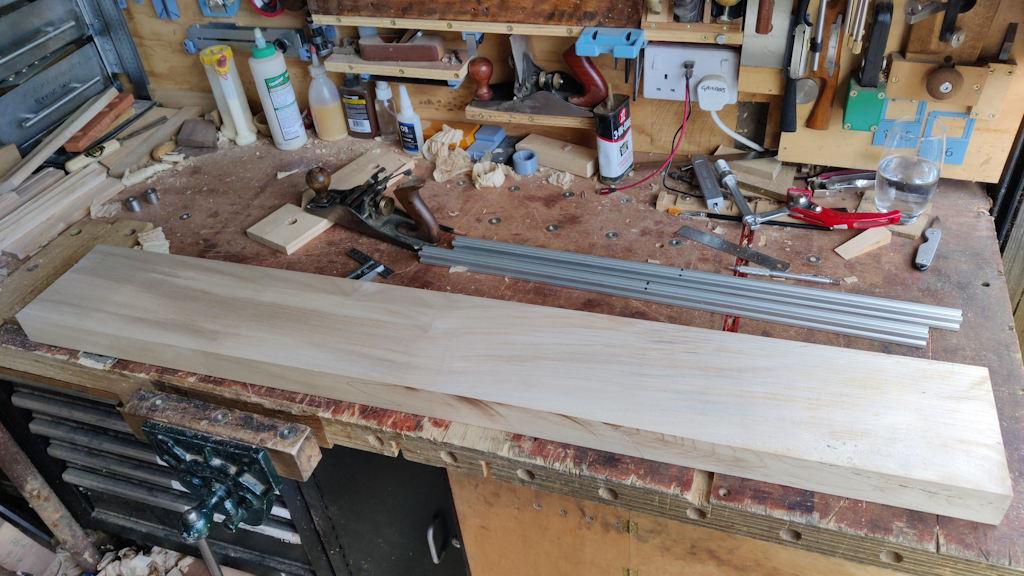
As I said in the last post, the next job was to smooth up the underside of the top planks (with a Stanley #4)...
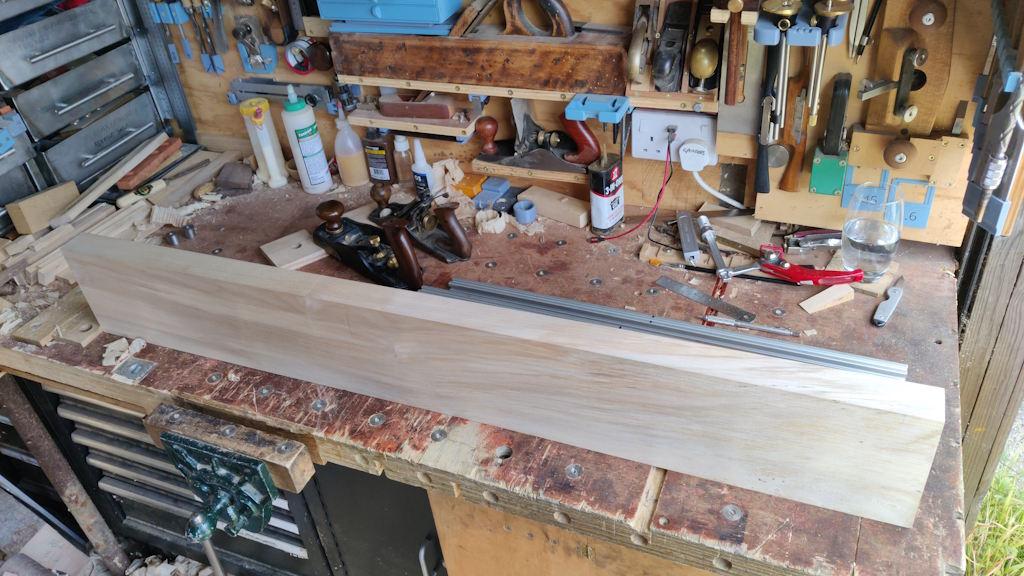
... and then get the inside edge perpendicular to the bottom face (with a high angle blade in a Veritas smoothing plane as the grain looked like it was going up and down a bit):
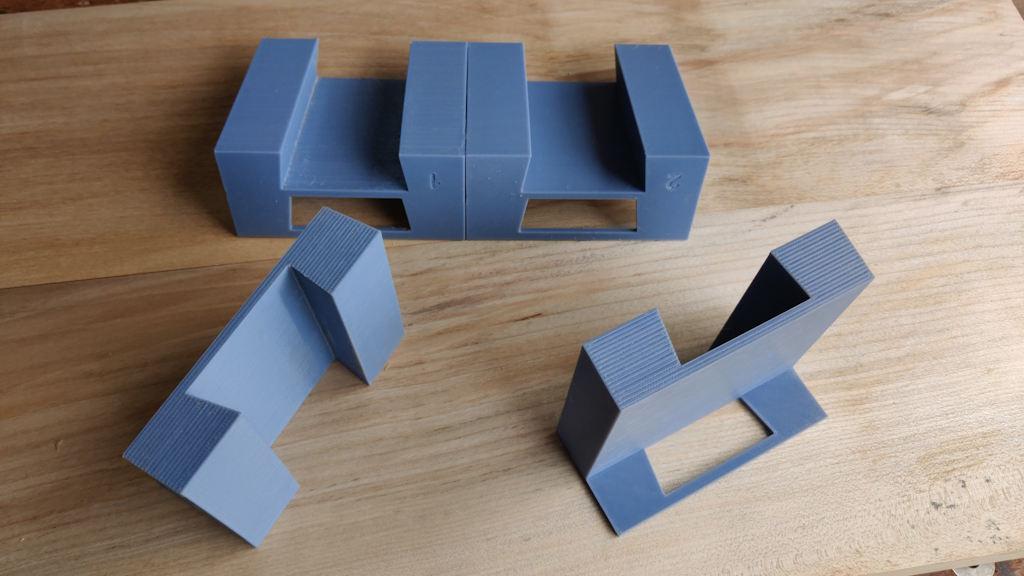
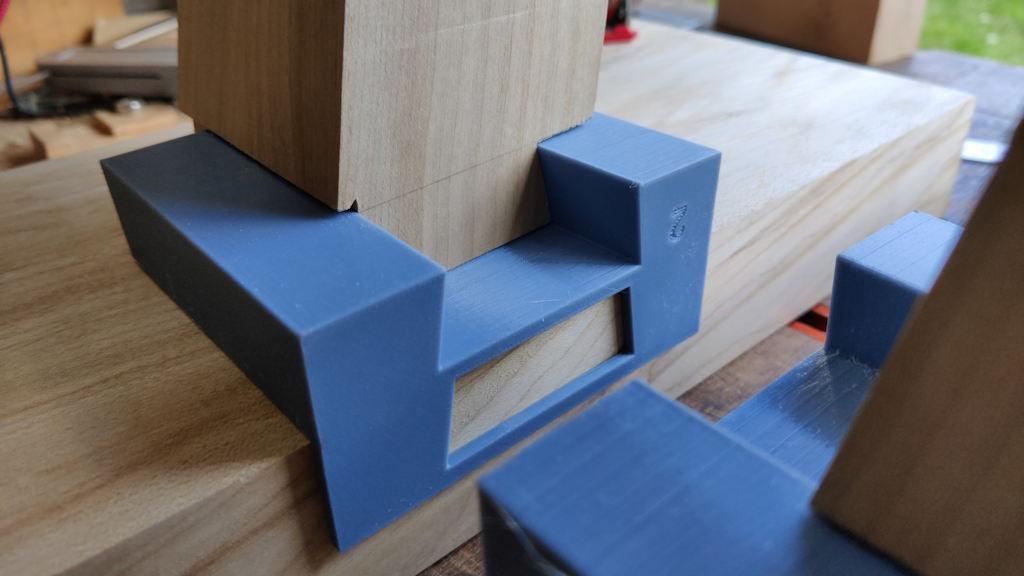
This brings us on to the next set of jigs/gauges from the 3D-printer:
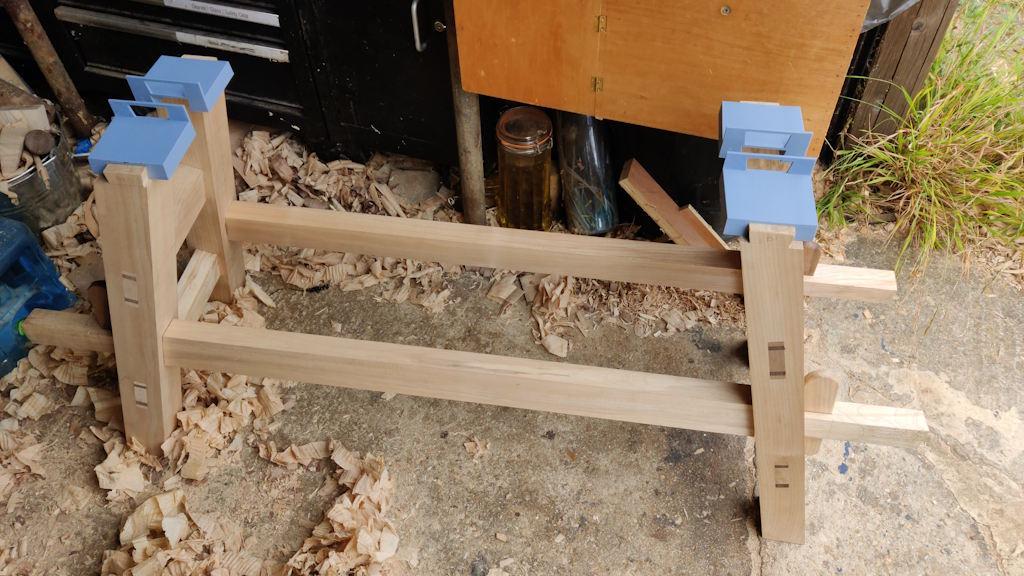
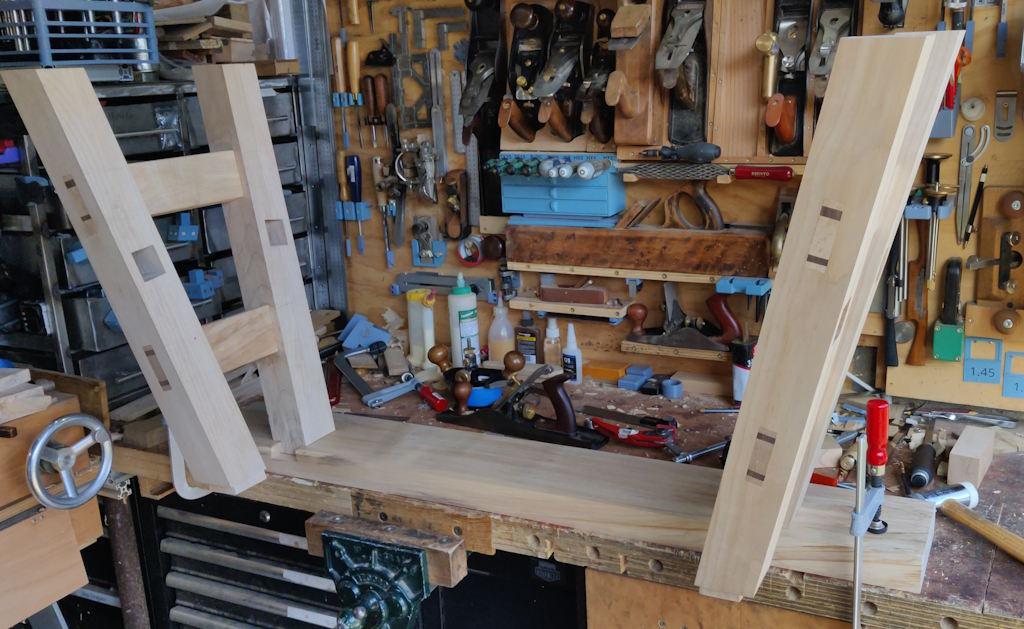
They got mounted onto the legs and tapped home until they're nice and snug on the taper:
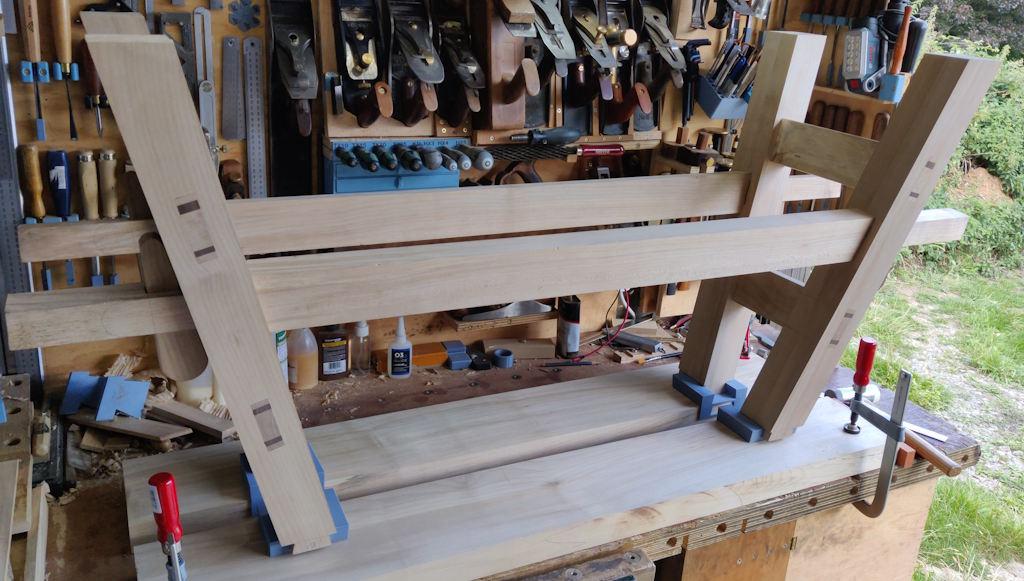
The top planks then got clamped to the bench and the whole frame got flipped over and plonked down on top:
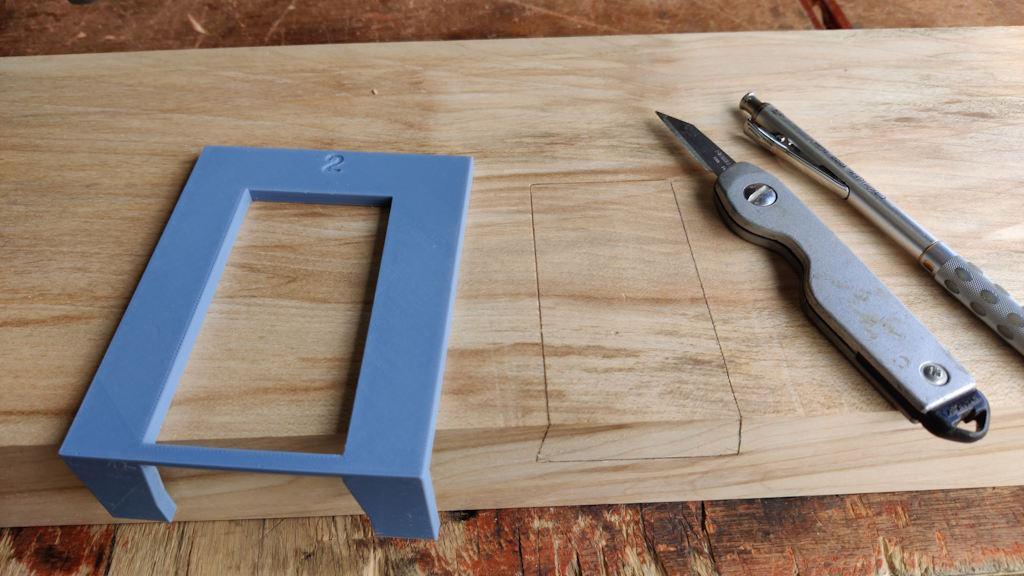
The little marking gauges show where the end of the dovetail needs to be marked onto the top pieces...
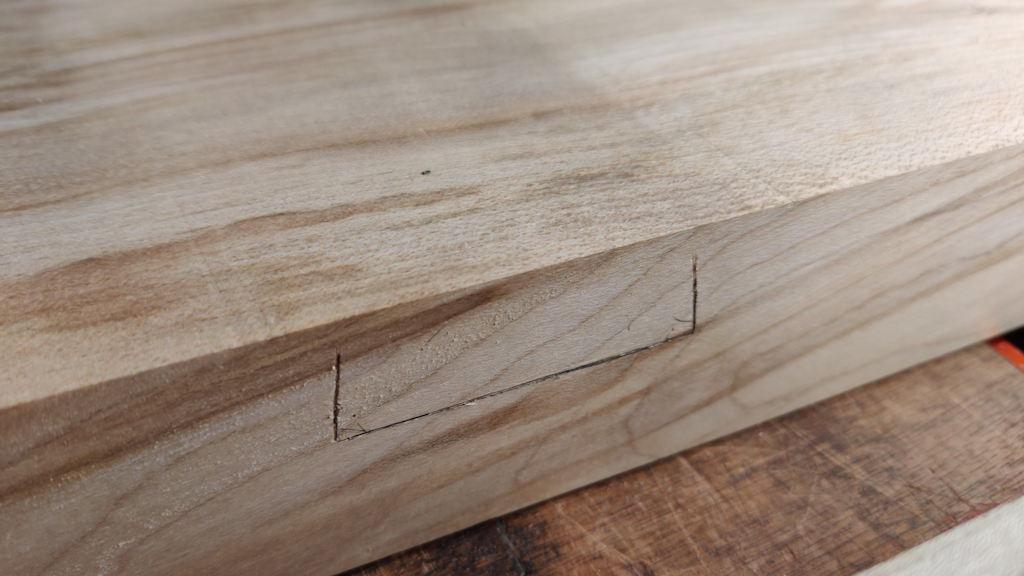
... leaving a mark that looks like this after following the gauge edges with a knife and then going over the knife lines with a pencil:
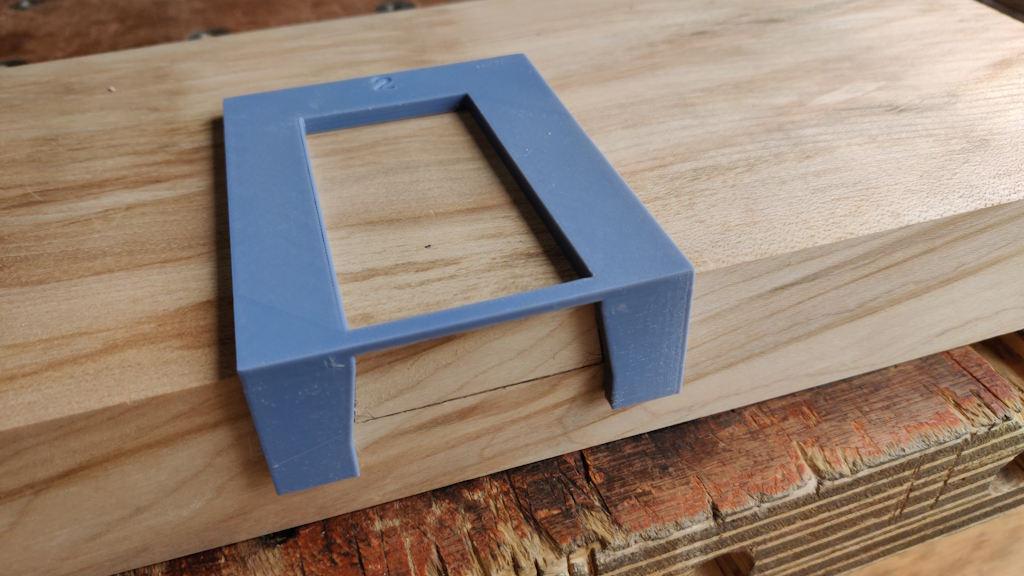
The lines don't go all the way to the top for the simple reason that I couldn't get the knife to the correct angle to be able to get into that part of the gauge due to the other top piece getting in the way. However, that's easily sorted, using the next little gauge, which also has the taper angle built into it...
... and leaves these marks on the top pieces:
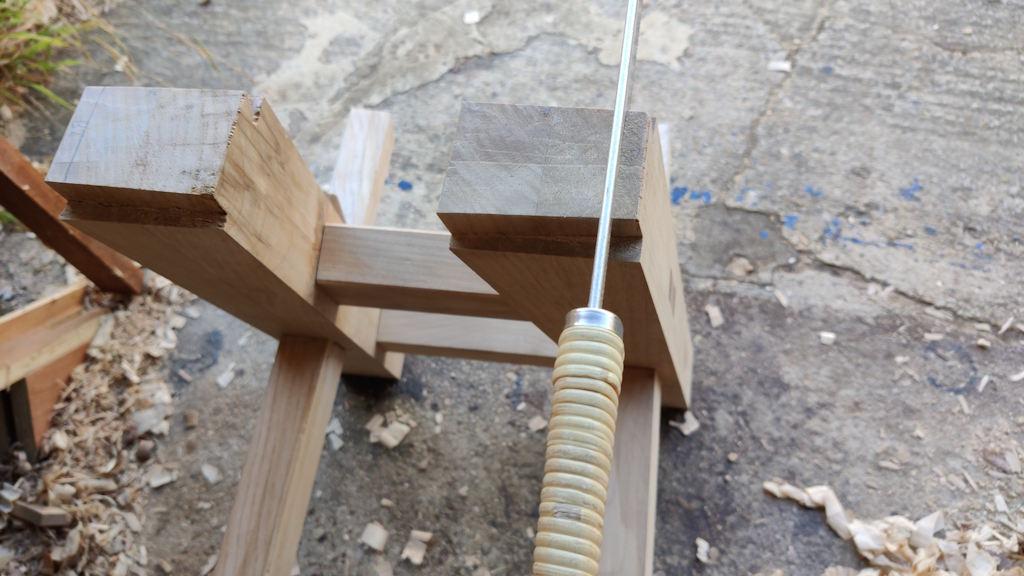
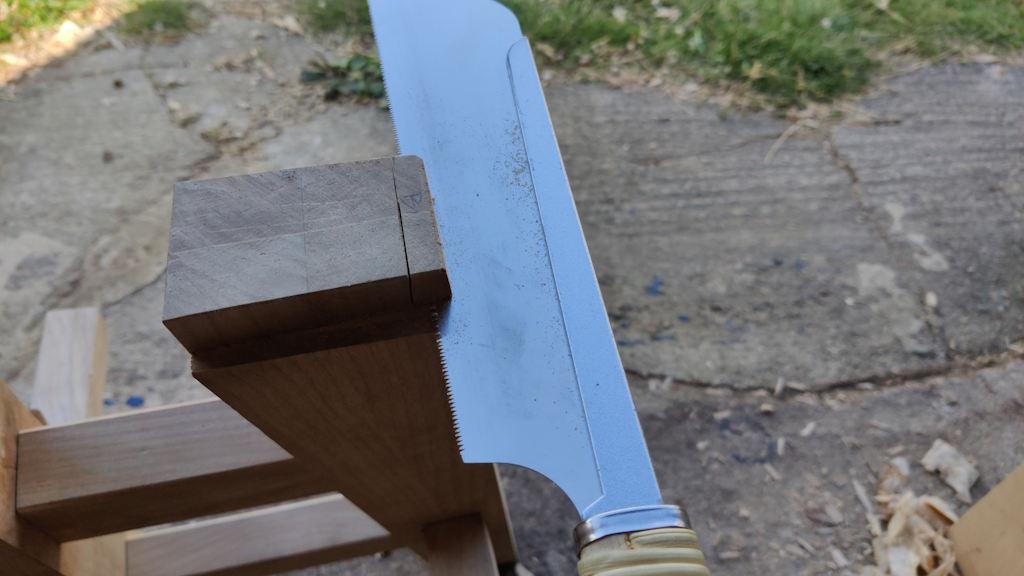
Before cutting the mortices, I needed to truncate the tenons so that the end of the socket is hidden nicely underneath (or should that be on top of?) the leg. I did that with a (rip-cut) Dozuki, starting by sawing straight down about 10 mm from the end...
... and then coming across slightly above the shoulder line...
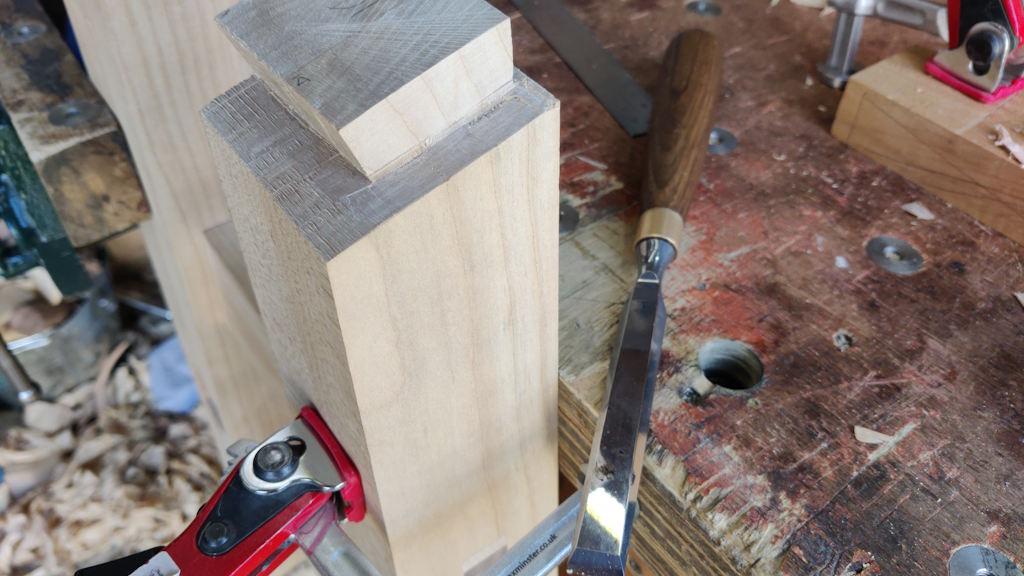
... before cleaning up the shoulder with a chisel:
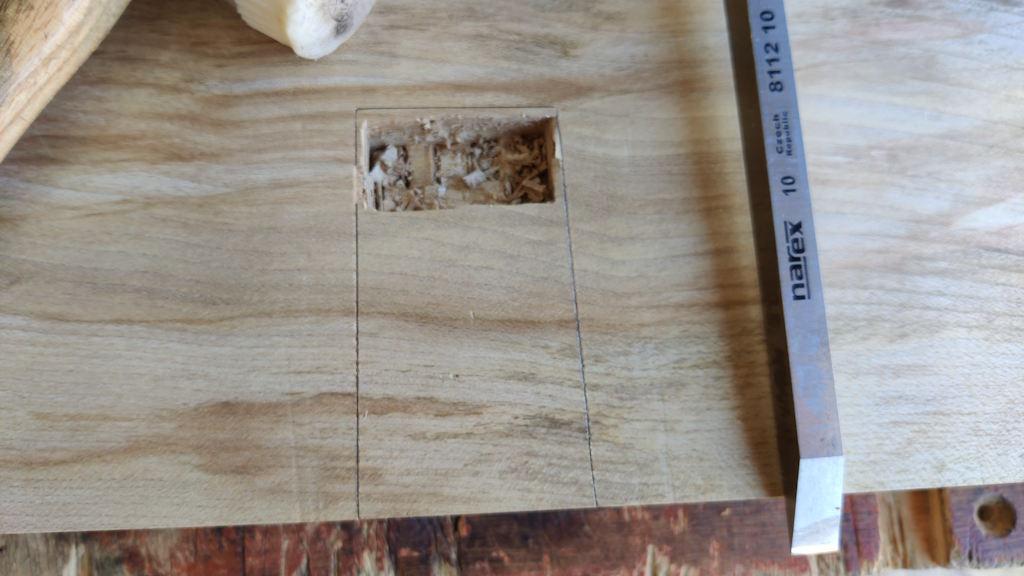
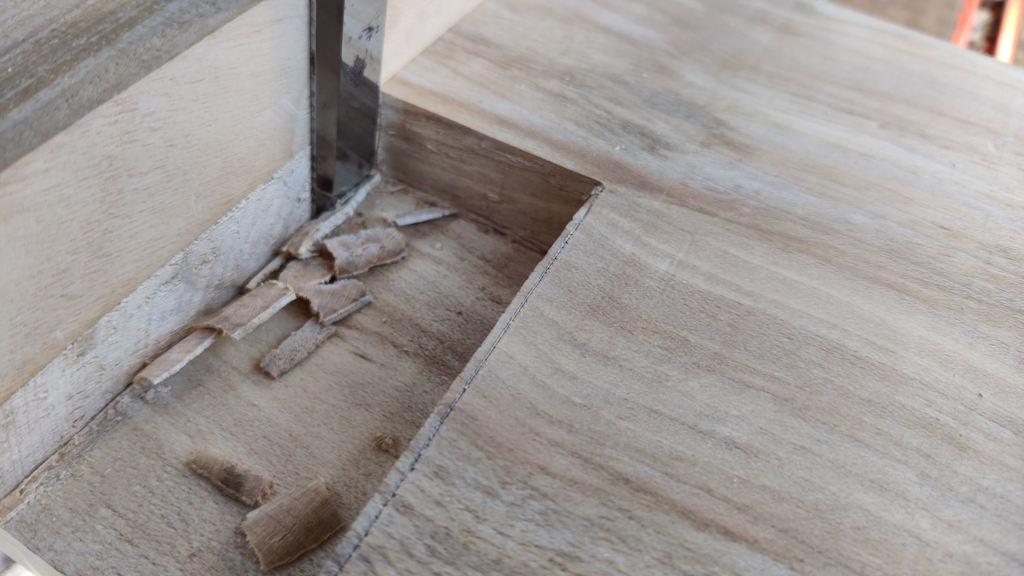
The tapered dovetail housing sockets were cut in a similar way to how I've done them in the past. I started with a 10 mm mortice chisel to open up a roughly 20 mm wide pocket at the far end:
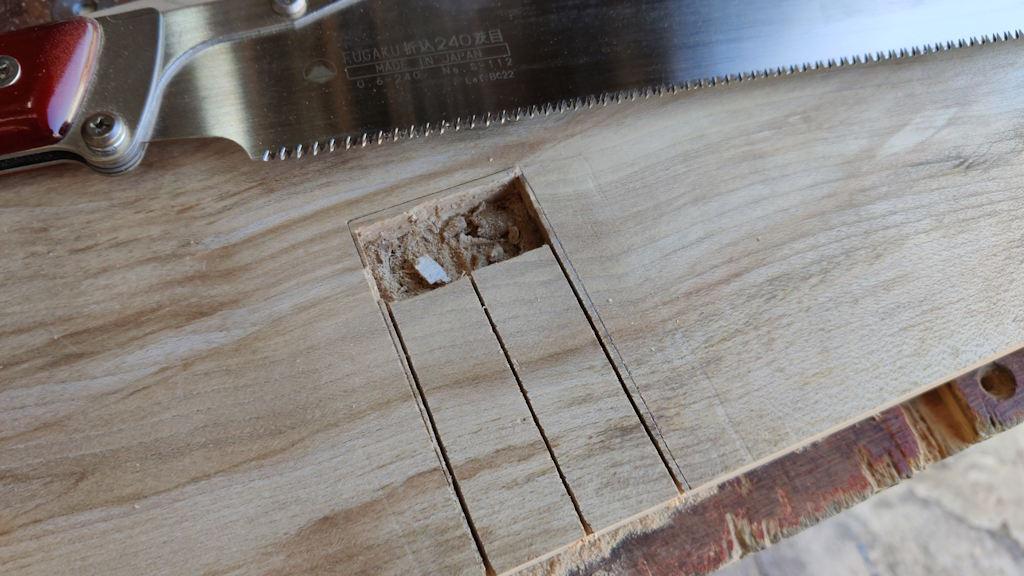
I then used a saw (initially a cross-cut Kataba but later a cross-cut Dozuki) to saw three cuts:
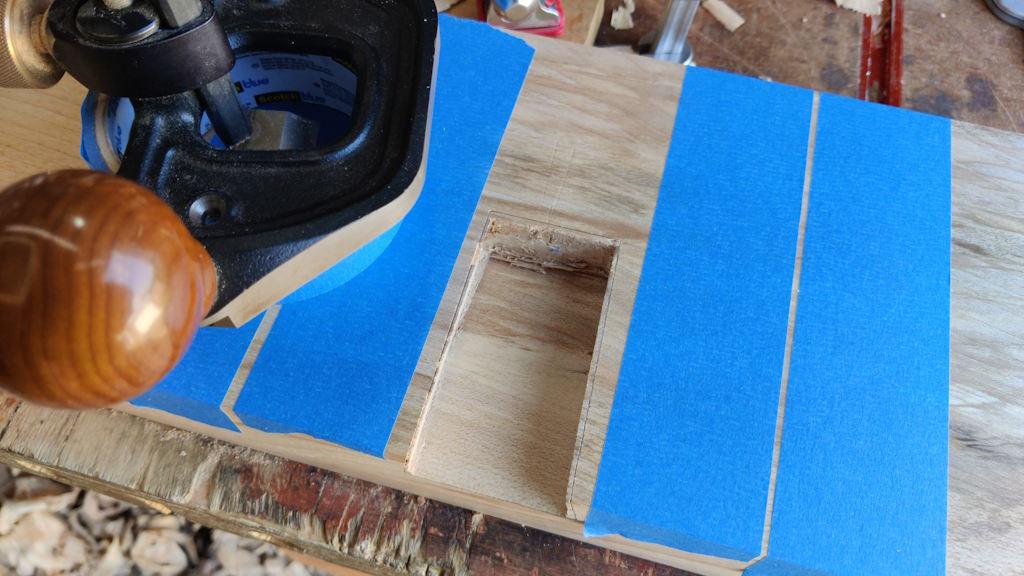
The router plane sorted out the bottom of the pocket:
To get the socket edges at the right angle, I made a simple paring guide by planing a chamfer onto a handy bit of wood, with the angle checked by holding it up against the tails:
That got clamped to the top piece up against the knife line and the chisel could then follow its angled face to make the sides of the socket:
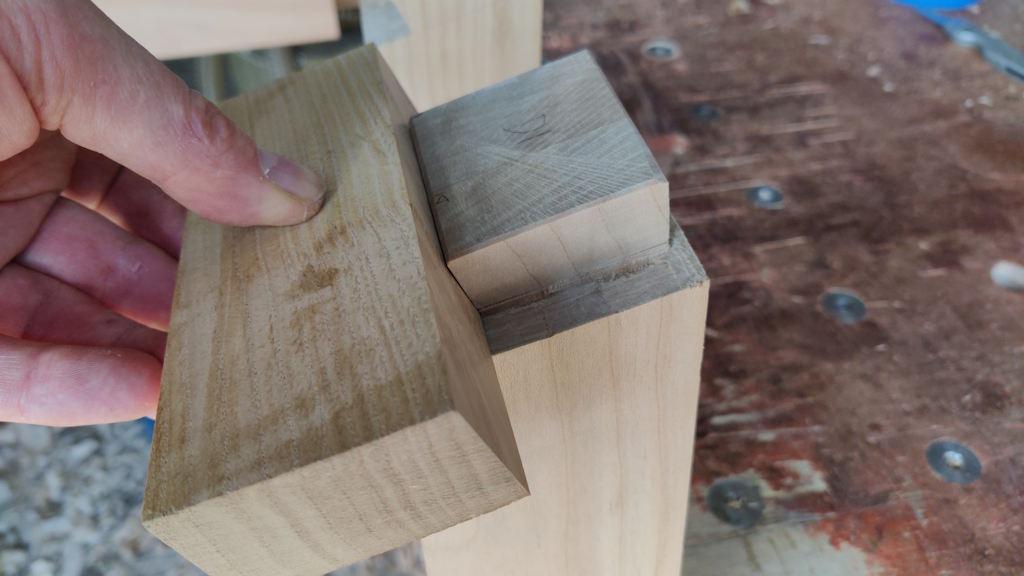
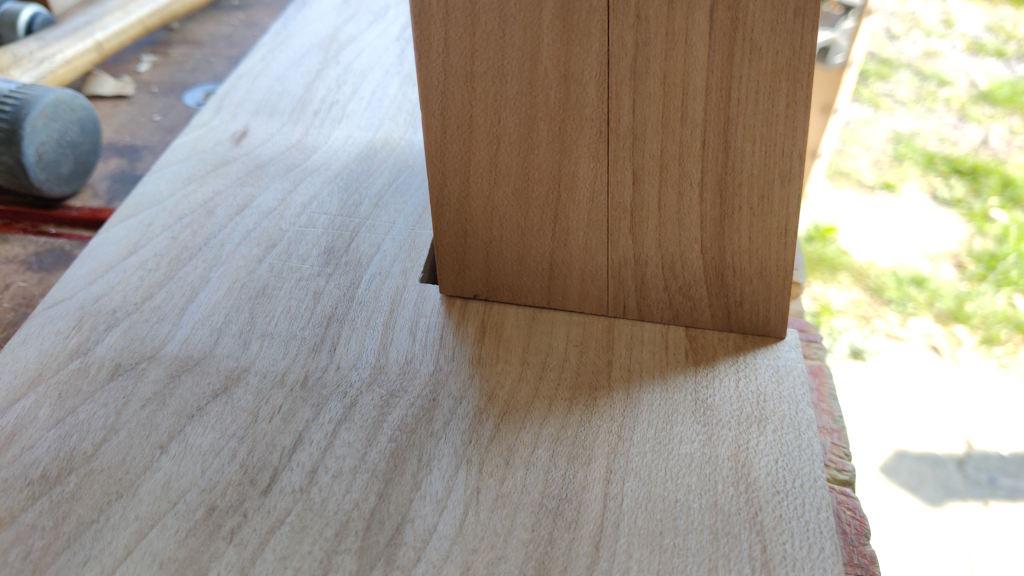
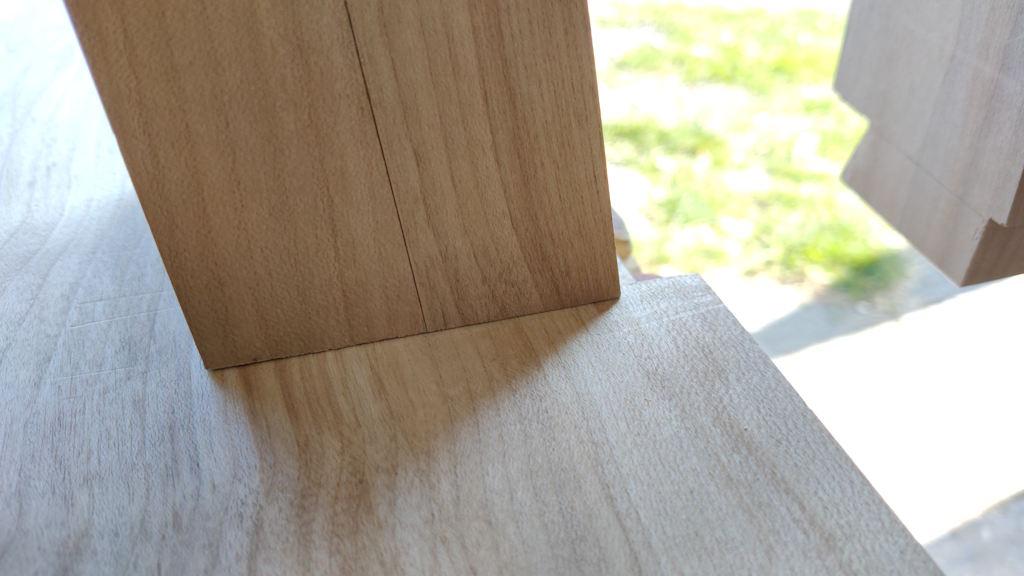
The first fit was, as I'd hoped, a little on the tight side but everything looked to be the right angle (i.e. it was tight at both ends rather than just one and it didn't rock):
When I've done tapered dovetail housings in the past, I've tweaked the tail/tenon to get the right fit, but this time (with a wide and relatively short socket and all the awkward angles on the leg frames) it seemed easier to tweak the socket. After a few goes back and forth taking off as little as possible each time I had a nice fit in about the right place:
That process continued for the second socket on the first top piece until I had one plank fitted to both leg frames (but without the stretchers so this didn't prove the distance apart was correct):
The other two sockets followed much the same process. One of them ended up at slightly the wrong taper angle (it was loose on the inside but tight at the outside) but that was spotted while it was still too narrow anyway so I managed to correct it before the socket was wide enough for the leg to go fully in.
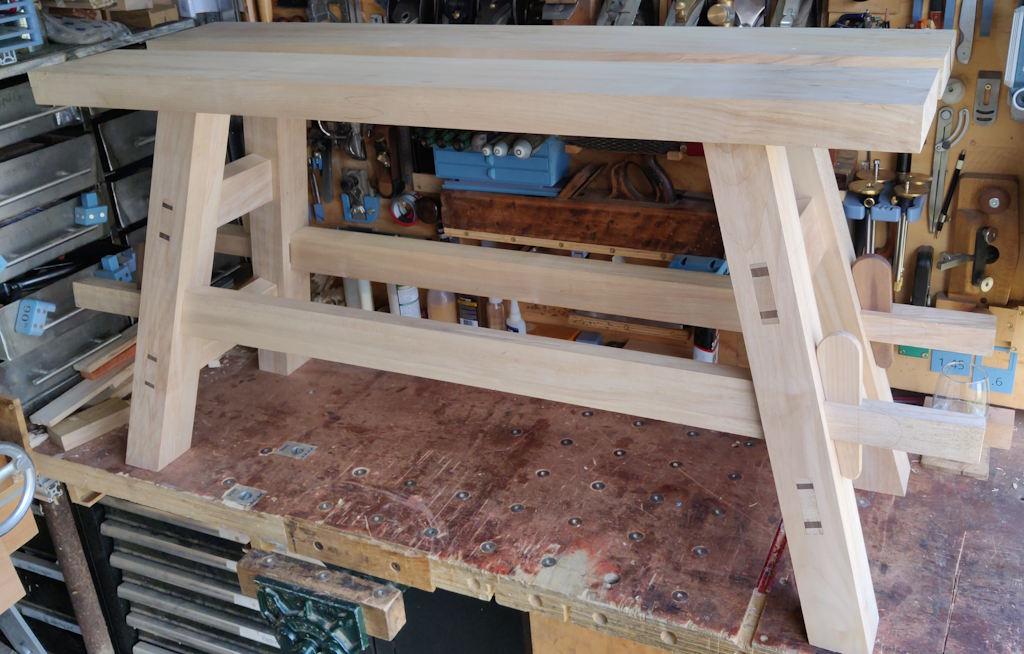
With all the sockets done, it was inevitably time to try assembling the whole bench and I'm very happy to say that it went together fairly easily and feels extremely solid. The gap between the top pieces is 60 mm. I was aiming for 50 mm, but bigger is fine: if I decide the overall bench width is too wide, I can trim the outside edges and inevitably as the dovetails wear, the planks will get a little closer together anyway.
It's fairly heavy (which I see as a good thing as it'll be stable) but I can still lift it: I assembled it on the floor and then lifted it up onto the bench for this photo:
There's still a fair bit to do, but it's great to get to the point of having all the major joinery done. In this state, I could take it away with me on holiday and it would be usable, so anything I manage to do in the time I have remaining is a bonus but not essential.
The next job is probably to (very slightly) trim the ends of the top pieces (they're not square at the moment), then to plane the tops and outer sides of the top pieces. I'll also round over at least two of the long corners (to make it more comfortable if I sit on it to chisel on the top of the tool chest). After all that, the legs will need a once over with a smoothing plane and there's a few more jobs on the stretchers so it's far from finished but that's a major milestone crossed.
Page 32 of 38
This website is free and ad-free, but costs me money to run. If you'd like to support this site, please consider making a small donation or sending me a message to let me know what you liked or found useful.

 Return to main project page