Mini Moravian Bench Build Process
Page 35 of 38
Posted 14th August 2025
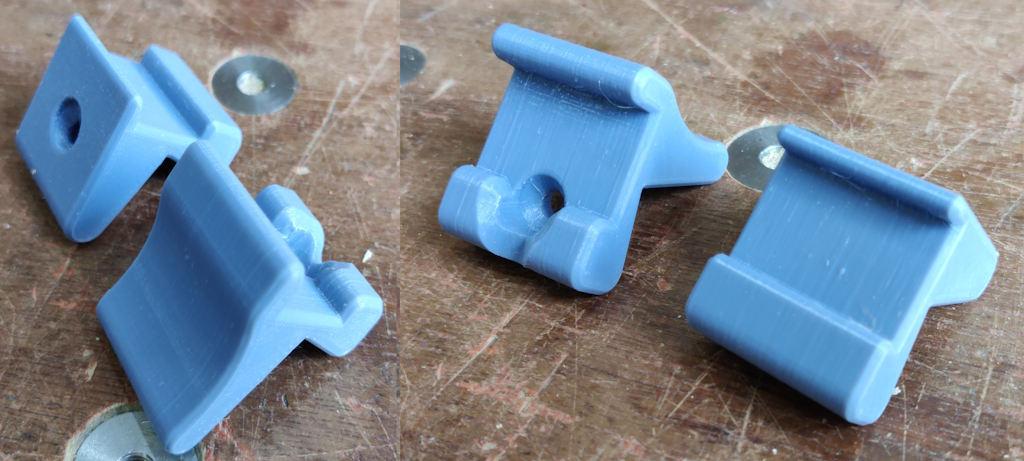
I've made another version of the drawer supports, with a slightly more curvy shape and also with the screw hole in the other face. I've only printed one so far (and the final ones will be in a different colour as I've said before), but I'm feeling a bit happier with them so far:
It was still feeling too hot to work on the top pieces, but I thought I could probably cope with a light smoothing plane pass on the stretchers:
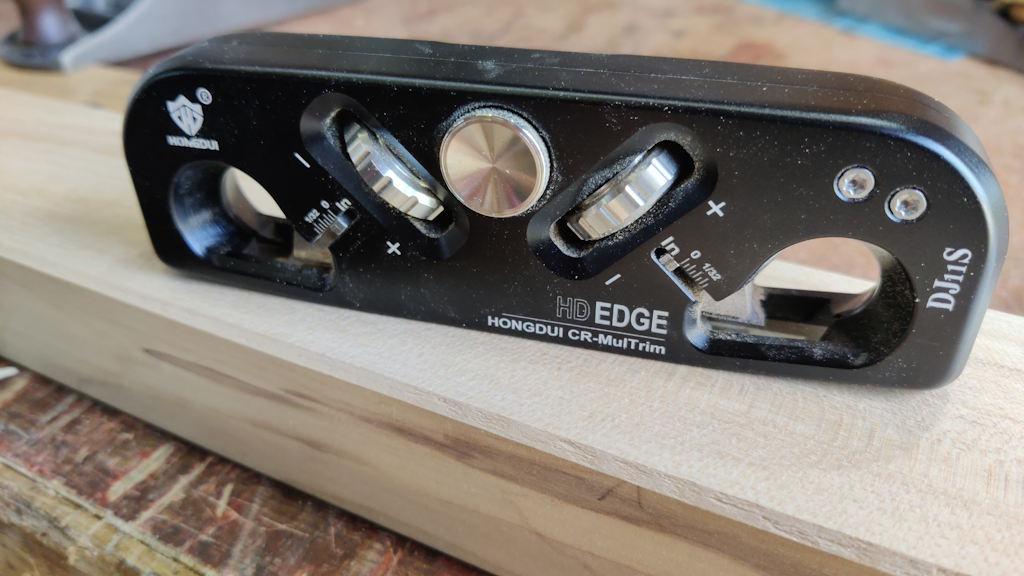
I also gave the corners a chamfer, using this little chamfering plane:
I followed that up with a single stroke from a block plane with a high angle blade just to improve the edge a little. I don't normally bother with that little chamfering plane, but I wanted a consistent chamfer so that I can match that chamfer in the 3D-model of the drawer supports to get them to fit really nicely.
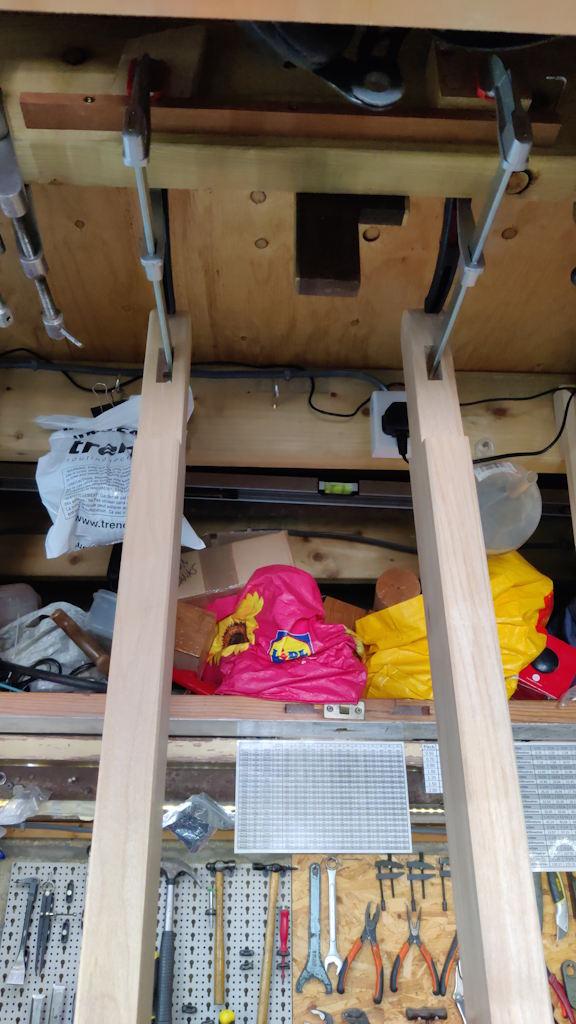
With that, the stretchers are essentially complete (give or take fitting drawer supports and such like), so I took them down to the other end of the garage and hung them up on some clamps ready for oiling:
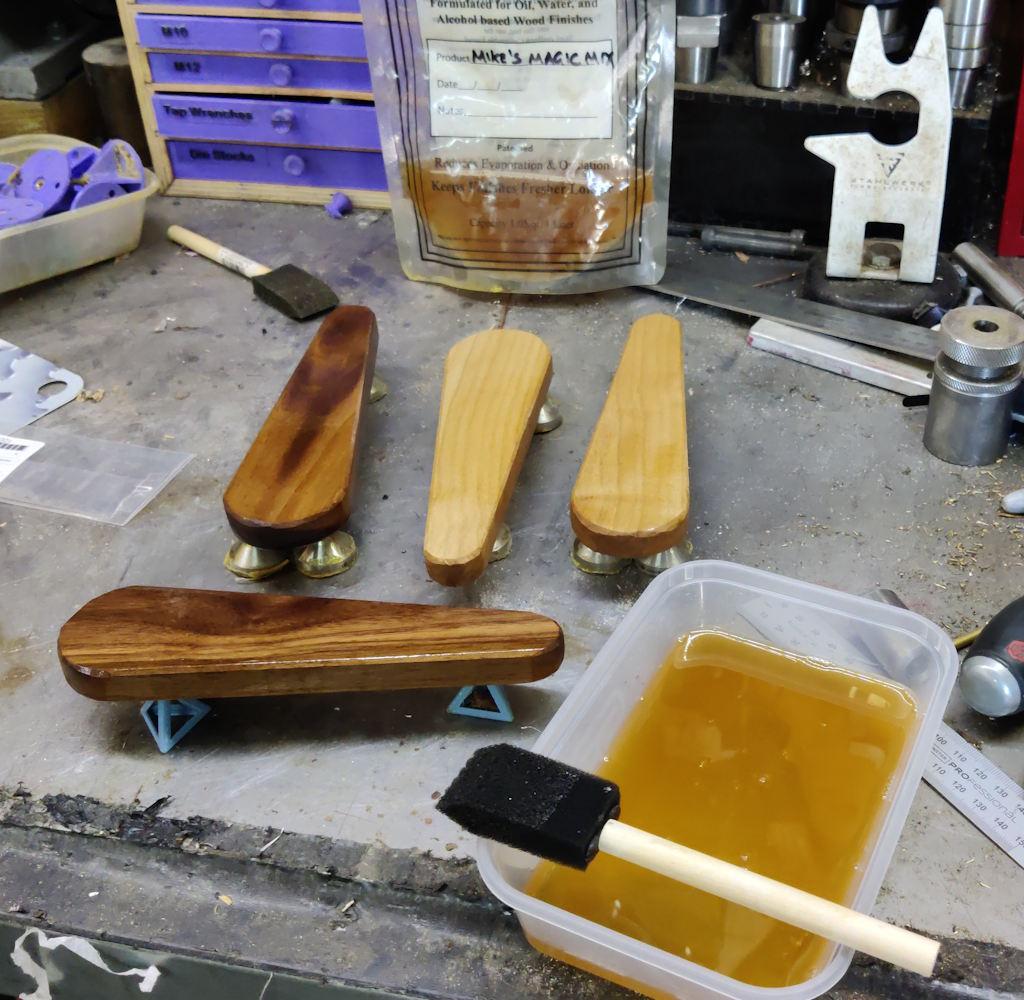
I've given them the first coat of Mike's Magic Mix but haven't taken any photos of them oiled, so you'll have to wait to see them. As a spoiler, I also gave the wedges a quick smooth and then oiled them as well; here's a photo after applying the oil but before wiping the excess off:
Page 35 of 38
This website is free and ad-free, but costs me money to run. If you'd like to support this site, please consider making a small donation or sending me a message to let me know what you liked or found useful.

 Return to main project page


