Mini Moravian Bench Build Process
Page 36 of 38
Posted 16th August 2025
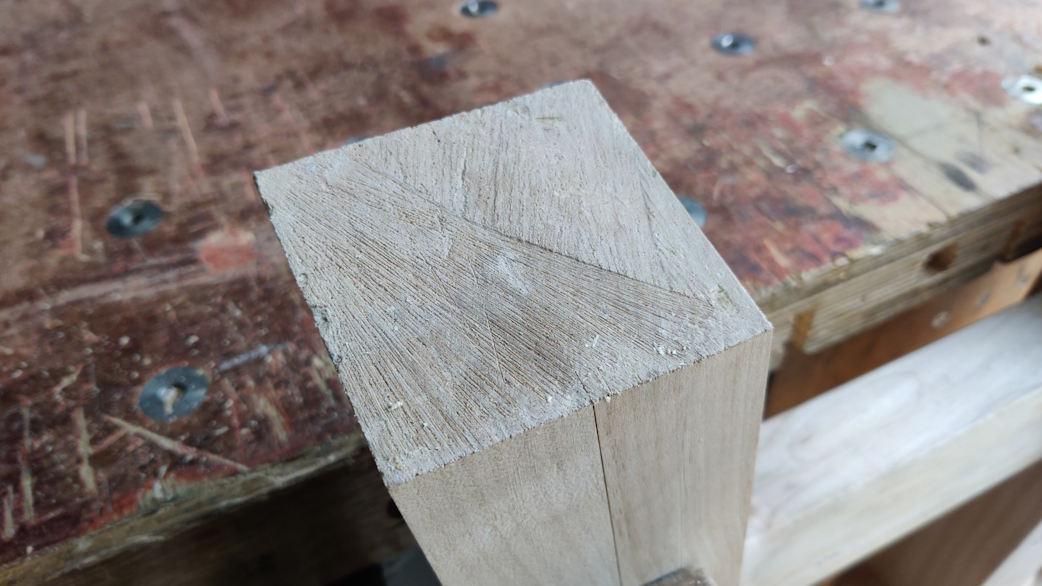
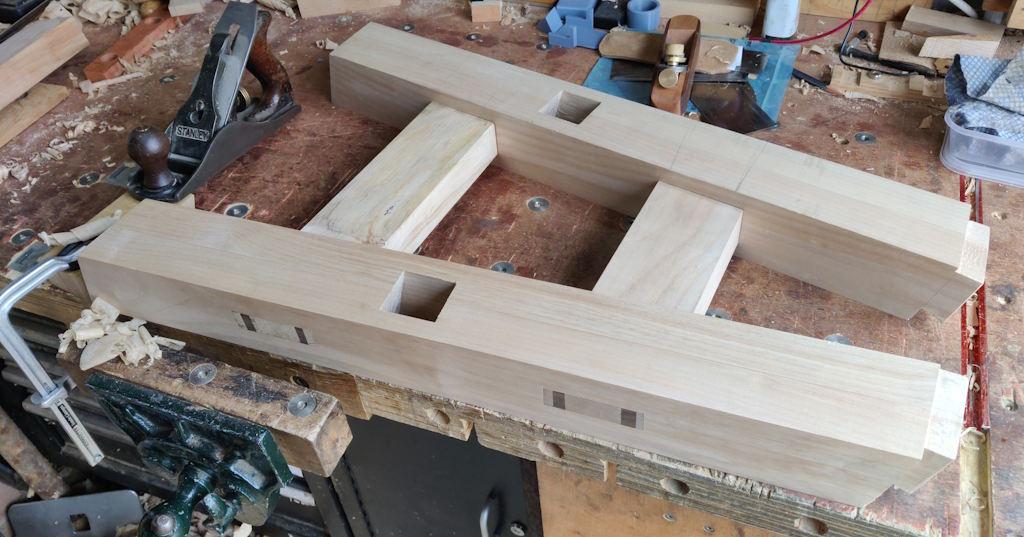
I started relatively early this morning while it was still cool-ish outside. The first job was to clean up the leg frames ready for oiling. I started by supporting them in the vice so that I could deal with the rough-sawn bottom of the feet:
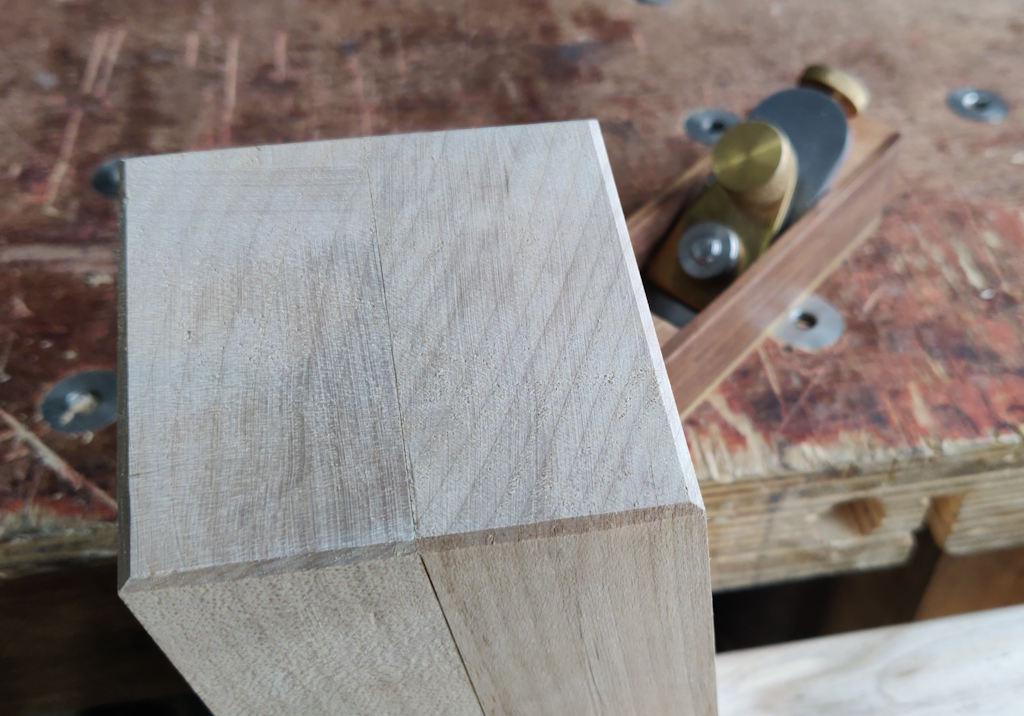
After planing and chamfering with my little home-made block plane:
No doubt they'll get beaten up a bit in use, but it's nice to start with something smooth.
With that done, I could plane the remaining two faces of the leg frames...
... and apply a light chamfer on the remaining edges:
With that, the leg frames are, I think, ready for oiling.
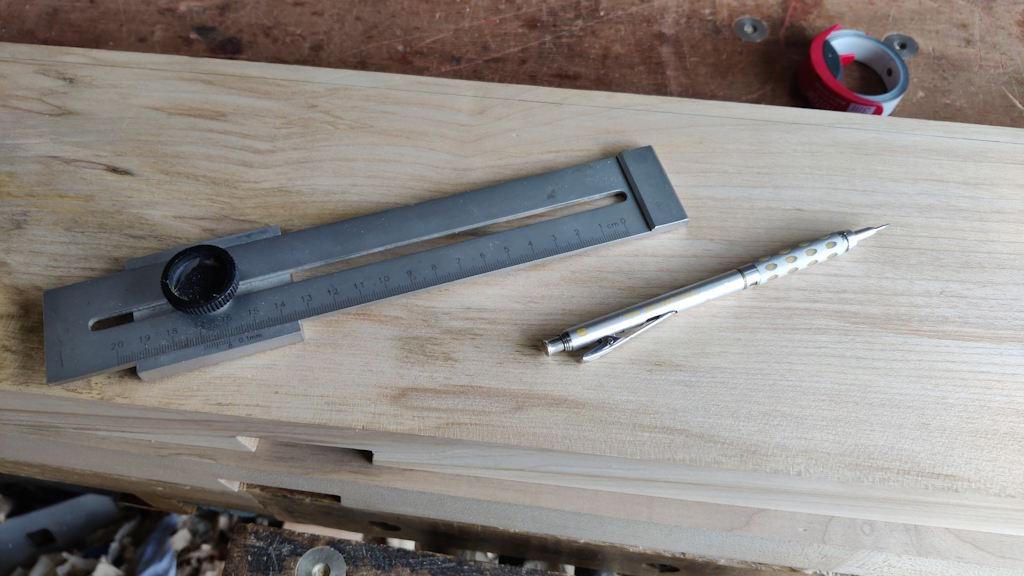
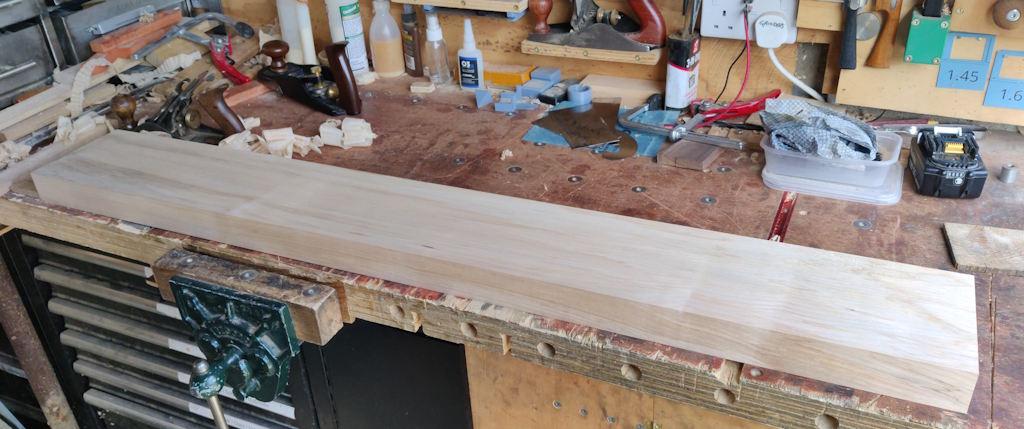
I had planned the first job on the top pieces to be planing the edges, but after a bit of a ponder I decided to make them slightly narrower first. That was done by marking up with a pencil and the edge distance gauge thing...
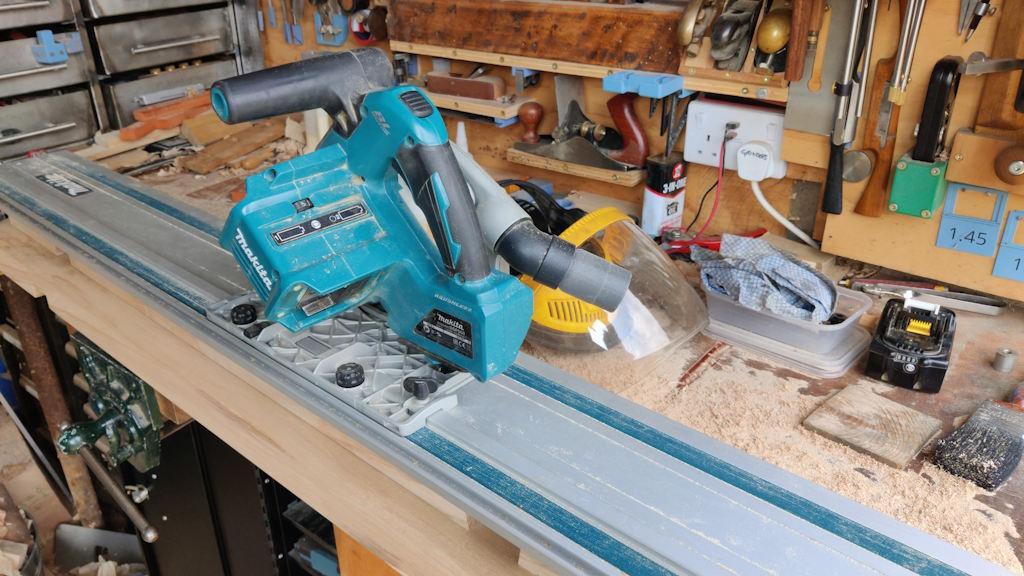
... and then covering the bench in sawdust with the tracksaw:
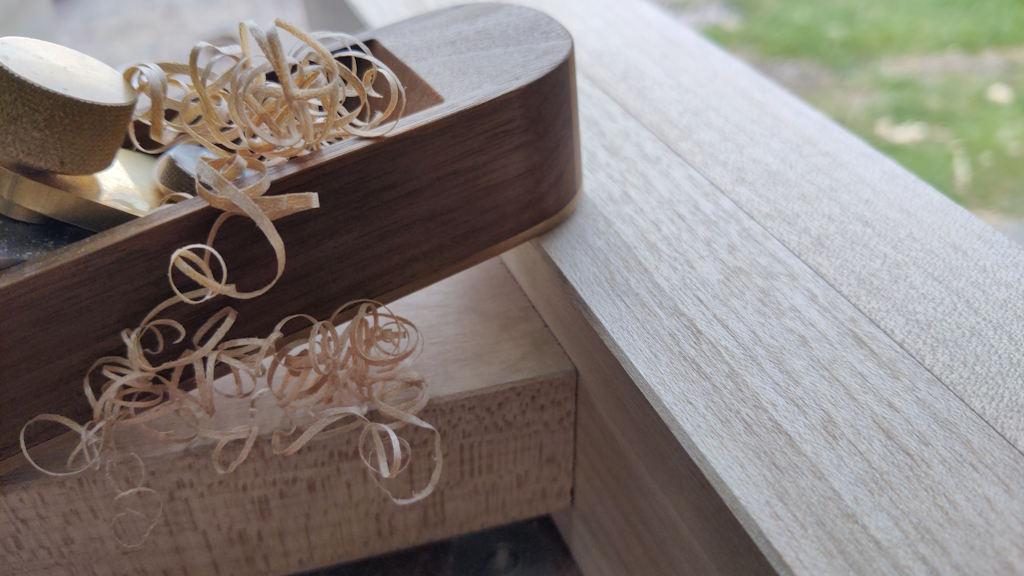
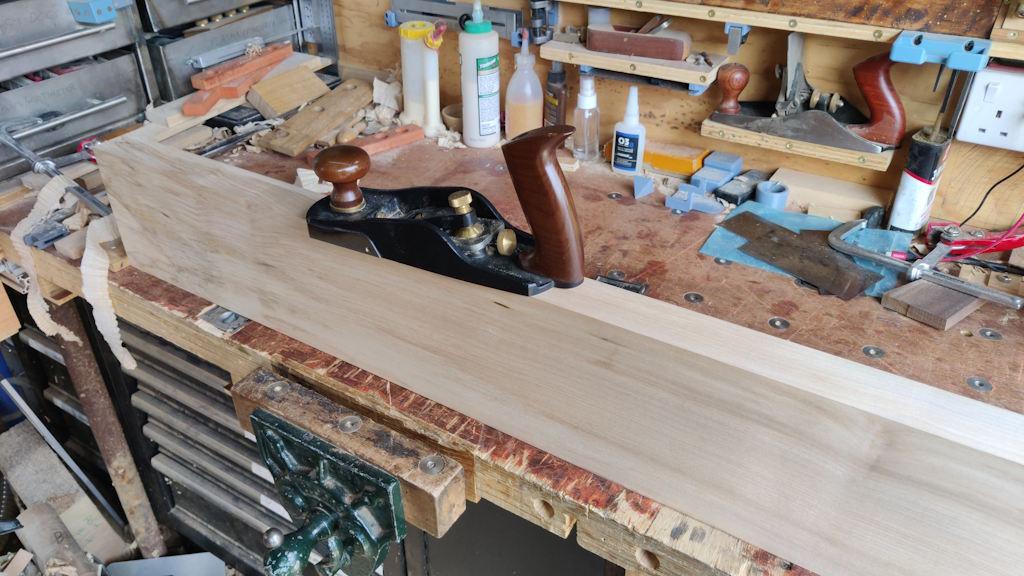
After that, the sawn edges could be planed smooth:
Ideally, I'd probably plane the top surfaces while the bench was assembled. That way, I'd be able to make sure that the two surfaces were co-planar. With the stretchers in the slow process of being oiled, I can't do that at the moment, so I decided to just plane them smooth for now. If there's enough of a discrepancy to worry about, I can always plane them again later (even if that's after they've been oiled).
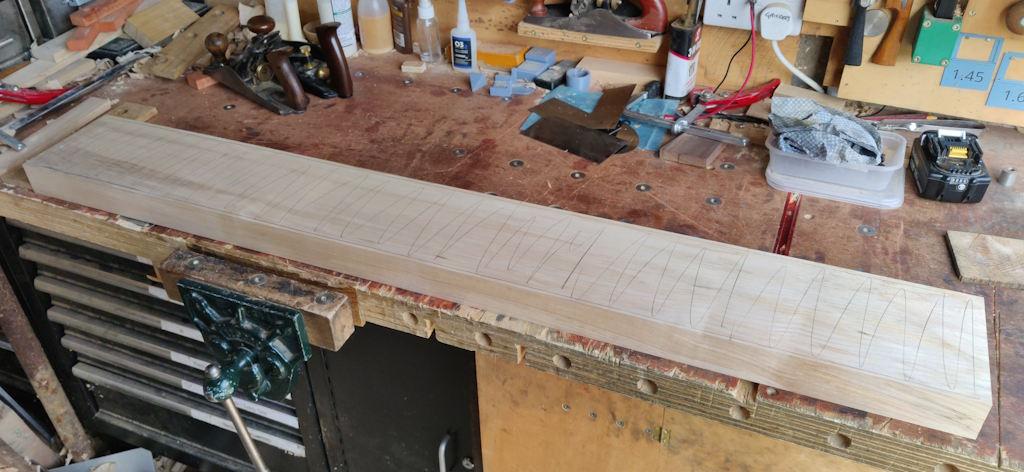
For now, I gave the surface a quick once over with a pencil so that I could see when everything had been planed...
... and then went over the surface with a #4 until the pencil marks were all gone.
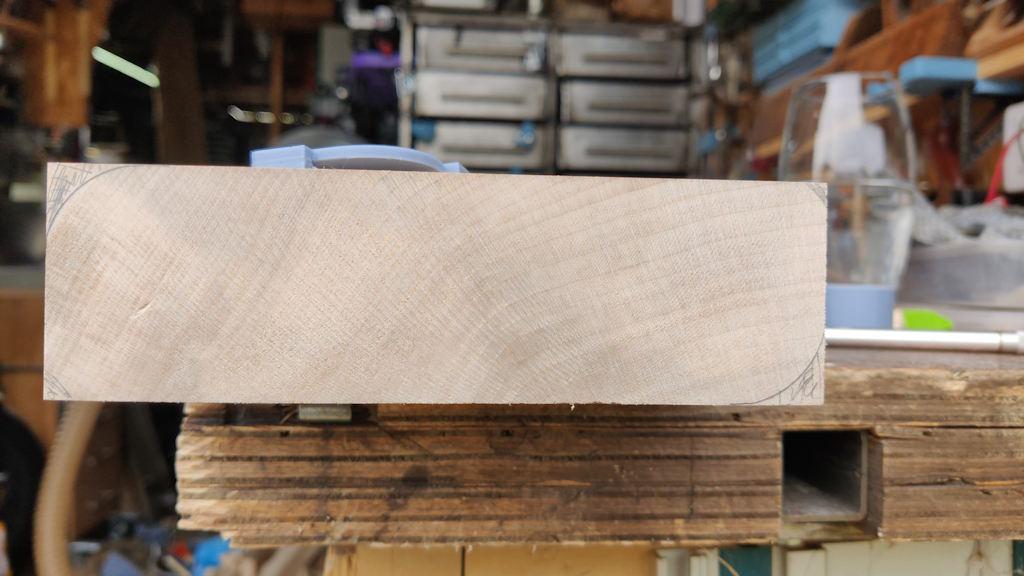
Next up, I marked up the four corners on the end to show what I want to do to them:
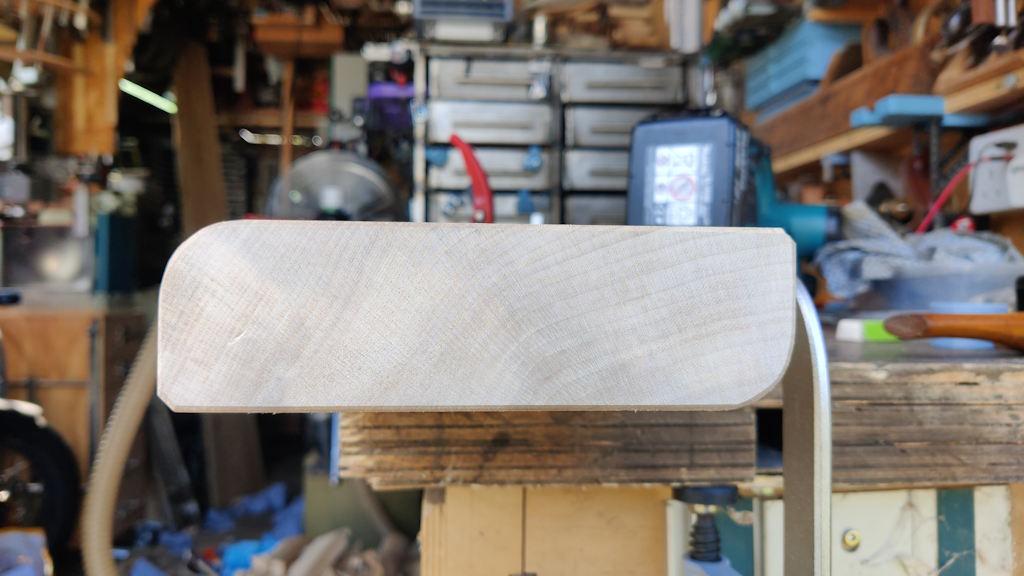
That's two corners with a 20 mm fillet (round-over) and two corners with a small-ish chamfer. The outside upper corner is getting rounded over to make it more comfortable to sit on with one leg either side. The chamfered corners are being chamfered just because it seems like a good idea to avoid sharp edges.
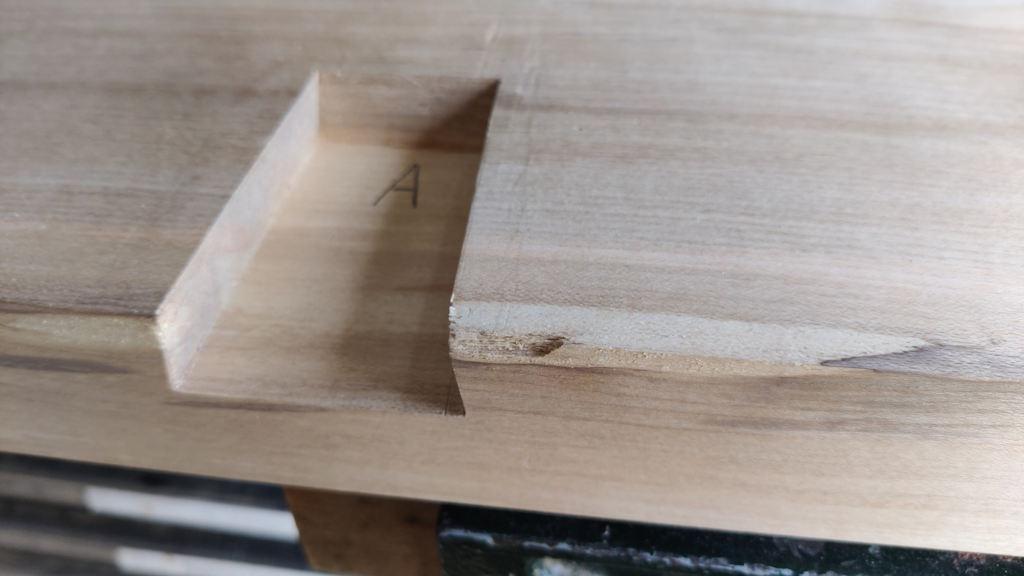
The inside bottom corner is being rounded over for a slightly weirder reason. On one of the top pieces, there's a bit of sap-wood near one of the dovetail sockets:
Given that it's on the inside and underside, that brittle sap-wood probably isn't a problem, but I figured that a round-over wouldn't hurt (when the joint is assembled, the leg is much further in than the round-over will reach) and that it was a relatively elegant way of getting rid of that sap-wood.
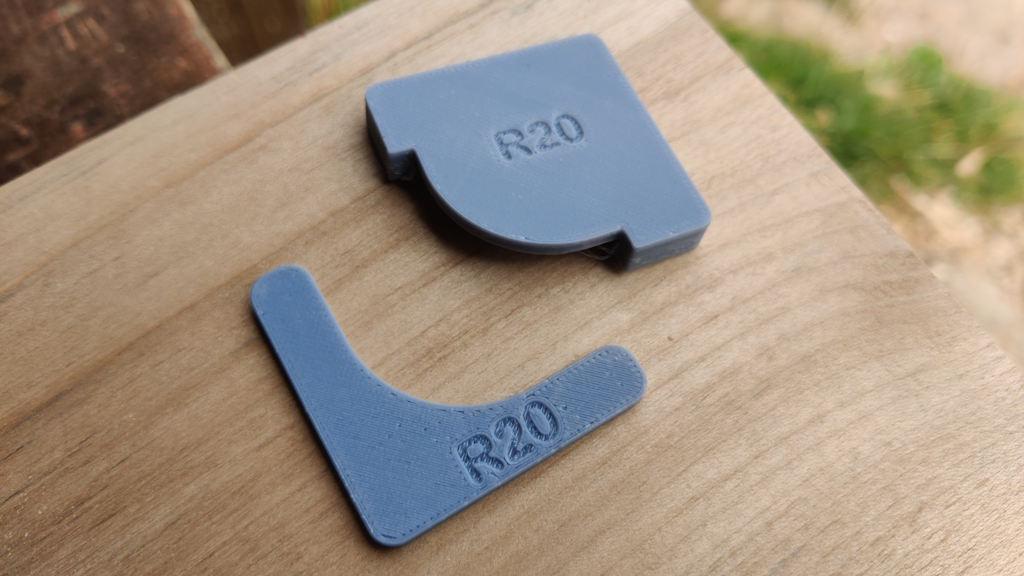
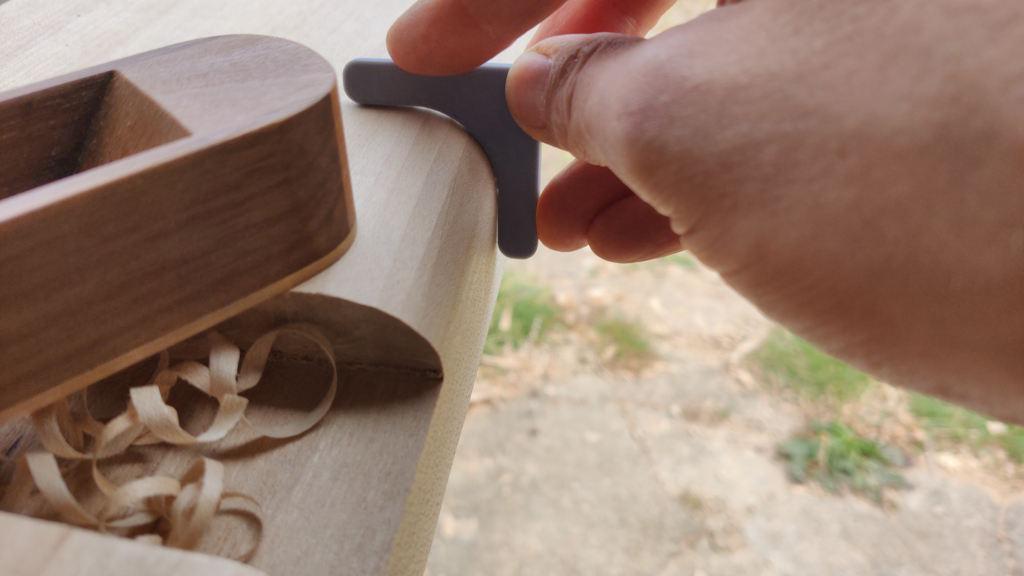
It probably won't surprise anyone who's been reading this that I made a couple of 3D-printed gauges to help get a consistent fillet radius:
One of them was used to mark the ends (as seen in the photo above). You'll see the other one in use shortly.
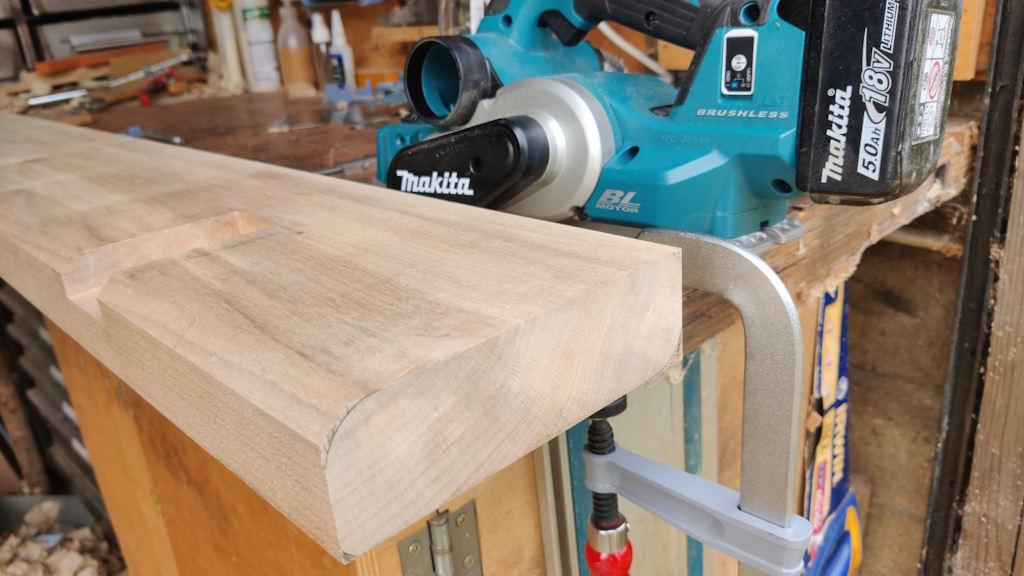
It was already starting to get rather hot in the workshop so I decided to make my life a little easier by roughing the big fillet out with a couple of passes with a planer:
That left me with a heavy chamfer that was then not too much work to plane to shape using my block plane. The second little 3D-printed gauge was used to give me an idea of whether I was close to the target radius:
I wasn't aiming for perfection here: it won't be perfectly round, it won't be the perfect radius and it won't be absolutely consistent all the way along. However, the gauge gives me an idea of when it's near enough.
For the smaller chamfers, I just did those with a handful of passes with the block plane (i.e. without bothering with the electric planer).
One of the top pieces has been done (and also had the end-grain corners block-plane chamfered):
If I haven't overheated by the time I've had lunch, I might have a go at the other one this afternoon. If it feels too hot then it'll be a job for first thing tomorrow morning.
Page 36 of 38
This website is free and ad-free, but costs me money to run. If you'd like to support this site, please consider making a small donation or sending me a message to let me know what you liked or found useful.

 Return to main project page