Mini Moravian Bench Build Process
Page 9 of 38
Posted 9th July 2025
I've managed a few hours of garage time spread out over the last couple of evenings: I'm trying to make the most of any time I can bear to be out there as the forecast for the coming weather is for 33°C and I'll be doing what I can to hide from that while dreaming of air conditioning.
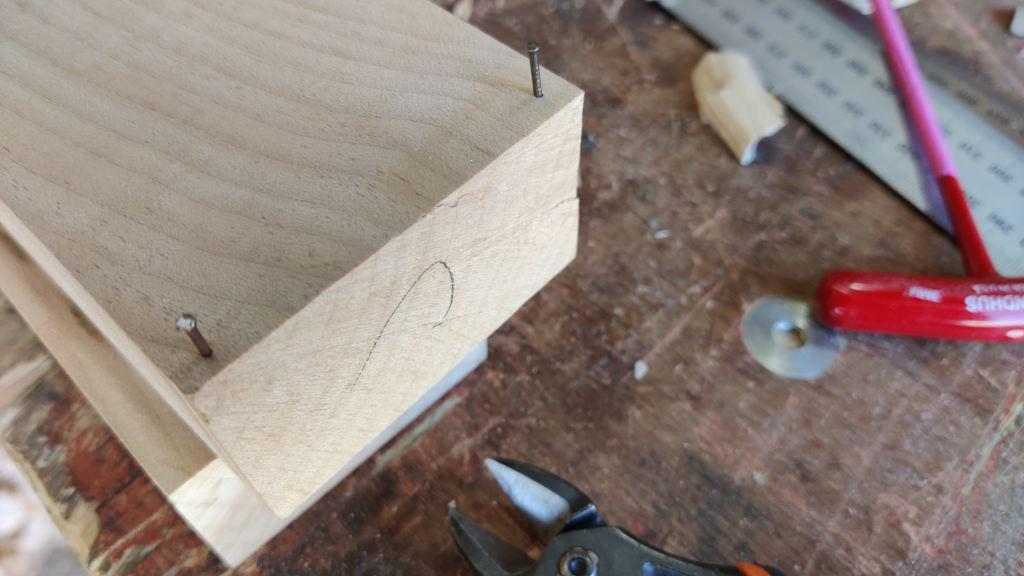
The other three leg mortices proceeded largely the same as the first one. I only changed two things about the process. Firstly, I followed some advice from the woodhaven forum and ditched the brass pins in favour of some simple 12 mm panel pins, which were banged in...
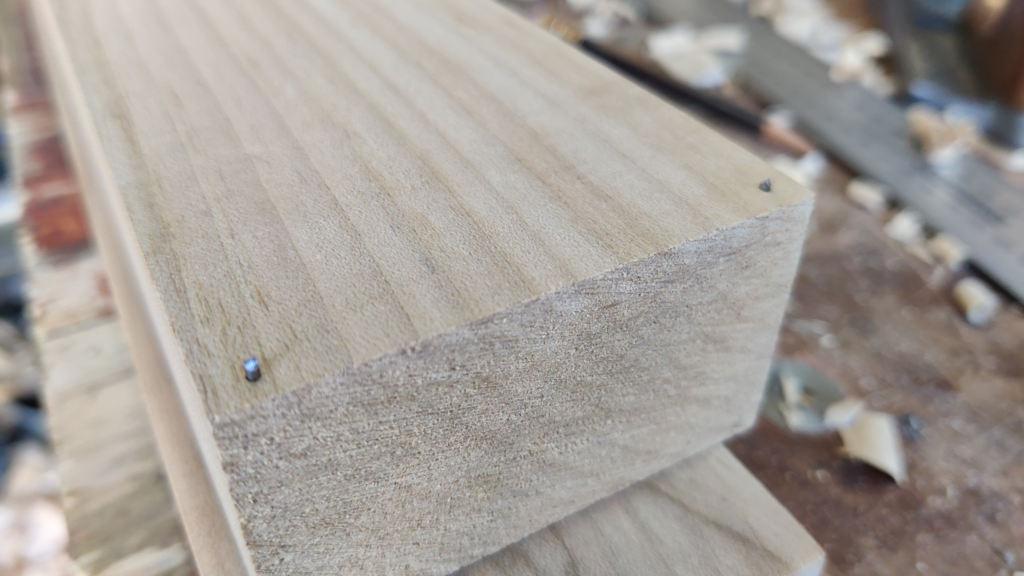
... then cut off flush-ish with a pair of side cutters:
That leaves plenty of protruding steel to help me line things up (but will probably upset my saw more if I run into them!)
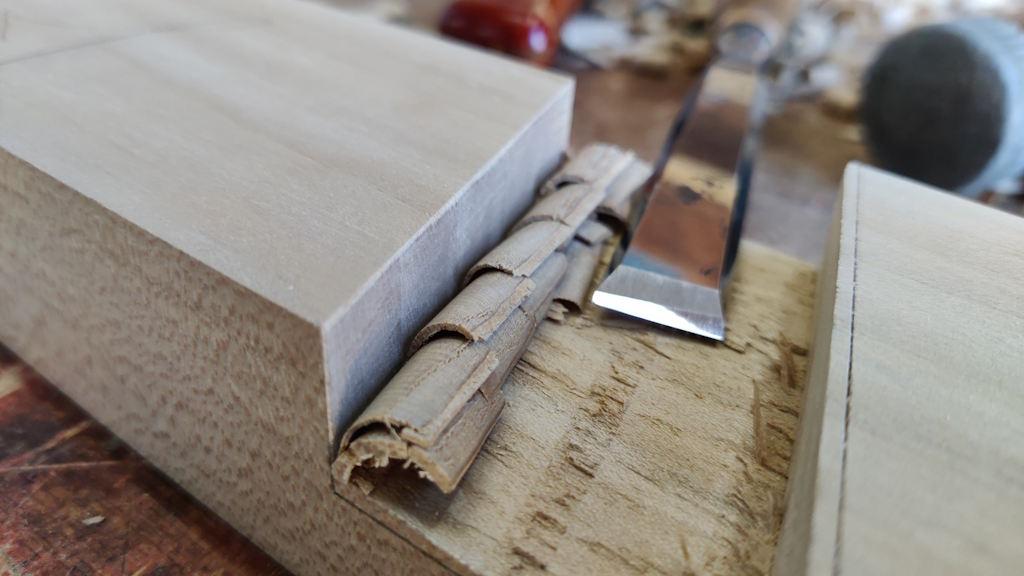
The other minor change is that I started using a 12 mm chisel for roughing out the bottom of the pocket (pre router plane). The only reason for that was to help extend time-between-sharpening of the 16 mm one (which is my default choice if there isn't a reason to use a smaller or bigger one) I'm using for the shoulder lines.
The Sycamore does leave a lovely finish when you chop the end grain:
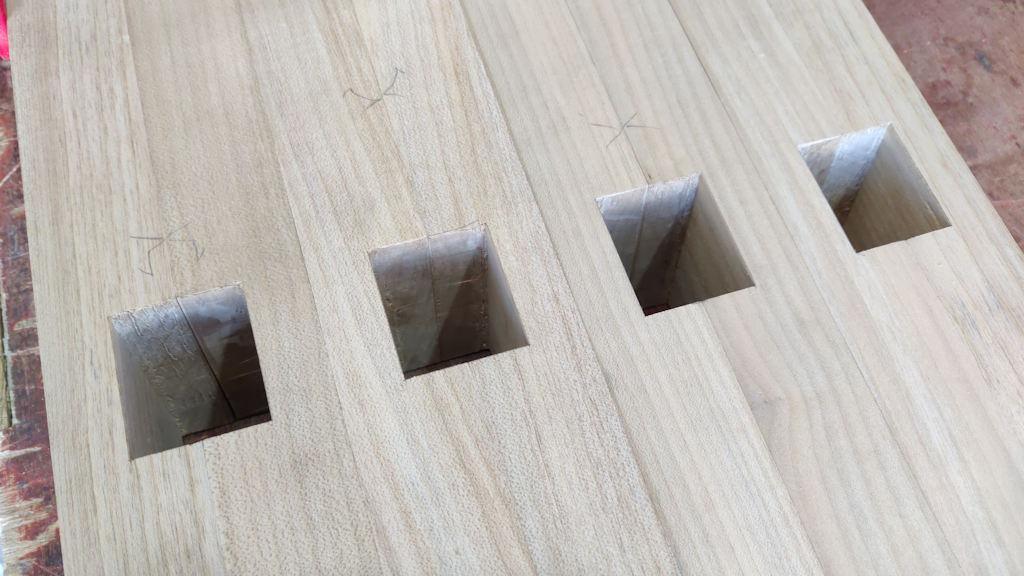
Anyway, the last three marked up and two of those chopped out yesterday and the last one finished today:
I'm at that lovely point in a project where I'm cutting joinery (which I enjoy), but as I've only done half of each joint (and hence can't check them), I can assume that they're absolutely perfect!
If the heat is still bearable tomorrow evening I think I'll glue the leg halves together. After that, the next job is probably to sort out the unplaned face (the opposite side to that in the photo above) and pass a smoothing plane over the (thicknessed but yet to be planed) side faces. That all sounds like hard work if it's as hot as predicted, but I might manage a little in the weekend mornings.
I then need to get started on the big to-be-wedged mortices that will house the cross piece tenons. The original plan had been to do those at the same 15° that the legs are splayed (to vertical) on the long axis, but I've decided to change the side-to-side splay to be 8° (to vertical again, so 16° included angle). That'll reduce the stability a little, but hopefully it'll still be fine.
Page 9 of 38
This website is free and ad-free, but costs me money to run. If you'd like to support this site, please consider making a small donation or sending me a message to let me know what you liked or found useful.

 Return to main project page


