Portable Workbench Build Process
Page 22 of 67
Posted 18th March 2021
I've had a couple of evenings where I had to do things that weren't in the workshop (boo, hiss!), but was back out and turning brass again this evening. As I said in an earlier post, a lot of the parts are going to look very similar in terms of the process, so I probably won't post many pictures, but I thought I'd do a detailed write-up of the first one.
Sorry if this is a bit dull: a lot of the pictures look fairly similar!
I'm starting with the vice rail bushes. The steel tube that I'm using as the rails need to be a smooth and easy sliding fit in the hole through the middle of the bush, so I took my time on this one. After making these bushes I'll probably be able to make the other parts a lot quicker.
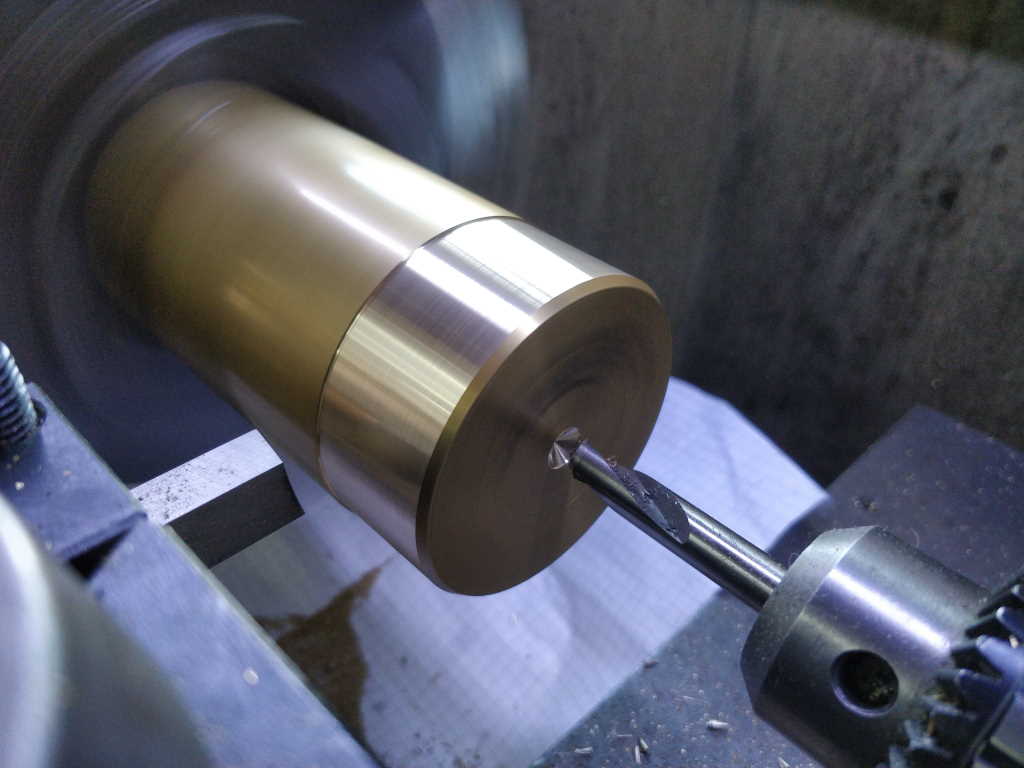
The end face was relatively flat already, so I didn't bother facing before starting the process. I went straight for a centre drill:
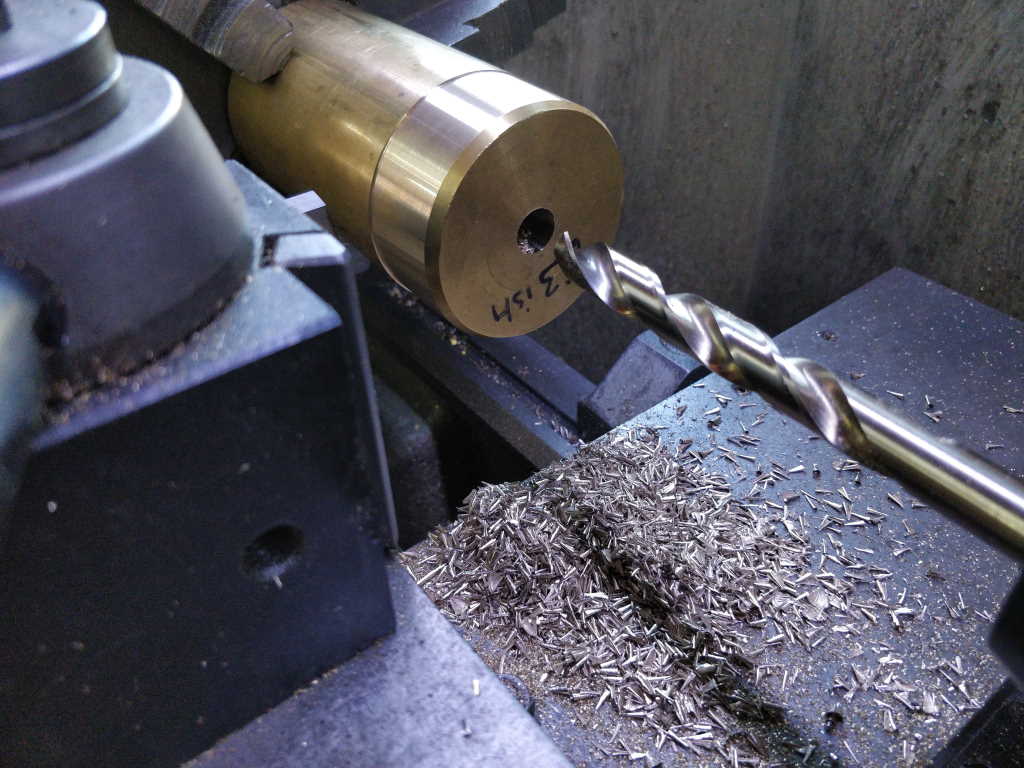
Then drilled out 12 mm:
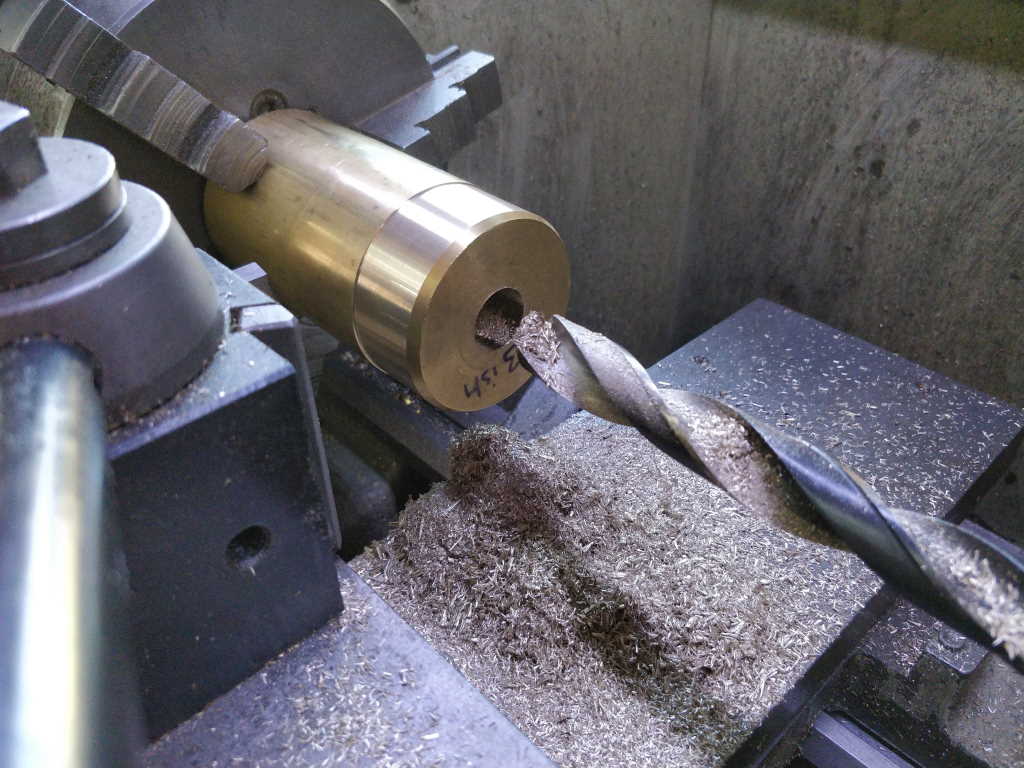
Followed by 19.5 mm (just because it's a size of Morse taper drill bit I have for some reason):
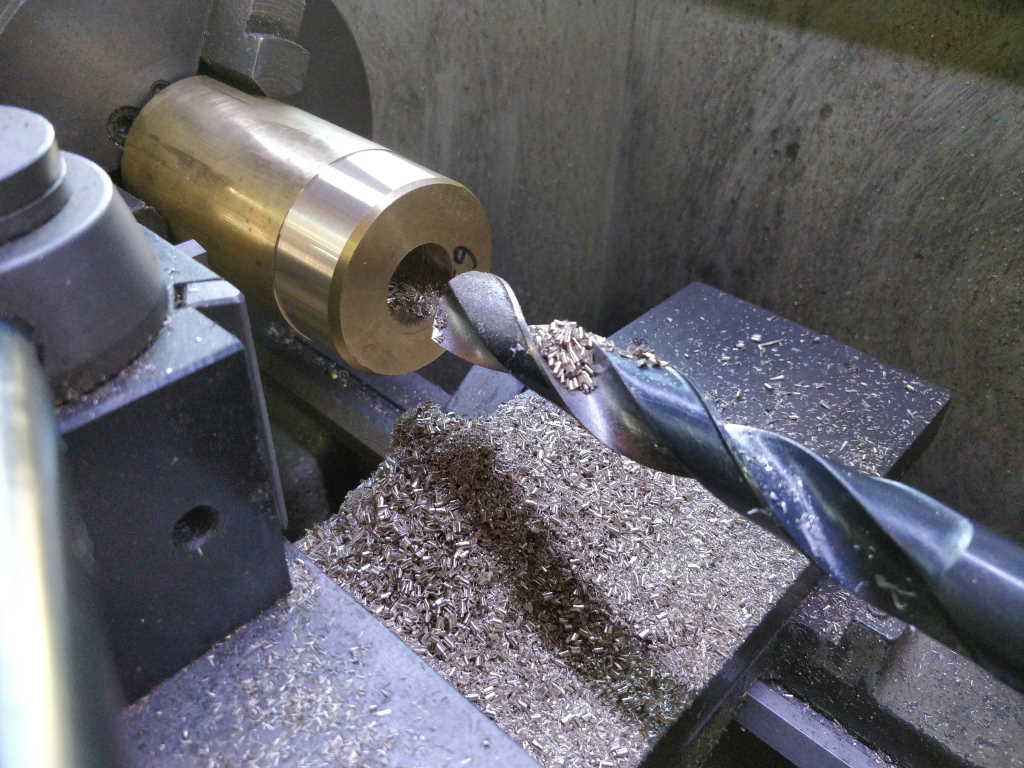
… and finally 25 mm, which is my biggest drill bit:
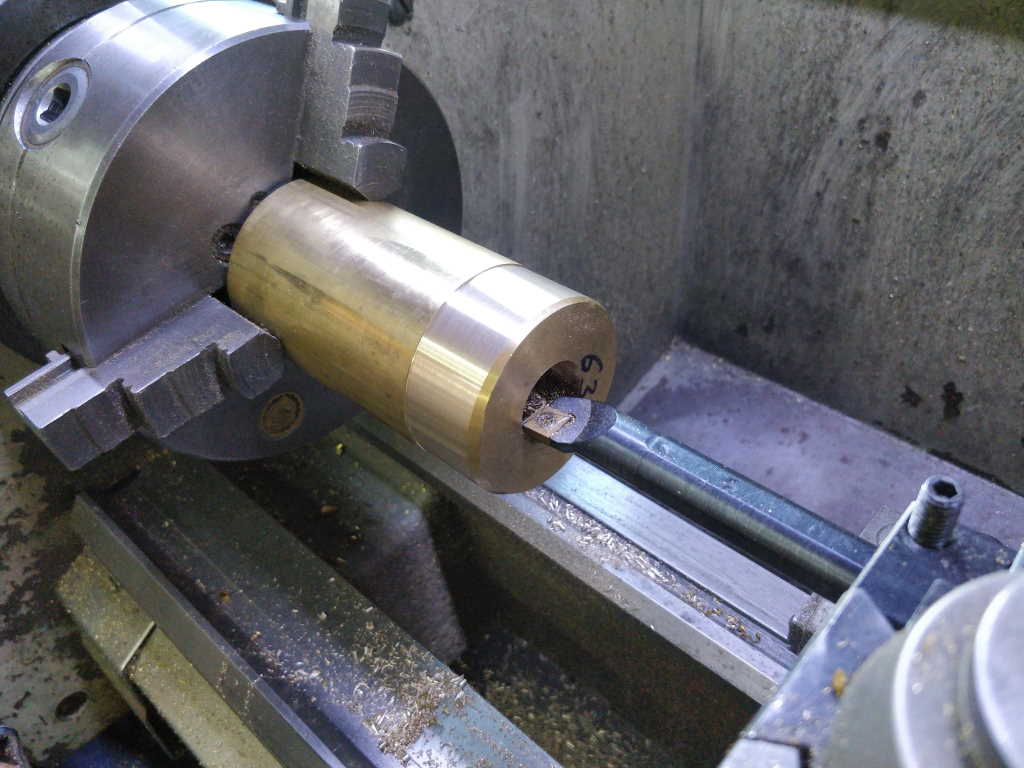
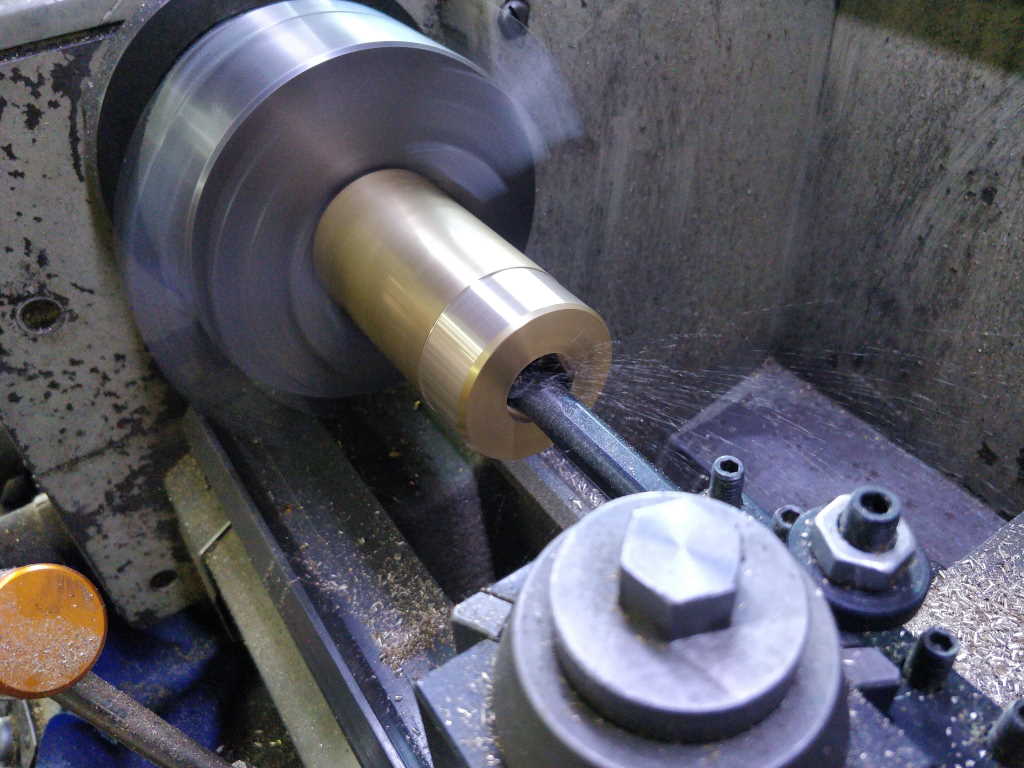
I then set up a large boring bar such it stuck out from the tool holder slightly more than the target depth of the hole:
Then used the power feed to enlarge the hole to the desired depth.
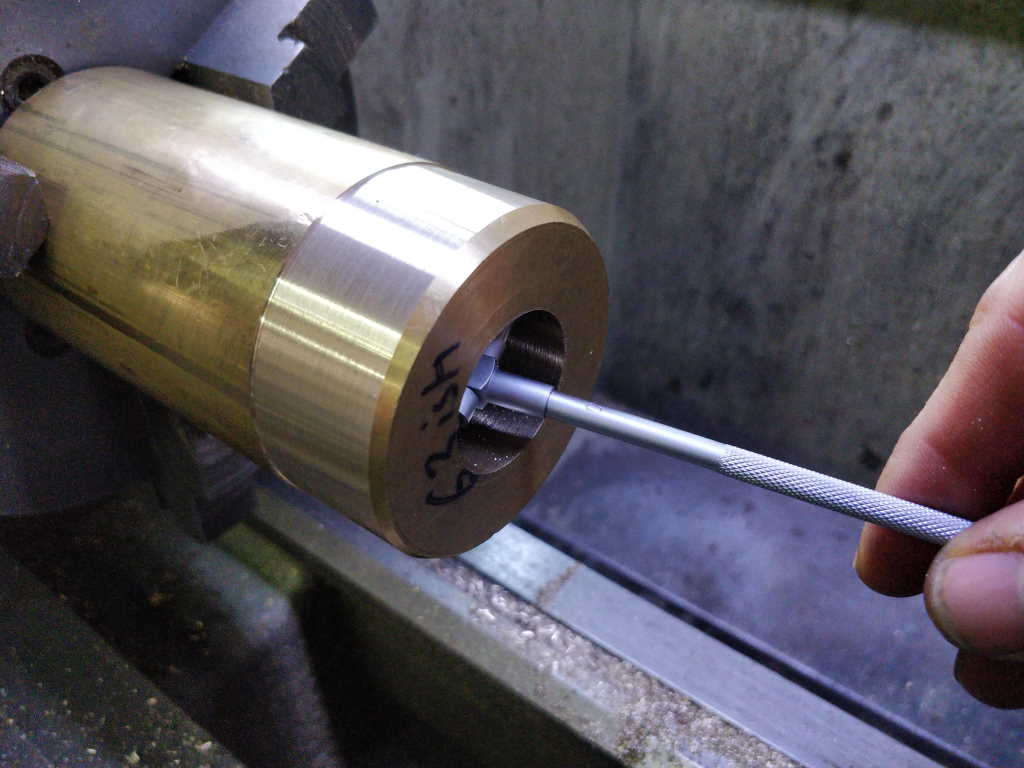
As I got closer to the finished dimension, I used a (cheap and very nasty) bore gauge to measure the inside diameter.
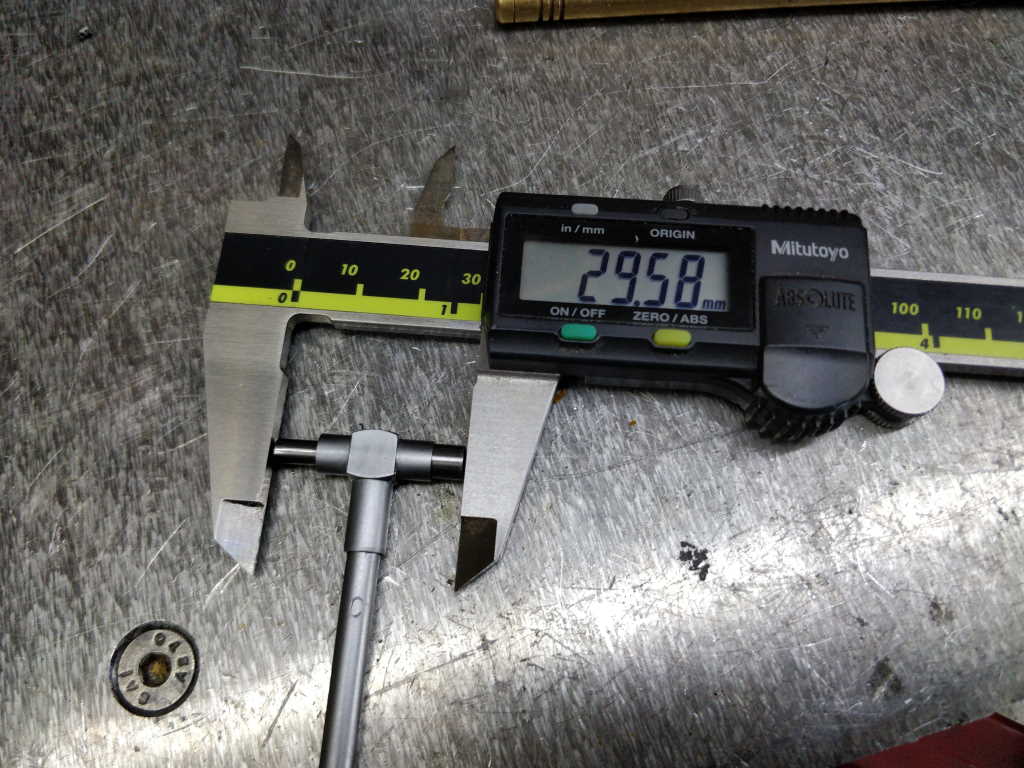
I measured with some digital calipers as at this point accuracy isn't that important. This was the last measurement I made, substantially smaller than the 30 mm target.
I stopped boring at this point (with the hole under-size).
Page 22 of 67
This website is free and ad-free, but costs me money to run. If you'd like to support this site, please consider making a small donation or sending me a message to let me know what you liked or found useful.

 Return to main project page