Portable Workbench Build Process
Page 34 of 67
Posted 21st March 2021
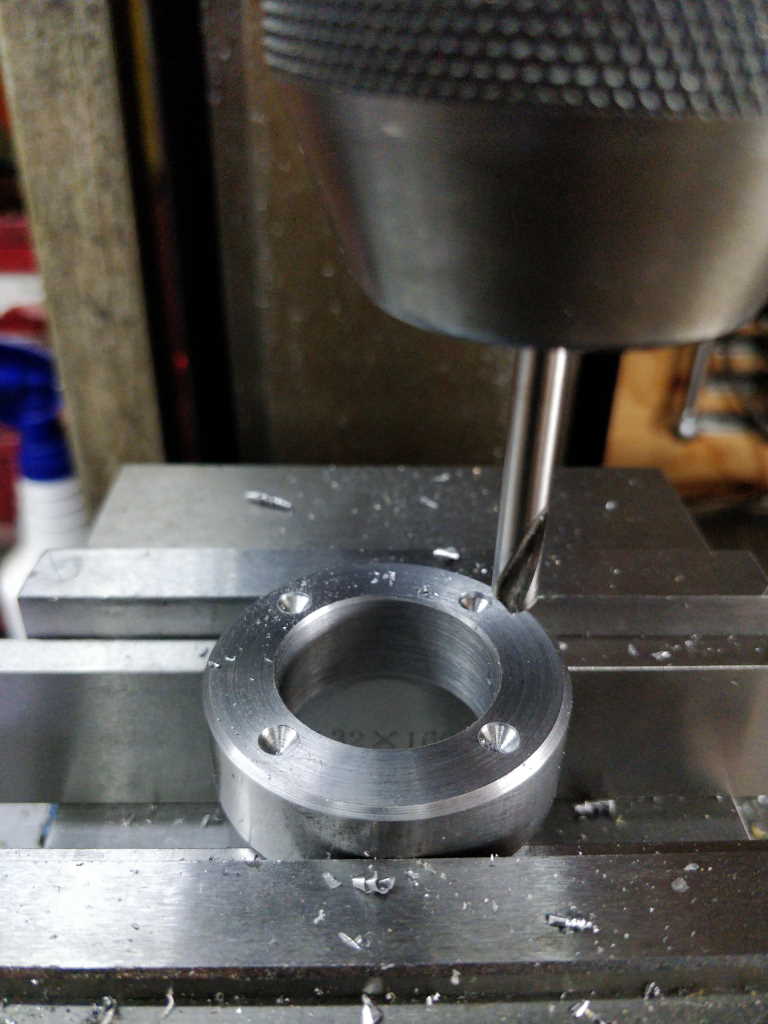
I then put the block in the milling vice and spot drilled four hole locations.
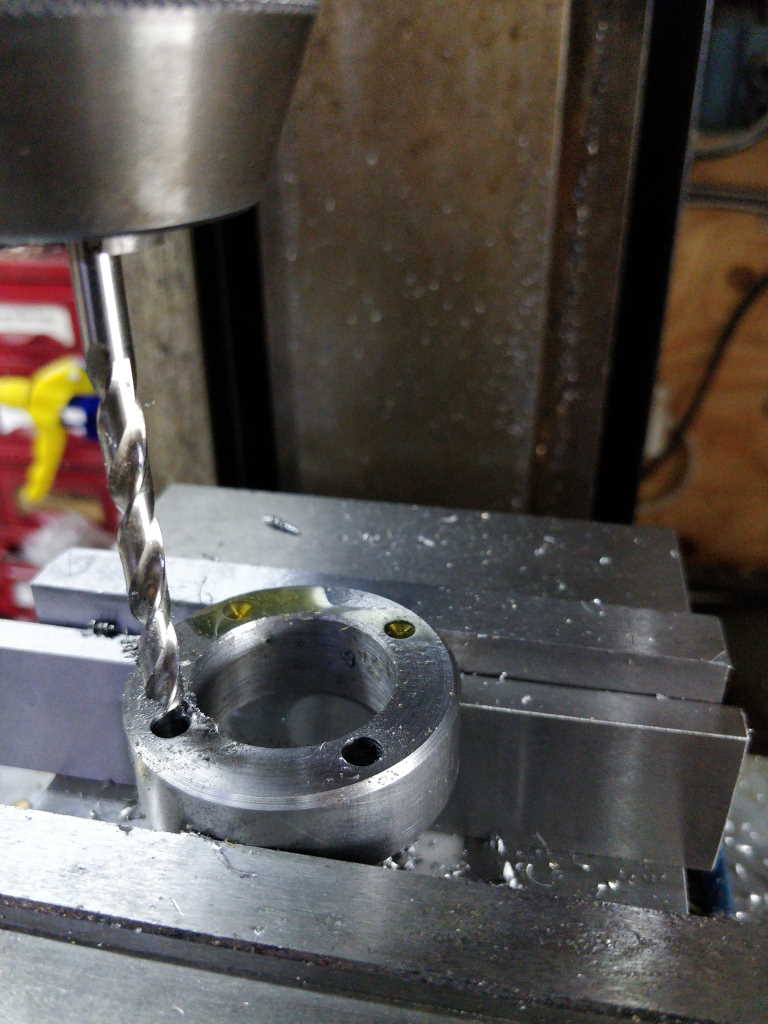
I then drilled the holes out 5.5 mm and counterbored 8.5 mm.
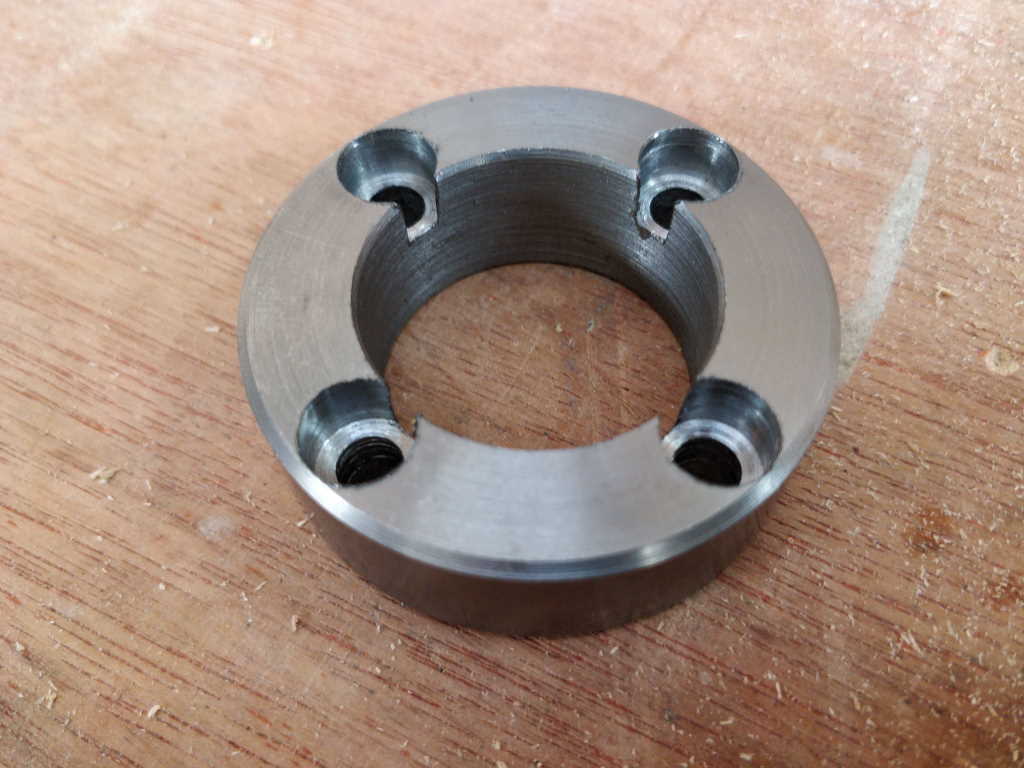
Here's the finished block. You'll notice that the counterbores are open into the central hole.
My original plan had been to mount four cap screws on the face of the central vice mechanism body (the one for the standard vice). Those cap screws were positioned such that the heads of the cap screws would retain the central tube and stop it from moving up and down. It then occurred to me that if I made it a more rigid connection, the tube that covers the central screw could act as a sort of "stretcher" to increase the rigidity of the structure (the two ends were originally designed to only be connected together by the rails at the top).
This block will be attached to the central tube, probably just with my favourite metal glue, Loctite 603, and will then screw into the vice mechanism joining the two ends together. I could add a cross screw to supplement the glue, but for now I'm going to assume it isn't necessary.
Page 34 of 67
This website is free and ad-free, but costs me money to run. If you'd like to support this site, please consider making a small donation or sending me a message to let me know what you liked or found useful.

 Return to main project page

