Portable Workbench Build Process
Page 35 of 67
Posted 21st March 2021
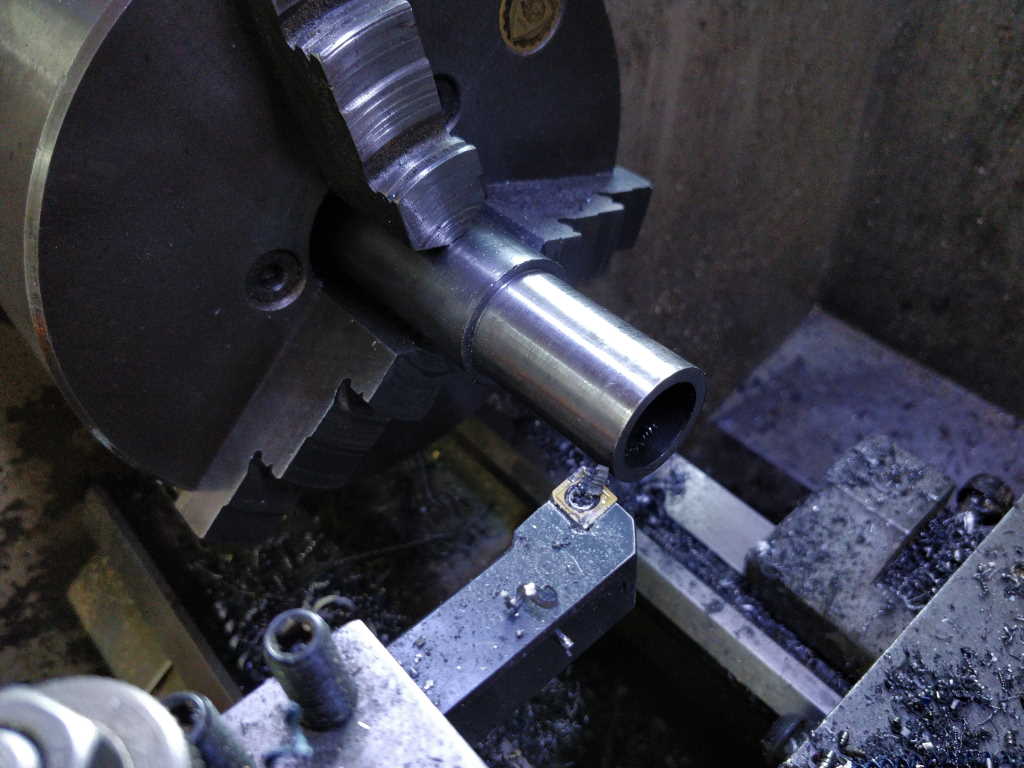
Next up was the tubes to run in the slotted bushes for the dual-screw vice. The original plan was to have these threaded onto the shafts, but I couldn't face another bit of 2.5 mm pitch thread cutting, so I just took a bit of the tube and skimmed the OD down to 25 mm to fit in the slotted bushes.
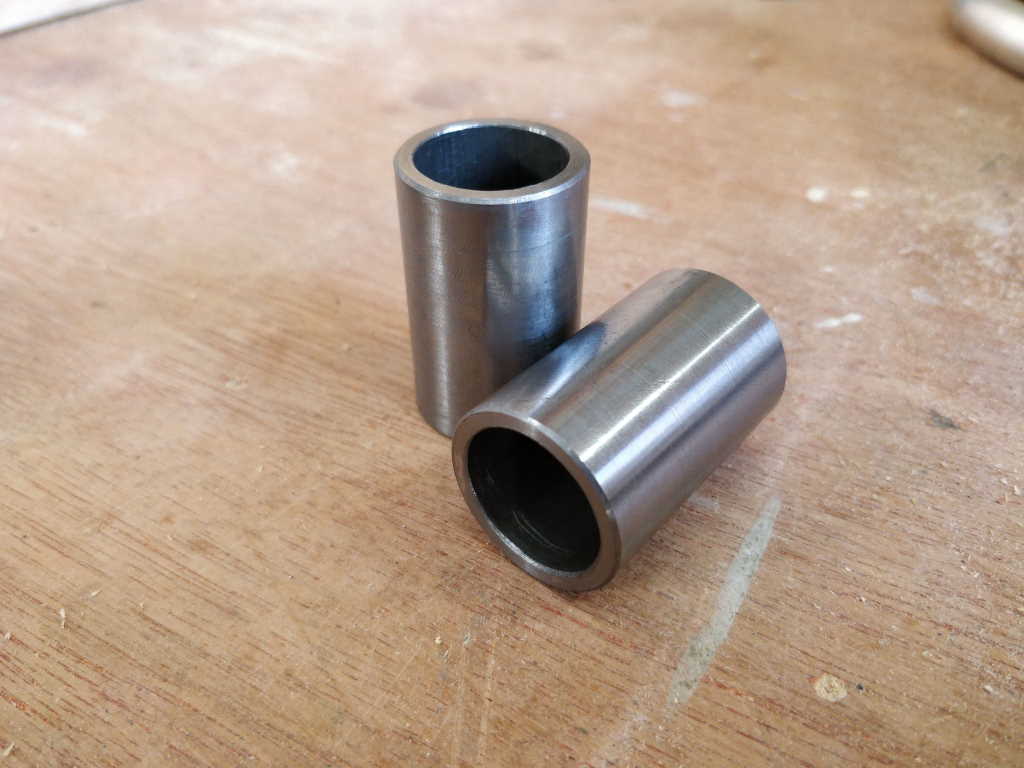
I then cut it off with the bandsaw, flipped it over, faced and chamfered and Robert's your father's brother:
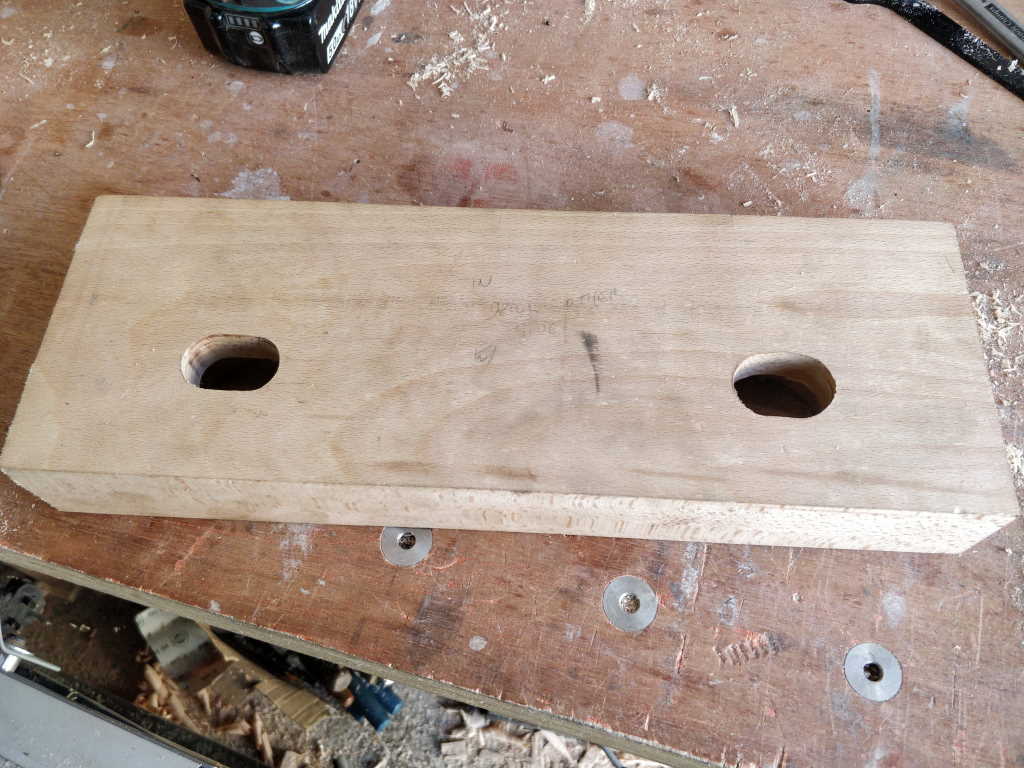
My original plan with the holes in the wood for the slotted bushes was to rout them out once the brass bits were glued in place. However, I got impatient and wanted to do some trial fits before things got as permanent as being glued together. The brass bits are a close fit and are prevented from rotating by some dowel pins, so I figured it would be fine.
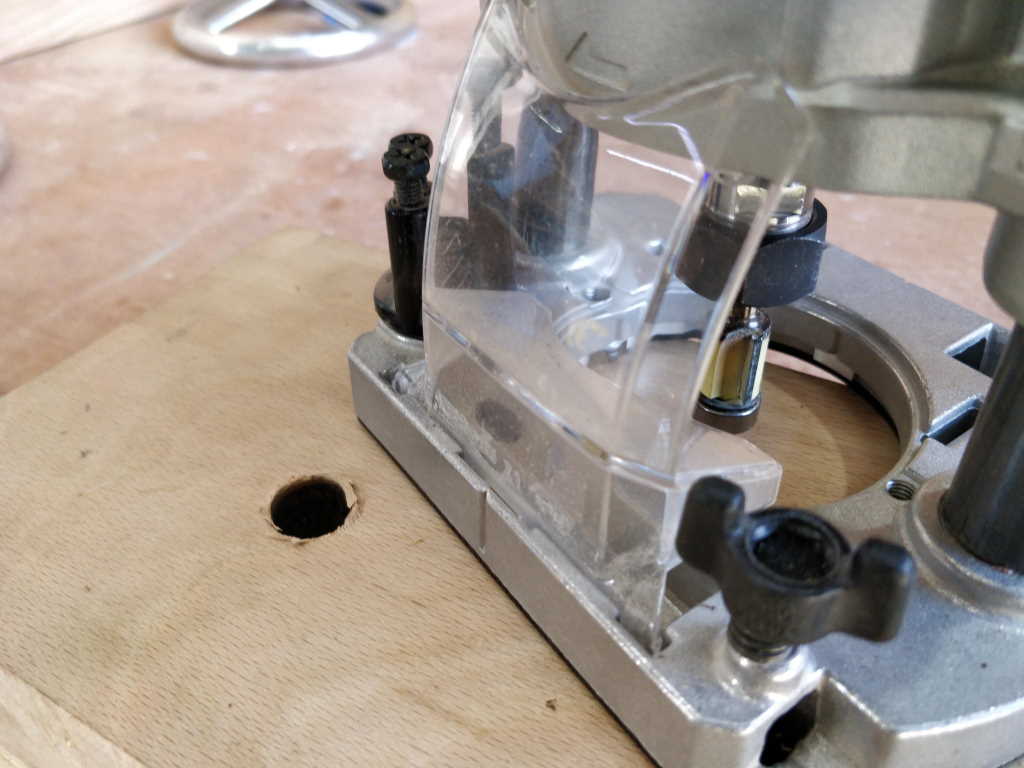
I fitted a top-bearing flush trim bit in the little router:
After very carefully setting the height so the cutter wouldn't cut brass, I worked steadily away at the holes until they were the same as the brass slot:
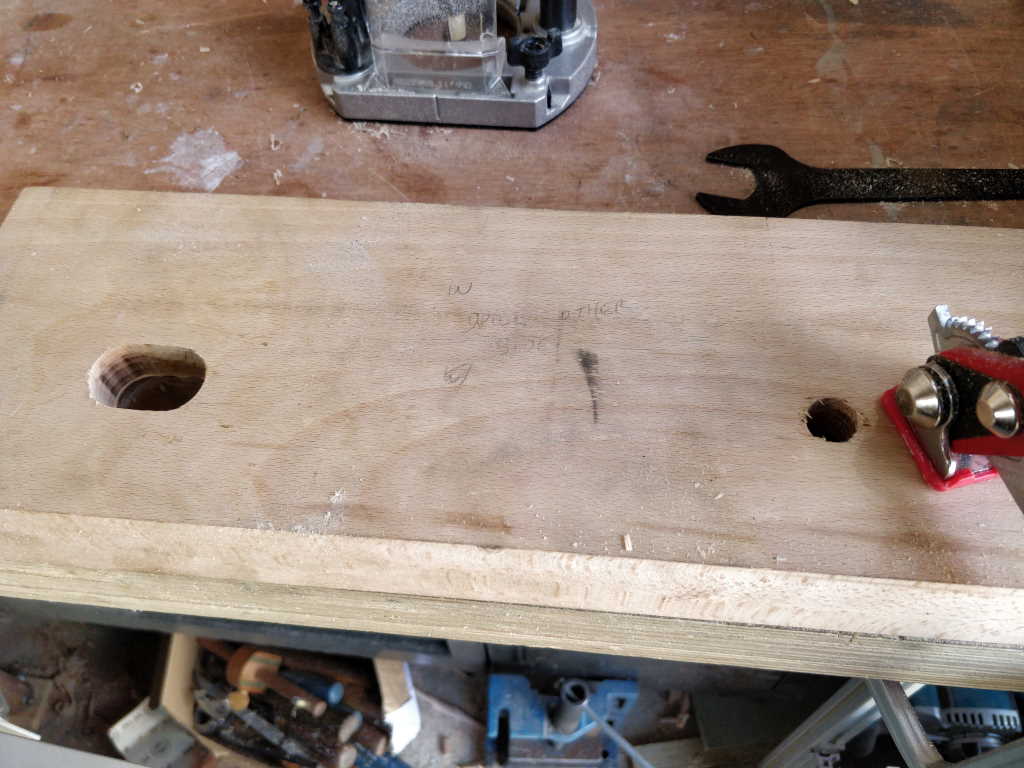
Something went slightly awry on the second hole - I think I wobbled a bit and lifted one side of the router up slightly. I don't think it matters though as it doesn't look horrendous and will be on the inside of the jaw.
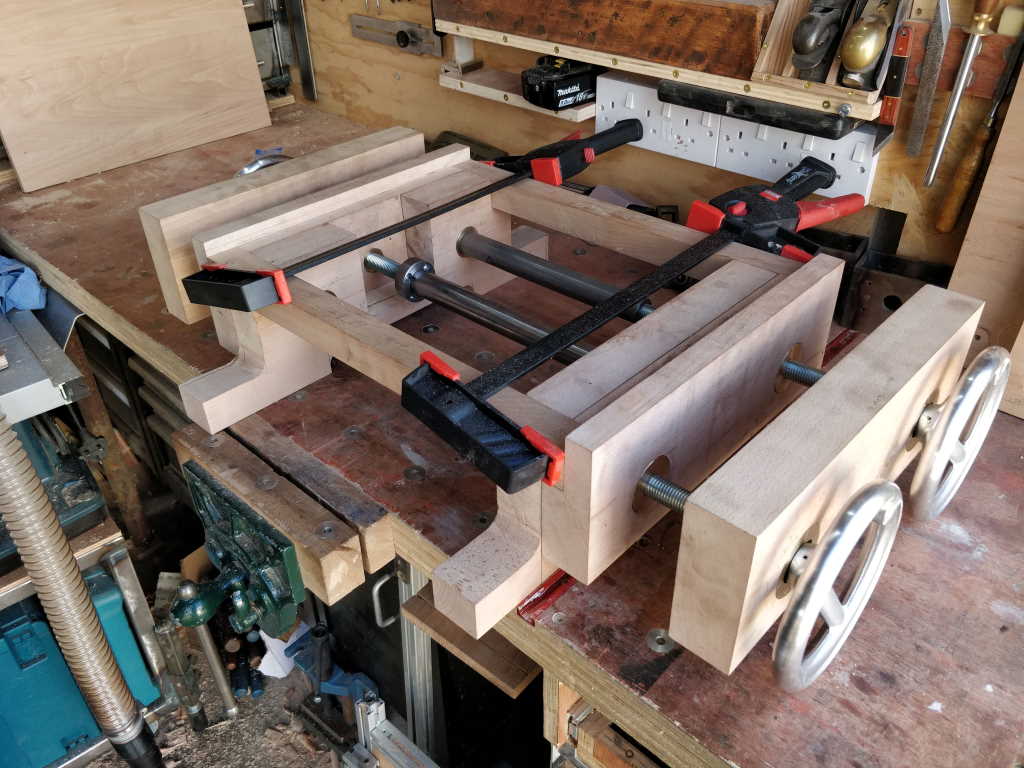
With all those bits complete I could do another test fit:
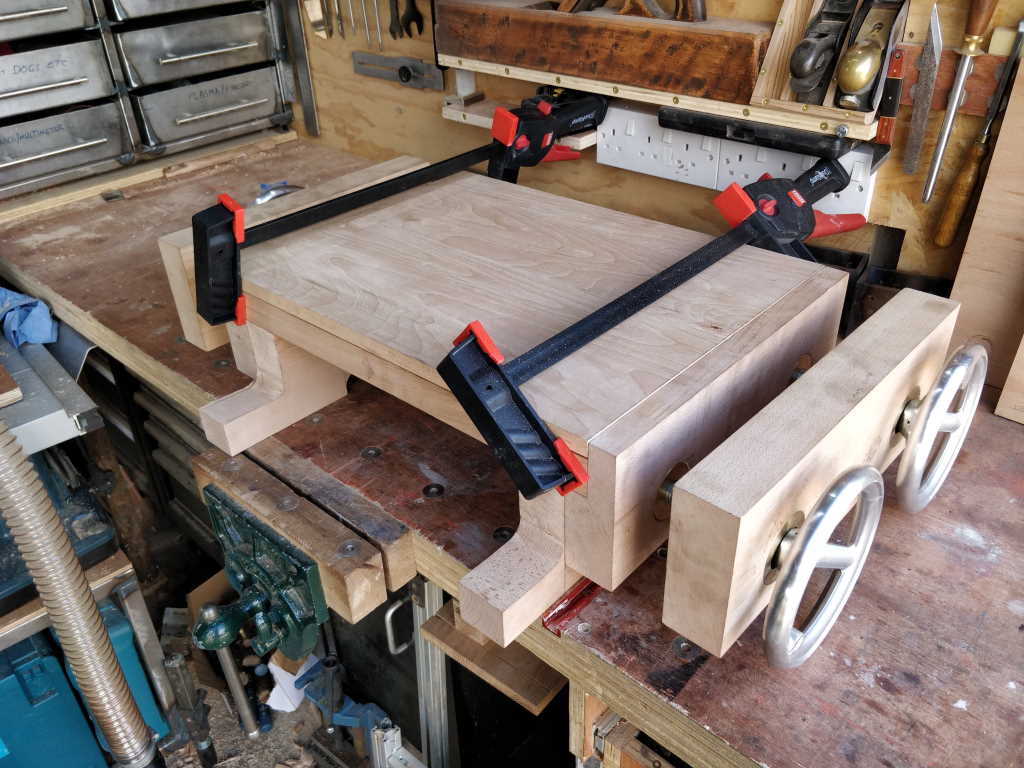
Here it is with the top slid into place as well:
That brings us to a bit of a landmark: all the metal-mangling is complete (apart from whatever I decide to do about washers for the dual-screw end) and I can get back to some wood-worrying!
First job is to open up the slots for the vice mechanism bodies (to compensate for moving the shaft hole as I mentioned a while ago) and then I can do some functional tests.
Page 35 of 67
This website is free and ad-free, but costs me money to run. If you'd like to support this site, please consider making a small donation or sending me a message to let me know what you liked or found useful.

 Return to main project page