Salt & Pepper Mills Build Process
Page 4 of 11
Posted 11th March 2025
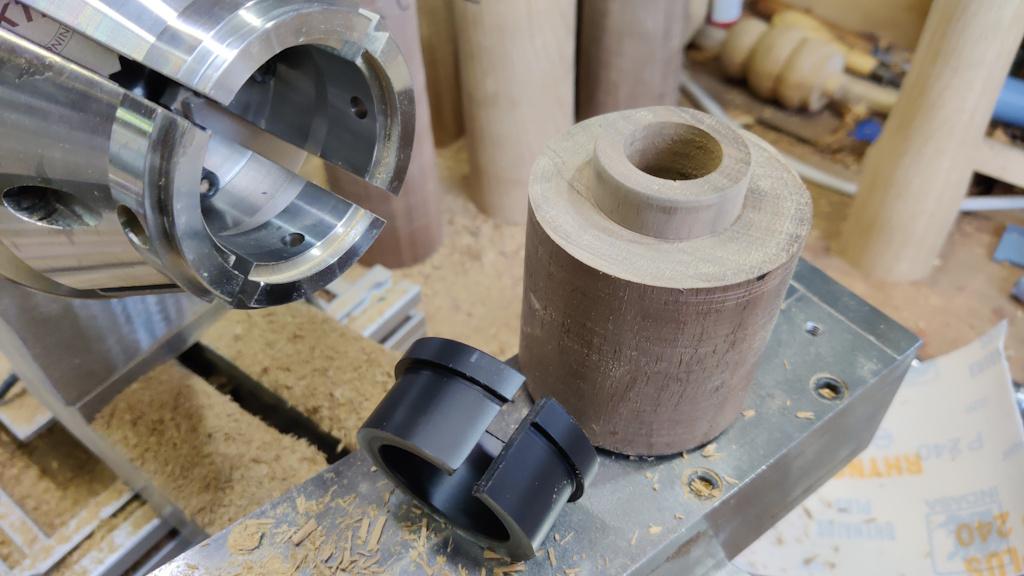
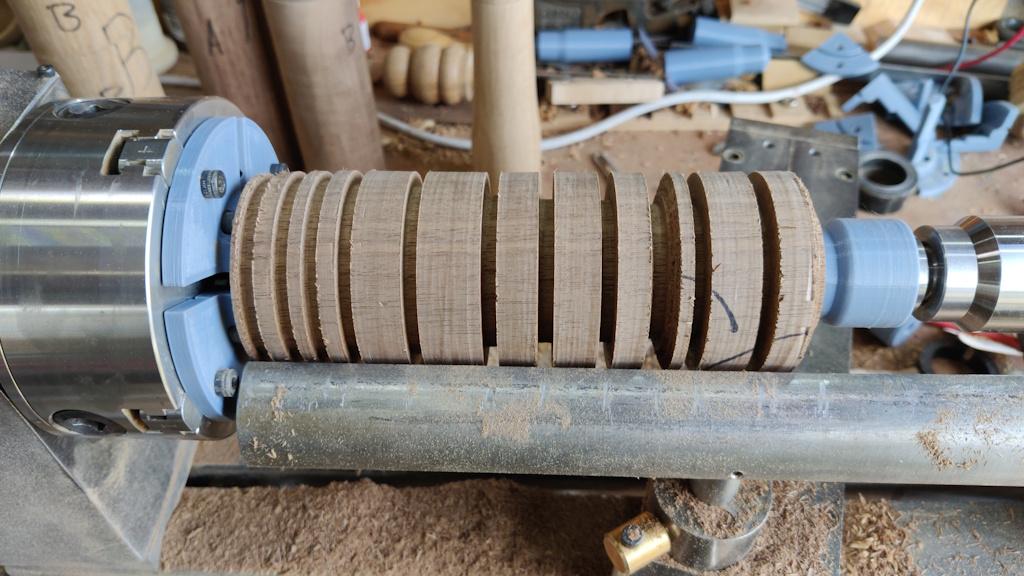
The 3D-printed jaws for the holding the top were looking a little worse-for-wear after turning the first lid, so I didn't hold out much hope for it being usable for all the remaining mills, so I wanted a new approach. This is where having a metalwork lathe comes in handy. I grabbed a bit of acetal bar in the metal lathe and turned the outside to match the nominal circular diameters of one of the sets of jaws I have for my woodturning chuck (i.e. the diameters at which the surfaces of the jaws form a perfect circle). I then bored it out 35 mm (and nicely concentric with the outside, which is really easy on a metal lathe!) Finally, I used a hacksaw to cut a slit in the side:
That slitted acetal piece goes into the chuck jaws and then the lid-to-be gets held by its tenon. Being soft and nominally of exactly the right diameter for the tenon, the acetal shouldn't do too much damage to the tenon's surface.
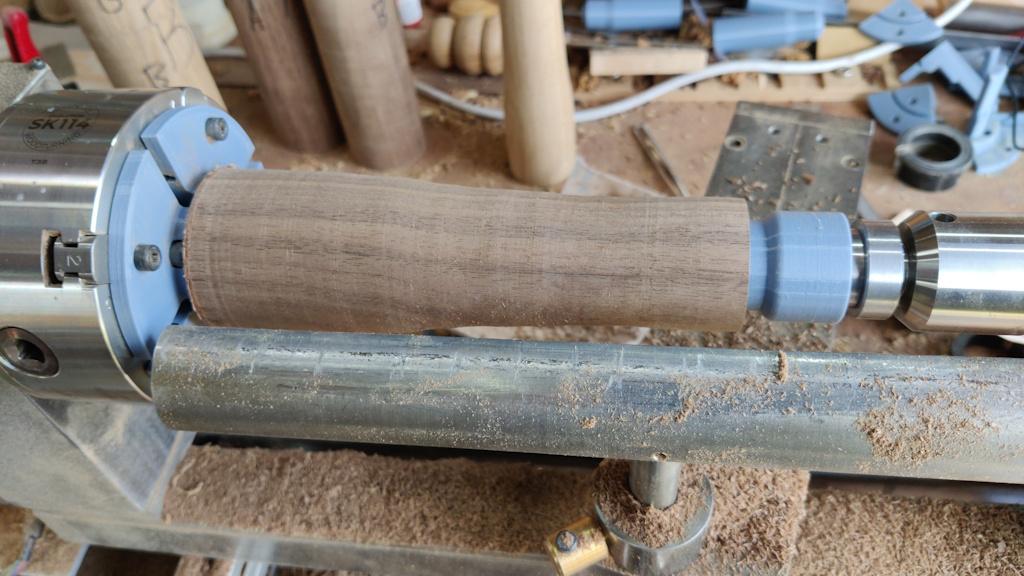
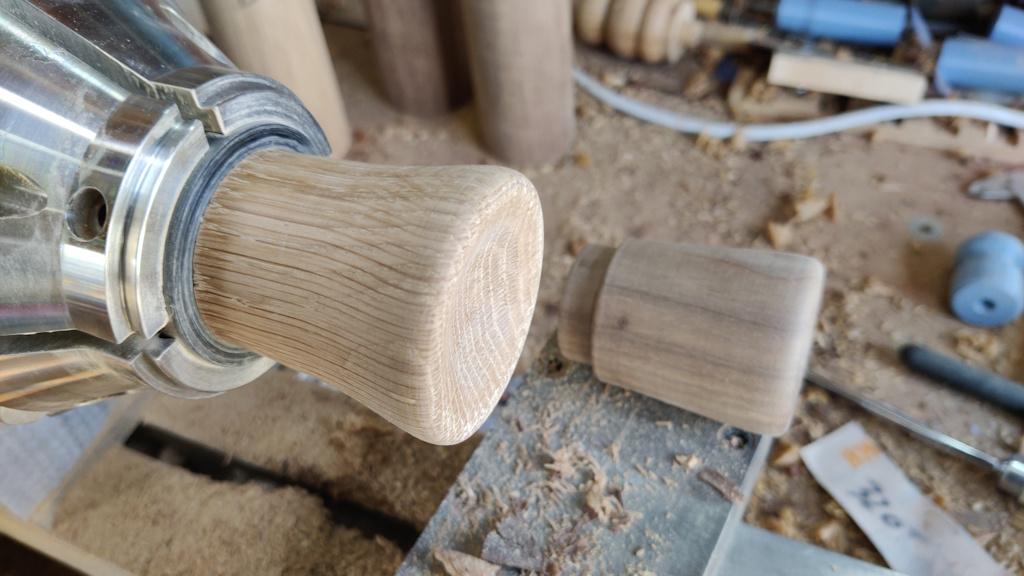
With the lid mounted, I could turn it in much the same way as before: roughing out the shape...
... then sanding the outside...
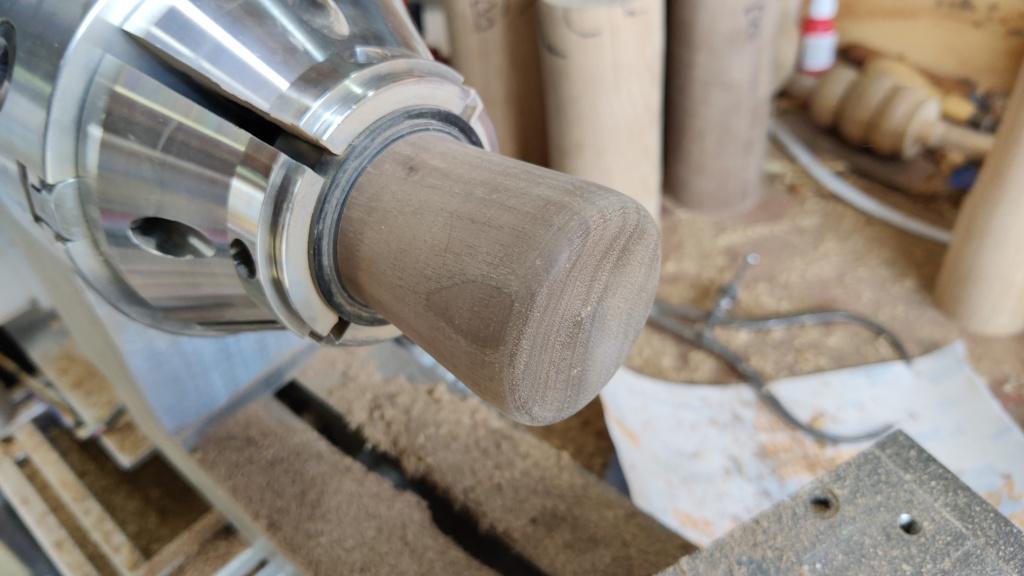
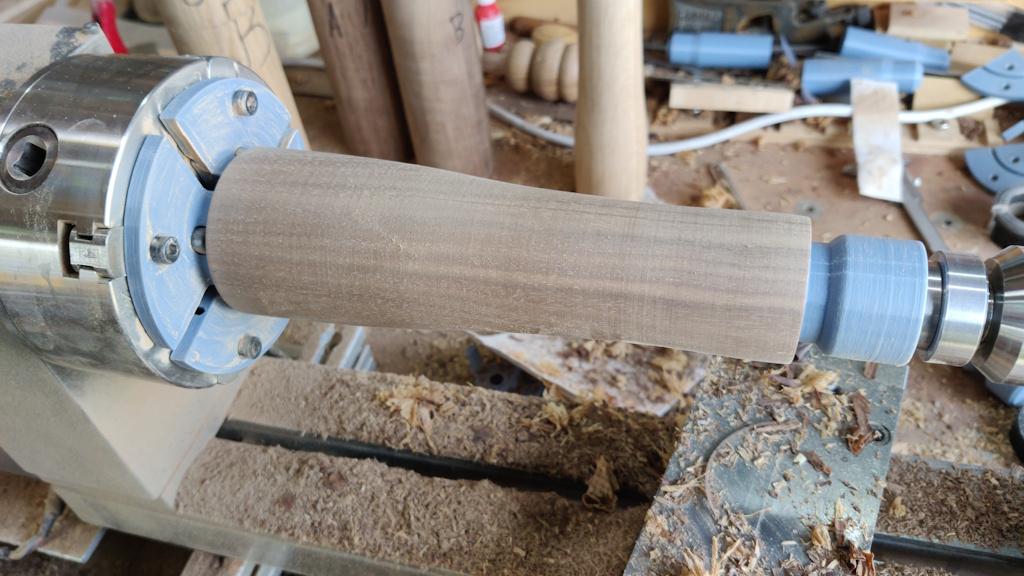
... and then sorting out the end.
I'm still not entirely happy with the shape of this one, but it worked okay and I might make an oak one to match so they're a pair even if they're not the shape I'm hoping for (the plan is to have oak ones for salt and walnut for pepper, so they don't need an 'S' or a 'P' carved in the top).
For the body, I came up with a new way of supporting at the tailstock end. Here it is:
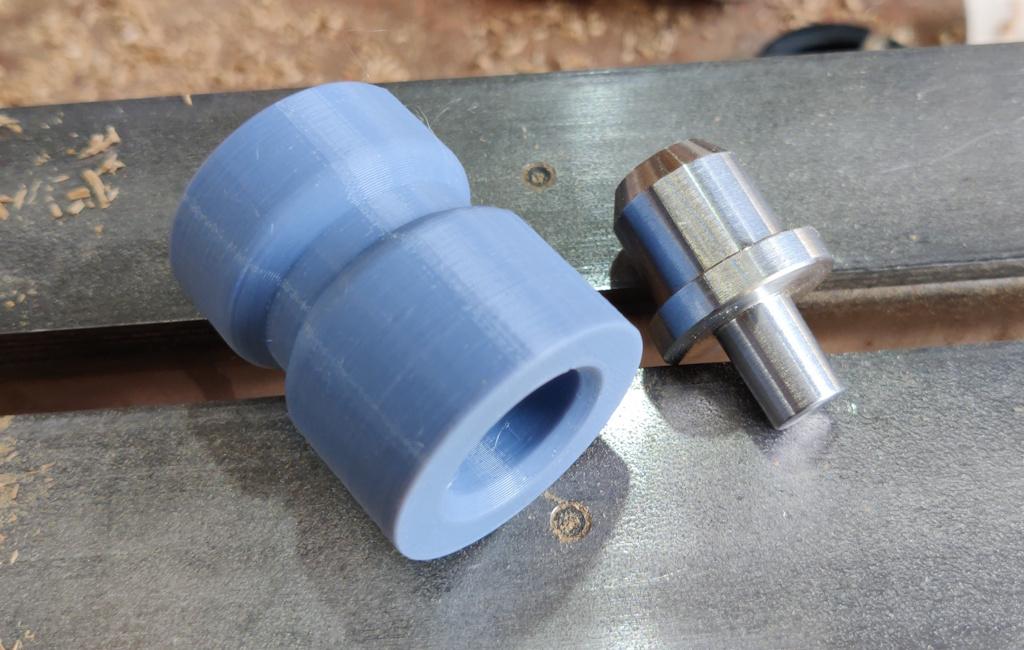
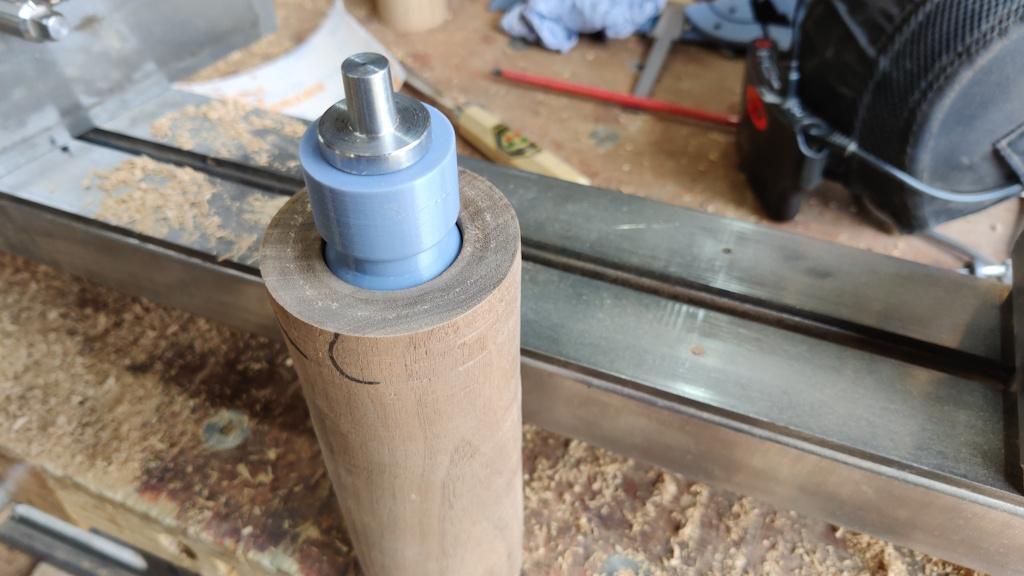
The plastic part is 35 mm diameter (with an indent at the right location for the top, just in case I need to get a tool in there for some reason) with a 19 mm bore part way through. The metal part is one of the heads (called a cup centre I think) for my live centre. The body of that head is 19 mm diameter and isn't tapered for most of its length. The plastic part gets shoved onto that cup centre and inserted into the bore and it supports the top of the mill body:
Here it is fitted to the lathe.
Another change I'm going to make to this process is to make the jaws a bit thicker. At the moment, cleaning up the outside of the bottom of the mill is a bit awkward as the heads of the screws are spinning round in just the wrong place. The next version of the jaws (printing as I write this) have the heads set flush with the base part of the jaws and mill body spaced a little further out.
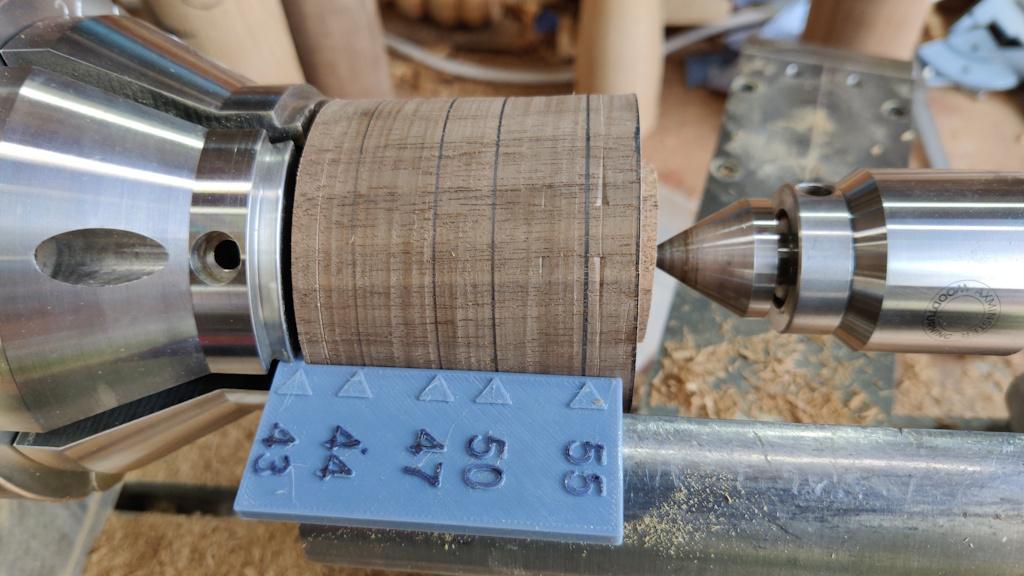
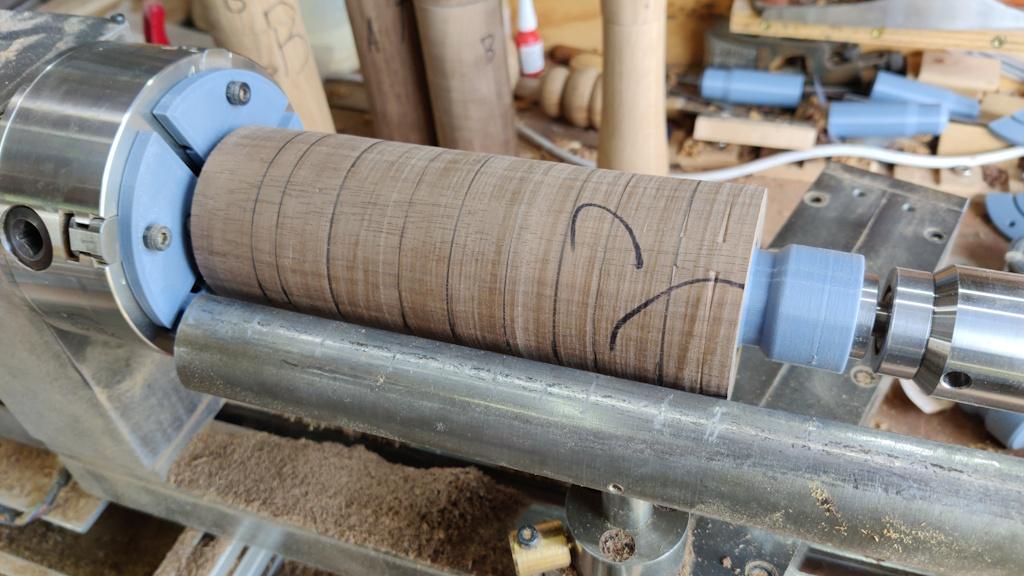
Once again, the shape got roughed out in the same way as before:
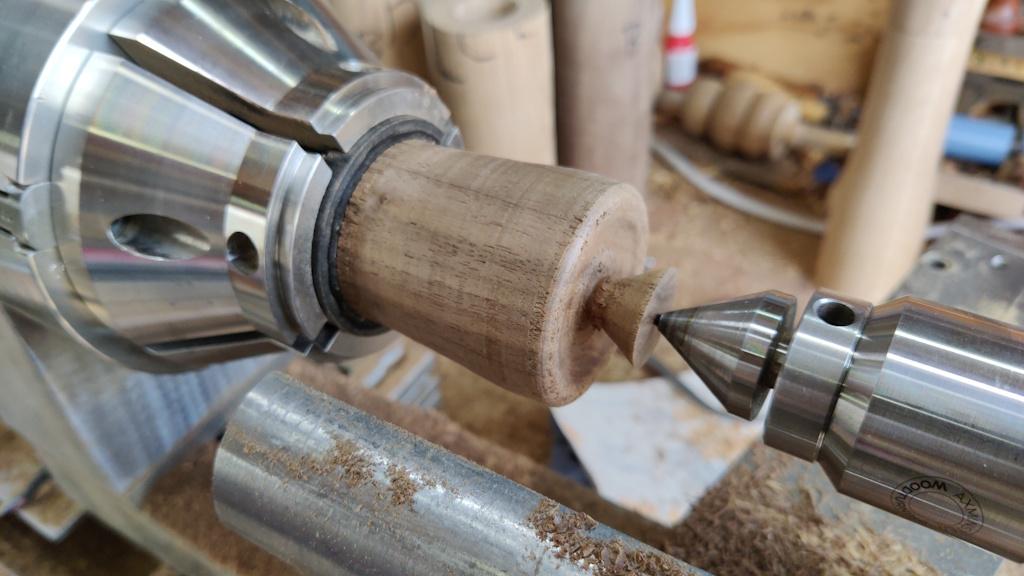
This time I got a bit closer to the target shape straight off the tool, thanks to a tool called an external shear scraper, which seems to allow even inept woodturners get a relatively good finish (or at least a good basis for sanding!):
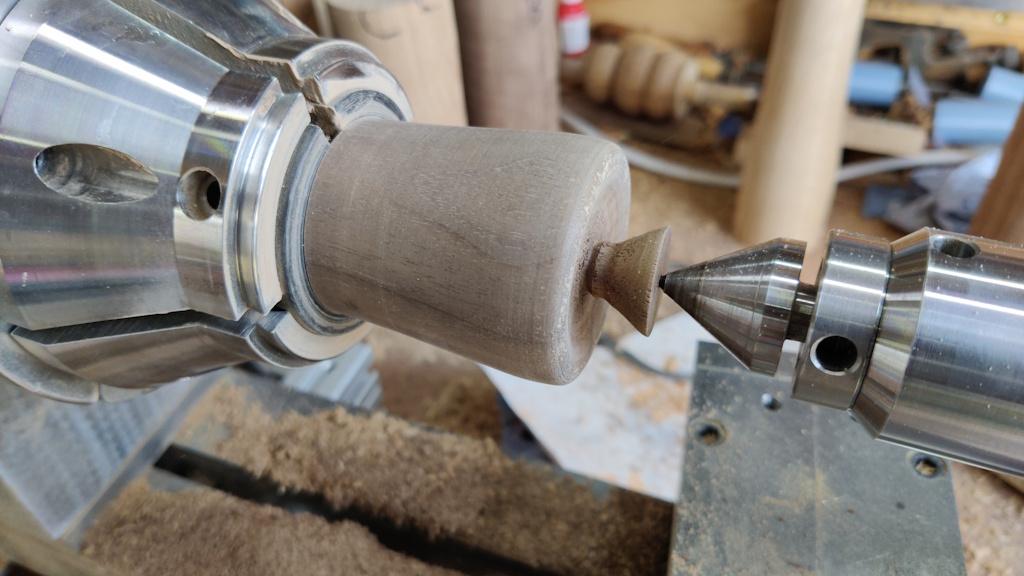
The sanded body:
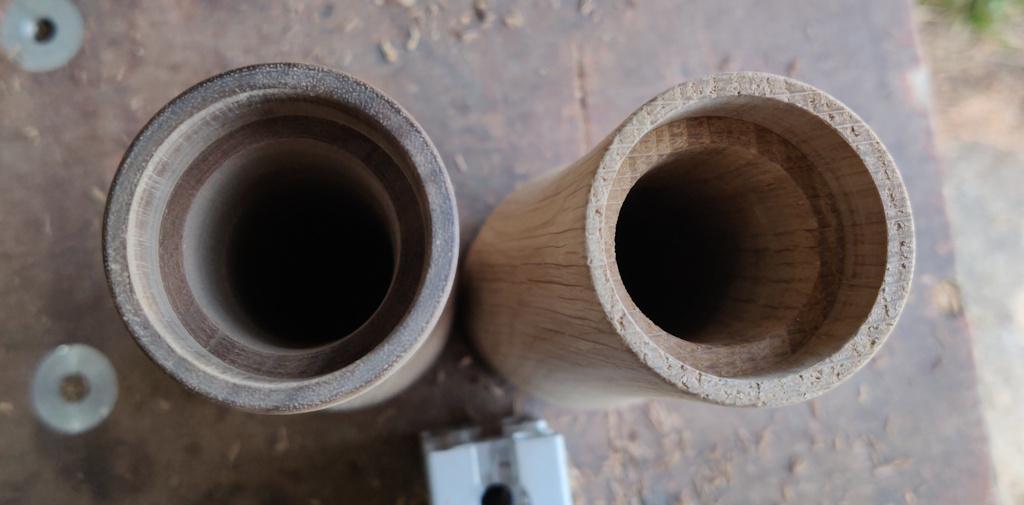
As you can perhaps see in this photo, the new tailstock support has resulted in a much more concentric hole on the walnut mill than it did on the oak one.
With the process feeling a lot more controller, I decided to get on and turn the remaining (i.e. not scrapped) pieces. I started with my last remaining oak blank and achieved a much better (and closer to what I was aiming for) shape for the top this time:
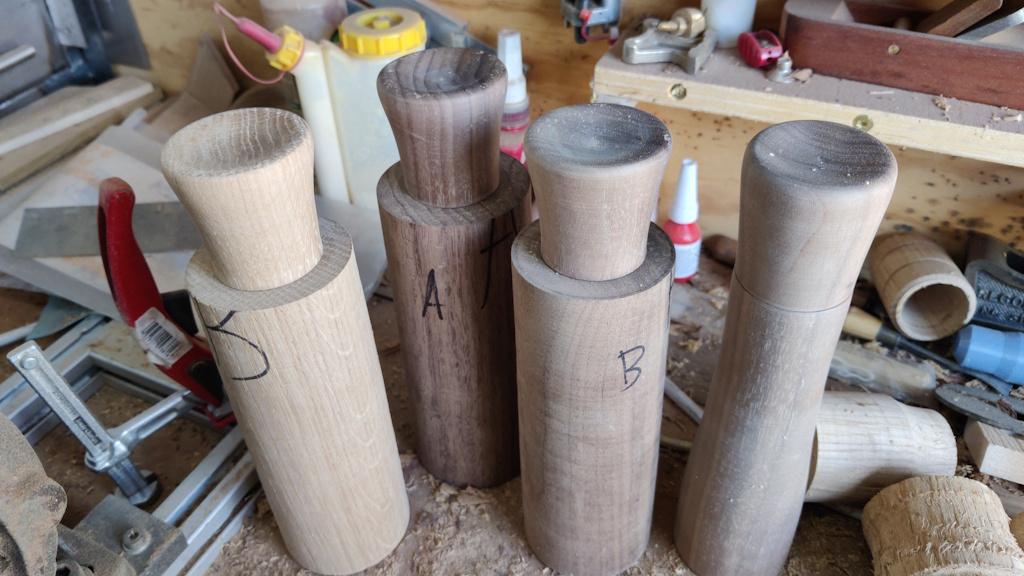
On the previous ones I'd had some catches and had ended up taking off more of the top end than I'd wanted, so I was much happier with this result. While I had the O'Donnell jaws fitted, I turned all the other tops:
That's all I've got left from the big stock I started with: three walnut ones (one of which has a narrower top than I'd like) and an oak one. Of those I'd say that one walnut one and one oak one is actually the shape I was hoping for. Not a great hit rate. I've ordered some more spindle blanks; ideally I'd pick them myself, but I'm not sure how long it'll be before I go anywhere where I can buy walnut spindle blanks (the place I got these from is an hour and a half drive each way on a good day).
Anyway, I turned the bodies of the two with the best lids and I'm happy to say that it went well. It was definitely better to do the lids first: then when I turned the body I could retract the tailstock and check the size against the lid.
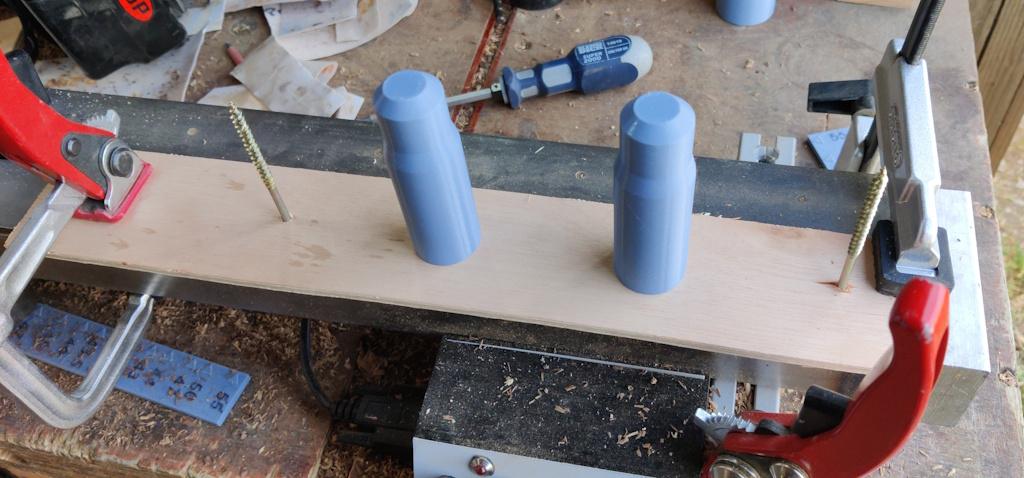
The 3D-printer had also been busy making some simple paint points:
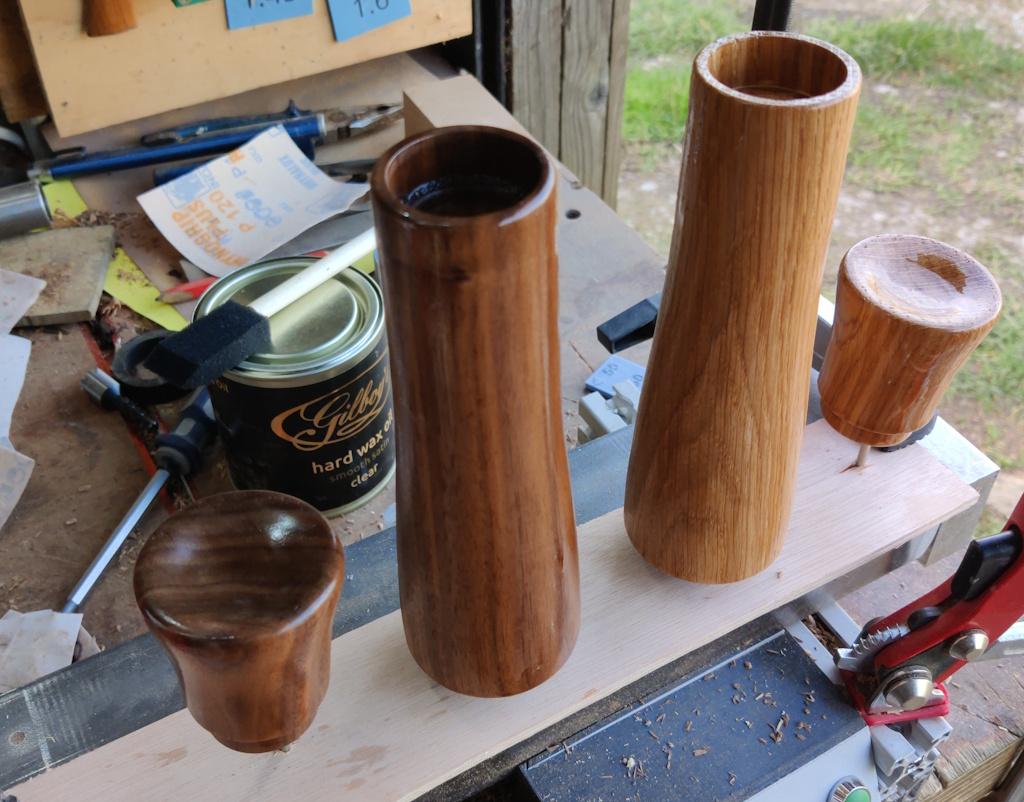
The lids (which have blind holes) just sit on some 5 mm × 80 mm screws; the printed paint points support the bases. So far I've given them one coat of food-safe hard wax oil: this photo was taken after applying it but before wiping off the excess:
The hard wax oil was applied to the outside surface, the ends and the surface of the largest inner diameter at each end (i.e. the 45 mm section at the bottom and the 35 mm one at the top): the bit where the peppercorns will sit is unfinished.
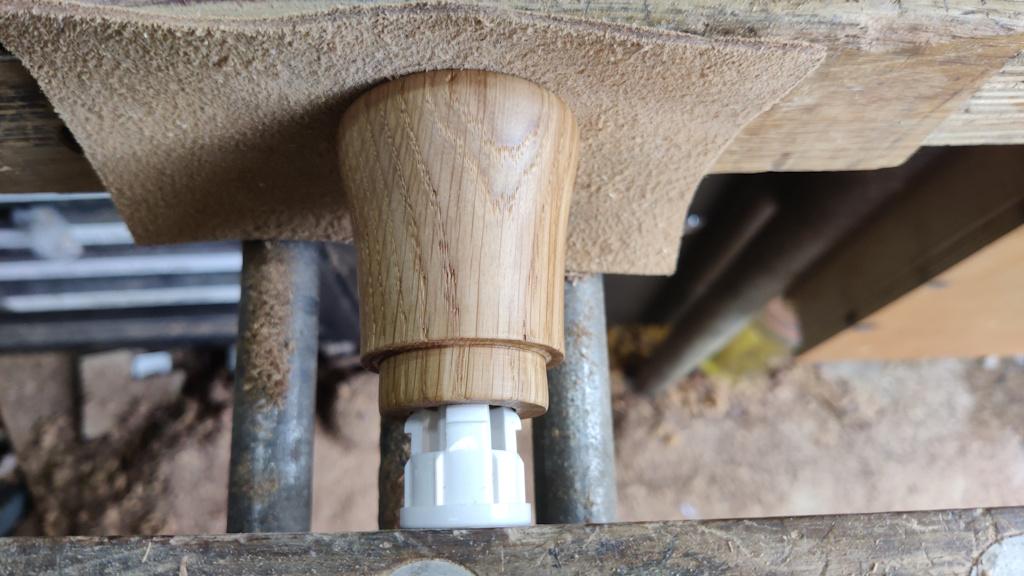
After two coats of hard wax oil over a couple of days, it was time to press the mechanism into place. The ones for the lids were very straightforward, I just used the vice (with a loose bit of leather covering one jaw to protect the finished surface):
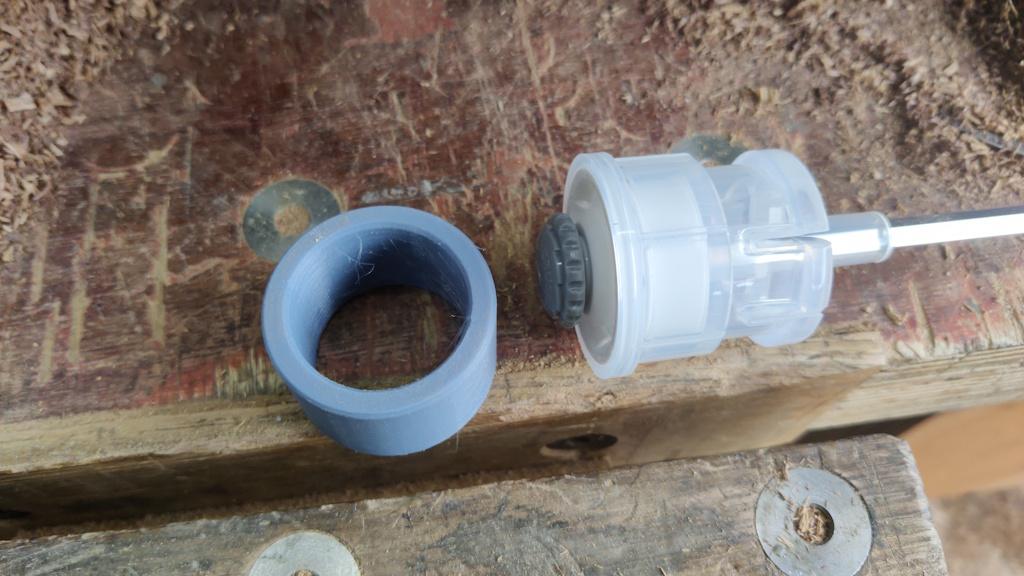
To press the bottom part of the mechanism in, I needed something that would push on the rim (to allow it to go sub-flush). The manual suggests turning this from a bit of scrap wood, but it probably won't surprise anyone to hear that I just printed a ring:
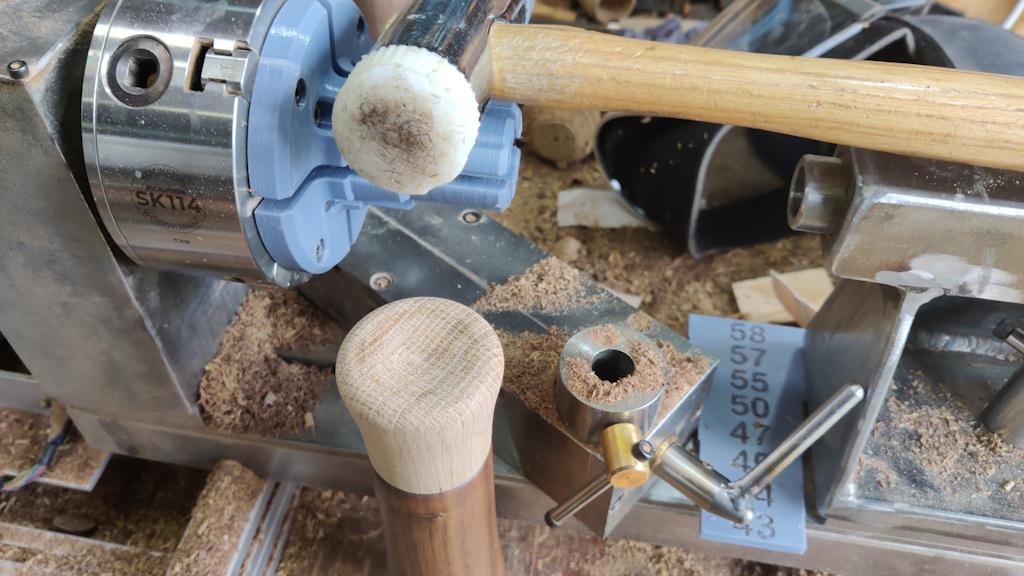
My vice wouldn't expand wide enough to squeeze it in. I could have used the pillar drill I guess, but I figured it would be okay if I was careful with a mallet. I used the lid from one of my failed peppermills to give me something to hit that I didn't care about damaging and just tapped it until the mechanism slid home:
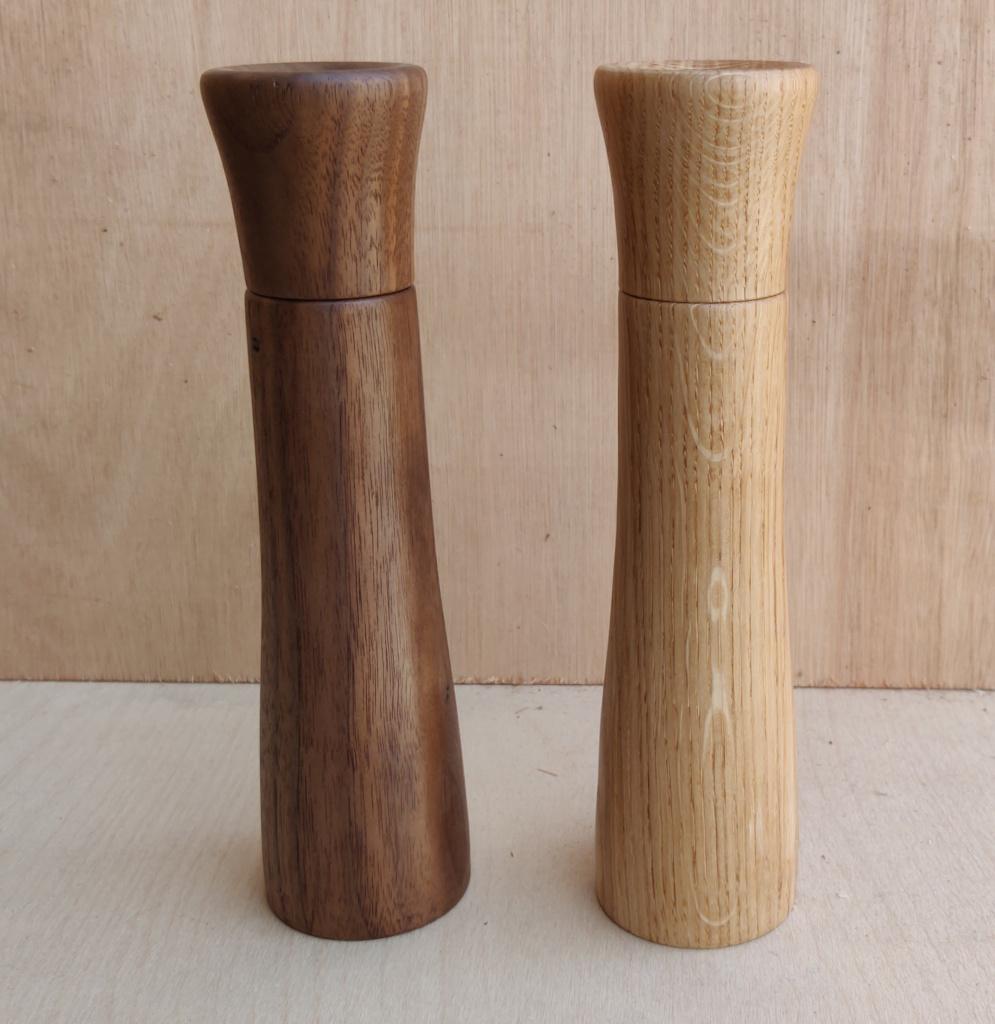
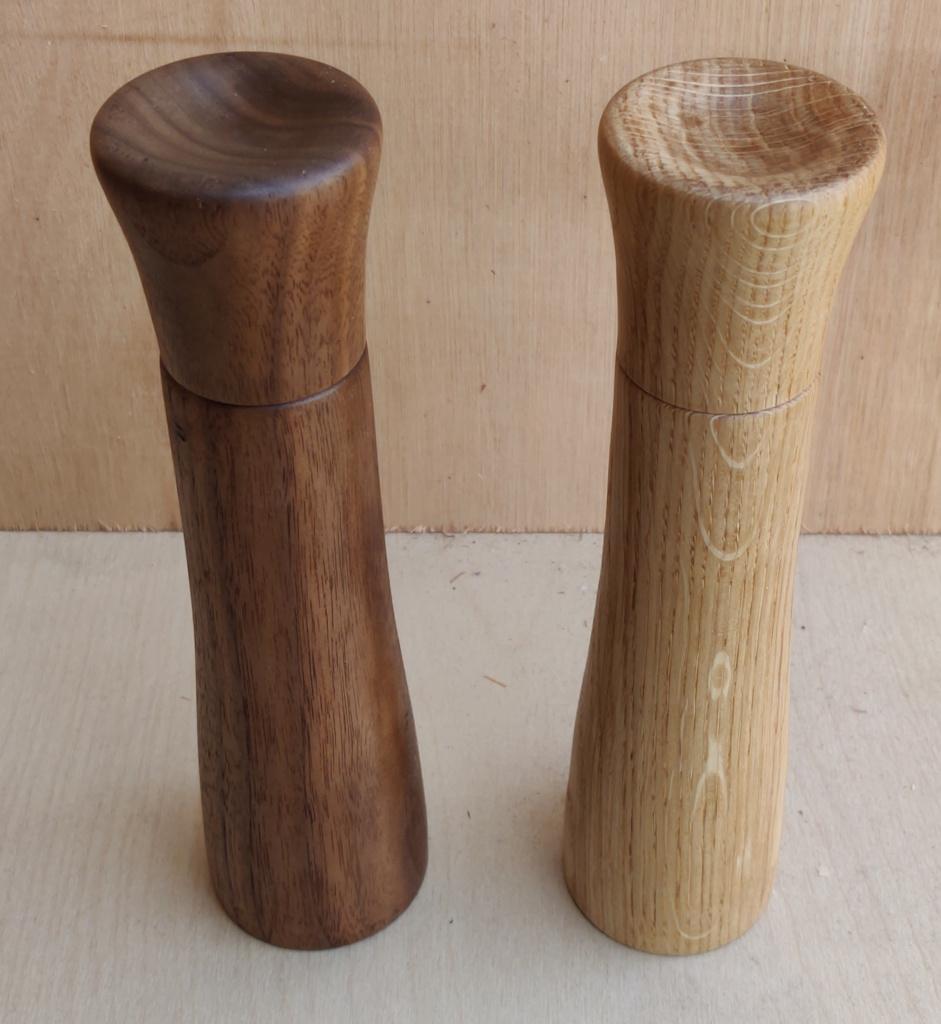
With that, the first two mills are done:
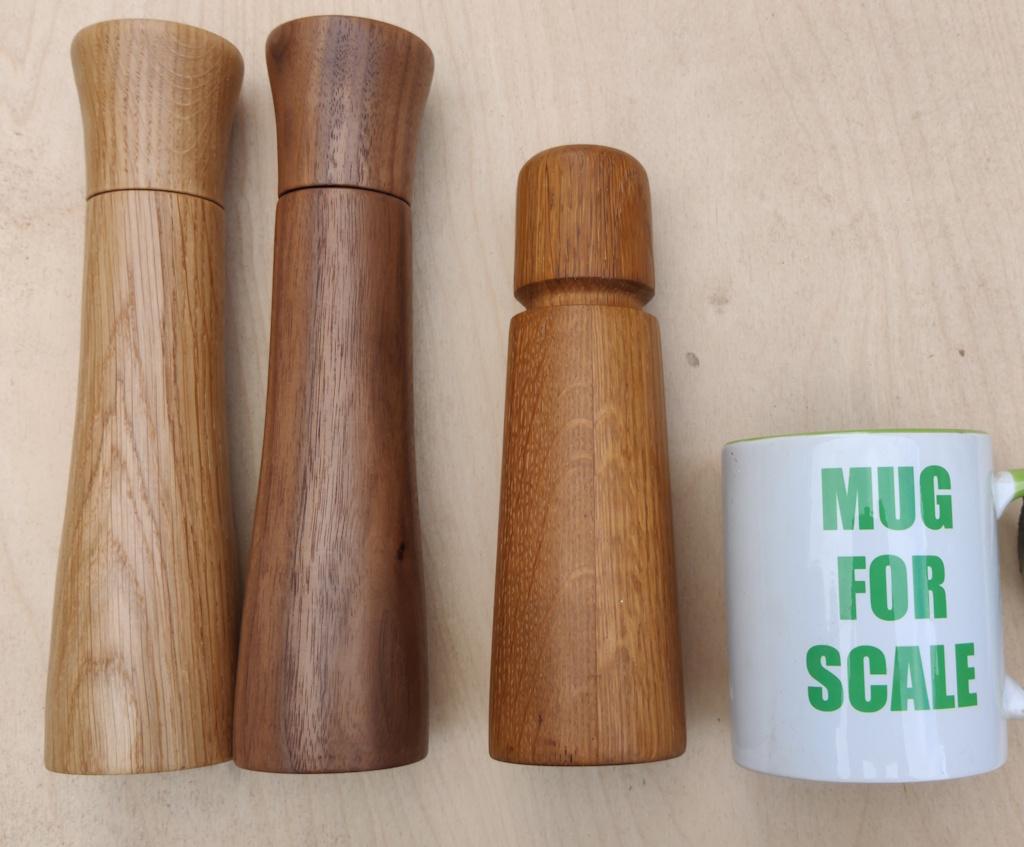
(Disclaimer, those two photos were taken on a sunny day before I'd done the second coat of oil and fitted the mechanisms). Here they are properly completed, sitting next to the (10+ year old) commercial Crushgrind mill that the walnut one will replace:
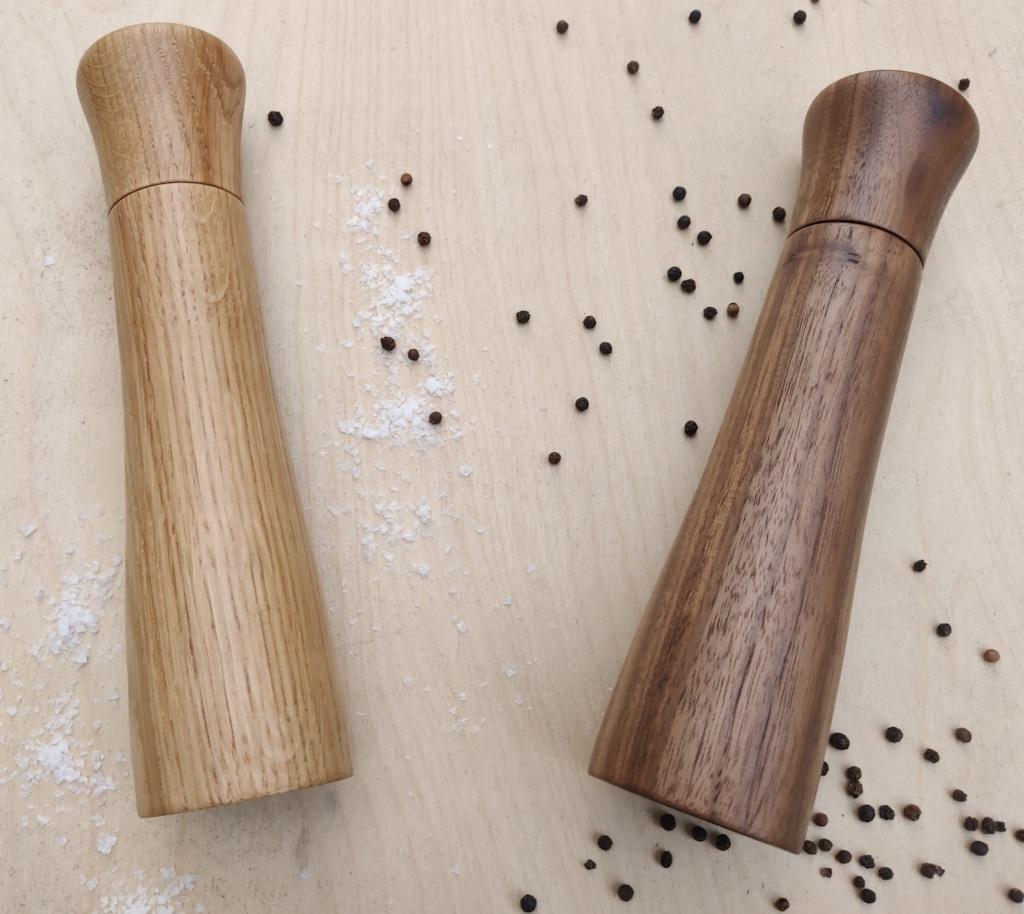
Carolyn insisted I do an arty shot as well...
So there we have it, two spice mills. I'm aiming for six, so there will be a lot more work to do when I've got some more spindle blanks. These are probably some of the most expensive salt/pepper mills around if you include the cost of all the spindle blanks I've thrown away with the various failures, but hopefully my "hit rate" will improve when I try to make the next four!
Page 4 of 11
This website is free and ad-free, but costs me money to run. If you'd like to support this site, please consider making a small donation or sending me a message to let me know what you liked or found useful.

 Return to main project page