Salt & Pepper Mills Build Process
Page 5 of 11
Posted 15th March 2025
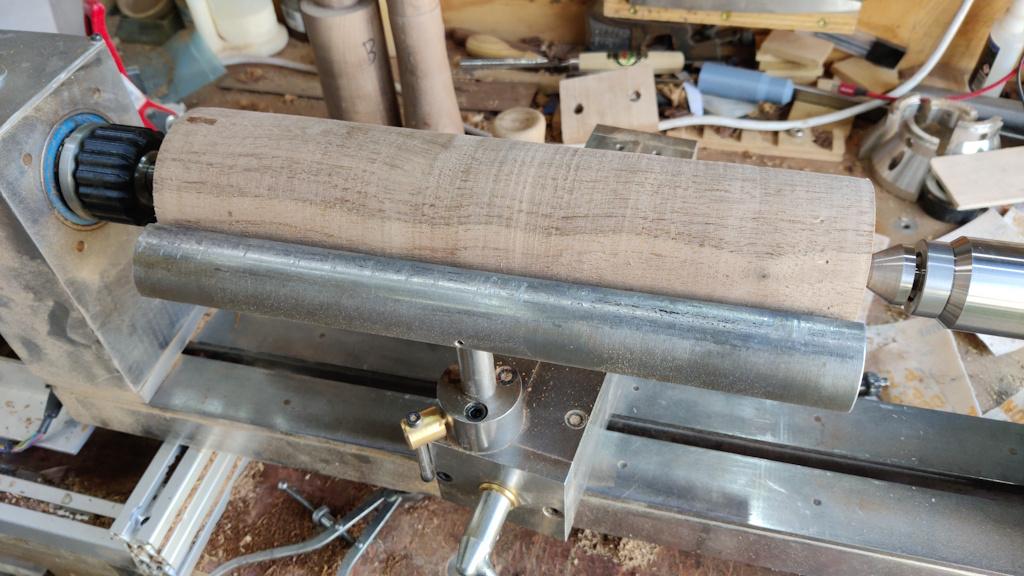
Apparently, I'm a glutton for punishment. It started with a pre-roughed-round walnut blank:
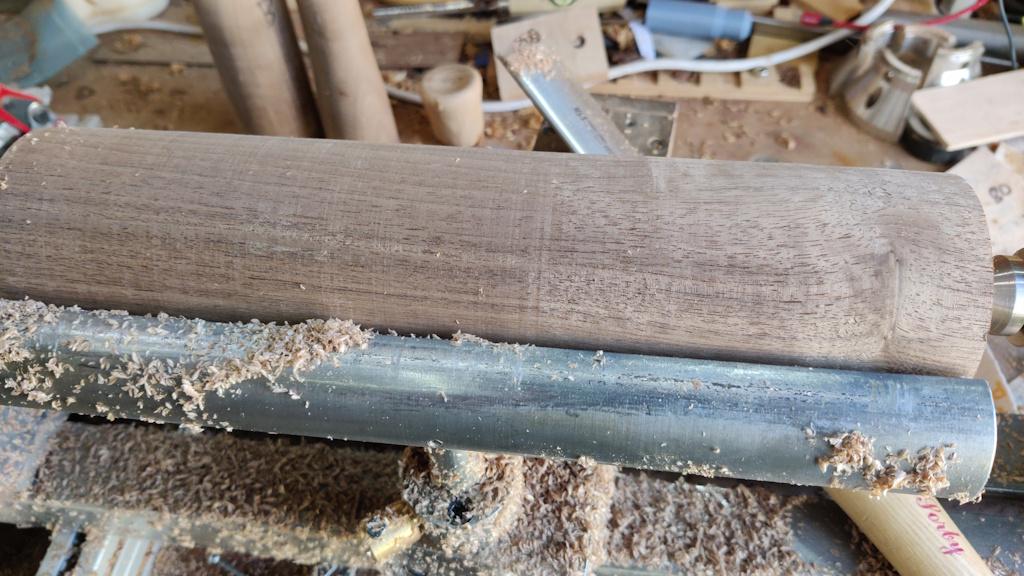
I ran over the surface with the skew chisel just for the practice:
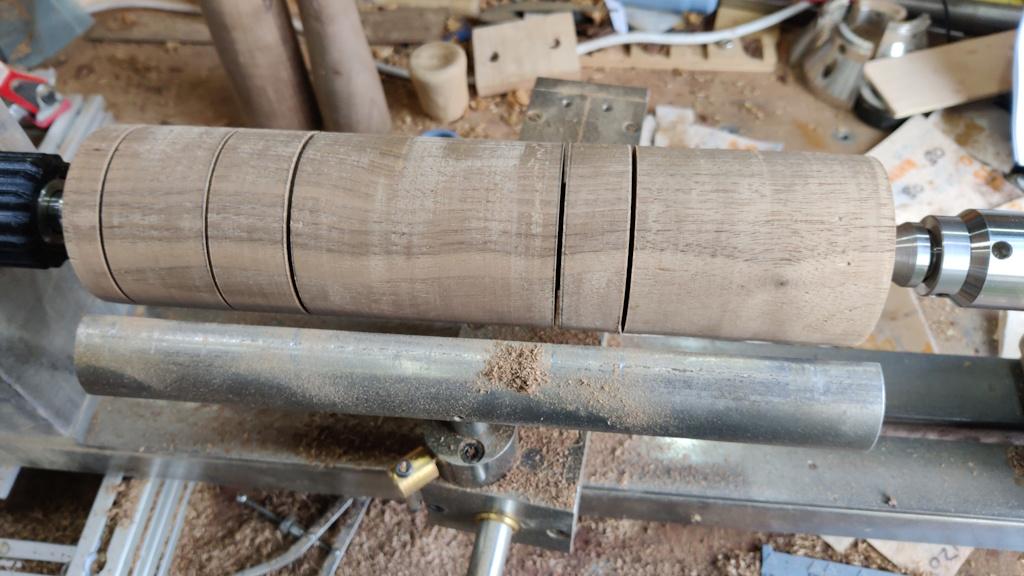
I then added some grooves to show me where to split the part up (in the wrong places as I wasn't paying attention but we'll see how it goes eventually):
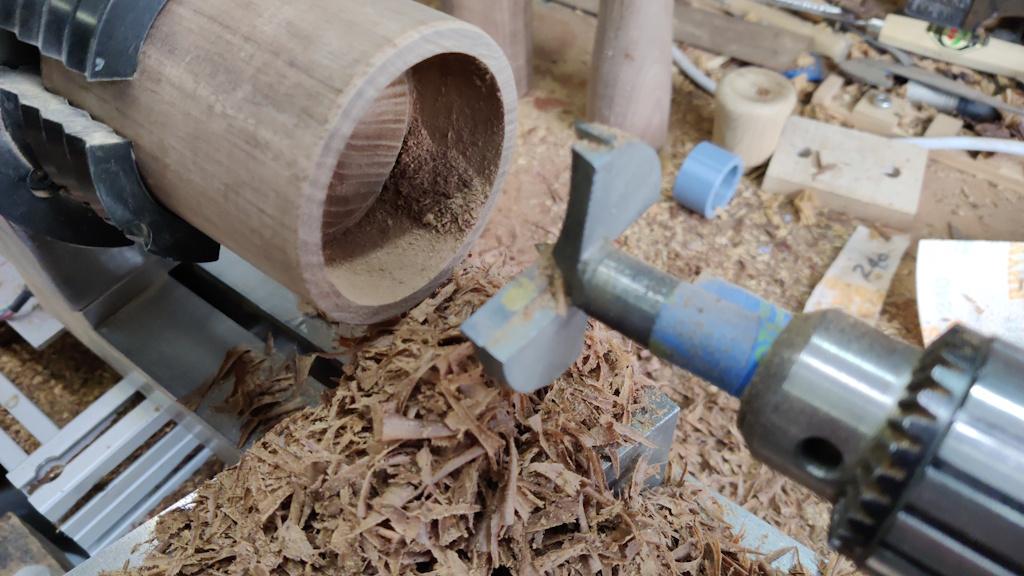
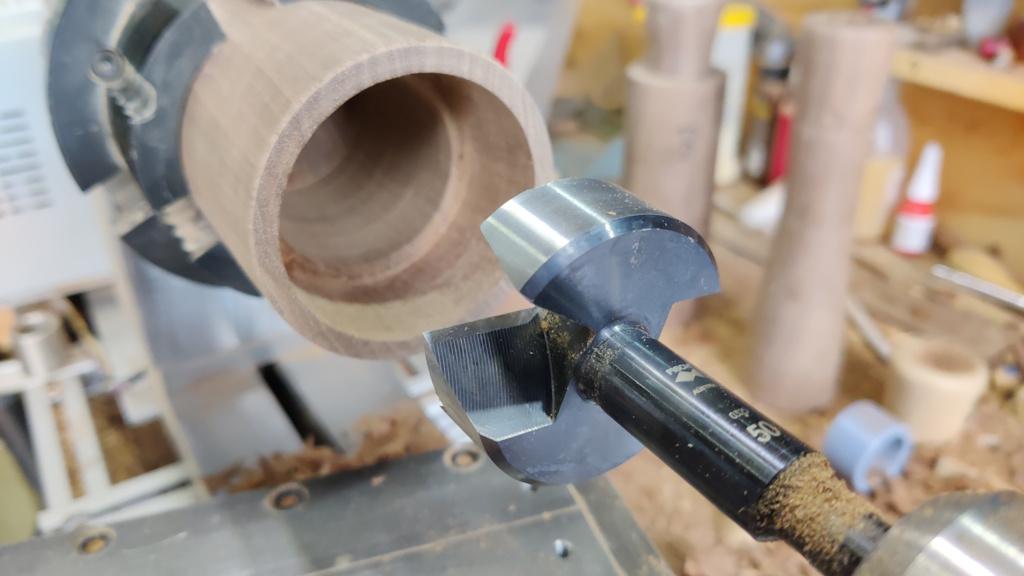
After sawing the bits up, I needed to cut a big hole in the bottom of the middle piece. The biggest Forstner bit I've got is this cheap and very nasty 60 mm bit, so I used that (not worrying about the finish as the hole needed to be enlarged anyway):
I then used a much better quality 50 mm bit to deepen the hole.
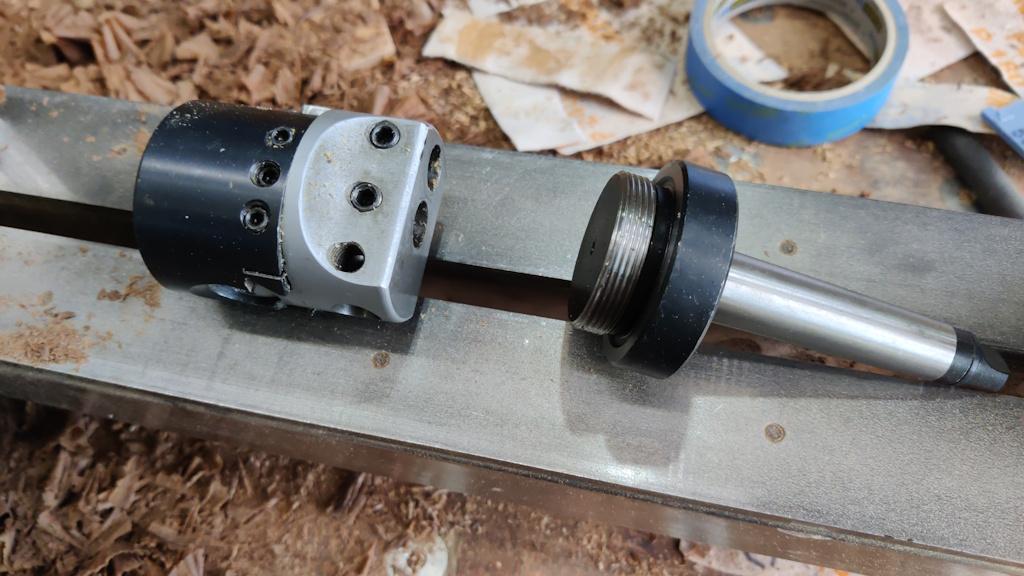
I now needed to open the bottom bit up to 64 mm and part of the 50 mm needed to be made 58 mm. I pondered doing this with the home-made tool I used to open the pepper pocket up a bit bigger, but (partly as I wasn't holding out much hope for this attempt), I thought I'd try using a boring head. I've got several bases for the head, including an R8 one for the mill, an MT3 one for my current lathe and this MT2 one that fitted the mini-lathe (and conveniently also fits the wood lathe):
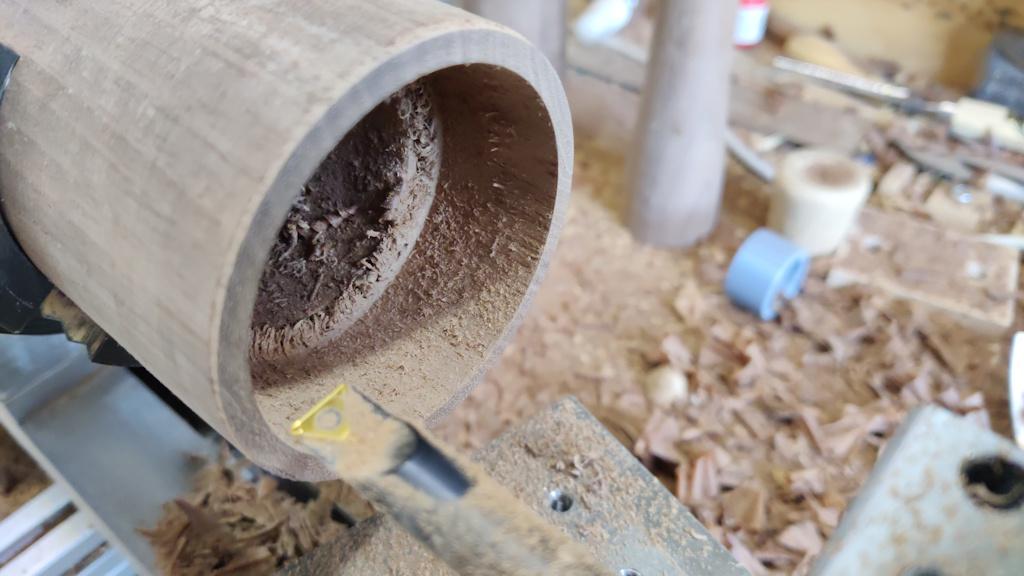
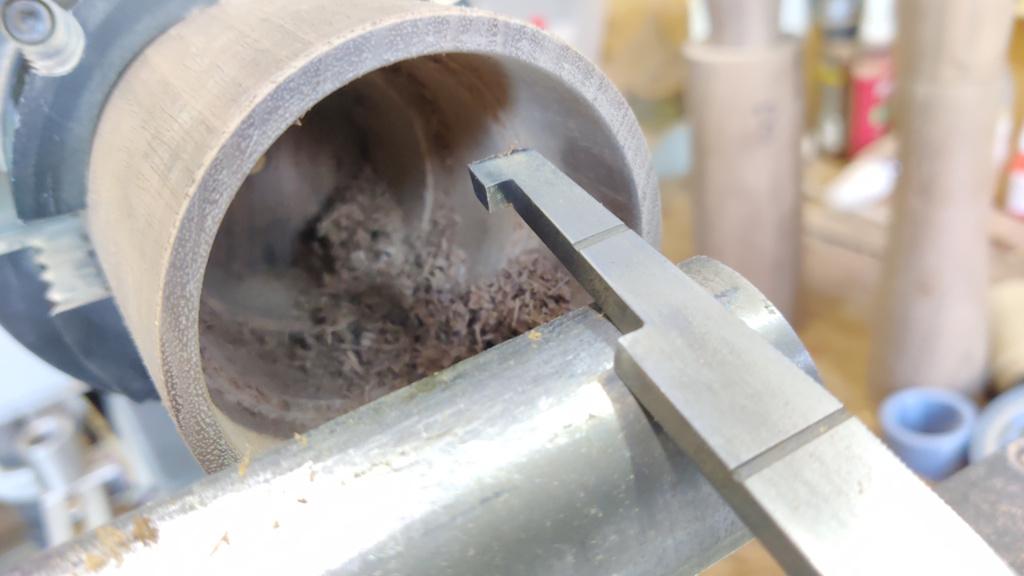
What I don't have is a boring bar that fits in the head and stands any chance of giving a good finish when cutting wood. I might make one at some point, but for now I just used this insert boring bar, which left a pretty awful finish (another "thank deity-of-choice for sandpaper" moment!):
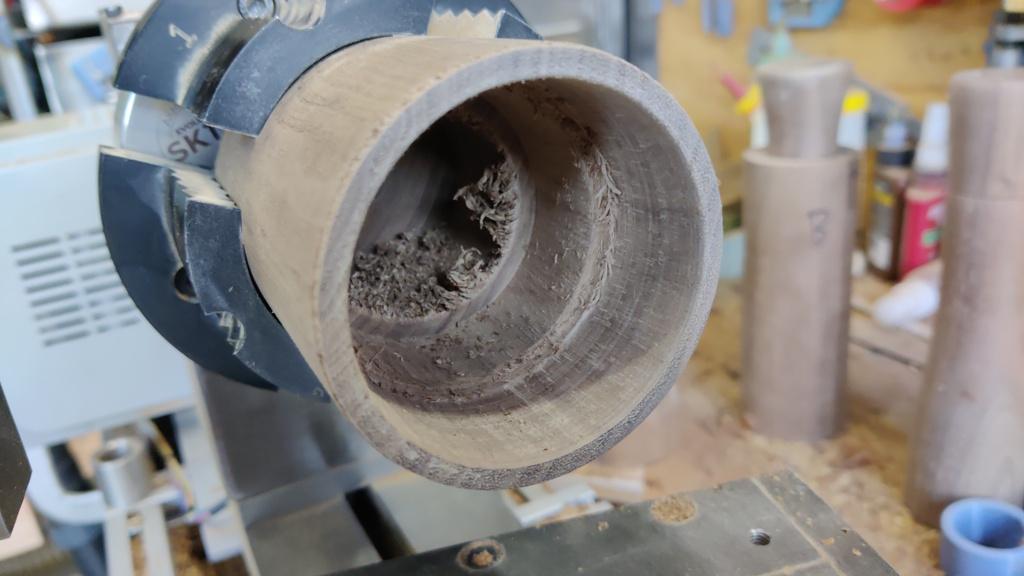
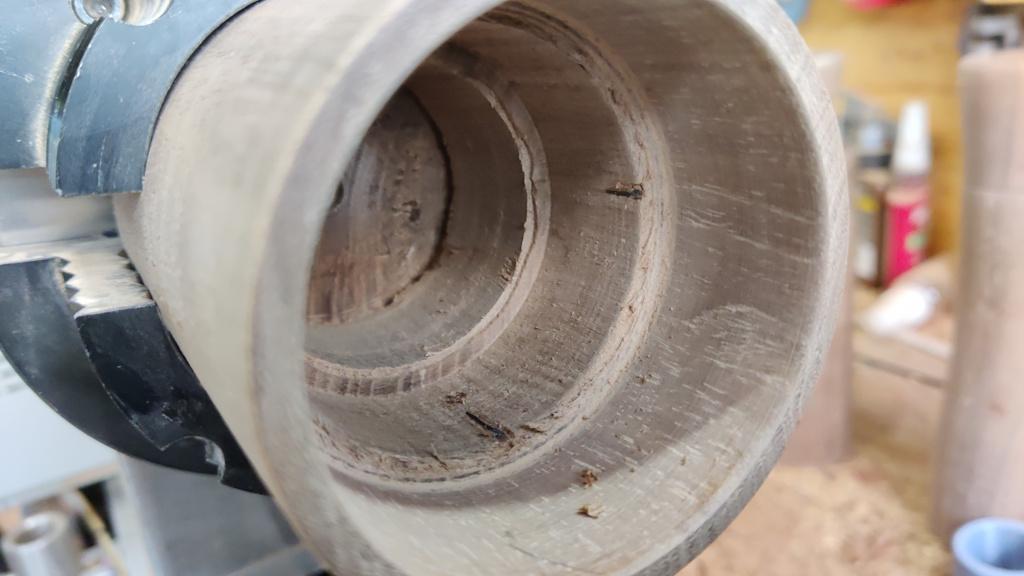
That boring head allowed me make the holes the right size, but left a pretty awful finish (which will conveniently be hidden when the mechanism is inserted):
The groove for this mechanism needs to be right at the bottom of that hole (about 90 mm down). That's a lot of stick-out and not a lot of support. With hindsight it would have been far better to cut the groove after reversing the body in the jaws, but I didn't think of that at the time:
With the groove cut, the majority of the boring for this end was done. However, it couldn't be that simple could it?! Before removing the part from the lathe, I used the gaps in the jaws to line up and mark four pencil marks on the four quadrants of the inside surface:
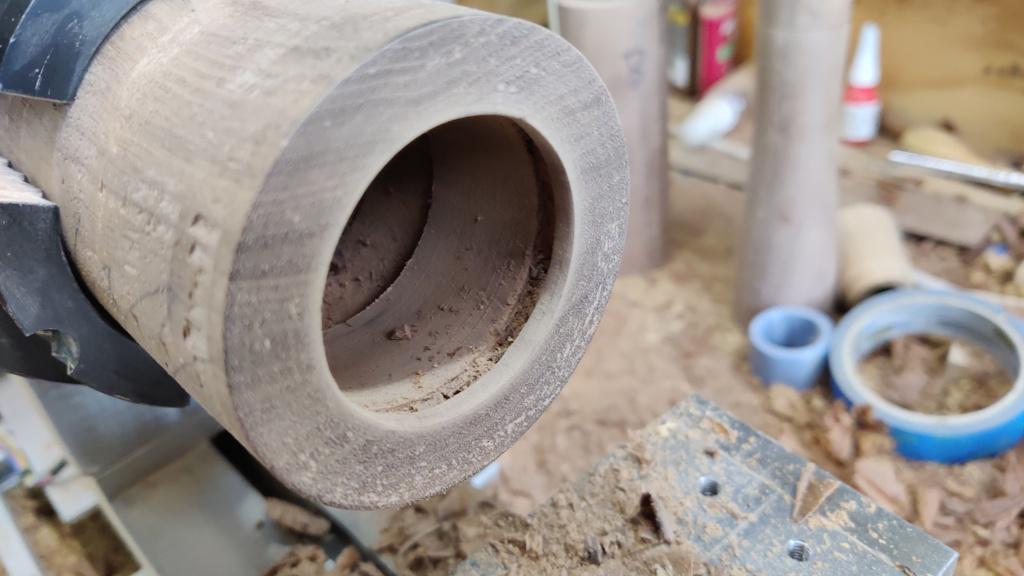
I then reversed the part in the jaws and drilled the upper end out (making a right old mess of the outside of the surface as I didn't tighten the chuck jaws enough and the part span when the Forstner bit went in):
Crushgrind seem to do two different coffee grinder mechanisms. One is called "CrushGrind Coffee" and the other is "CrushGrind Barista". Only the latter is listed on the website and is described as having much easier geometry to turn; the mechanism is held in with four small screws to stop it rotating. Guess which idiot bought the "CrushGrind Coffee" mechanism, which is rather a lot more complex in geometry?
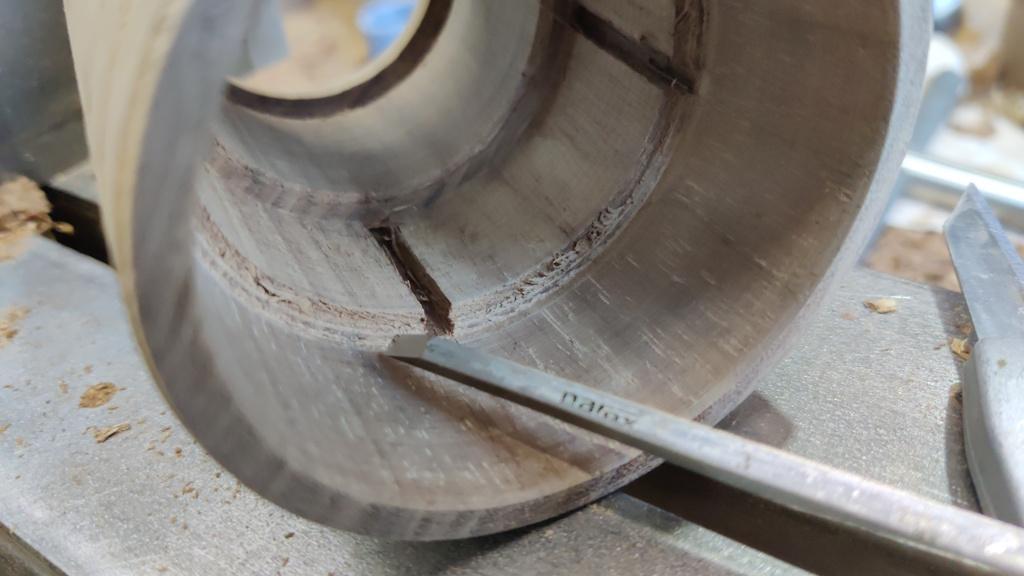
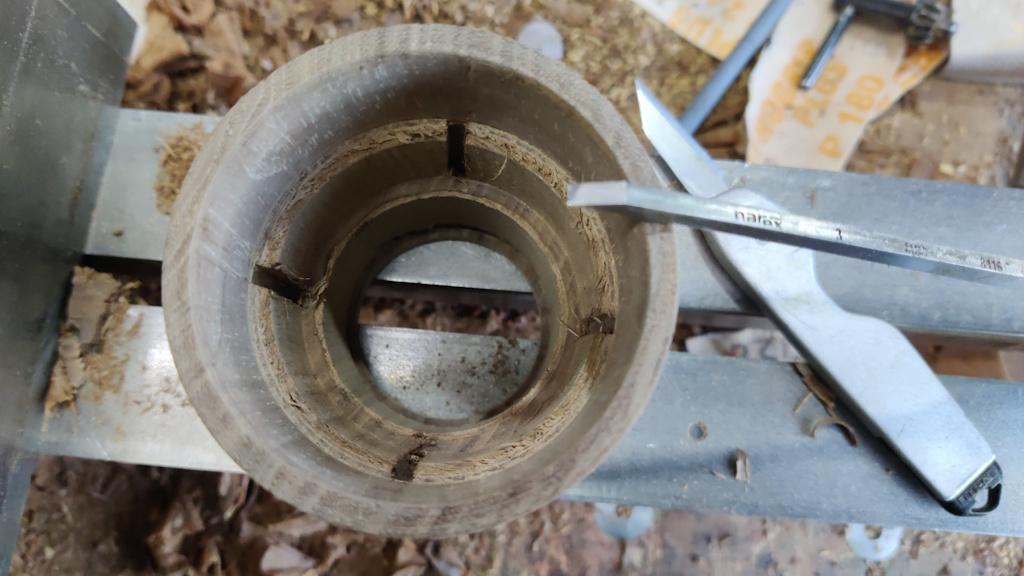
As a result of getting the complicated one, the next job was to turn those pencil marks into 3 mm wide grooves, using a knife for the sides and a 3 mm chisel:
The four grooves:
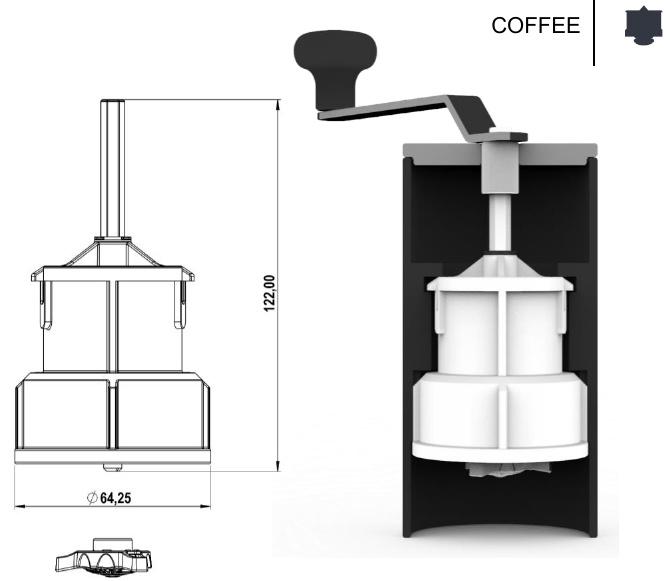
This drawing shows the mechanism, with the four tabs that sit in those grooves and stop the mechanism from rotating.
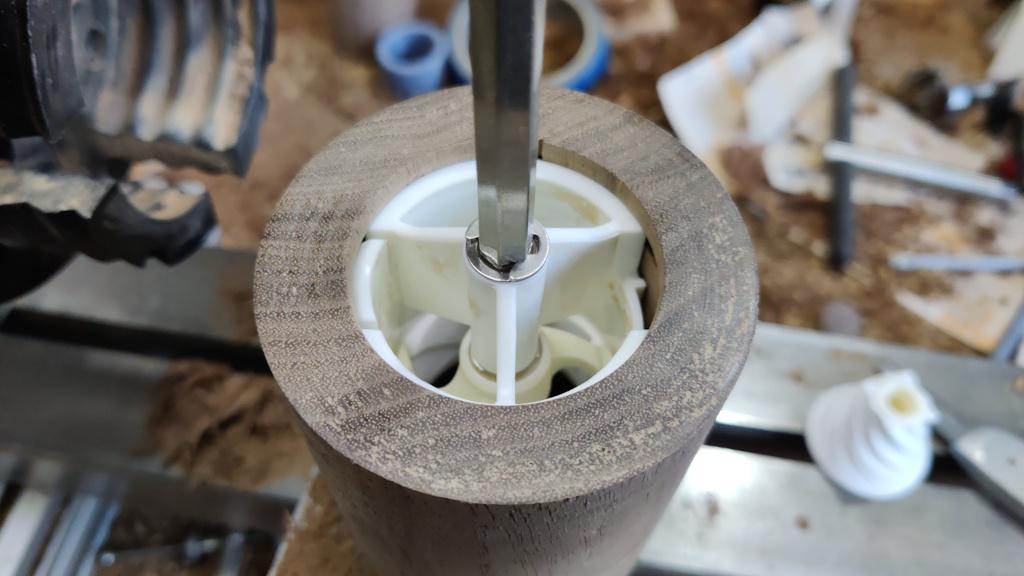
Rather than finish off the turning like a sensible person, I was eager to see whether I'd cut those grooves okay, so I decided to fit the mechanism and do the rest of the turning with it in place. Fitting it seemed to go quite smoothly, although when I looked at it after it had gone home I noticed one of the tabs had broken off (and disappeared: I haven't found where it went!):
Nevertheless, it feels very sturdy in there so I think I'll carry on anyway. The design also suggests that the body should carry on rather a lot higher than I've made it (as I said before, I'd split the blank in the wrong places as I wasn't paying attention). I think (just based on looking at it and guessing) that the amount of coffee for a mug will probably all fit within the plastic part of the mechanism, so I'm hoping that if I make a lid that goes over the top of the mechanism (mainly just to stop the coffee beans falling out), it'll still work, but we'll see what happens tomorrow.
Page 5 of 11
This website is free and ad-free, but costs me money to run. If you'd like to support this site, please consider making a small donation or sending me a message to let me know what you liked or found useful.

 Return to main project page