Salt & Pepper Mills Build Process
Page 6 of 11
Posted 20th March 2025
The rest of the turning of the coffee grinder went generally pretty badly. Sufficiently so that it's taken me a few days to summon up the enthusiasm even to write about it!
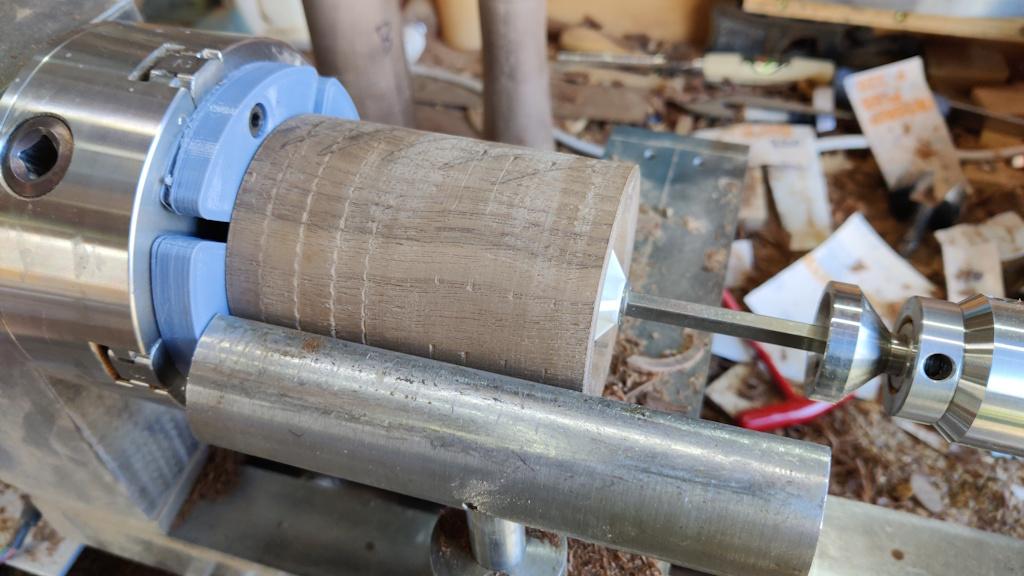
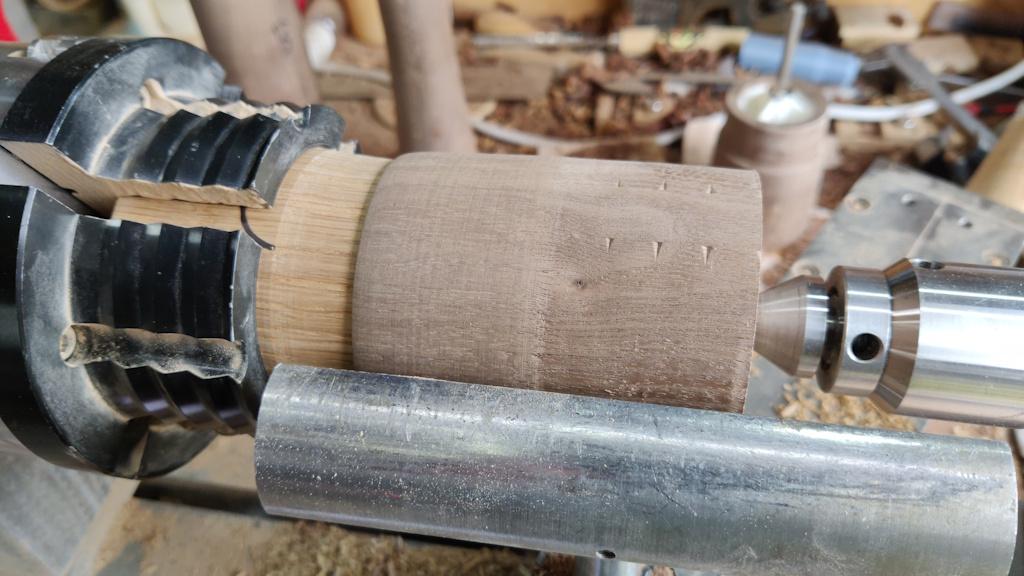
Having (rather permanently) fitted the mechanism to the body in the last instalment, I needed to leave the mechanism in there while turning the body. That, quite surprisingly really, didn't cause any major problems:
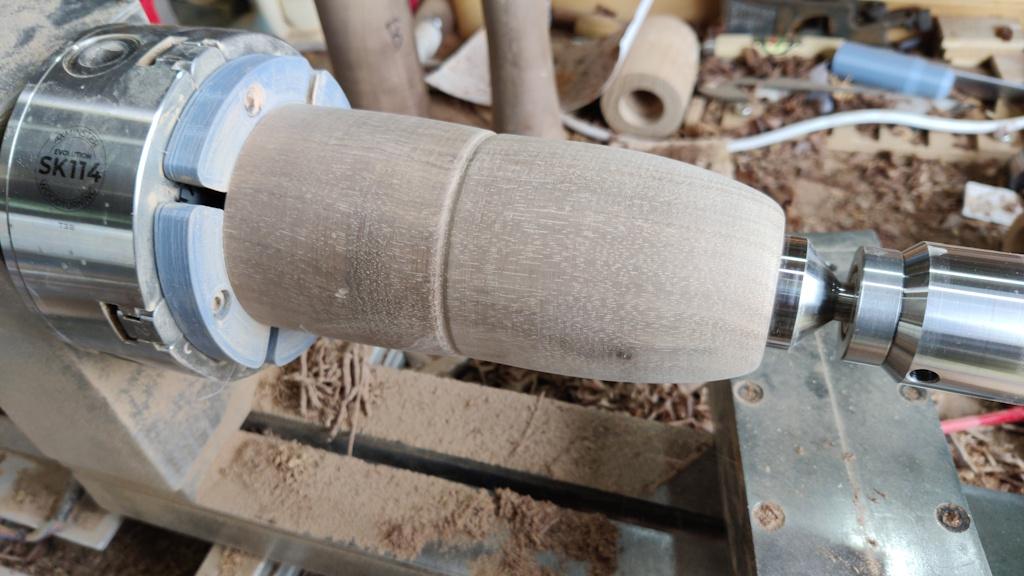
With it mounted, I could give the body some shape, including turning a tenon to support the lid. The lid should have been the thing with the tenon, but I made the body piece too short, so this was my rather optimistic attempt to fix that.
The tenon definitely didn't need to be that long. However, I'm really not very good at cutting the mating face (the one at the bottom of the tenon): when I try to do a light facing cut with the skew chisel to clean up the surface, I often find the chisel catches just as it enters the wood and it goes to the left instead of straight-on. Given there's so little spare material to play with, the only option is to extend the tenon a bit and have another go. What you see above was about my fourth attempt I think.
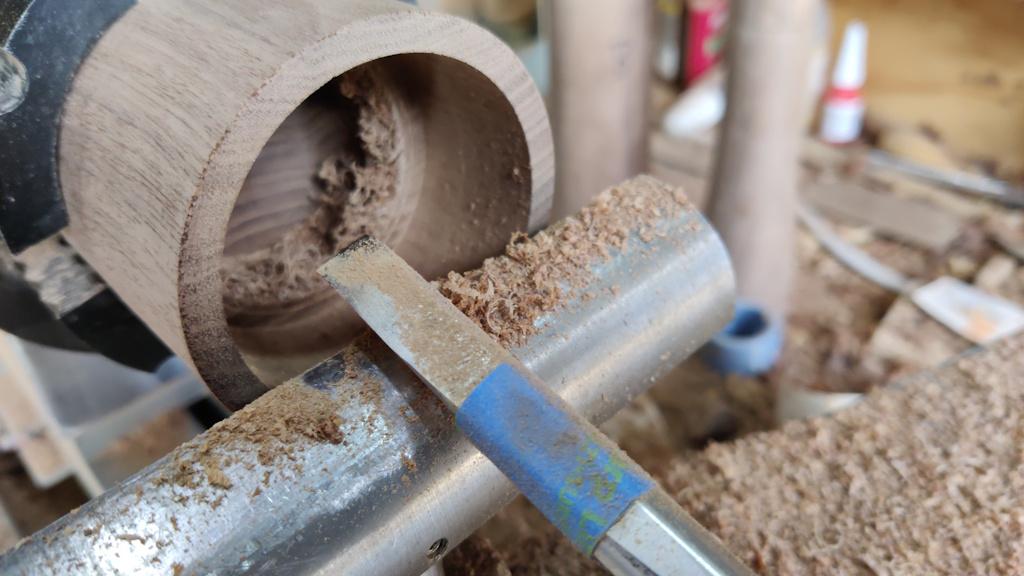
With that done, I could mount the lid blank in the chuck and, after cutting off the bit with the groove that I'd put in the wrong place earlier, I could drill it out with a Forstner bit and then use my home-made boring tool to open it out to size. Ideally I would have made the bored part first (which should have been the body) and then sized the tenon to fit, but I can just add that to the ever-increasing list of things I've done wrong on this coffee grinder!
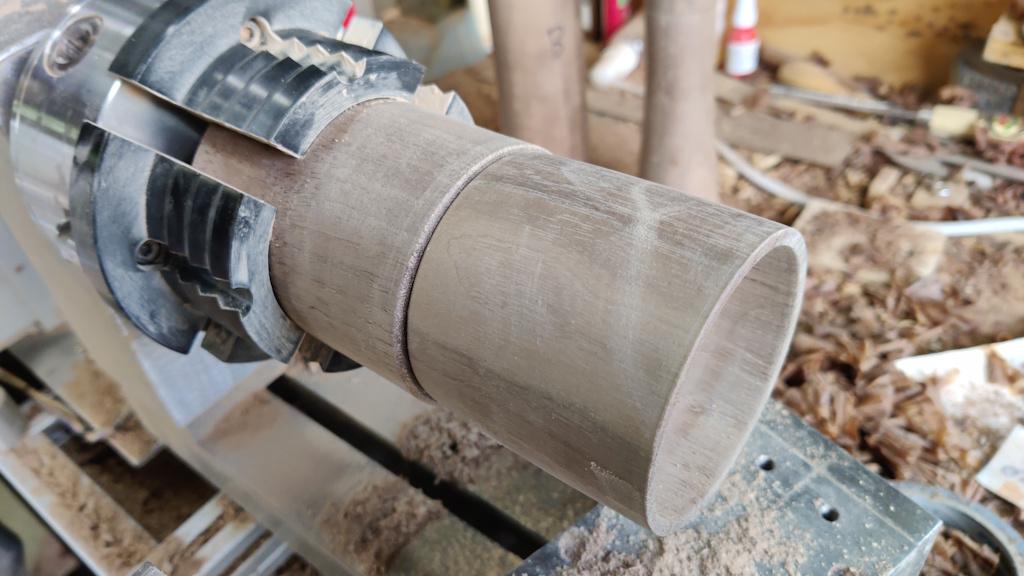
Despite doing it the wrong way round, I managed to get a fairly good fit between the two parts:
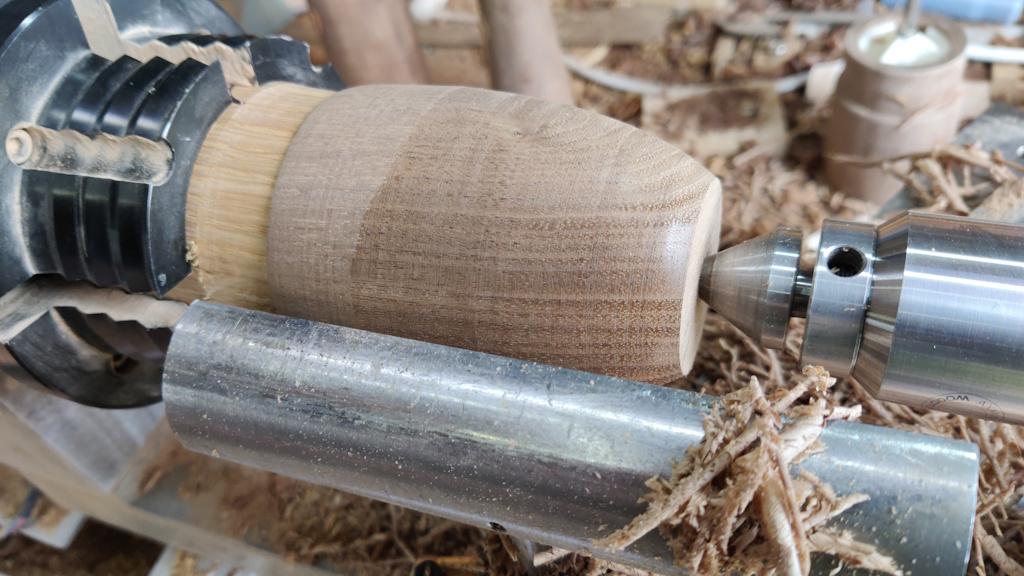
To turn the outside of the lid, I went with a more traditional option (rather than using 3D-printed jaws) and made a jam chuck out of one of my failed attempts at a pepper mill:
I then did some shaping with the skew chisel (without really engaging my brain and thinking about what it might look like):
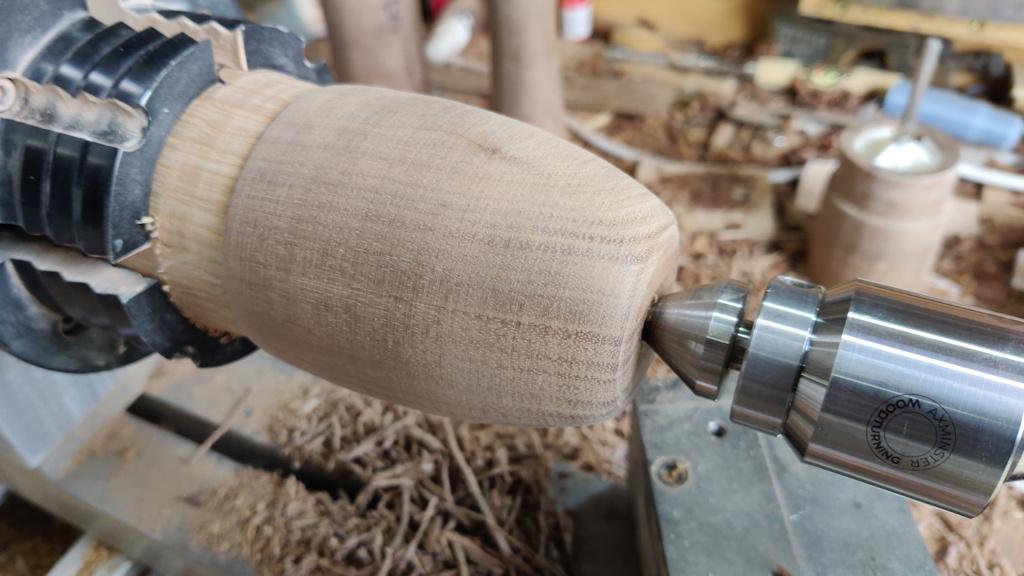
It's definitely not going to be an attractive coffee grinder this one (it would look much better with a bigger body and a smaller lid, regardless of shaping), but in for a penny and all that: I kept going, with the next job being a bit of sanding:
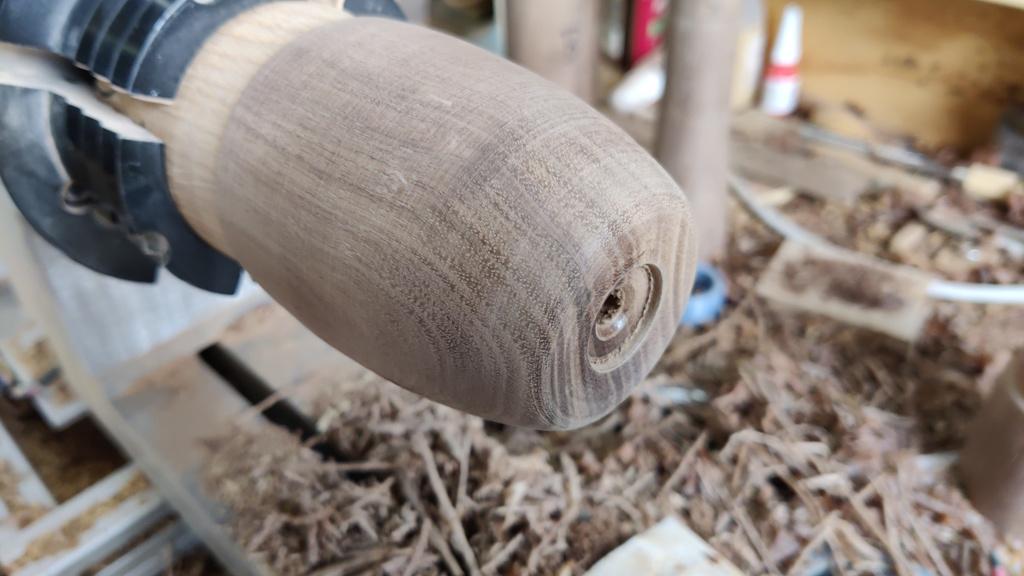
The final job with this set-up was to make the hole for the handle.
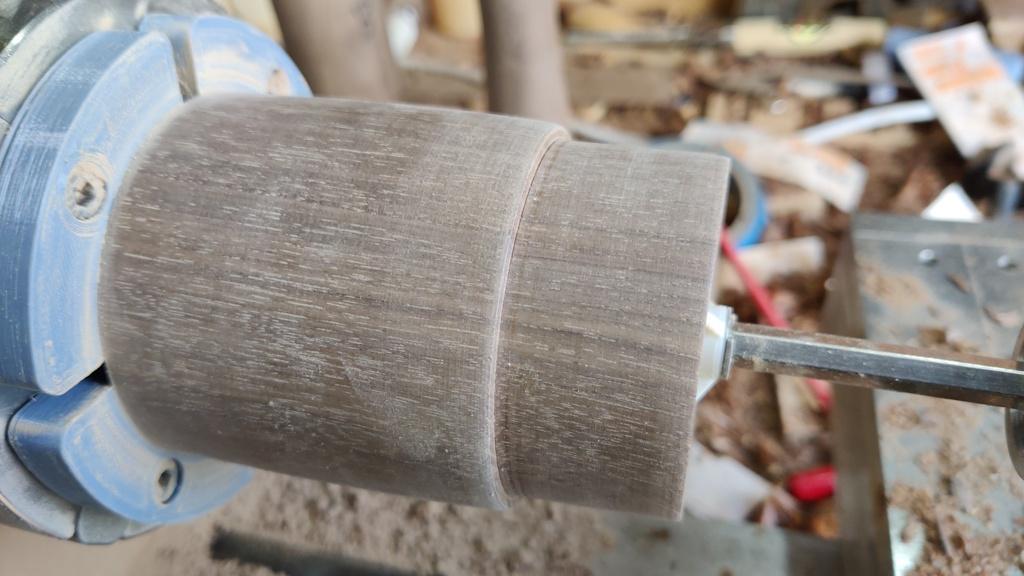
The lid and base got mounted on the lathe together so that I could give them at least a vaguely matching shape near the join:
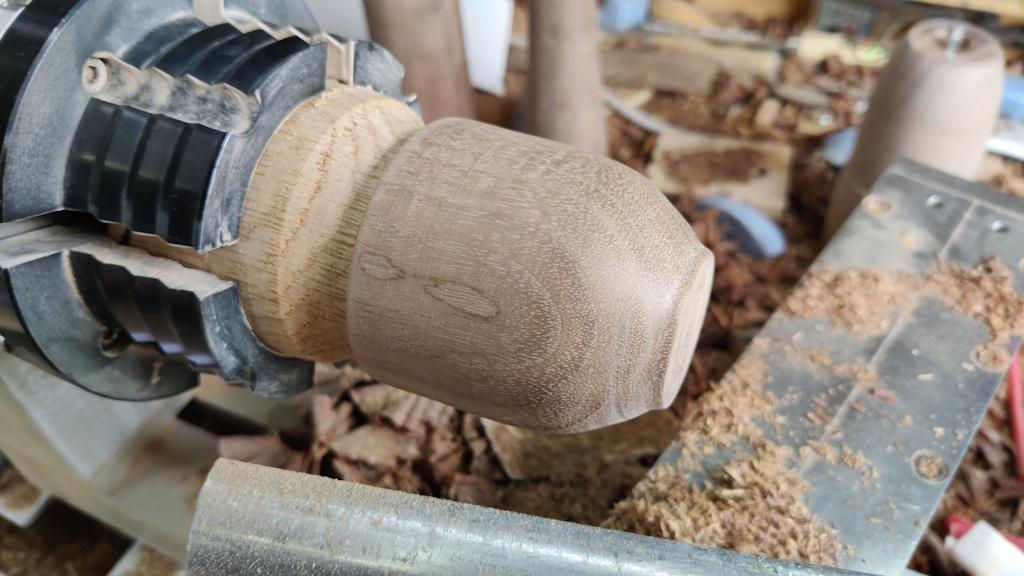
I didn't take many photos of the next part. I very carefully turned a tenon on the base piece (which is intended to catch the ground coffee) to fit into the pocket in the bottom of the body (doing it in the right order this time!). It looked very similar to the second photo in this thread (where there's distinctive tenon on a bigger diameter block). After reversing it and mounting it on a jam chuck, I somehow managed to turn the bigger diameter down to match the smaller one and then put a curve on what would become the base. I've no idea what I was thinking when I did this:
Anyway, with that done, the whole thing looked pretty awful so I decided it was time to give up and start again. I levered the (one remaining) catch tooth out from the top of the mechanism and squeezed the mechanism out of the body. It snapped into two pieces, at which point I decided it was time for a beer.
The adventures of an inept woodturner continue...
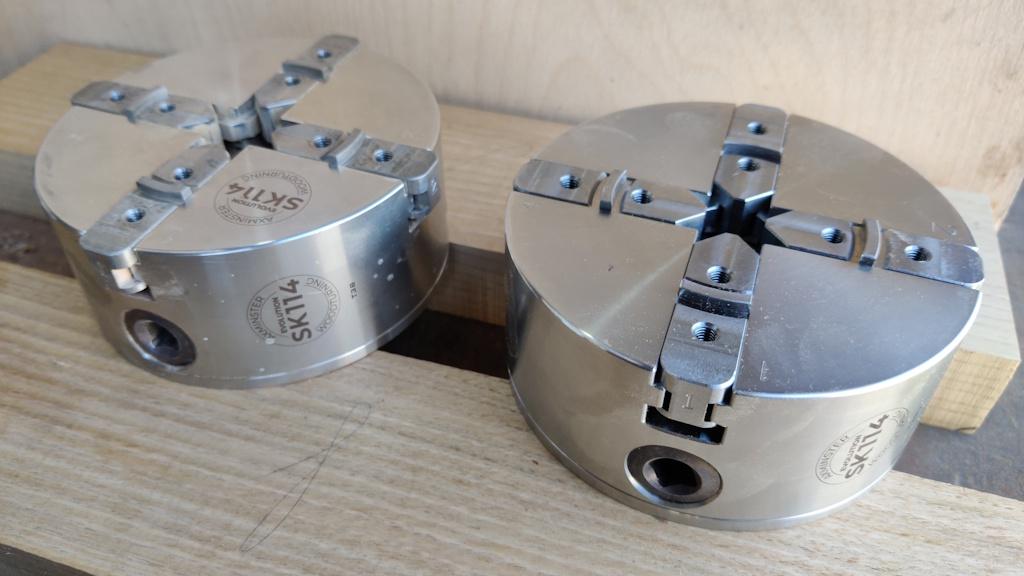
Changing the subject to a more positive note, Axminster Tools have an "outlet store" on ebay where they sell returned goods and stuff that hasn't met their quality standards. A couple of days ago there was a chuck on there with "cosmetic damage" and no chuck key, listed at about half the price they sell them (with chuck key and presumably without cosmetic damage) on their website. The chuck was the same model as my other chuck (so I already have a suitable chuck key) so I thought it was a deal too good to miss. That means I've now got two chucks, which will either save me a lot of time swapping jaws or alternatively I can use one chuck in the headstock and one in the tailstock to give me more mounting options. For the latter option I've ordered (but have yet to receive) one of these cheap tailstock live chuck mounts. I quite like the idea of being able to (perhaps with custom 3D-printed jaws) hold the bores at each end of a pepper mill type thing fairly securely in a pair of chucks to ensure that any outside turning stays concentric with the bore.
When the chuck arrived, I struggled to see any significant "cosmetic damage", apart from the fact that the laser marking on the front is missing (new one on the right):
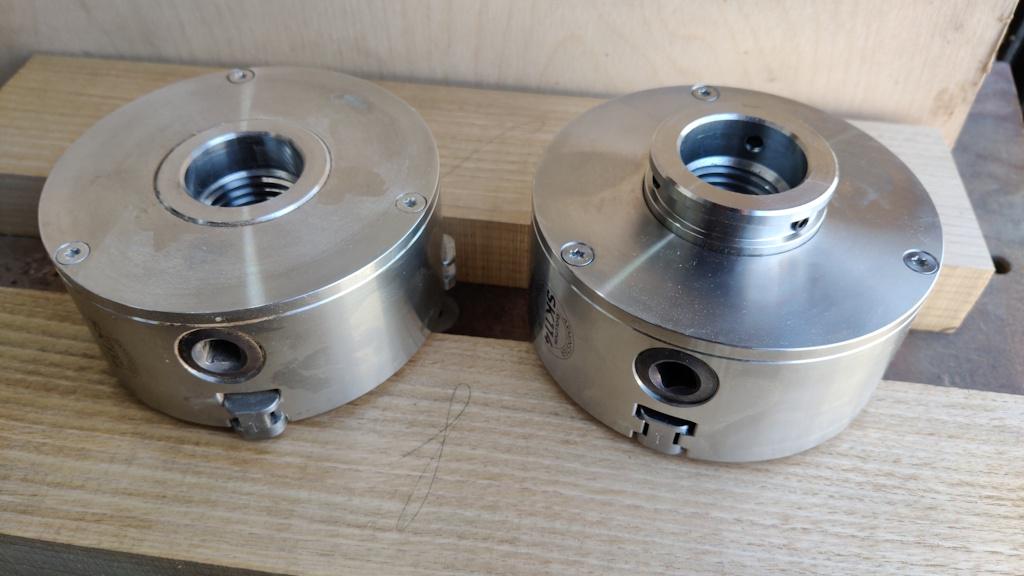
Interestingly though, the rear of the chuck is different: the new one has the so-called "ASR" locking ring on it (which can be used with a clamp to secure the chuck on its thread so that the lathe can be run in reverse if required).
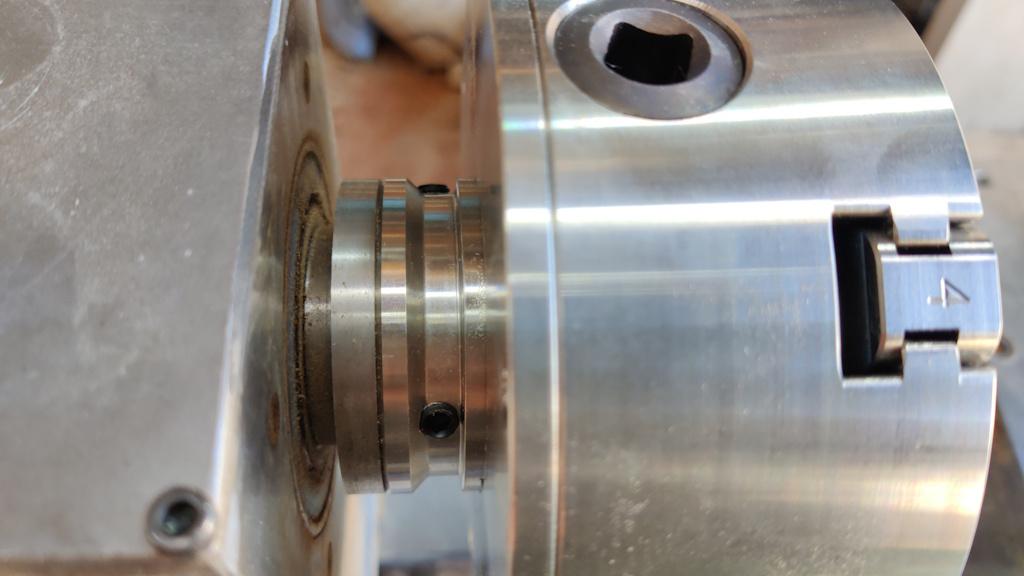
My lathe spindle doesn't have the matching feature for the locking ring, but it would be fairly straightforward to add it I think, by remounting the spindle in the metal lathe and chamfering the back edge of the back stop, which conveniently looks to be the right diameter already:
I've yet to find a situation in which I need to run the lathe in reverse, so I'm not going to bother modifying the spindle yet, but it's nice to know that the option is there if required.
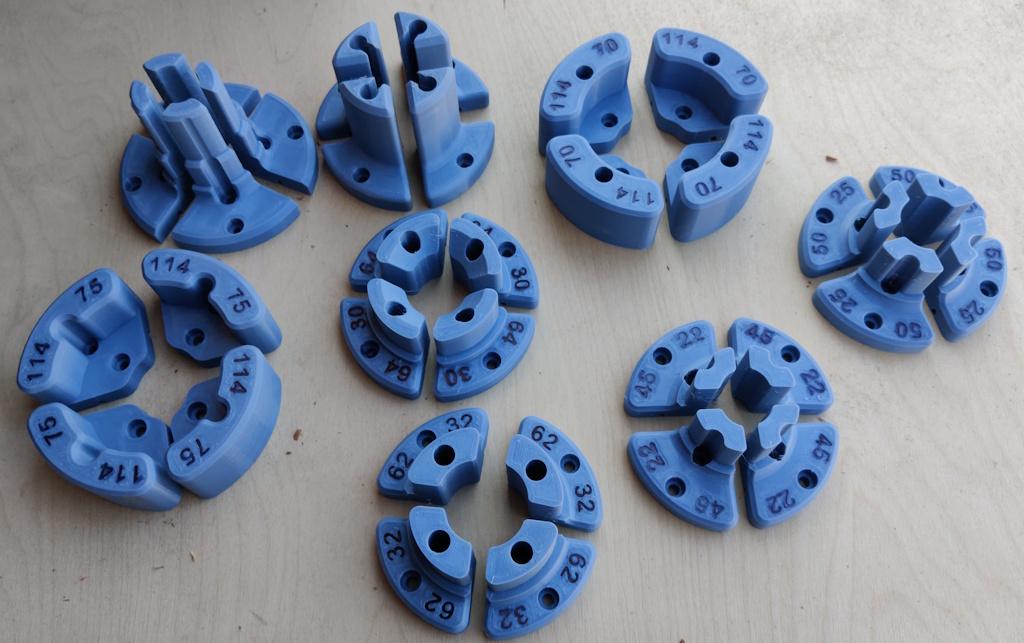
During the week, the 3D-printer has been busy again. What with the jaws for the crushgrind mill base, the pen drilling jaws and some cylindrical soft jaws, there is a vanishingly small chance that I might have got a bit carried away with the whole 3D-printed jaw thing...
Page 6 of 11
This website is free and ad-free, but costs me money to run. If you'd like to support this site, please consider making a small donation or sending me a message to let me know what you liked or found useful.

 Return to main project page