Gooseneck Light for Bandsaw
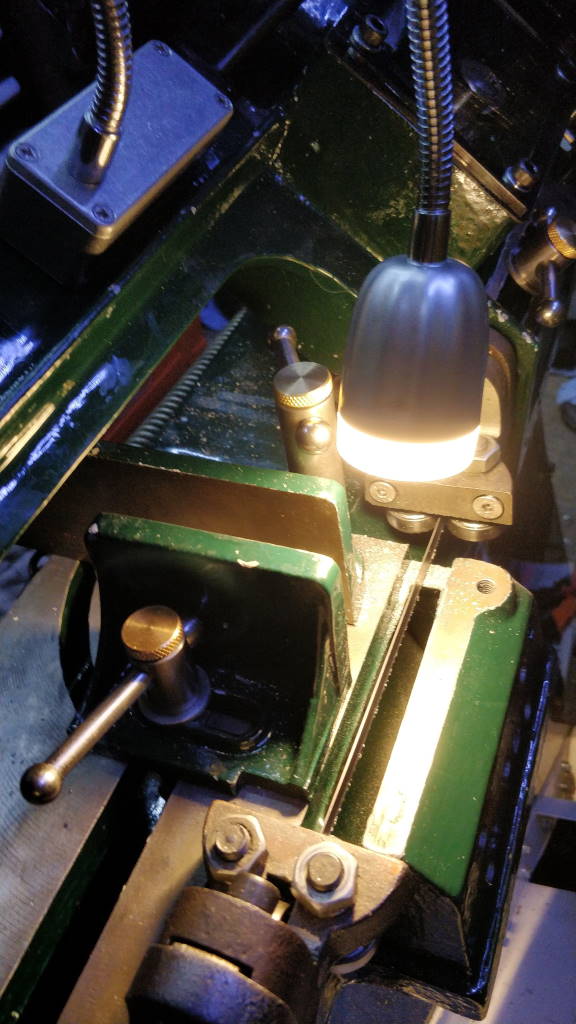
When cutting stock to follow a scribe line, it can be useful to have local lighting to help see the scribe line. The photo above shows the gooseneck light that I added to my bandsaw while I was in the process of restoring it.
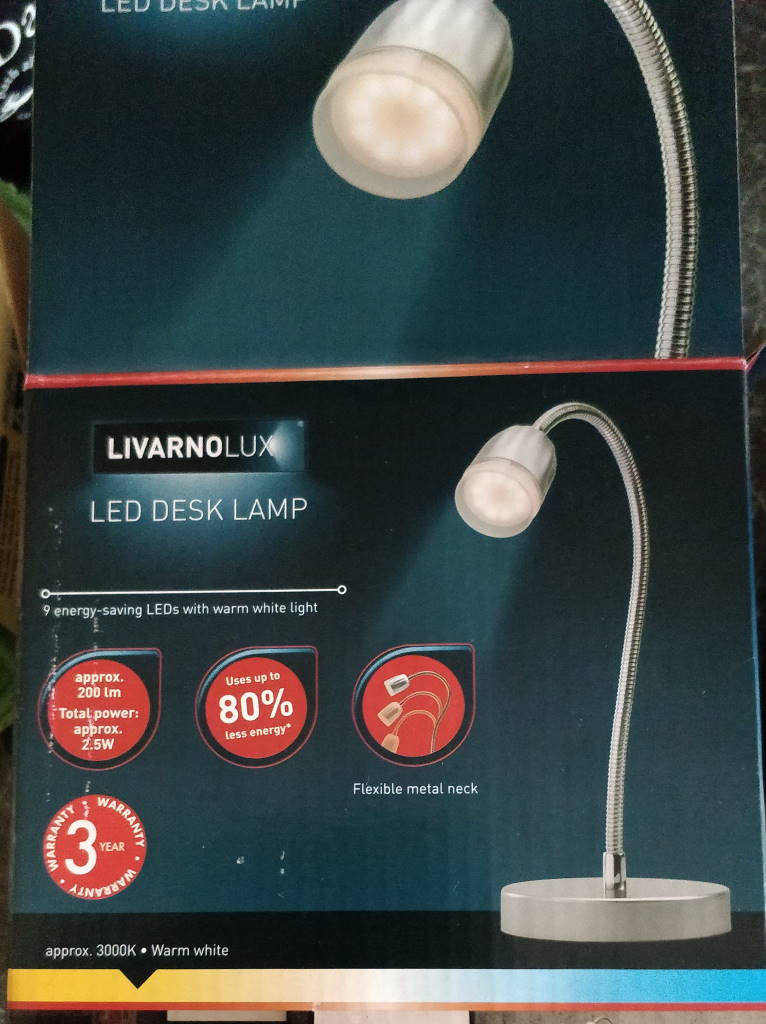
This photo shows the light that I used as a basis. It was a chance find in the "reduced to clear" section of Lidl and it looked like a good option for an adjustable light. I would have preferred a cool white LED, but at the price it seemed daft to turn it down.
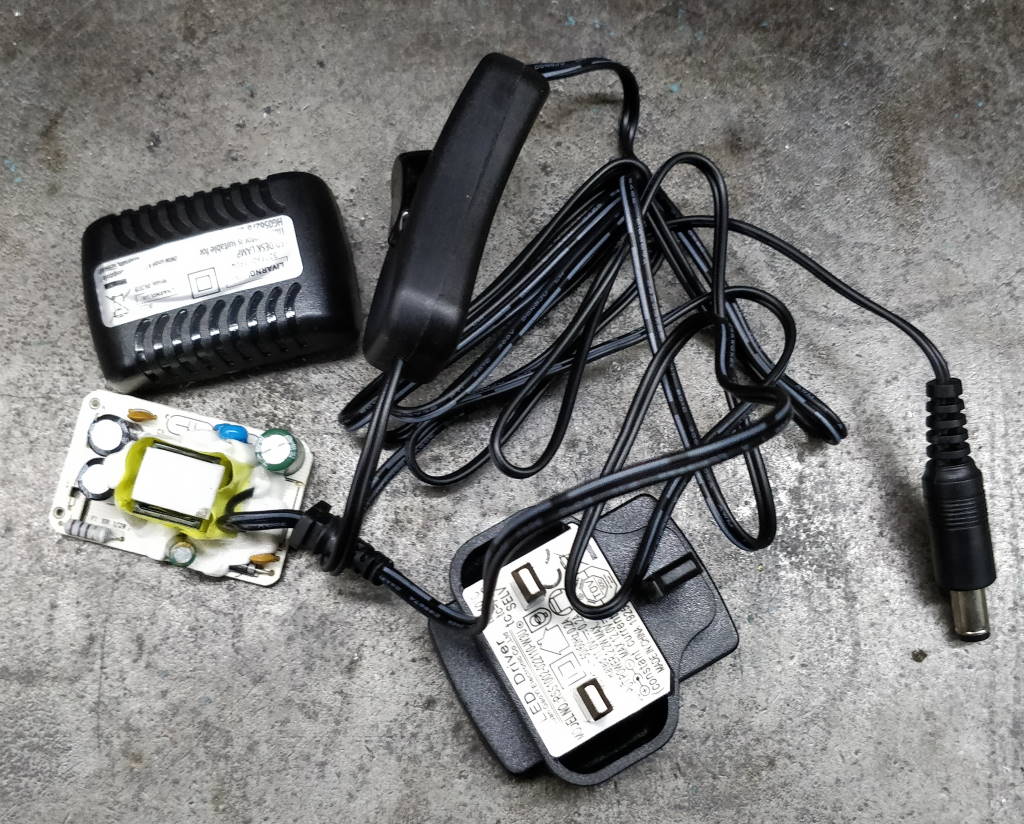
The power supply for the LED was integrated into the plug housing, so I "carefully attacked it" with a Stanley knife. The components can be seen in this photo. The transformer provides isolation from the 240 V 50 Hz mains voltage, which is connected via a couple of solderable terminals on the left-hand side of the unit as seen in the photo above.
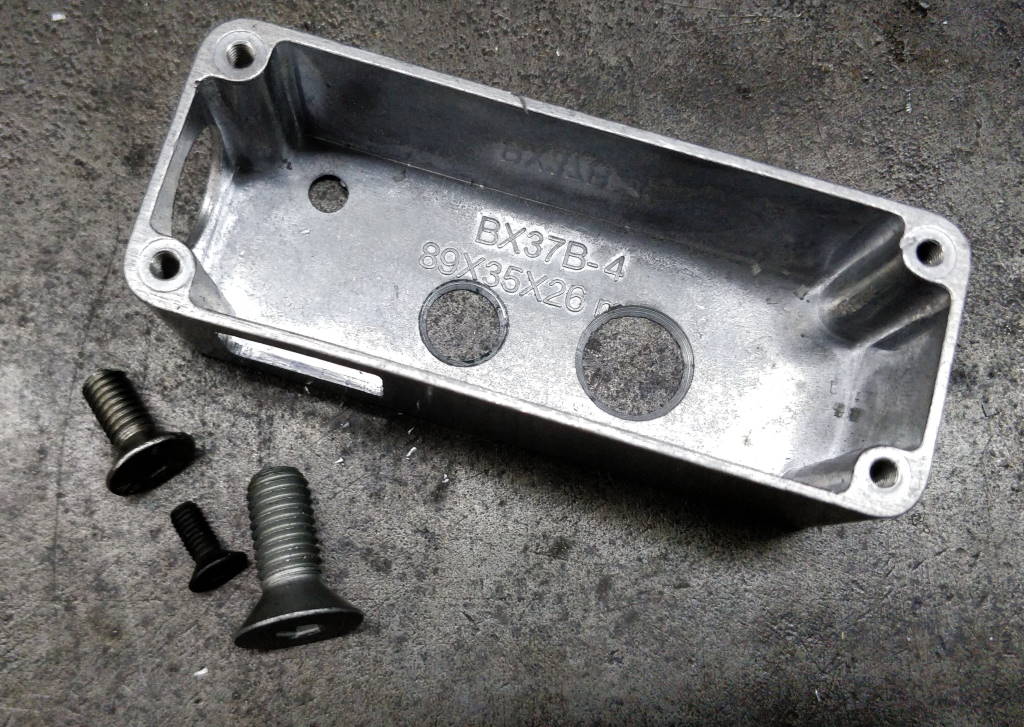
To mount the light on the bandsaw, I bought a small aluminium die-cast housing. The mounting scheme is a little odd as I wanted to avoid drilling too many extra holes in the bandsaw casting. I therefore decided to use the holes for the blade wheel cover interlock (which had been missing since I bought the bandsaw and I didn't see the point in refitting).
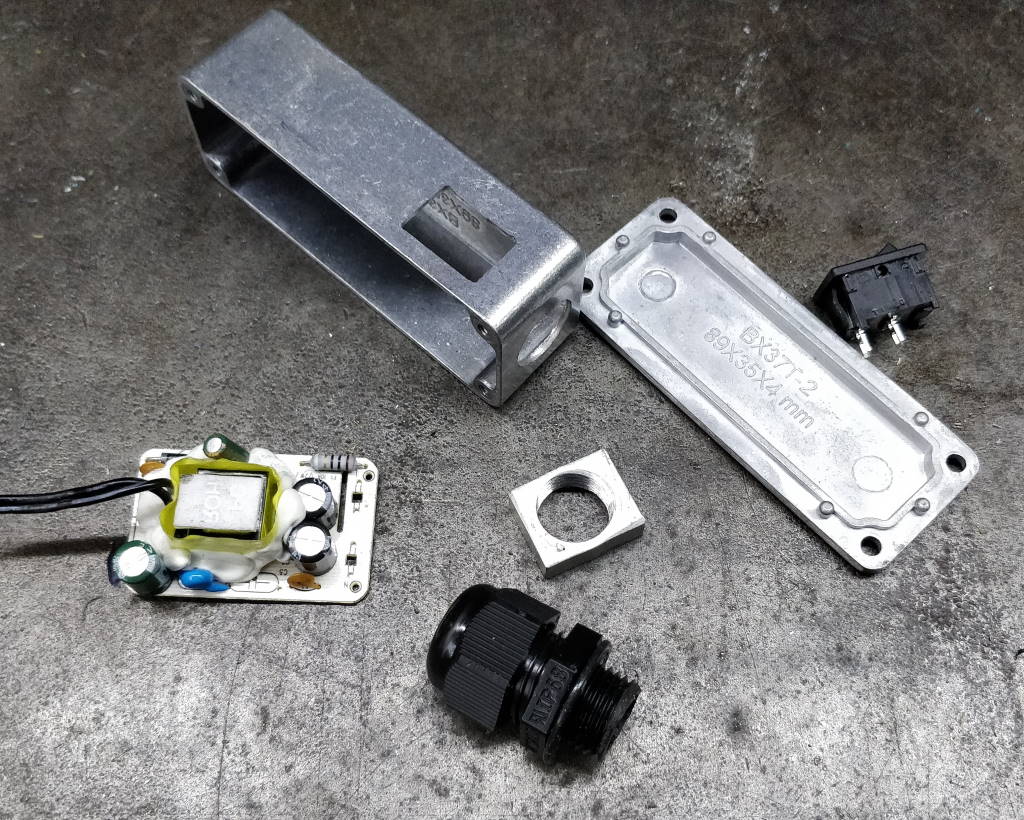
The left-hand photo above shows the housing along with the selection of different sized screws that I used. One is used as an earth point, the other two hold the switch housing to the bandsaw.
The right-hand photo above shows the other components used. The conduit entry is the same M16 size that I have used elsewhere on the bandsaw. The small rectangular component you can see is a simple steel nut that I made to hold the conduit entry in place (as there wasn't space for the original nut). In the top right you can see a mains voltage switch. The original light powered the power supply continuously and switched its output to turn the light on or off. I felt it was better to switch the input supply so that the transformer is unpowered when the light is not in use.
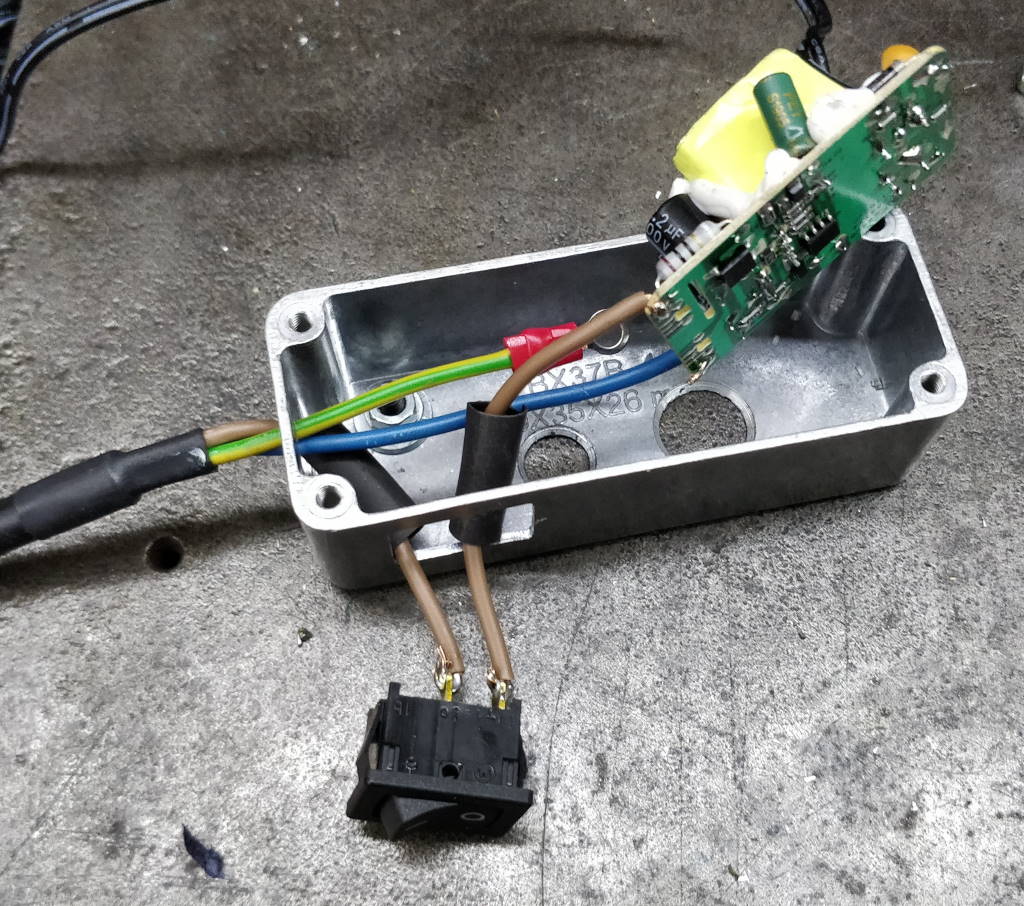
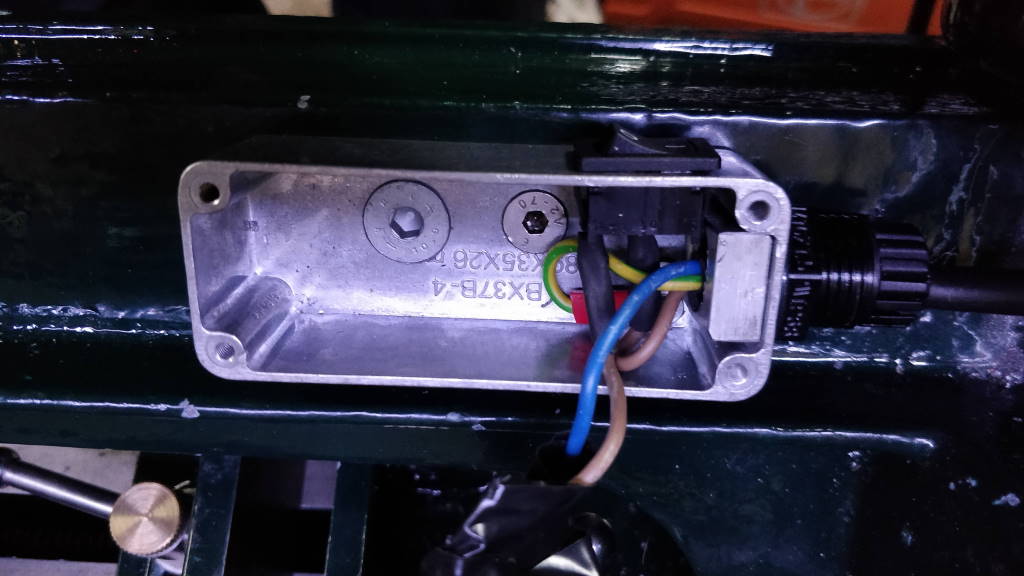
This photo shows the internals of the light switch housing after I'd soldered the components together. The black tube is heatshrink tubing to protect the connections to the switch. Just after I took this photo I realised I'd forgotten to slide the rectangular nut onto the wires before soldering, so I had to desolder the wires and have another go!
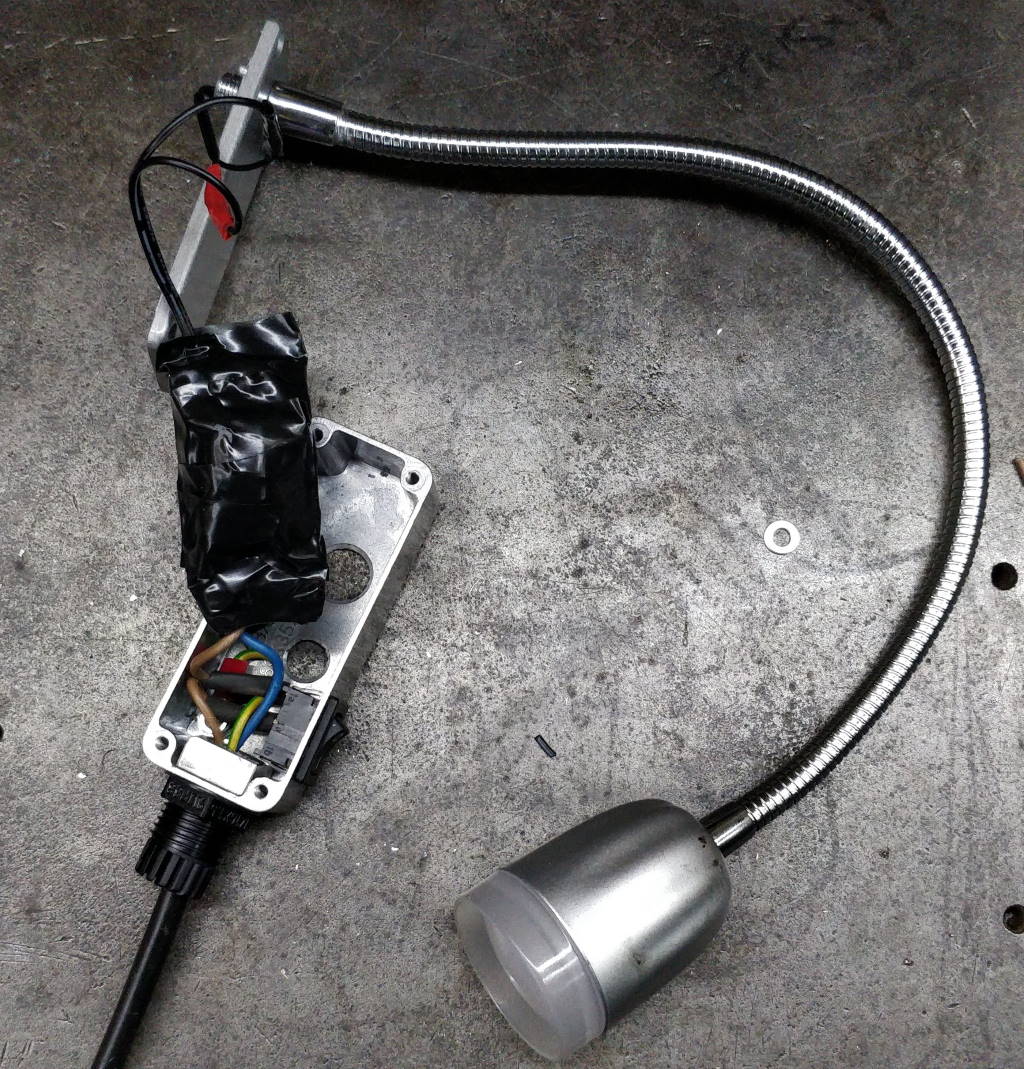
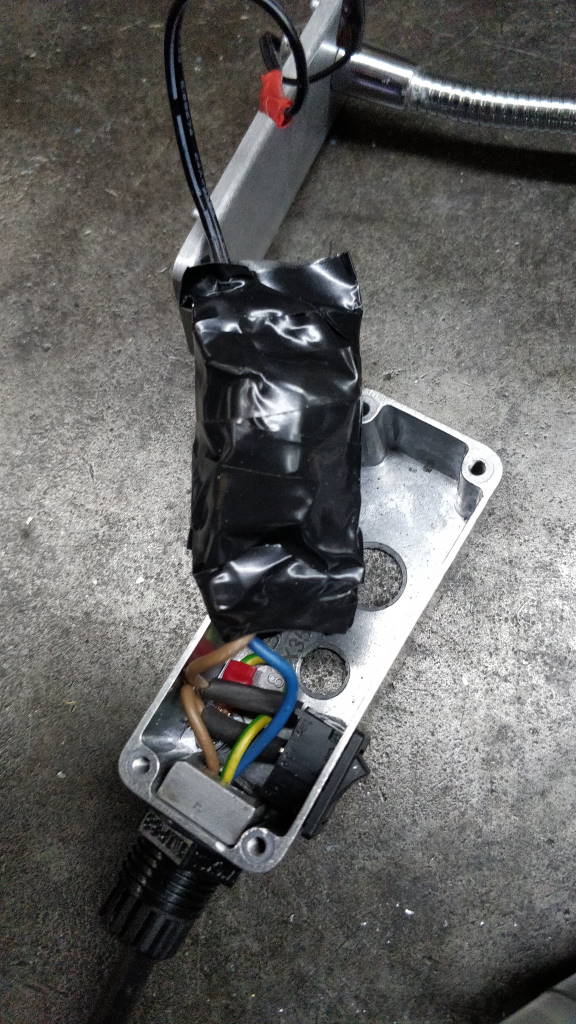
These two photos show a couple of views of the completed switch housing. The circuit board has been wrapped in several layers of electrical insulation tape to protect the connections from shorting out to the (earthed) aluminium box. The gooseneck light has been screwed to the lid of the box.
This photo shows how the light switch housing is attached to the bandsaw's upper casting.
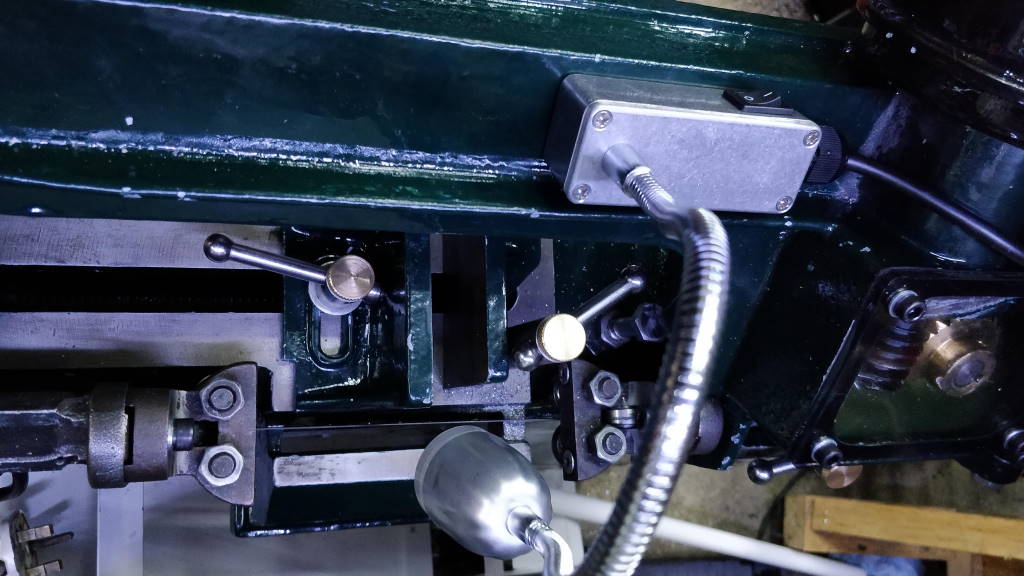
This is another view of the finished light mounted on the saw. It is wired into the electrical connection box that I installed as part of the bandsaw restoration and hence is available whenever the bandsaw itself is plugged into the mains.
This website is free and ad-free, but costs me money to run. If you'd like to support this site, please consider making a small donation or sending me a message to let me know what you liked or found useful.
