Bandsaw Restoration


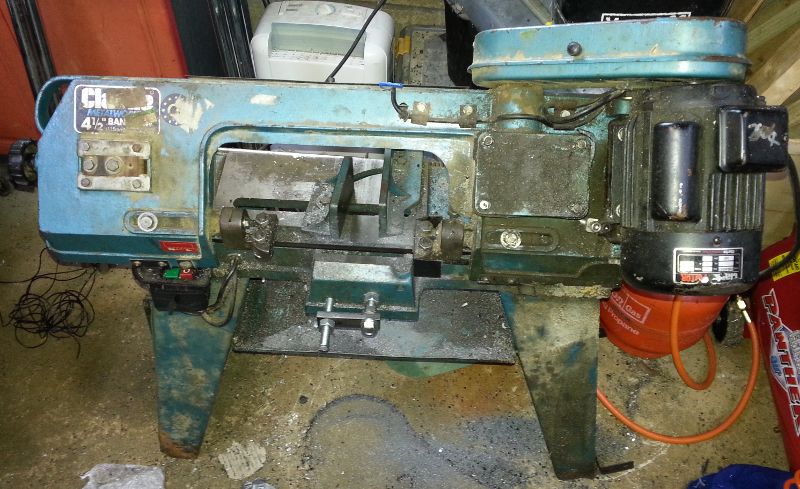
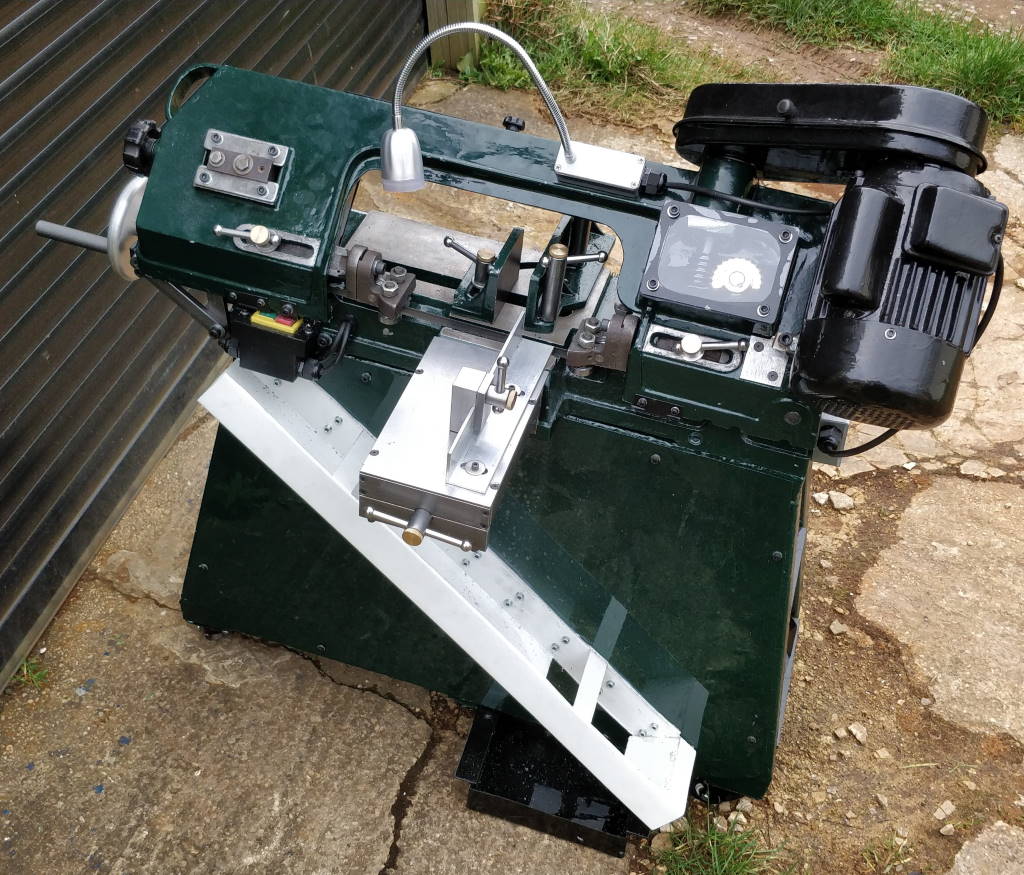
This series of pages describes the process I went through (over the course of a couple of months) to restore my bandsaw. The photo on the left shows what it looked like before I started and the photo on the right shows the end result.
I've split the description of the restoration project into a number of parts; these are linked below. The sections of the restoration aren't strictly in the order in which I did the various jobs; I've tried to describe each part of the restoration on its own page, so some sections include work that was done after much later sections (e.g. assembly of a part onto the bandsaw being described before I've described assembly of the saw itself).
- Before Restoration
- Disassembly
- Vice Fixed Jaw T-Nut
- Painting the Saw
- The Motor
- Blade Guides
- Blade Guard
- Switch Housing
- Base Frame
- Swarf Slide
- Swarf Tray
- Painting the Base
- Vice Modifications
- Casting Modifications
- Gearbox Assembly
- Gearbox Cover
- Electrical Connections
- Assembly
- New Screws
- Blade Wheel Cover
- Cover Clips
- The End Result
This website is free and ad-free, but costs me money to run. If you'd like to support this site, please consider making a small donation or sending me a message to let me know what you liked or found useful.
