Vertical Saw Table
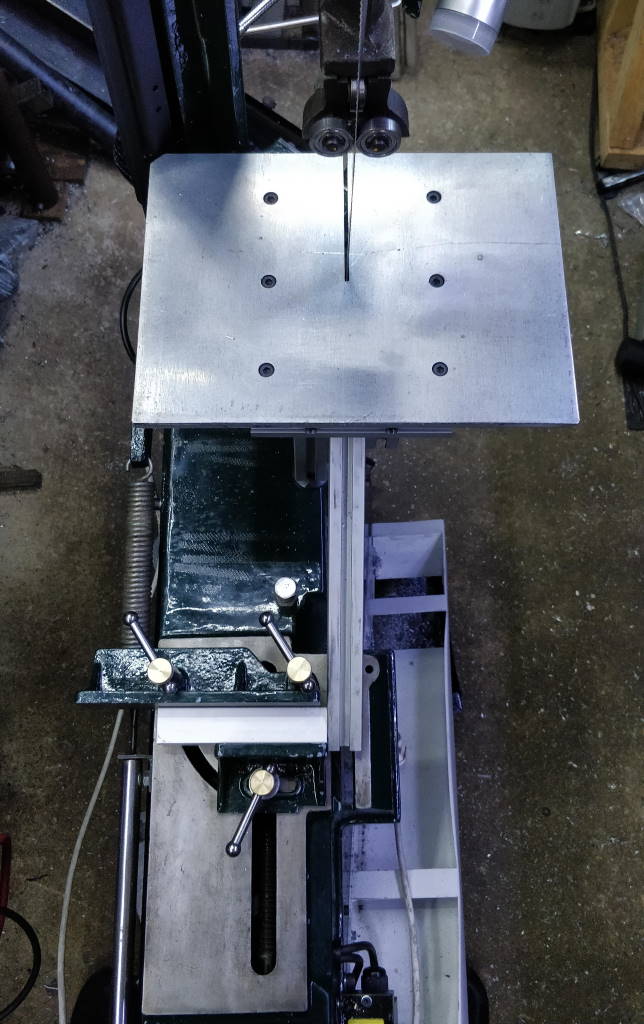
When you buy a 6×4 bandsaw from new, they come with a table that is designed to be used when you want to use the bandsaw as a vertical saw rather than as a horizontal one. When I bought mine second hand, this table was missing. From what I've read online, the original table was flimsy, ineffective and was time consuming to fit and remove. I therefore decided to make my own version in a different manner.
I was fortunate to find a lot of very useful bits of material in a skip at work, so this table cost me almost nothing. The table top is a bit of 10 mm aluminium plate that I had previously cut up to use a part of it as a fixture plate on the milling machine. The remaining piece is about 300 mm × 220 mm. I cleaned up the cut (rear) edge of it by mounting it upright in the milling machine and using a slitting saw (clamped with some large bits of aluminium plate to stop it from vibrating while being cut). I used the same method to cut the slot for the saw blade.
Most of the rest of the table is made from t-slot extrusion: I found a lot of fairly short lengths of this in a skip and had put them in a pile of "might be useful later" bits. They had a number of the t-nuts holding the short lengths together so these were stored for later use at the same time!
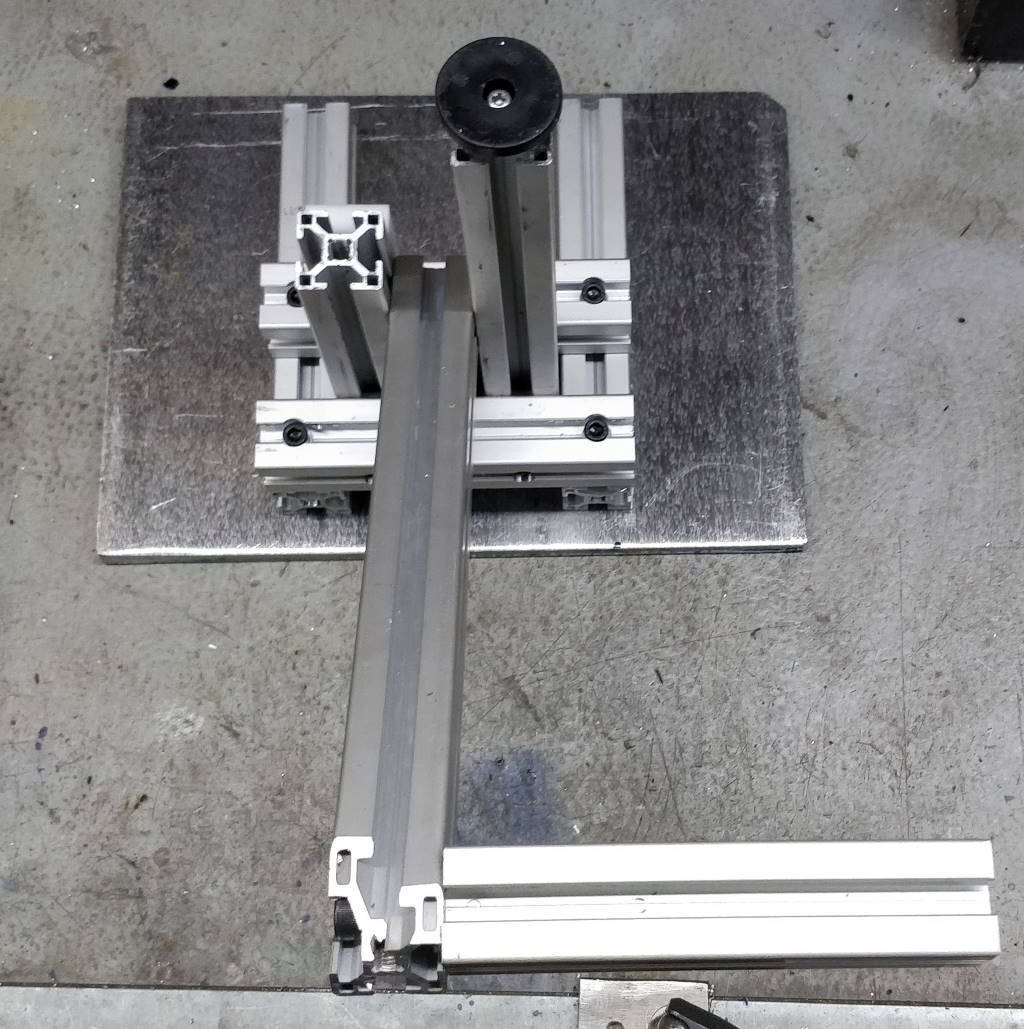
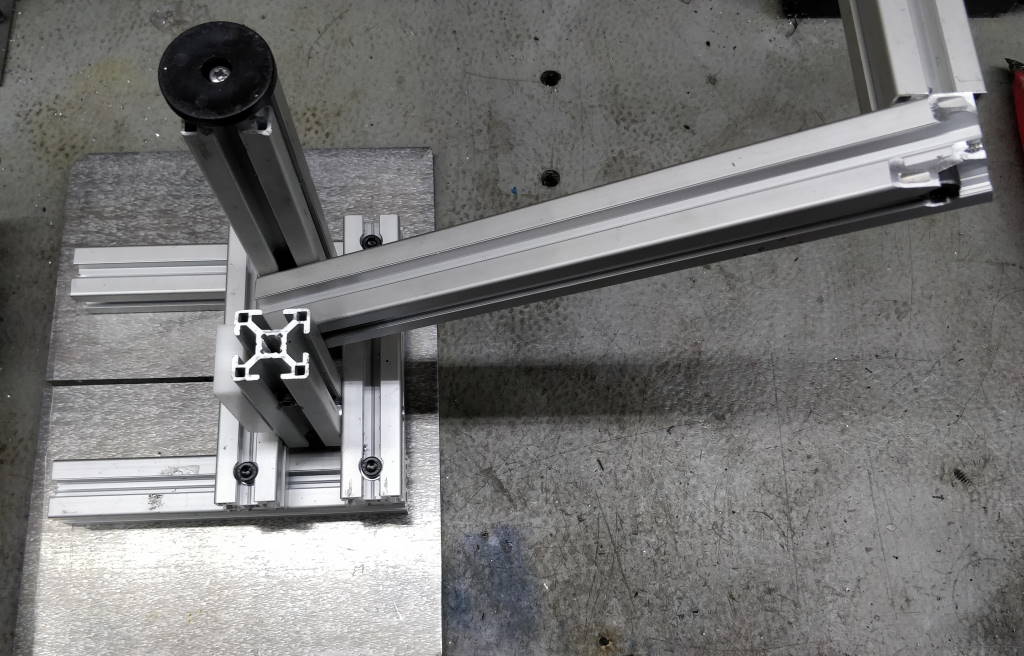
These photos show the underside of the saw table. The only thing that holds it in place is the t-slot extrusion bar that you can see at the bottom of the left-hand photo. This sits in the bandsaw's vice and hence it only takes a couple of seconds to drop the saw table into place or remove it.
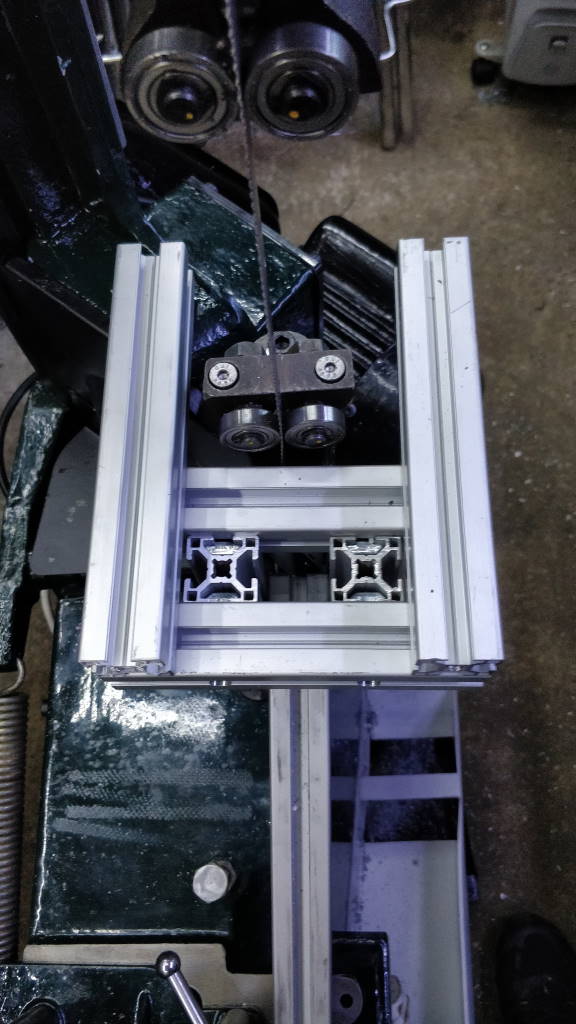
This photo shows another view of the construction of the saw table. It isn't necessary to remove the table top from the table to fit it or remove it; I just did so here for the purpose of taking a photograph.
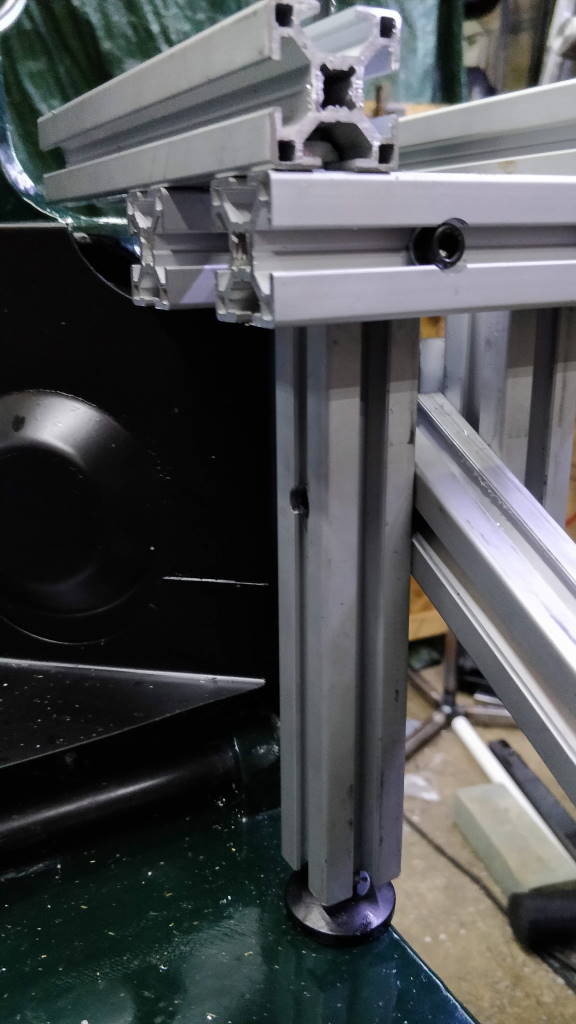
This photograph shows the foot that rests on the base casting of the bandsaw. The foot is an M8 threaded foot that was bought in a pack of four. The other three were used as part of my material support. The upright support with its foot on the end supports the weight being pressed down onto the table top as cutting is carried out.
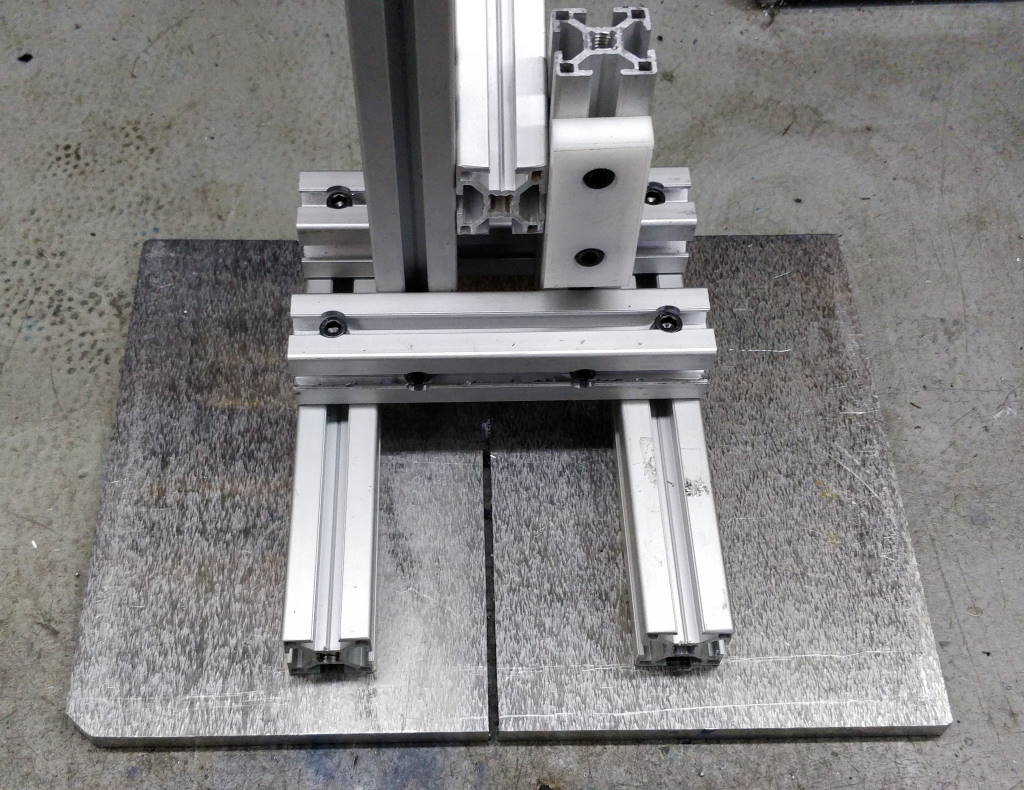
This photo shows another view of the underside of the table. The white block you can see on the right-hand side is a small piece of acetal that was drilled and counterbored for two M6 cap screws. On the original bandsaw design, there is a small bent metal hook that screws into the base casting. This can be rotated into a position where it impedes the travel of the upper casting arm and hence stops the arm from coming down when you don't want it to (for example when using the saw as a vertical bandsaw). This block of acetal serves the same purpose.
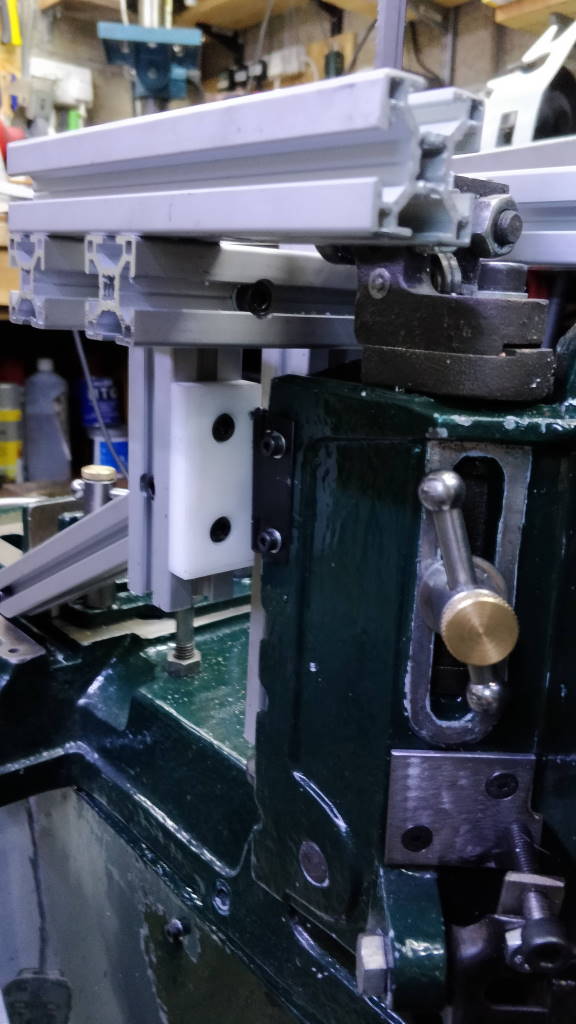
This photo shows a closer view of the acetal block when the table is fitted. The block presses against the hinge on the blade wheel cover and the upper arm is held firmly from lowering while the vertical saw table is fitted. Again, this speeds up the process of fitting the table: slide the table over the blade, lower the arm into the vice and lock the vice. The saw is locked in place and the arm is locked in the upright position, all in one go.
This website is free and ad-free, but costs me money to run. If you'd like to support this site, please consider making a small donation or sending me a message to let me know what you liked or found useful.
