Cover Clips
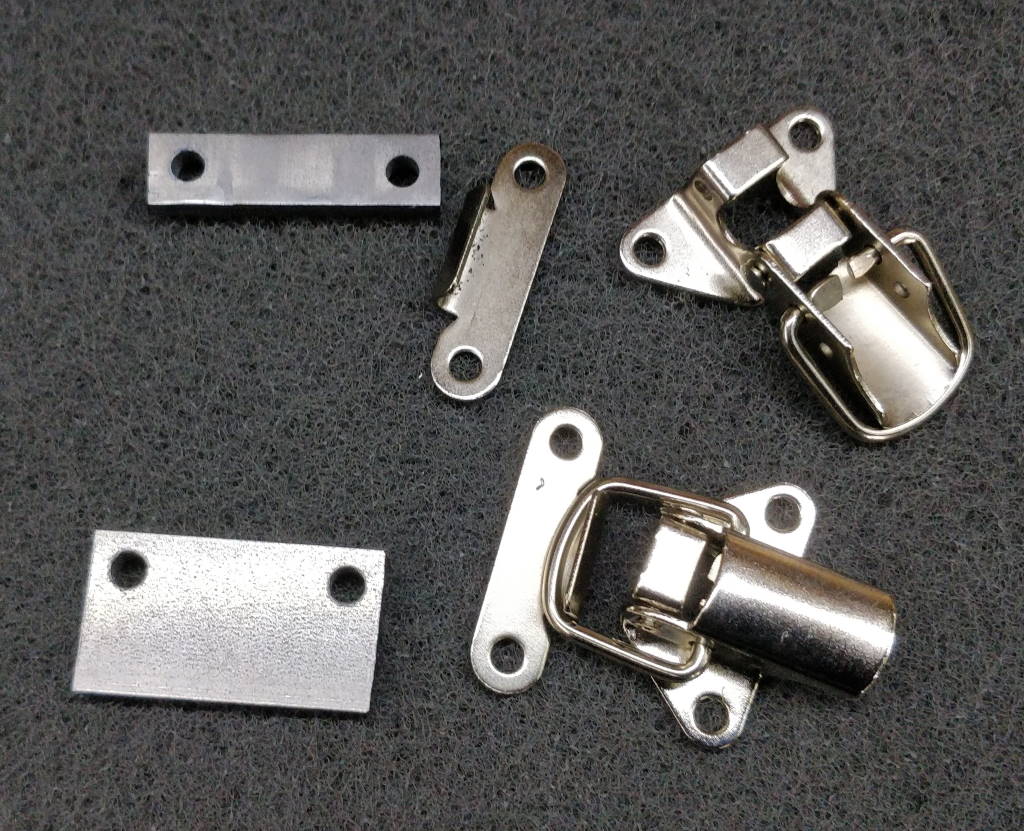
There are a couple of covers on the bandsaw that need to be opened relatively often. One of these is the blade wheel cover, which has to be opened to change the blade (or if the blade comes off the drive wheels for some reason). The other is the belt cover, which has to be opened to change speed. The belt cover is held closed with a friction lock: a screw interfering with a slightly springy bit of metal. This is quick to open and close, but vibrates quite noisily when the saw is running. The blade wheel cover is held closed using a thumbwheel screw. While this can be removed and re-fitted without a tool, there's a high likelihood of putting it down somewhere and then not being able to find it.
The photo above shows some clips (along with some simple steel mounting blocks) used to improve both of these mechanisms. The mounting blocks were simply cut to size with the bandsaw and my vertical saw table. The holes were drilled 4.5 mm after marking them out using the clips as a template.
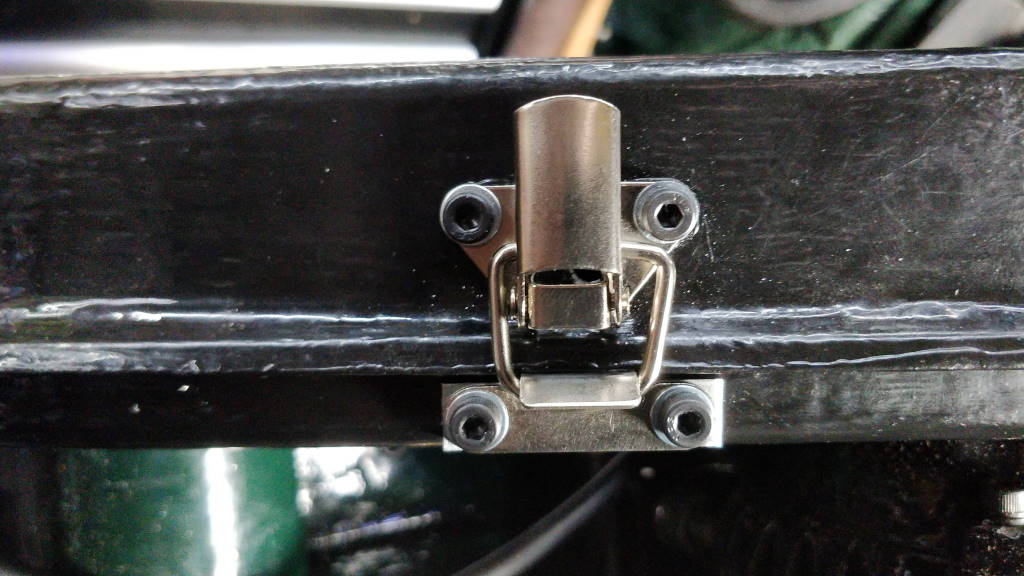
This photo shows the clip fitted to the belt cover. This was a very simple operation as it just required some holes to be drilled in the belt cover and then the clip parts were mounted with M4 cap screws and nyloc nuts.
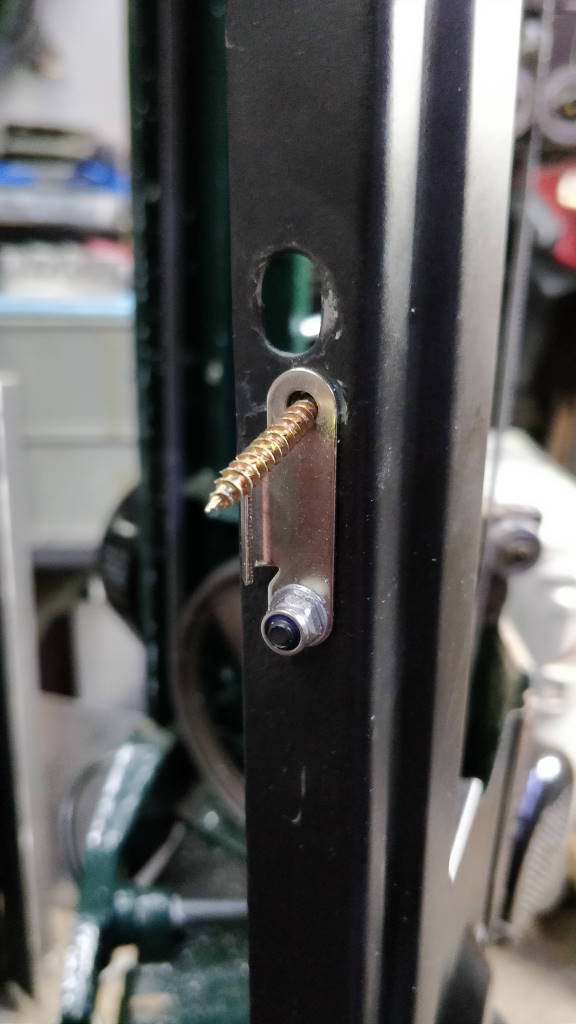
The blade wheel cover clip was slightly more challenging as there is very little clearance between the blade wheel cover and the casting when it is closed. For this reason I wanted to use countersunk screws sitting in a countersunk hole in the blade wheel cover. As the blade wheel cover is U-shaped in this area, I couldn't get any of my countersinking tools to the face needing a countersink. As a bodge-method of working round this I inserted a "turbo gold" wood screw in the hole as shown in the photo above. These screws have small edges formed in the countersink and are designed to cut their own countersink (in wood). I then inserted the threaded end of the screw into a cordless hand drill and ran it in reverse to cut the countersink. The screw got very hot and could only cut a single countersink (so I had to use a new screw on the second one), but it worked surprisingly well.
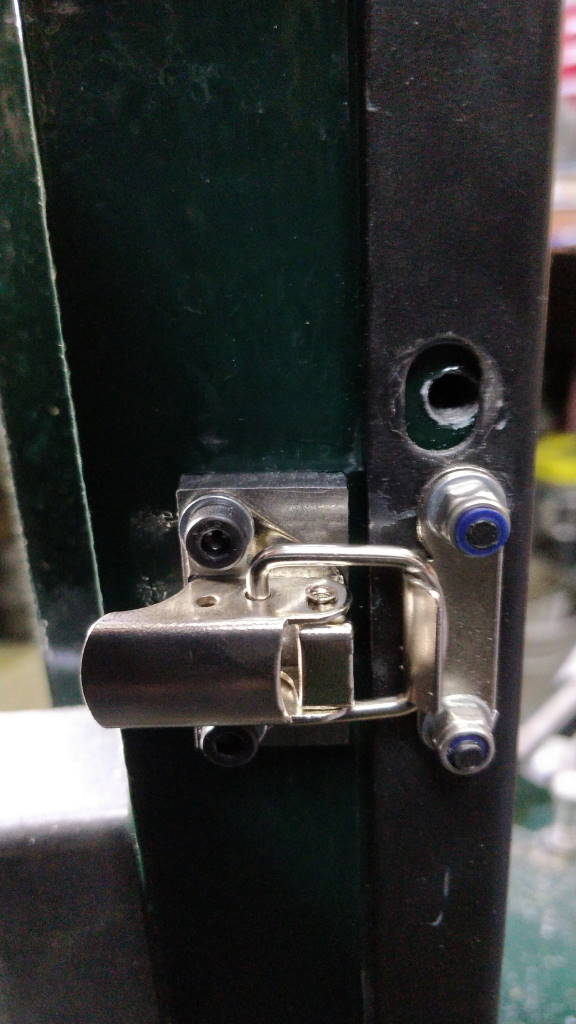
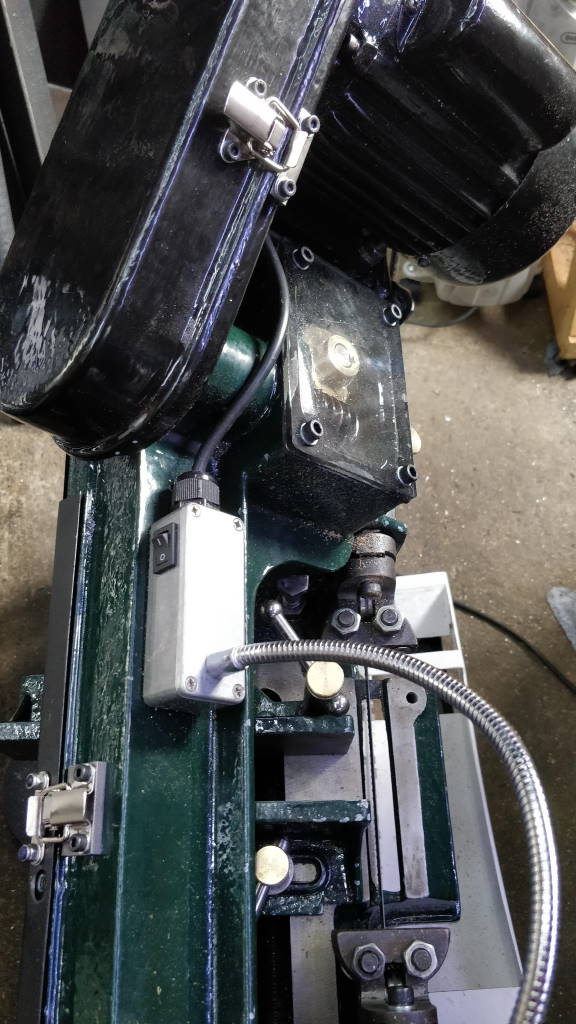
The photo on the left shows a close-up of the blade wheel cover clip after fitting; the one on the right shows the two clips together, in case it is unclear where they go on the machine. The clips make it much quicker to open the blade wheel cover and have reduced the noise coming from belt cover vibration substantially.
This website is free and ad-free, but costs me money to run. If you'd like to support this site, please consider making a small donation or sending me a message to let me know what you liked or found useful.
