Gearbox Cover
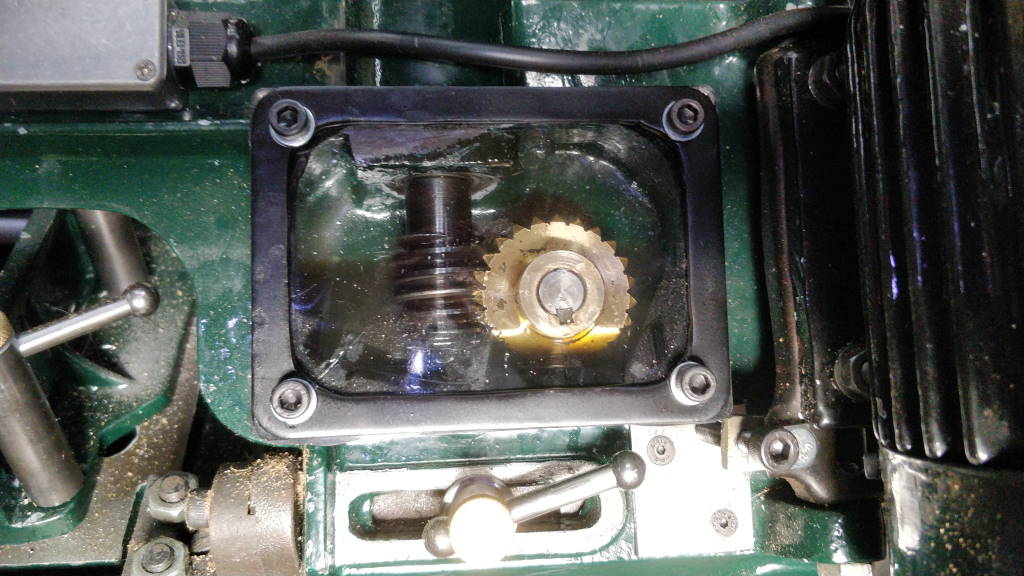
The photo above shows the gearbox sealed up and ready for use. This page describes the process I went through to get there!
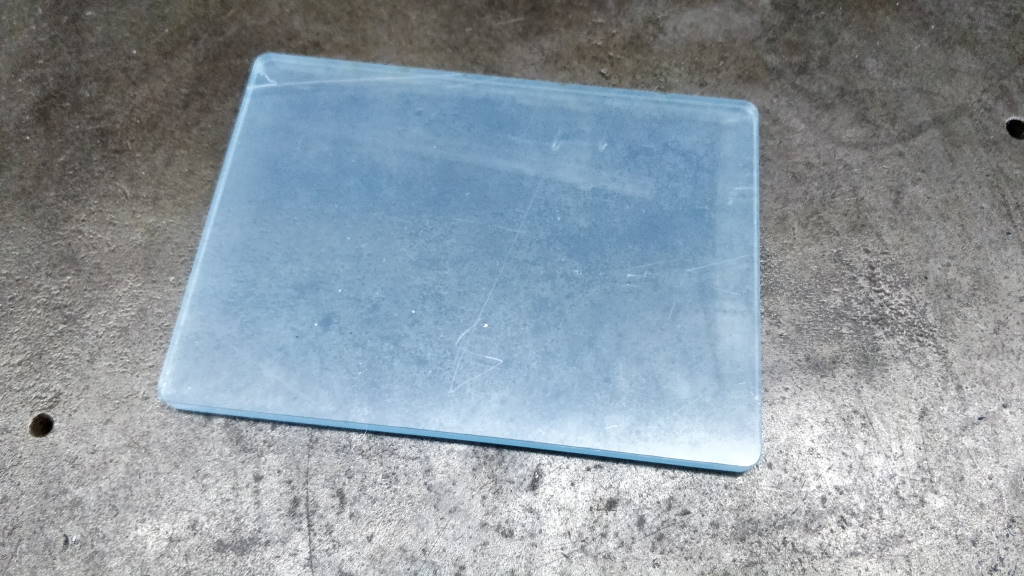
This photo shows a simple piece of 5 mm acrylic sheet that I cut out to the outer dimensions of the gearbox cover (130 mm × 95 mm). Before the restoration of the bandsaw, the gearbox had leaked oil and I'd had to remember to periodically take the cover off and top up the oil. This problem was mostly due to the poor seal around the gearbox cover, although I think some of the oil also leaked through the oil seal and into the blade wheel area.
Restoring the bandsaw and replacing all the oil seals should sort this problem out, but I was quite keen to have a better method of checking the oil level and perhaps the condition of the oil. Therefore, I decided to use an acrylic cover. Polycarbonate might have been a better material, but I already had some acrylic!
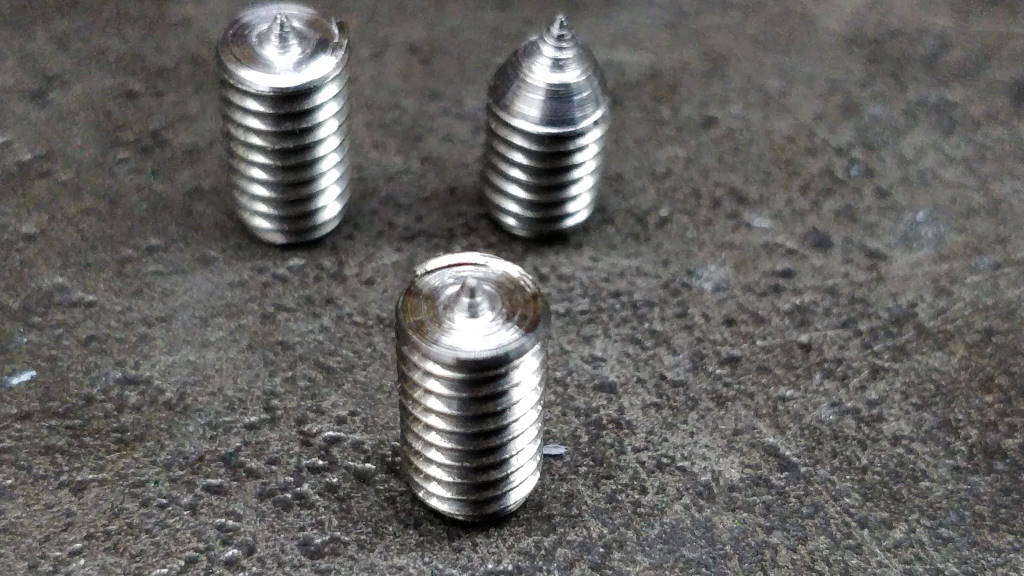
To get the holes in the right place I made some simple transfer screws out of some M6 grub
screws. This was simply a case of holding them in a collet in the lathe and turning a point onto
the end. These then got screwed into the casting and the acrylic sheet was placed on top and
tapped in the corners with a plastic jawed hammer. I then drilled the holes out 6 mm.
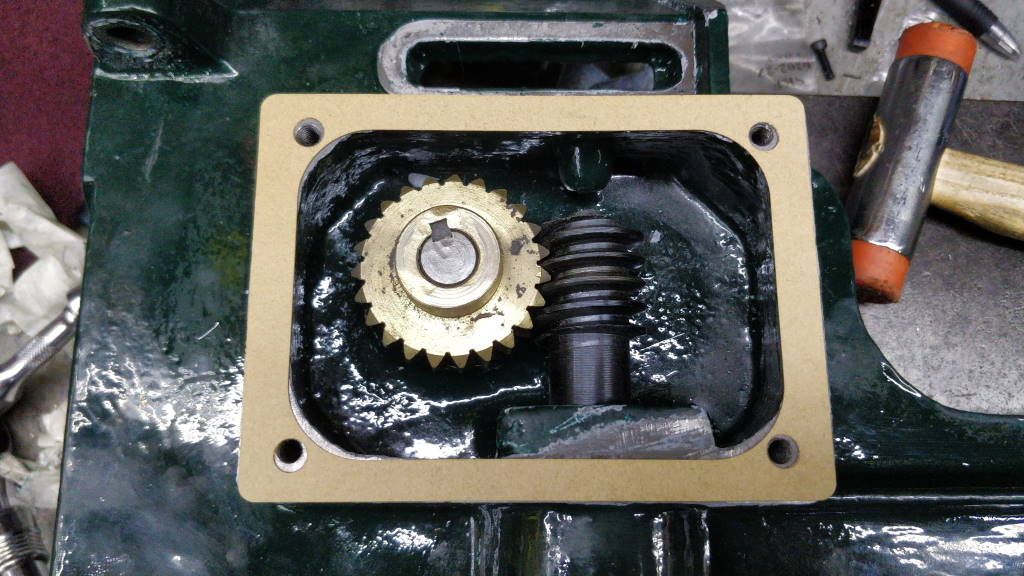
My first plan had been to use some Flexoid gasket paper to form a seal around the gearbox. Being paper, this had the advantage of being able to be cut using the laser cutter at my work. The photo above shows the gasket in place.
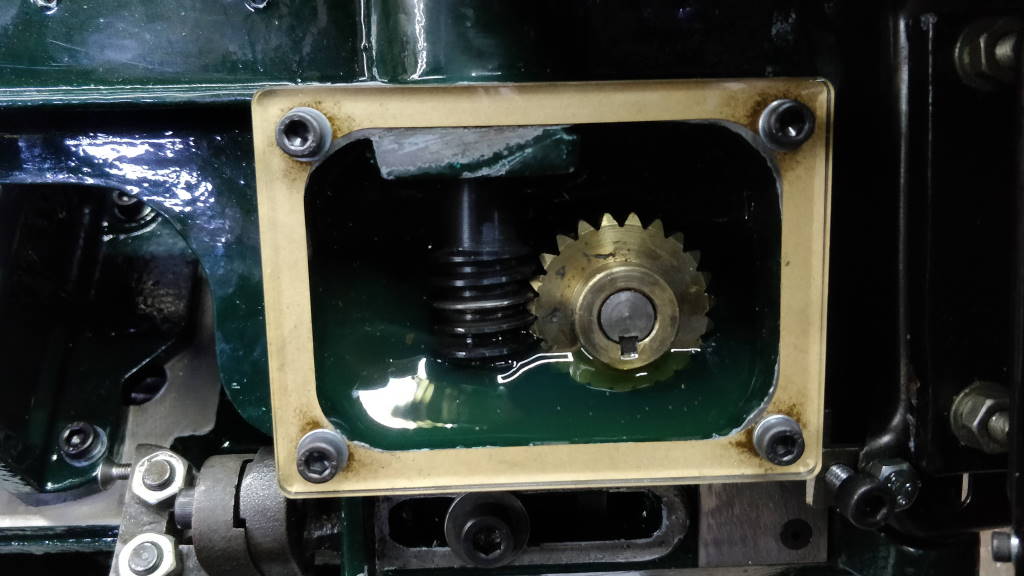
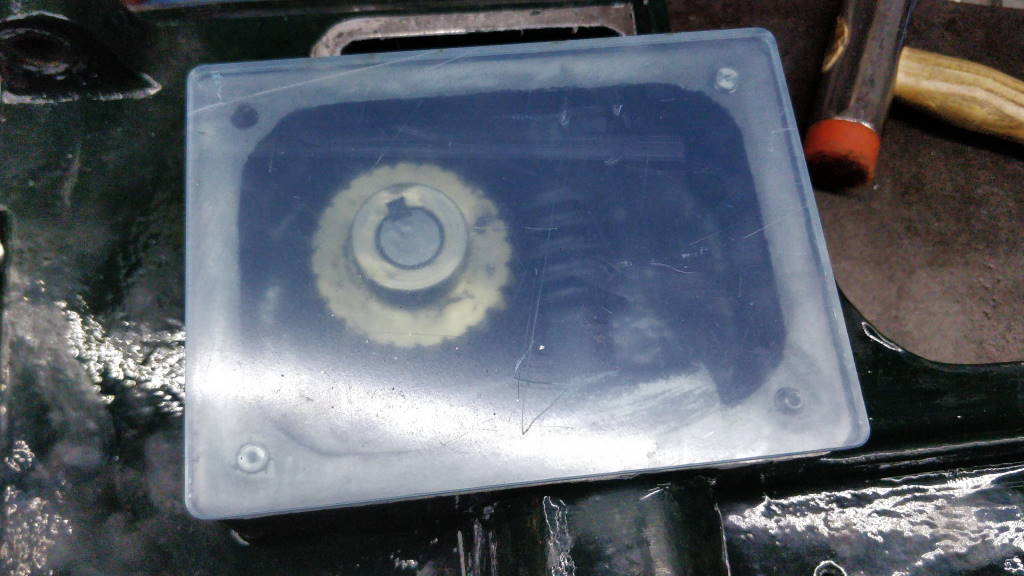
This photo showed what the gearbox looked like with the gasket and the acrylic sheet (now with the protective film removed) fitted. The oil level and oil condition are both clearly visible. It's also quite nice to watch the gears go round! Unfortunately, when the saw was in the vertical position, oil leaked out through the gasket paper seal and so I decided this option wasn't viable.
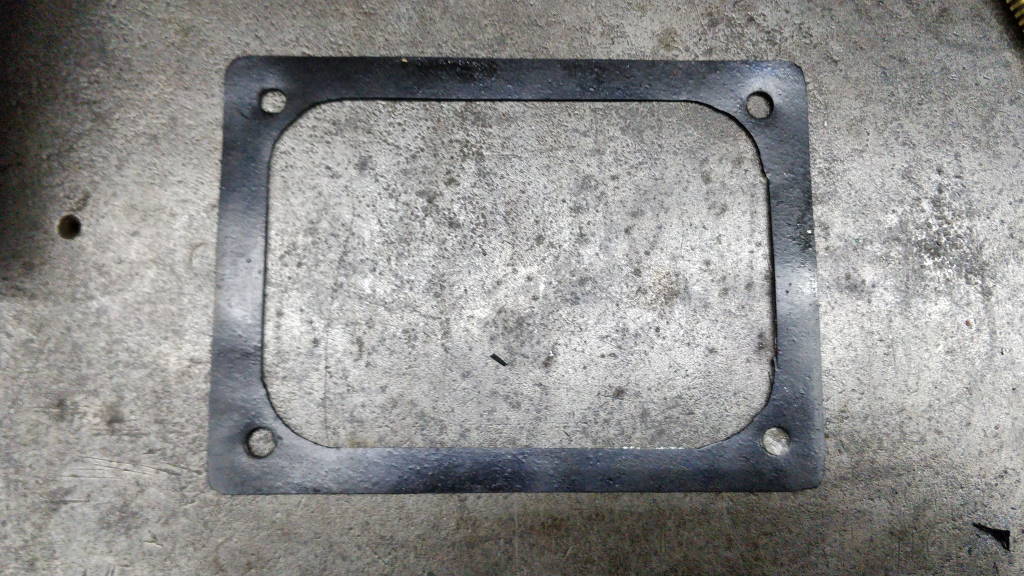
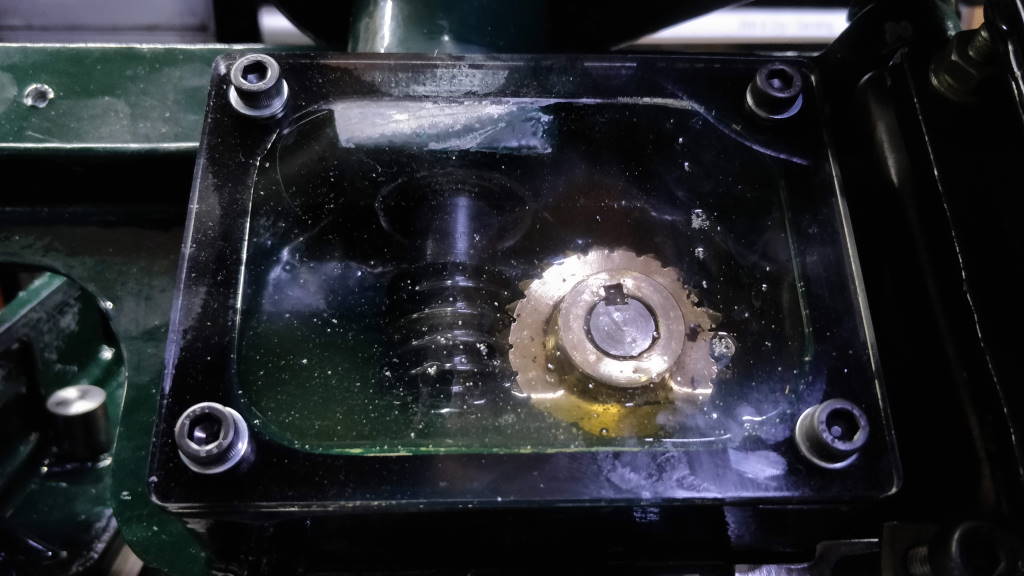
"Plan B" was to use some neoprene rubber as a seal. I used the Flexoid gasket as a template and cut the profile out with a scalpel. This then went in place of the gasket paper and sealed much more effectively.
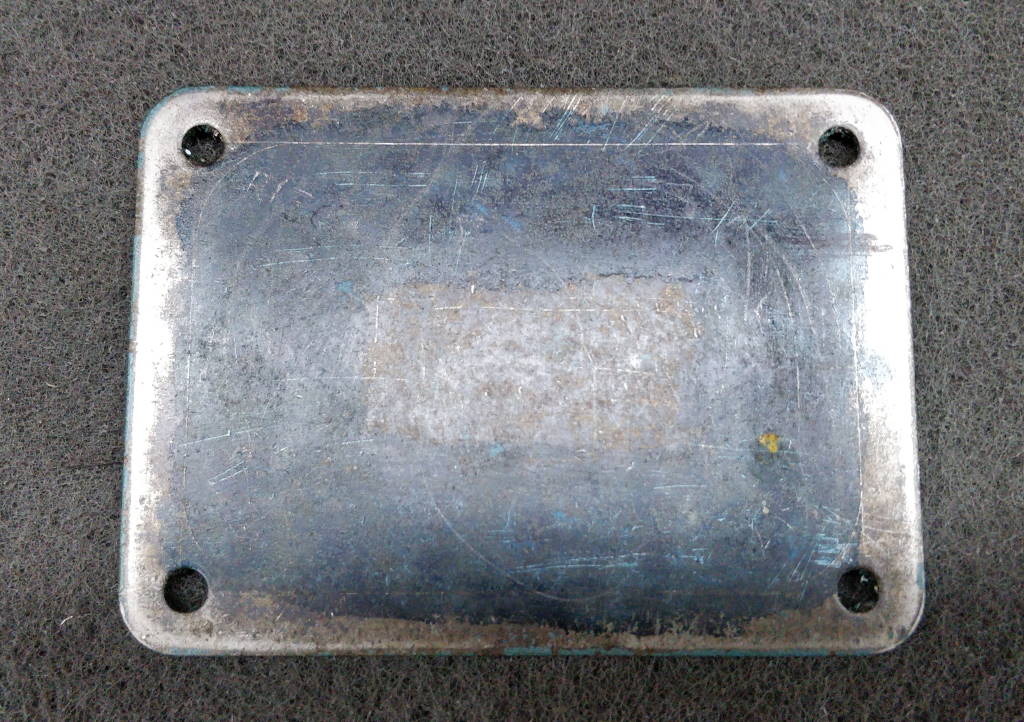
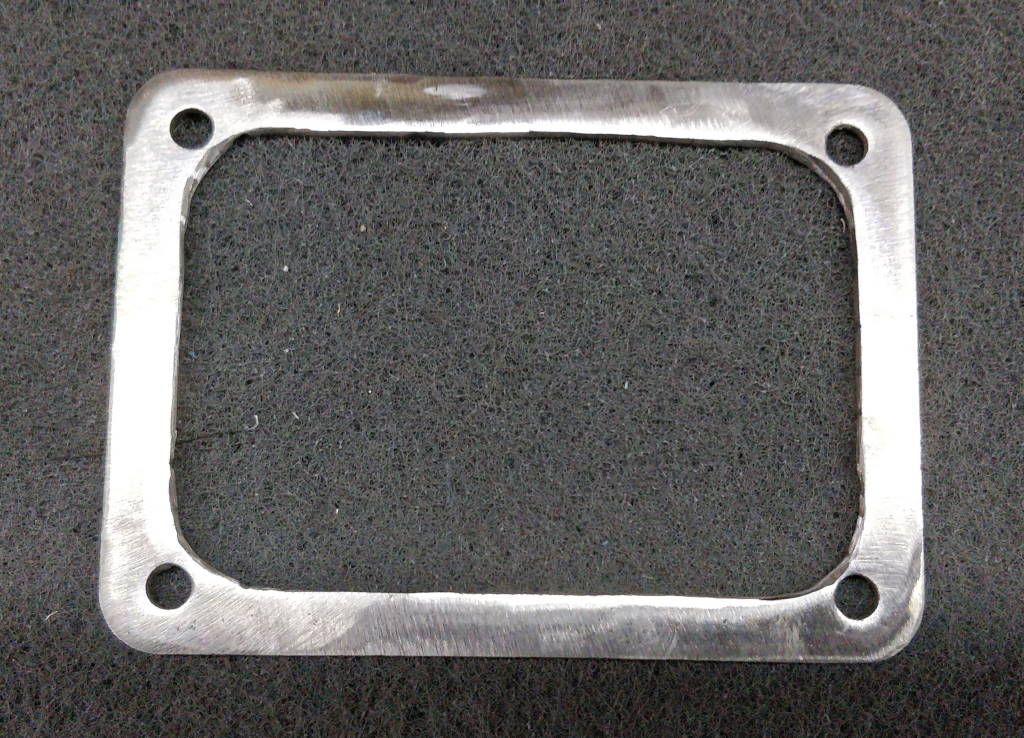
I hadn't had any problems with the rubber gasket, but since I'd recently bought a cheap Chinese-made plasma cutter, I decided to add some extra clamping force around the seal. I made a simple template out of 3 mm plywood and plasma cut the cover to match the shape of the gasket. The photos above show it before and after. I then cleaned it and spray-painted it black. The photo at the top of the page shows the end result. Overall, I'm really pleased to have a robustly clamped seal but still be able to see what's going on inside the gearbox. If the acrylic perishes over the years, it will be very simple to replace that one component with a new acrylic plate.
This website is free and ad-free, but costs me money to run. If you'd like to support this site, please consider making a small donation or sending me a message to let me know what you liked or found useful.
