Mini Moravian Bench Build Process
Page 27 of 38
Posted 3rd August 2025
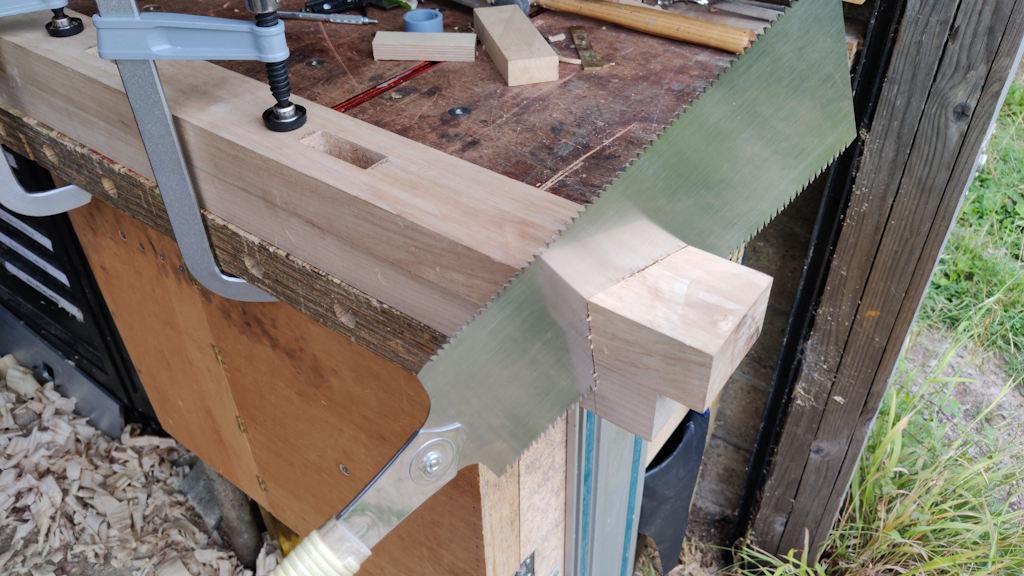
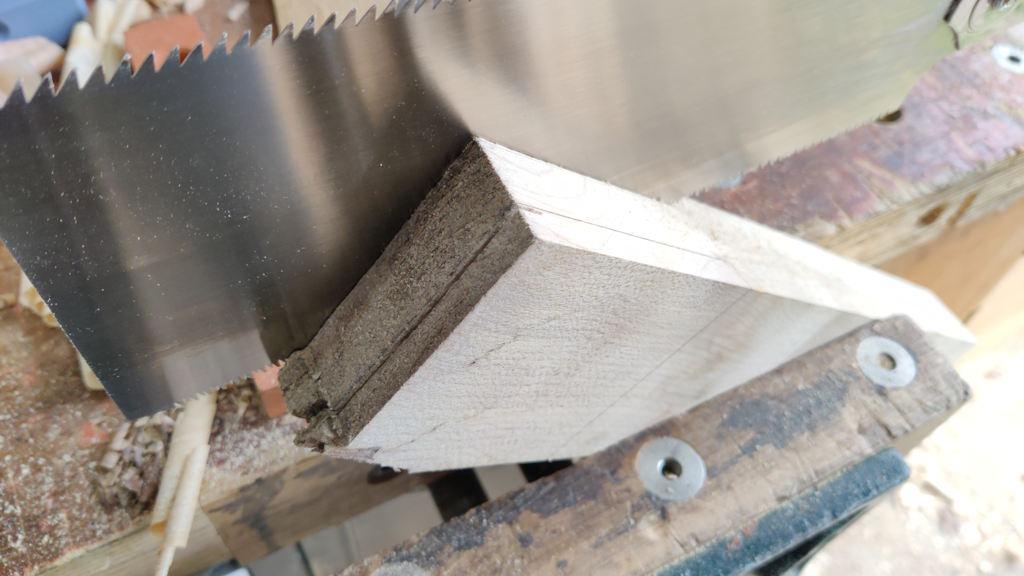
The forecast is predicting rain around lunchtime today, so I thought I'd postpone making the new cross-bar and get on with a couple of jobs that are easier with the garage door open and stuff hanging out the end. First of all, I chopped the top and bottom of all the legs off using the big Ryoba and bravely cutting to the line:
Having done the top as well as the bottom, I'm now committed to some sort of joinery that takes up no more than 20 mm of the top of the leg, but I don't think that's too restrictive (and a dovetail of that size seems plenty big enough to me).
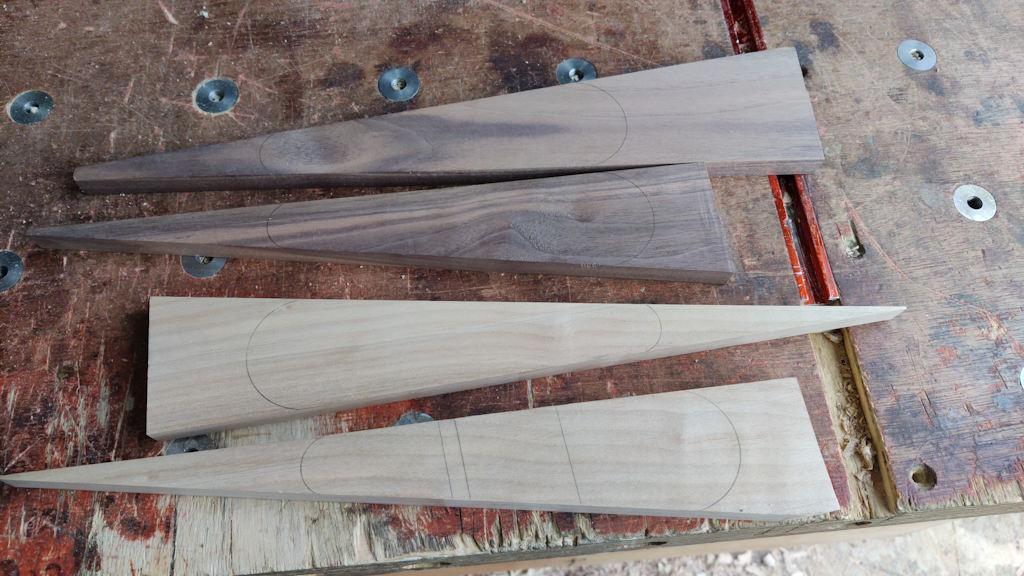
Next up, I marked up all the wedges:
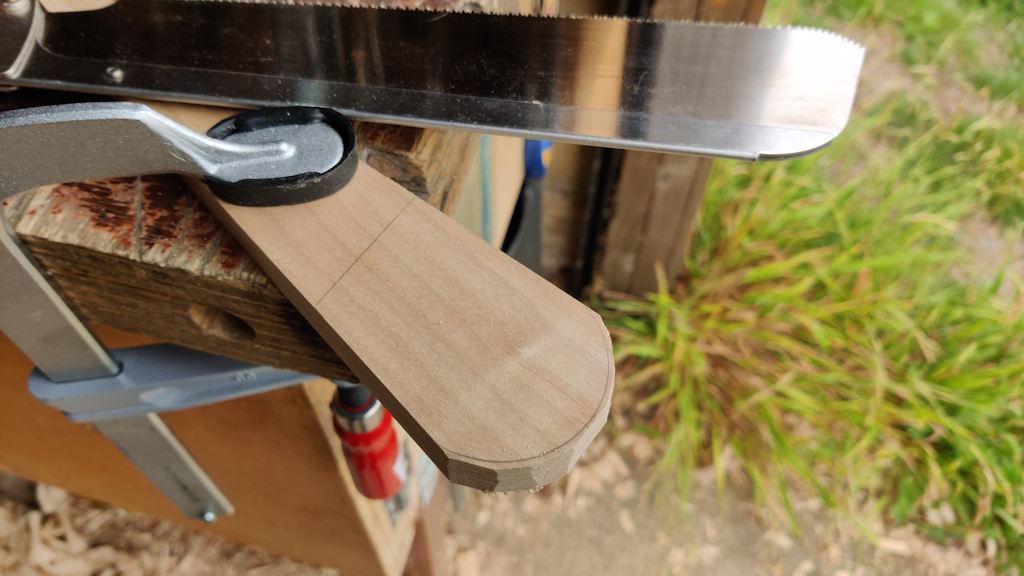
They got rough sawn to shape with a cross-cut Dozuki:
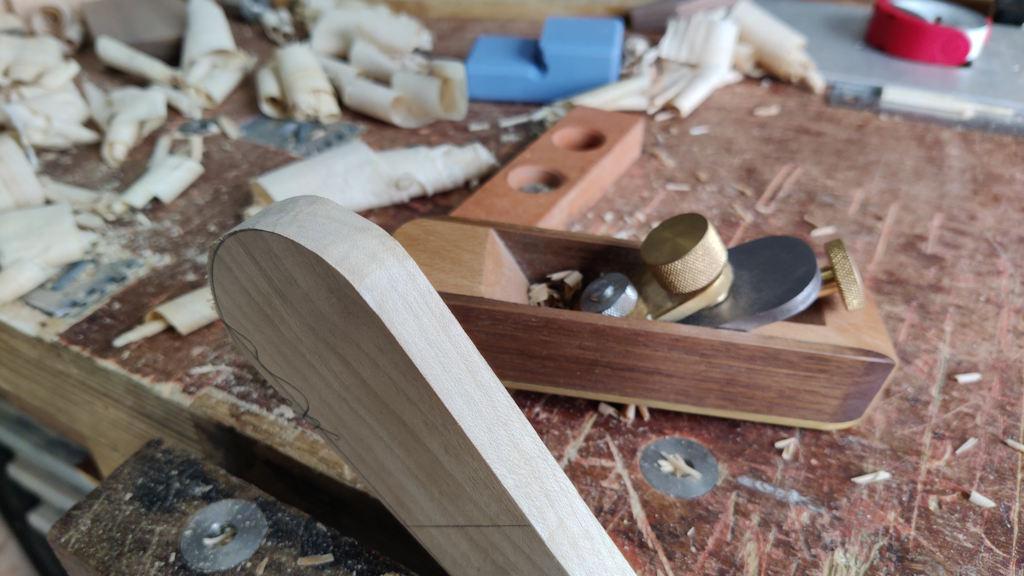
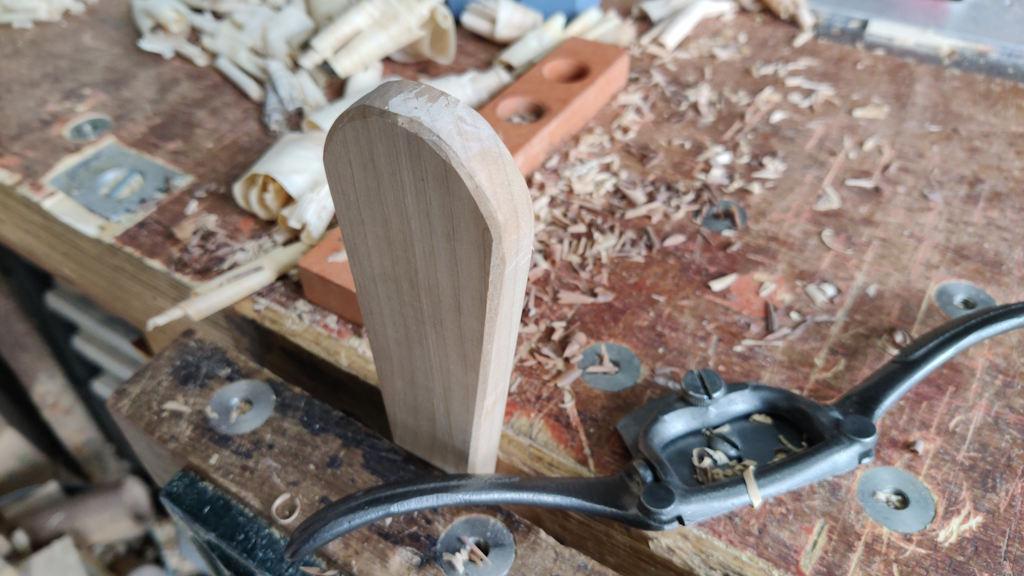
I used my home-made block plane to shape the ends round-ish:
On one of them I did that with a spokeshave, but I found the block plane much easier to work with and ended up only using the spokeshave for chamfering the ends:
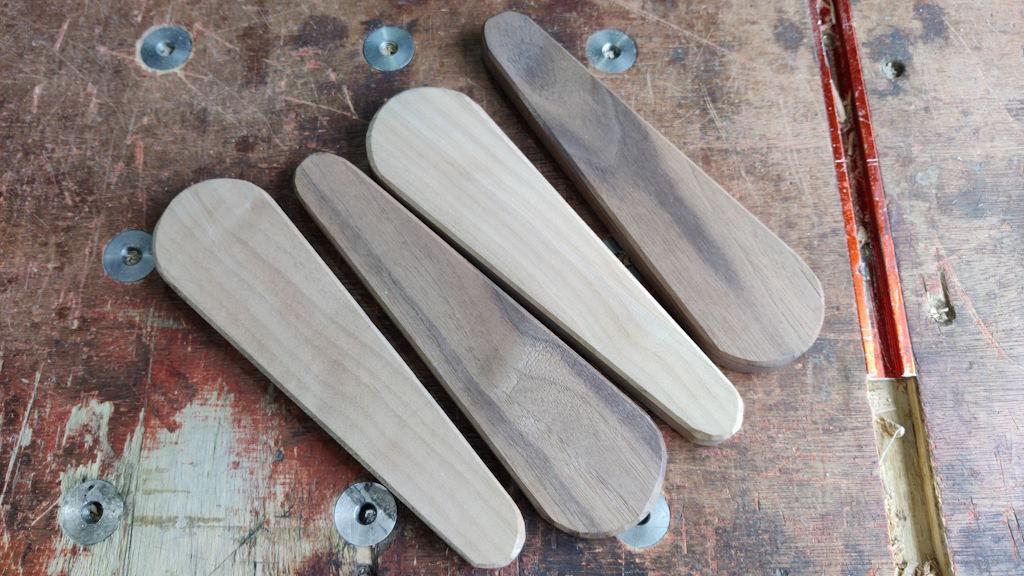
Four wedges complete:
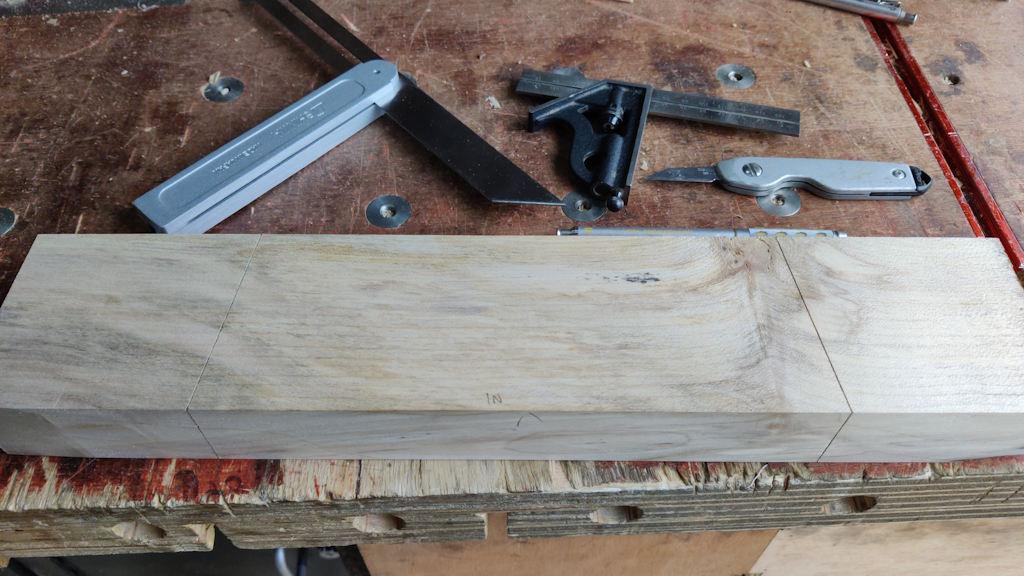
For the replacement cross-bar, I transferred the shoulder lines across from the broken one and then marked all the way round with sliding bevel, square and knife:
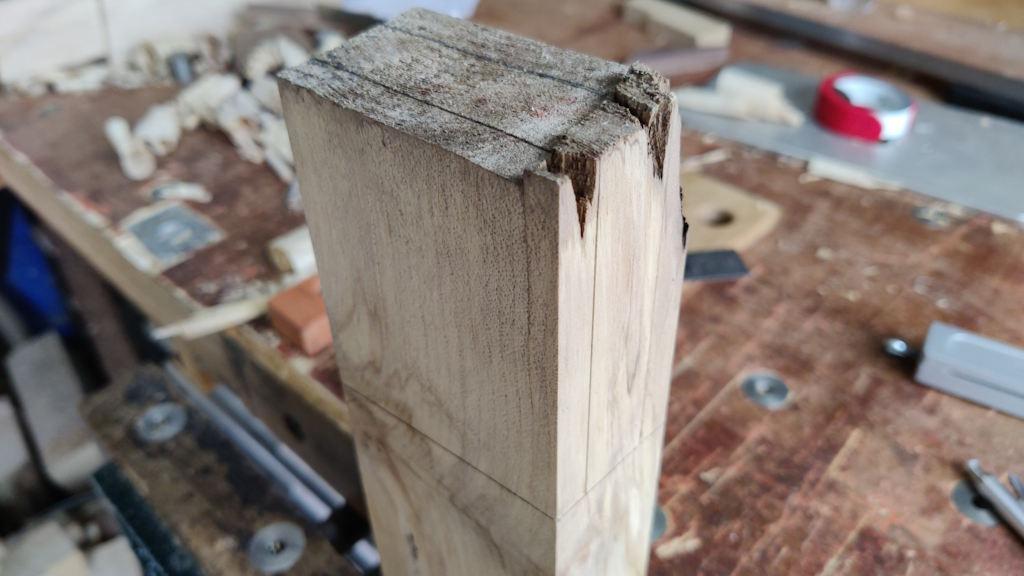
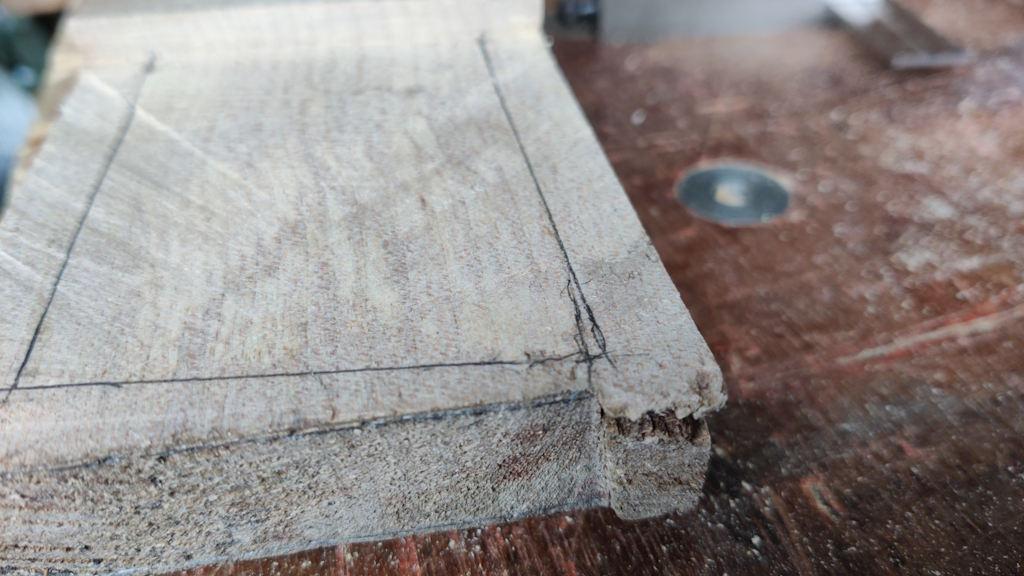
This is what the rather rough end looks like:
Most of the really rough bit is going to get removed.
Next up was sawing the cheeks...
... then cross-cutting a millimetre or so from the shoulder line with a Dozuki. Before starting to clean up the cheeks and shoulders, I thought I'd roughly pencil in the expected final shape of the tenon so I could see how much of that rough stuff was going to get removed:
The little wobbly pencil line just inside the right-hand corner is what looks like a slight crack in the wood. I'm not too concerned about that at the moment as I can always bring the line in slightly and use a thicker wedge.
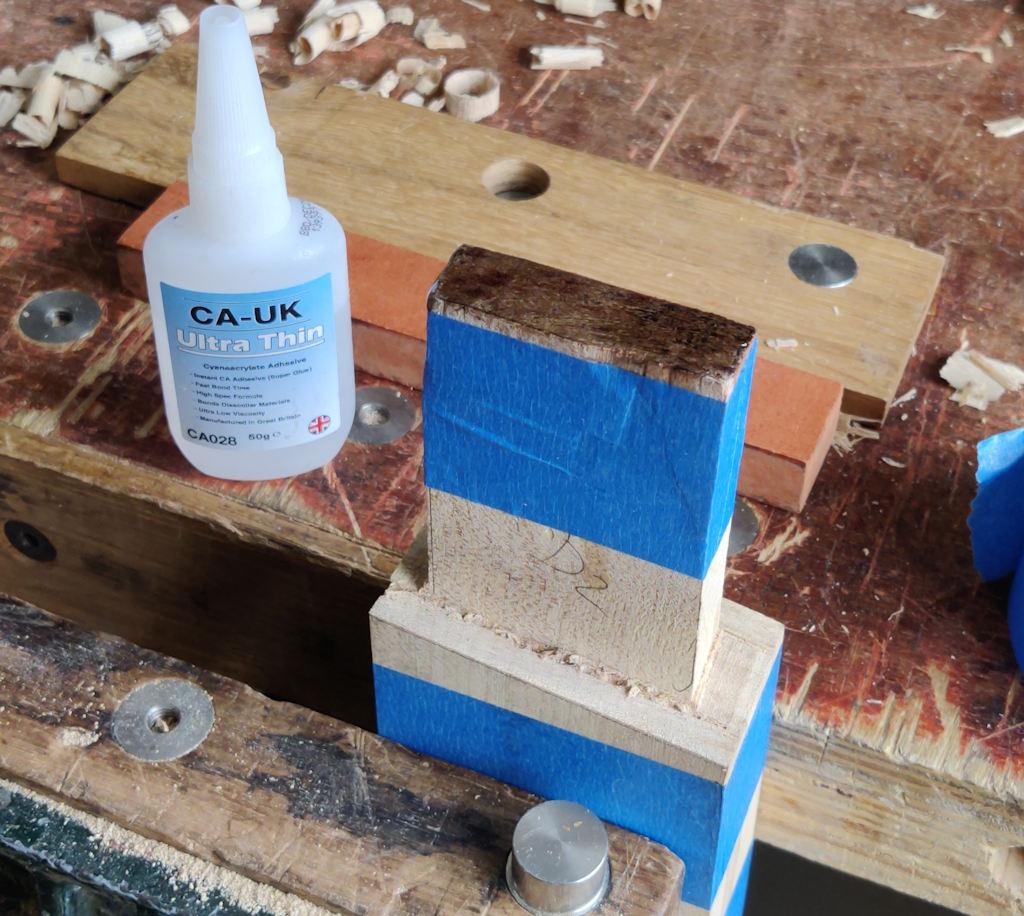
After I'd used a router plane to clean up the cheeks and a chisel to sort the shoulders out, I accidentally knocked the end of the tenon against something and a little piece broke off in the corner. I (medium viscosity) superglued that back on again (you can just about see the faint diagonal line of the join under the masking tape in the next photo) and then I figured I'd pour a bit of ultra thin superglue into the end grain just because I figured it couldn't hurt:
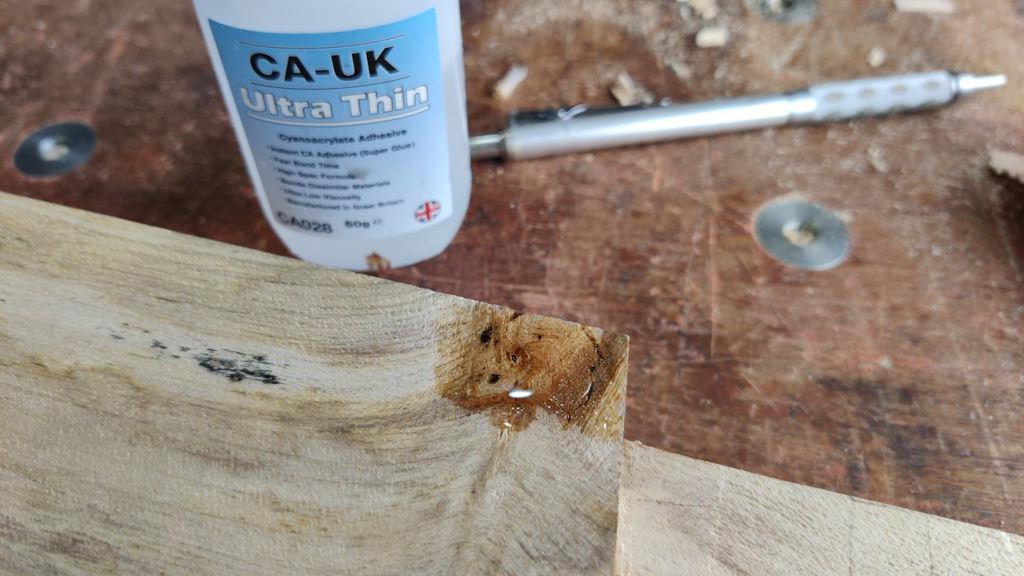
While I was at it, I poured a bit into the knot as well:
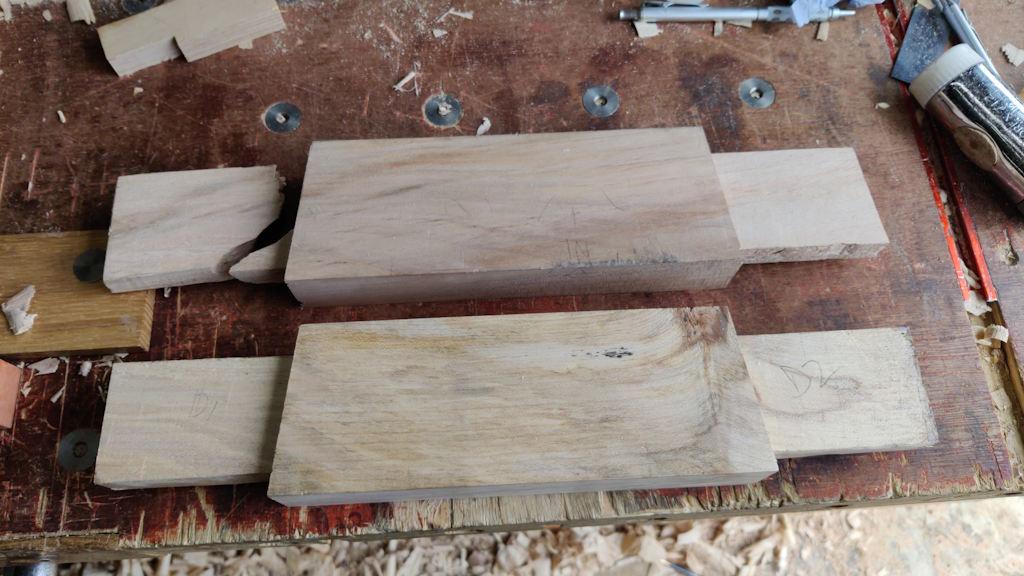
Old and new next to one another:
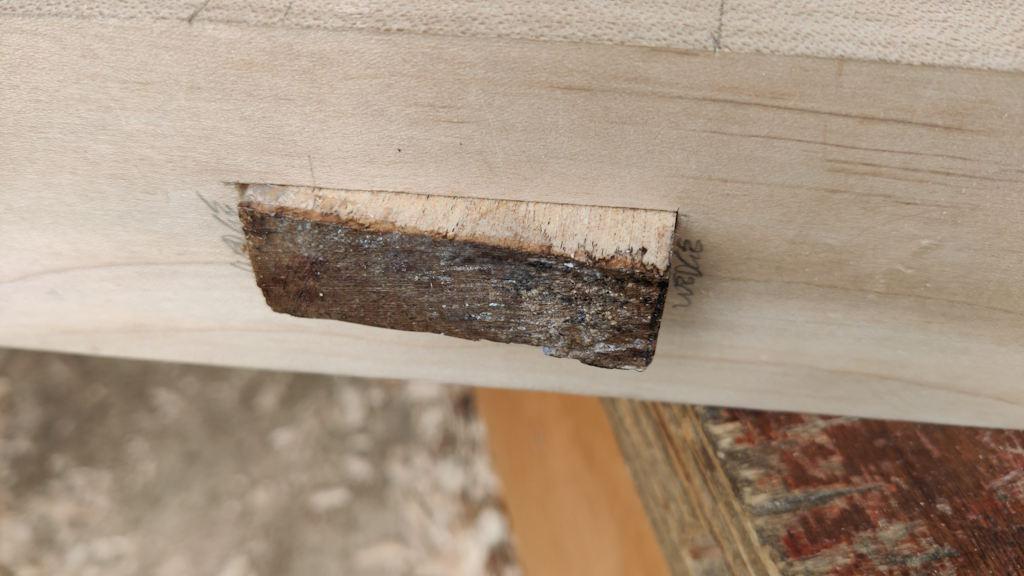
This is the bit (from the rough end) that'll get chopped off (flush with the leg) after it's wedged and glued in:
I think that gets rid of most of the shabby wood so I'm hoping I'm going to get away with using this piece!
I'd been planning to cut the sliding dovetails (or whatever joint I finally decide on for the top) before assembling the leg frames, but after the incident with the cross-bar, I'm feeling quite keen to get the leg frames assembled and glued together for good. To do that I need to open up the mortices in the legs and then give the internal leg faces and the external cross-bar faces a once over with a smoothing plane as that won't be possible again after assembly. I also need to make the wedges and cut the slots in the tenons.
Time for a cup of tea first.
Page 27 of 38
This website is free and ad-free, but costs me money to run. If you'd like to support this site, please consider making a small donation or sending me a message to let me know what you liked or found useful.

 Return to main project page