Mini Moravian Bench Build Process
Page 28 of 38
Posted 3rd August 2025
I'm beginning to think that either this project is cursed or perhaps I'm just not very good at this woodworking malarkey.
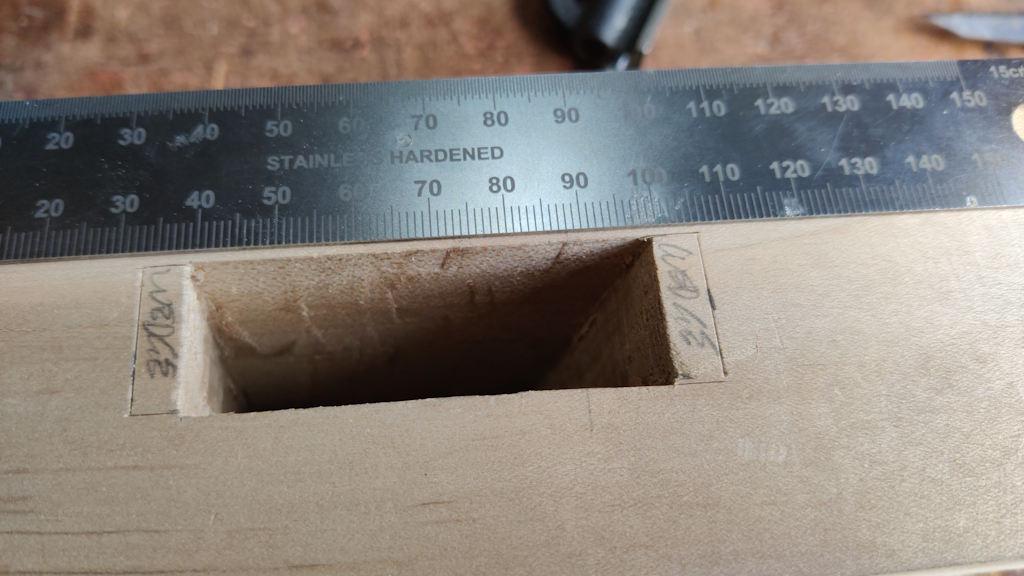
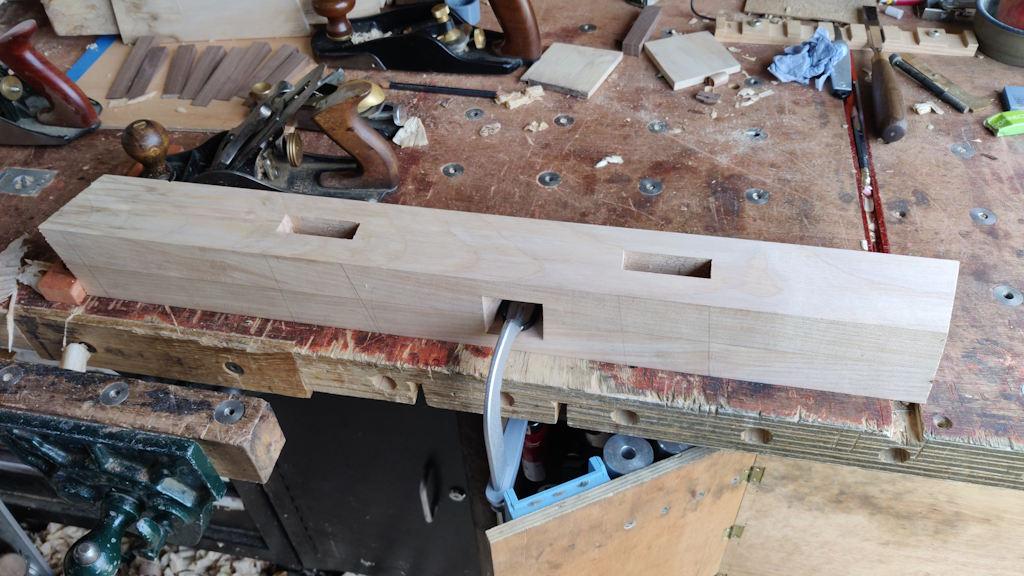
The next job after the break was to mark up the shape of the gaps for the wedges. I, rather arbitrarily, went for a 6 mm increase in mortice width at the outside, just because it felt like a reasonable proportion of the mortice length.
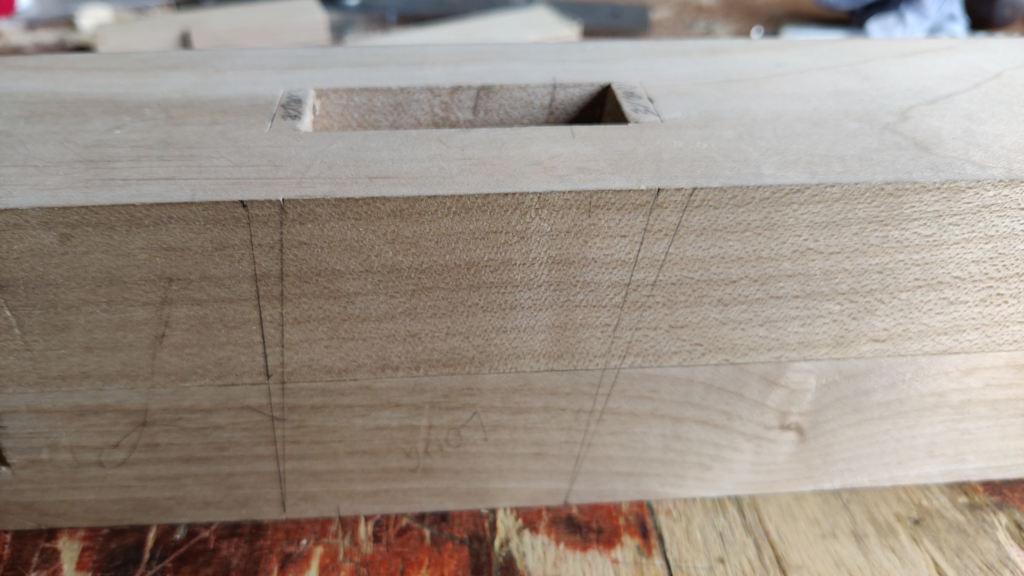
I also marked pencil lines on the sides to show the angle I needed to chop at:
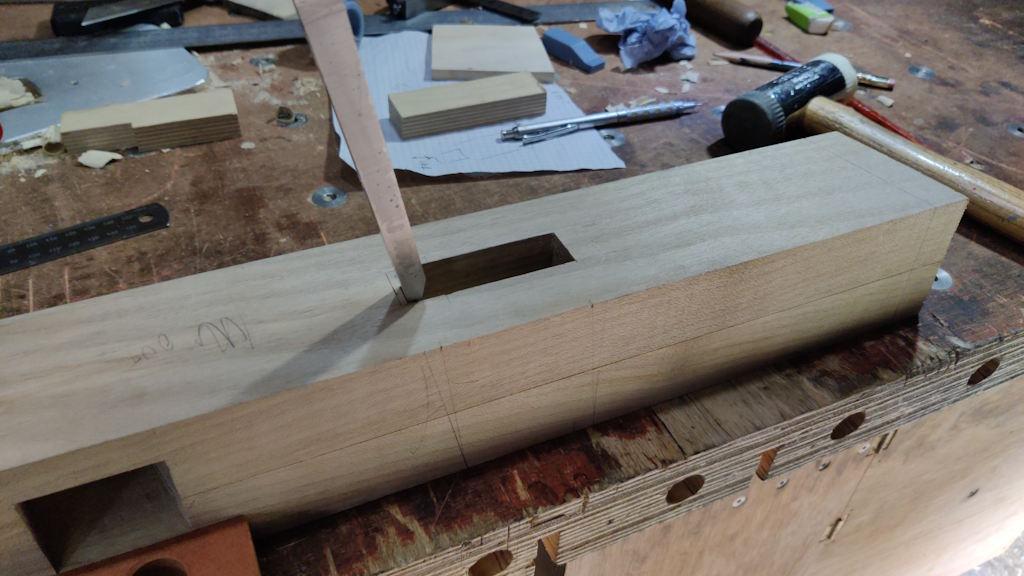
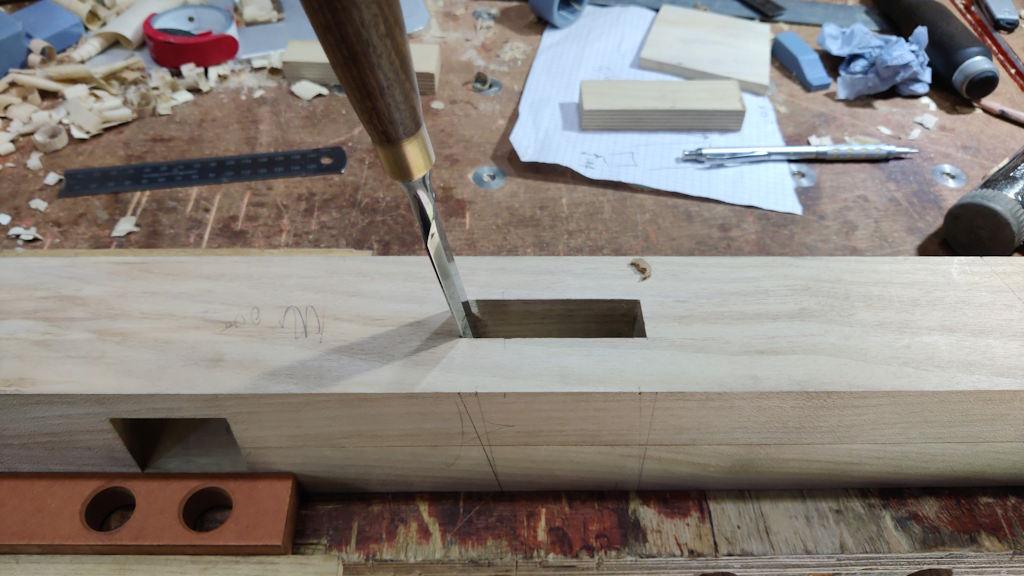
To remove the waste, I started with a 10 mm mortice chisel to get rid of most of the waste...
... and then a bevel-edge chisel for the final cuts:
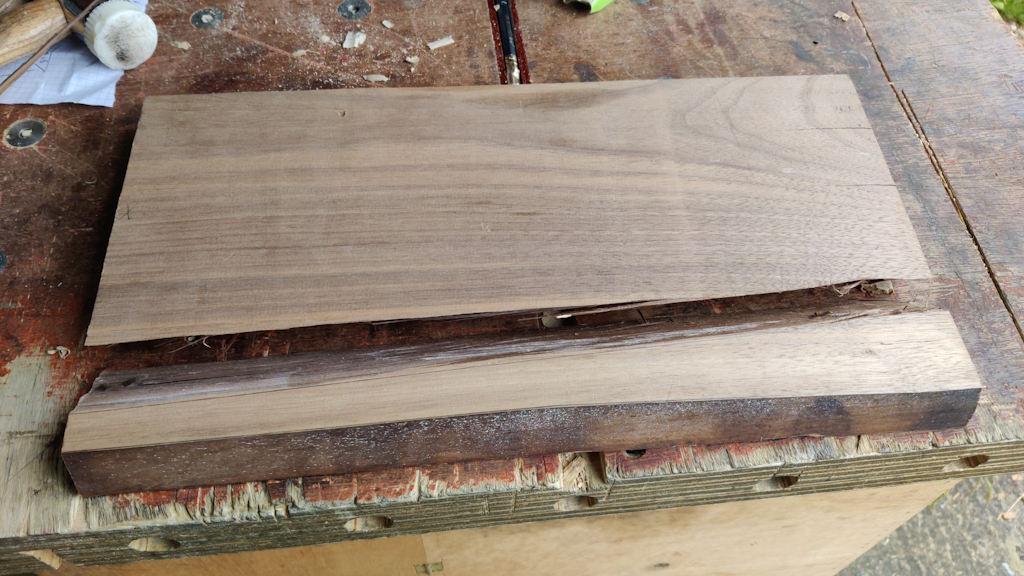
For the wedges, I found a bit of American Black Walnut that was only a little bit thicker than required. It had a bit of a split in it, so I pulled it apart:
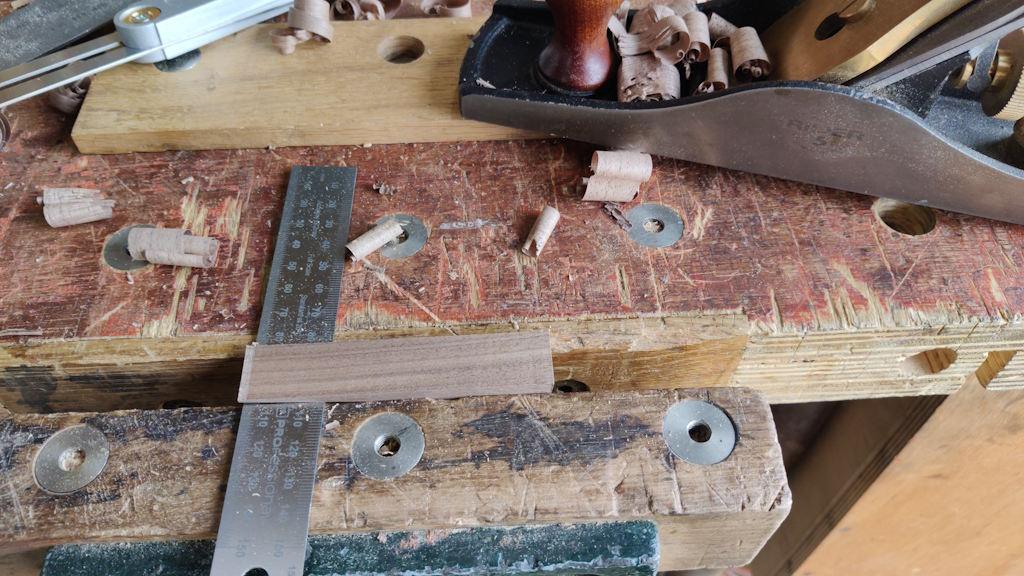
A bit of that (including the small split-off piece) got chopped up into wedges and the wedges got planed to thickness and to have smooth faces for gluing. The final planing cut was done with the thick end of the wedge clamped in the vice and the thin end supported on a steel rule:
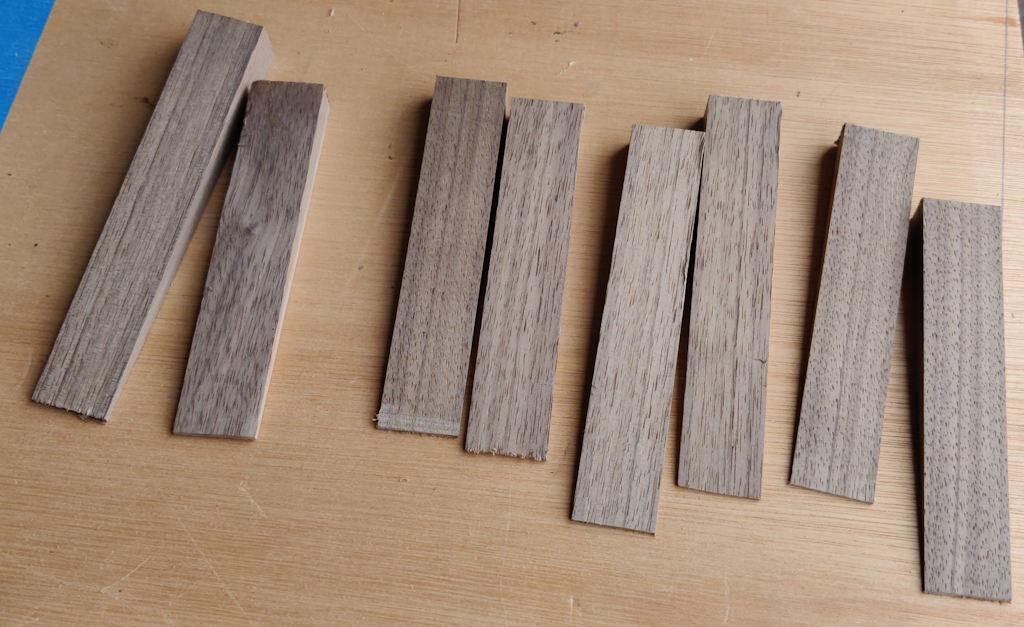
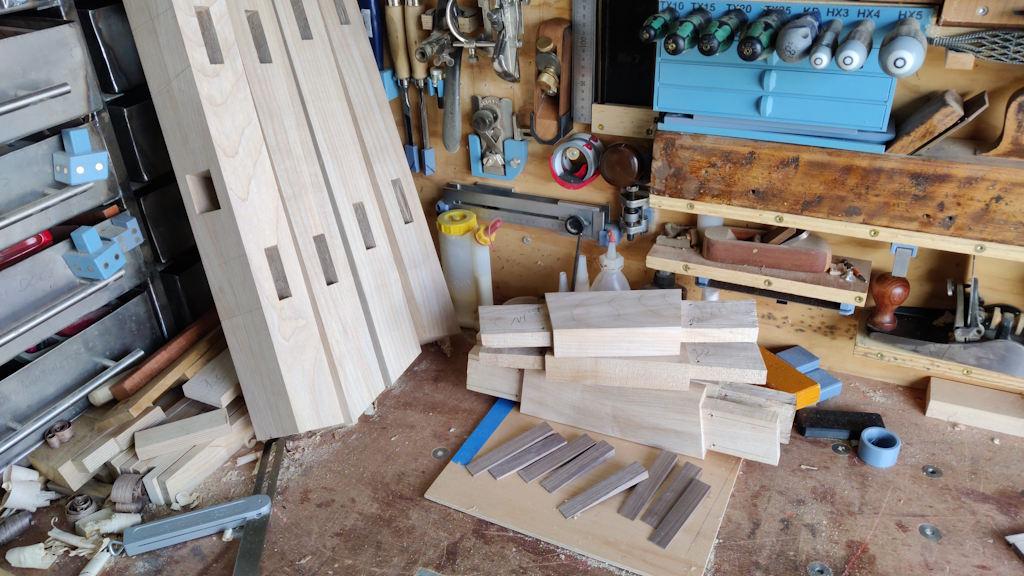
That gave me this pile of wedges, cut at about 6° (the angle of the extra bit I chiselled away worked out as 4.2°, but some of the tenons were a slightly loose fit along the long axis and I figured it's better to err on the side of a slightly too big angle):
The eagle-eyed among you will spot that there are only half as many as I needed there, so I went back and made some more later. I also wanted to trim them a bit shorter (so they don't go all the way down into the slot but just far enough to firmly push the sides of the tenons apart. I did that on seven out of the eight wedges but somehow missed one and didn't notice.
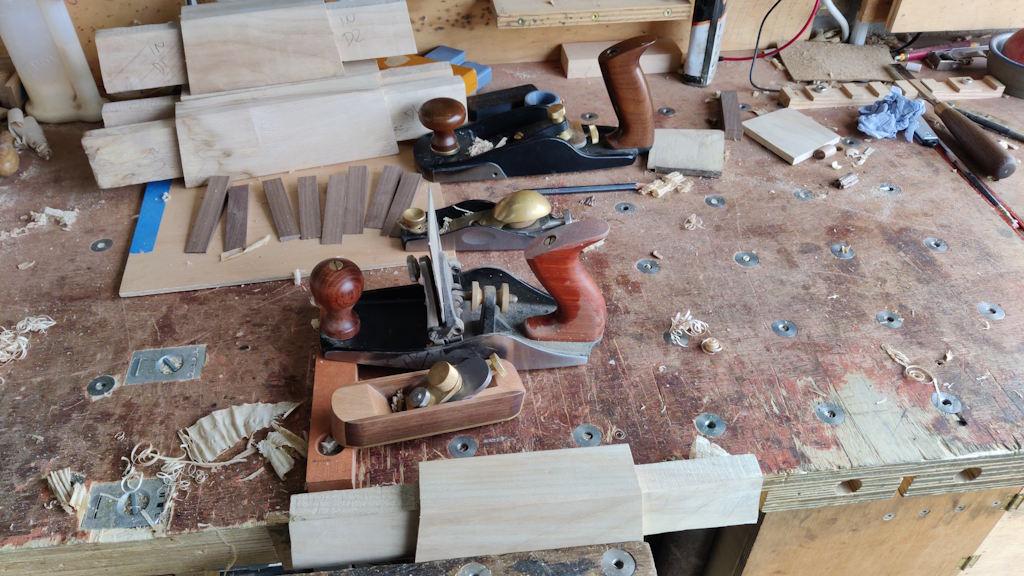
Before gluing things together, I gave all the faces of the cross-pieces a once over with a scraper plane (some of them have slightly changeable grain) and chamfered the edges with the home-made block plane:
I then gave the inside face of all the legs a quick once over with a #4:
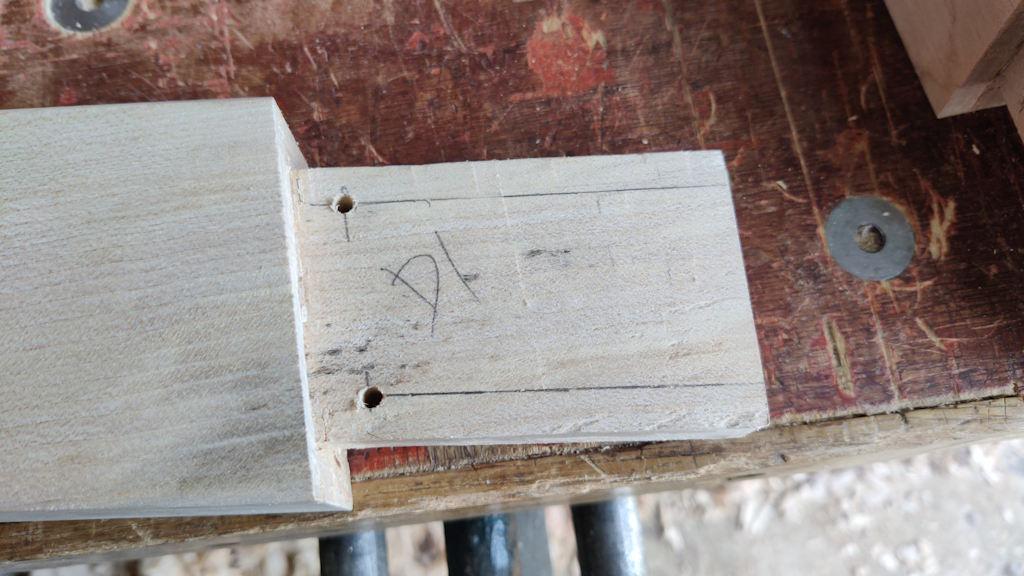
Before assembly, I also needed to make the slots for the wedges to go into, so I started by drilling a 4 mm hole near the bottom of the tenon...
... and then used the Ryoba to saw down to the hole:
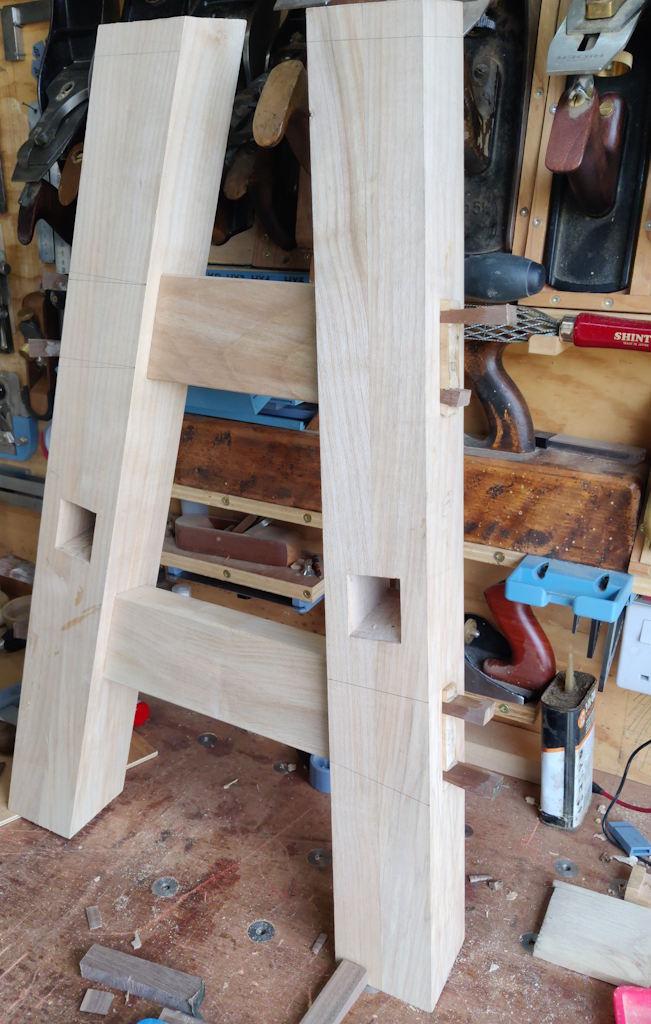
Everything (except the other eight wedges and for the job of trimming the wedges a bit more) ready to go:
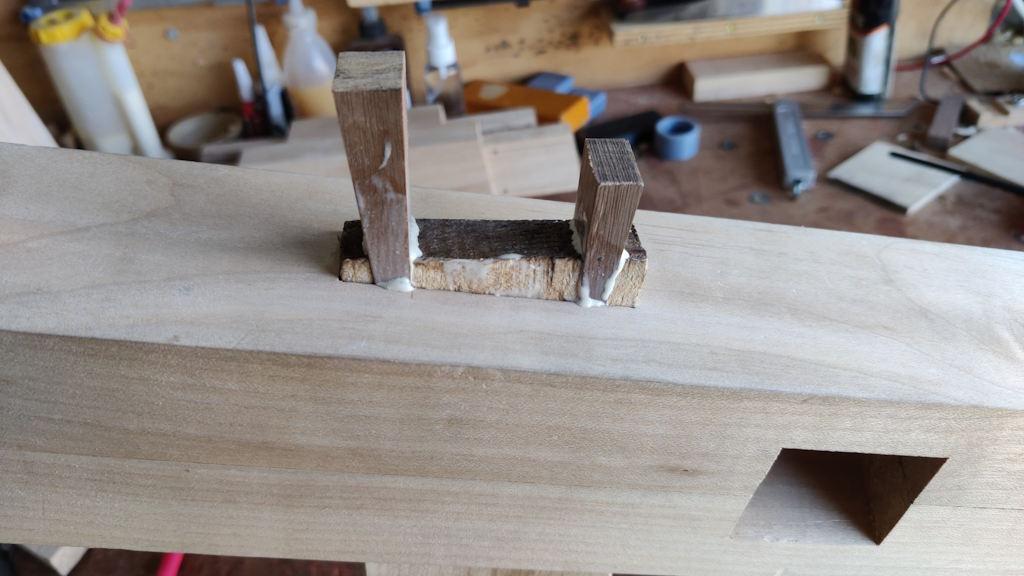
The first one went very smoothly I think:
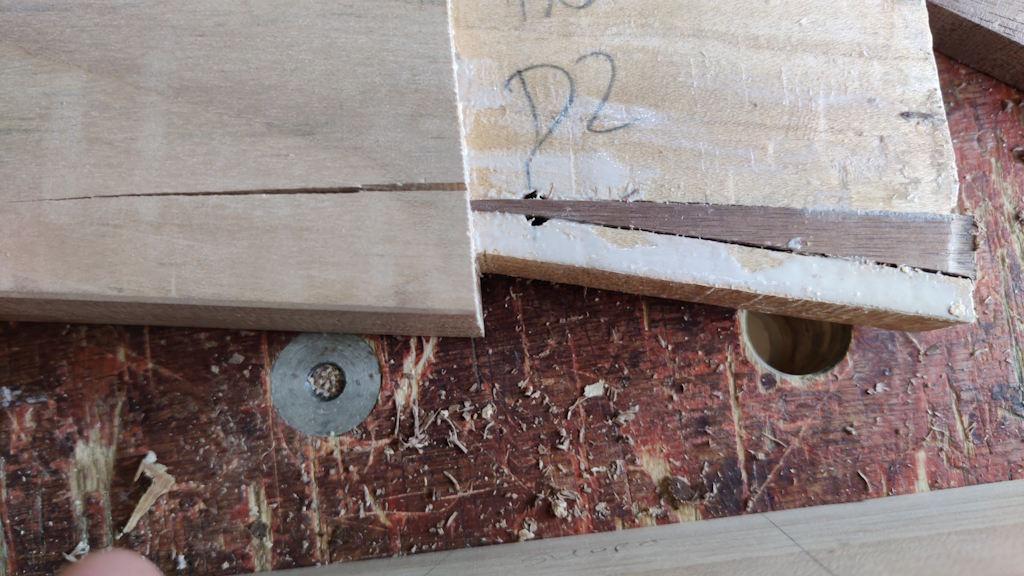
The second one did not. The wedge had a sharp end and it went a long way down into the tenon and split the cross-bar. It was surprising how easily it did so: I didn't feel like I was hitting it especially hard.
After I saw the crack, I then started hitting it a bit harder, but not on the wedge! It took quite a bit of frantic back-and-forth and the drilling out of one of the wedges to get the cross-bar back out of the leg, but thankfully it did come out with no major damage to the leg (just a bit of glue that'll need to be cleaned out of the mortice in due course):
Much profanity ensued (again).
Rather than just throwing all of my toys out of the pram and storming off, I thought I'd get the other leg frame assembled (which thankfully went quite smoothly).
I don't have enough Sycamore to remake that cross-bar, so I'm going to have to go to a timber yard and buy some more before I can do much more. I will saw off the excess on the finished leg frame (and perhaps on the one finished joint on the other leg) tomorrow and see how it looks, but there's not a lot else I can do until I've bought more wood.
Maybe I should go back to exclusively doing metalwork: this wood stuff is much too difficult!
Page 28 of 38
This website is free and ad-free, but costs me money to run. If you'd like to support this site, please consider making a small donation or sending me a message to let me know what you liked or found useful.

 Return to main project page