Mini Moravian Bench Build Process
Page 30 of 38
Posted 4th August 2025
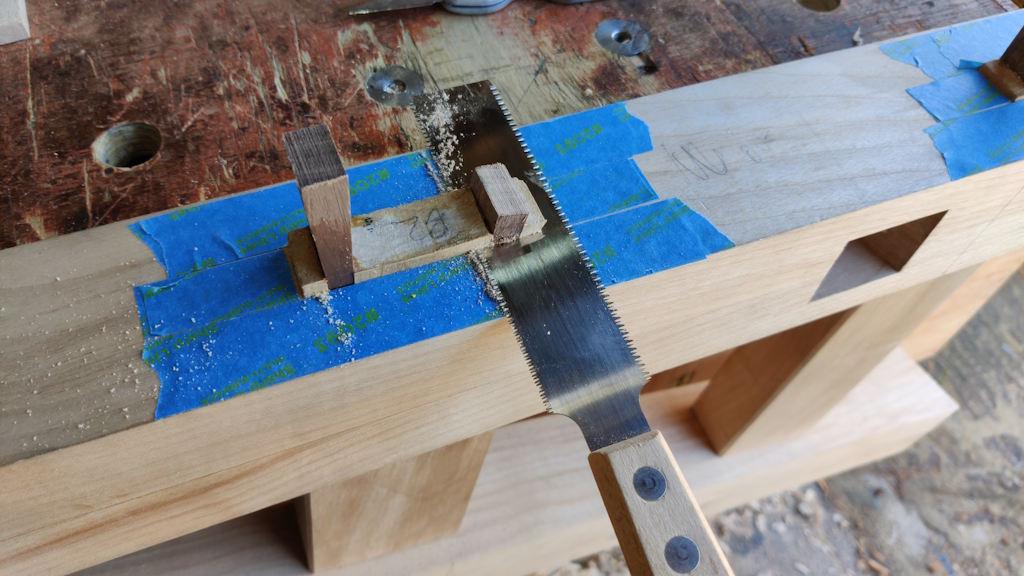
Before getting started on gluing the repaired plank into its frame, I thought I'd clean up the one that I glued yesterday. I started by using a little saw that I don't like very much:
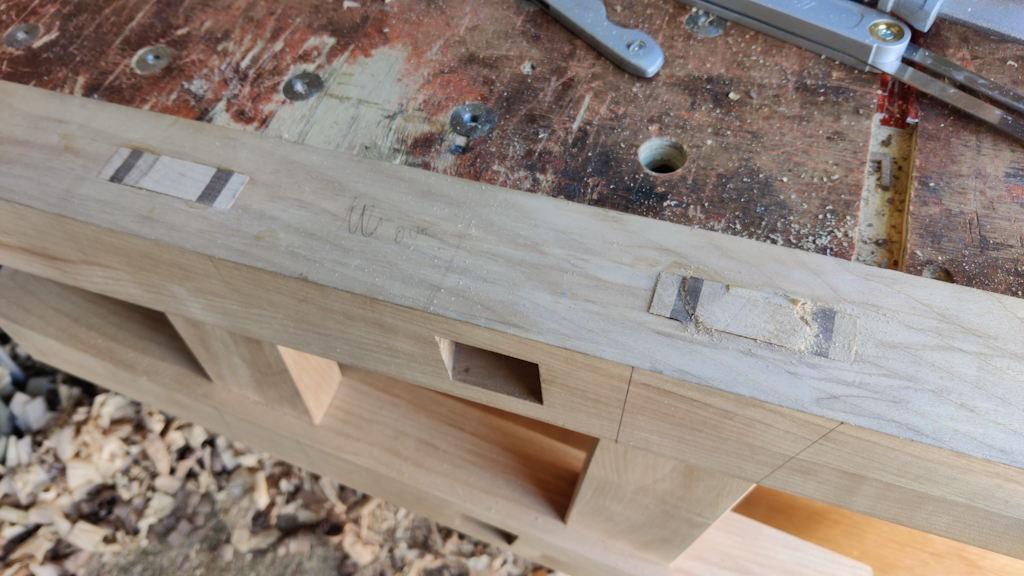
The masking tape is there so that the "flush-cut" saw runs a bit above the surface, but despite that it still dug in sub-flush on the first one, so I taped some steel rules down as a spacer for the remaining three. I've never got the hang of getting anywhere close to a level finish with that saw. This is what it looked like after sawing (coming in from multiple angles to minimise the damage/mess):
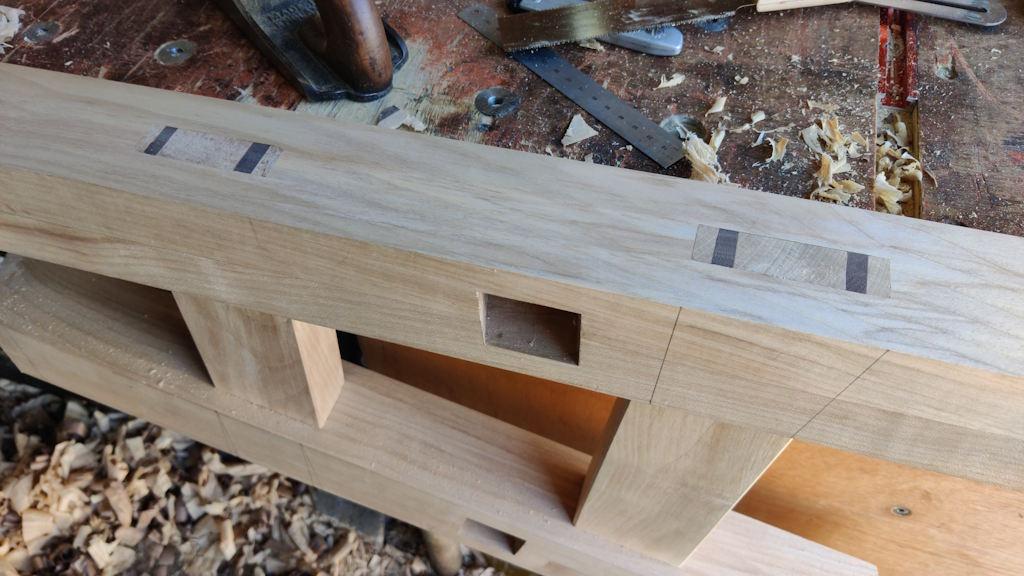
Thankfully, a #4 sorted out the mess nicely, even though I had to plane off more than I planned to get down beneath the bit where the flush-cut saw had gone sub-flush:
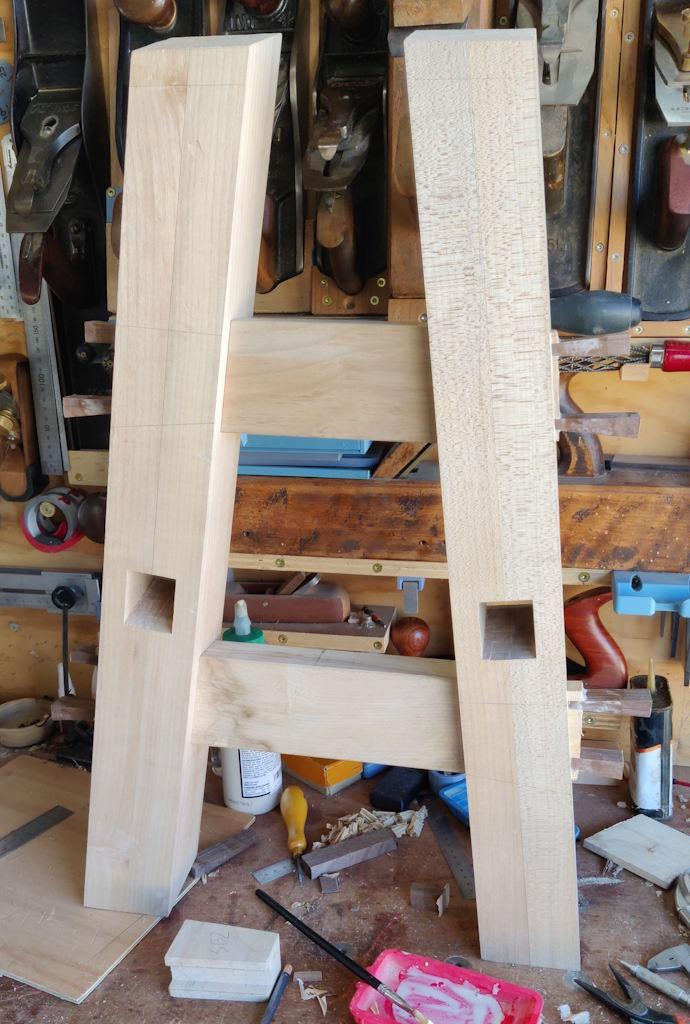
After that was done and I'd re-planed the now un-broken piece, I got on with the second frame, which I'm extremely pleased to say went together with no dramas:
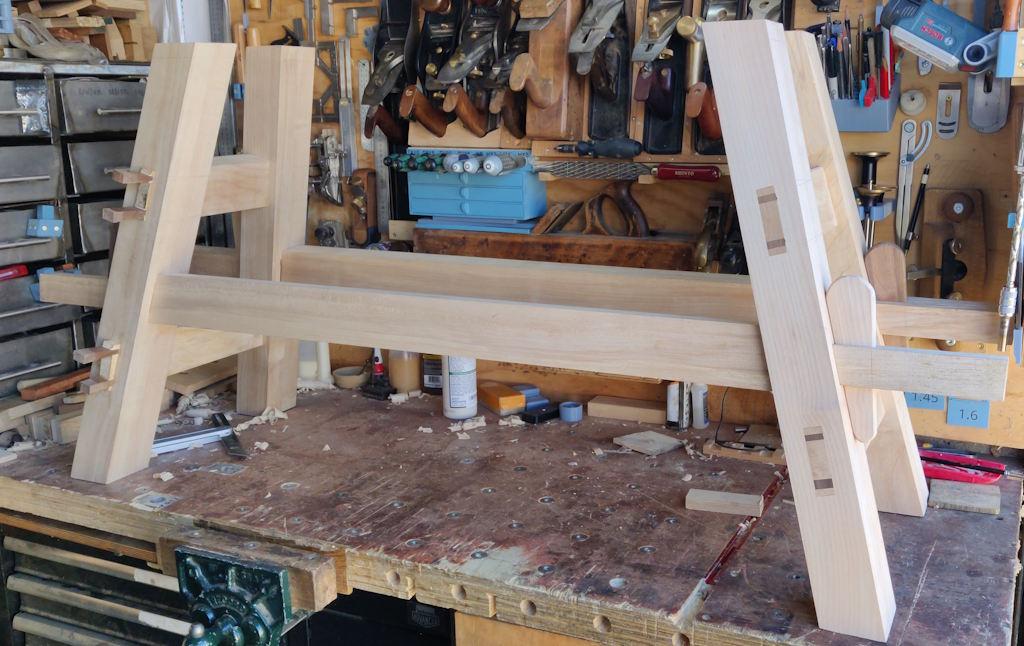
It's all left to dry now, but I figured it wouldn't be a bad thing for the glue to dry in the second frame with the whole (so far) assembly together:
Phew!
Page 30 of 38
This website is free and ad-free, but costs me money to run. If you'd like to support this site, please consider making a small donation or sending me a message to let me know what you liked or found useful.

 Return to main project page