
Desk-top Bookshelf Build Process
 Return to main project page
Page 6 of 10
Posted 5th July 2026
To give consistent shapes to the wedges and the ends of the tenons, I 3D-printed a couple of marking gauges and used them to pencil some curves onto the parts:
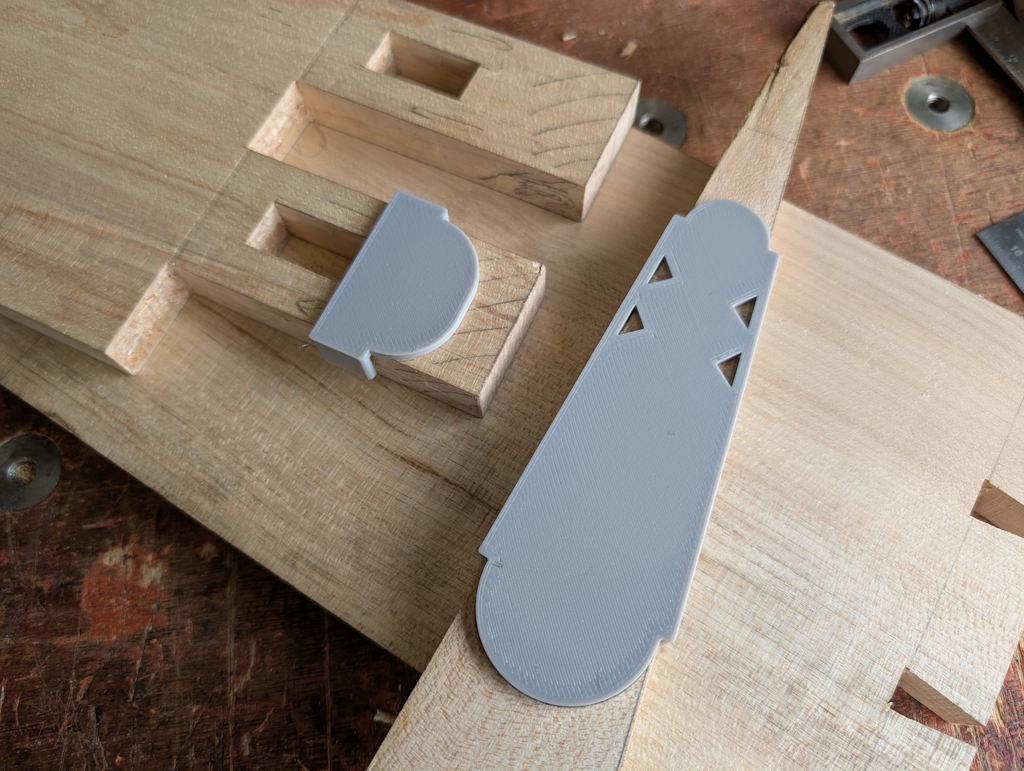
Those little arrows on the wedge marking guide are just there as a sanity check: the pencil lines I drew on the wedge (above and below the tenon) when in situ are visible through the arrow holes. As you can see, most of the wedge is going to be above the tenon, providing a bit of support against any twisting forces trying to open up the joint.
The bulk of the waste was removed with a cross-cut Dozuki:
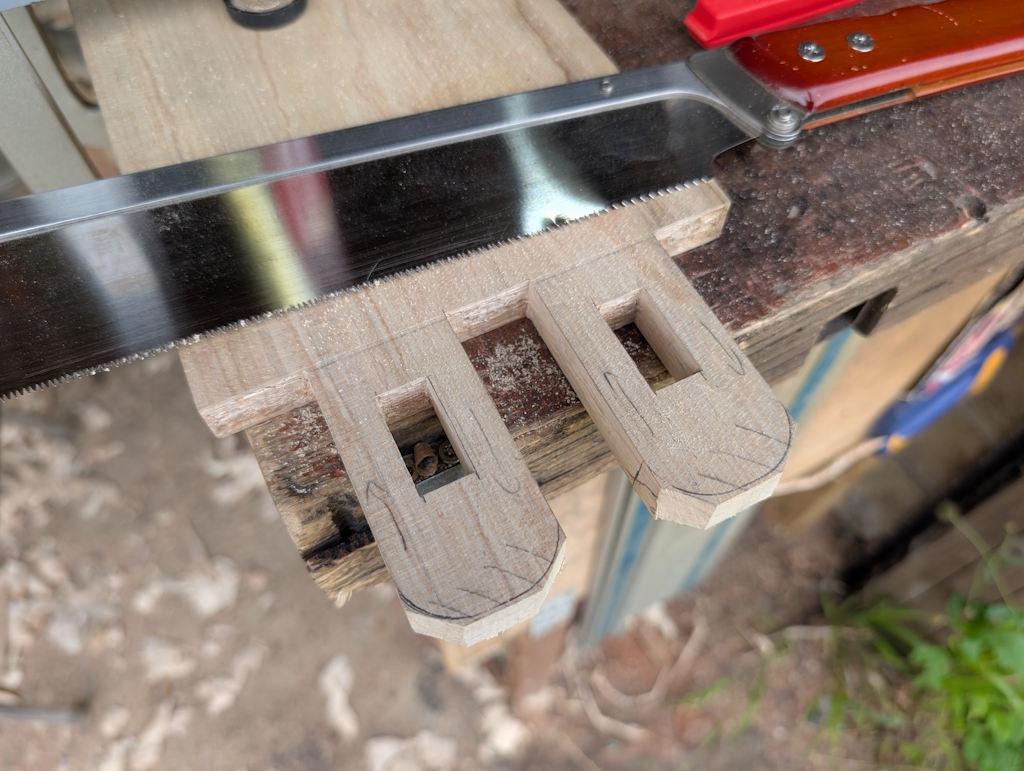
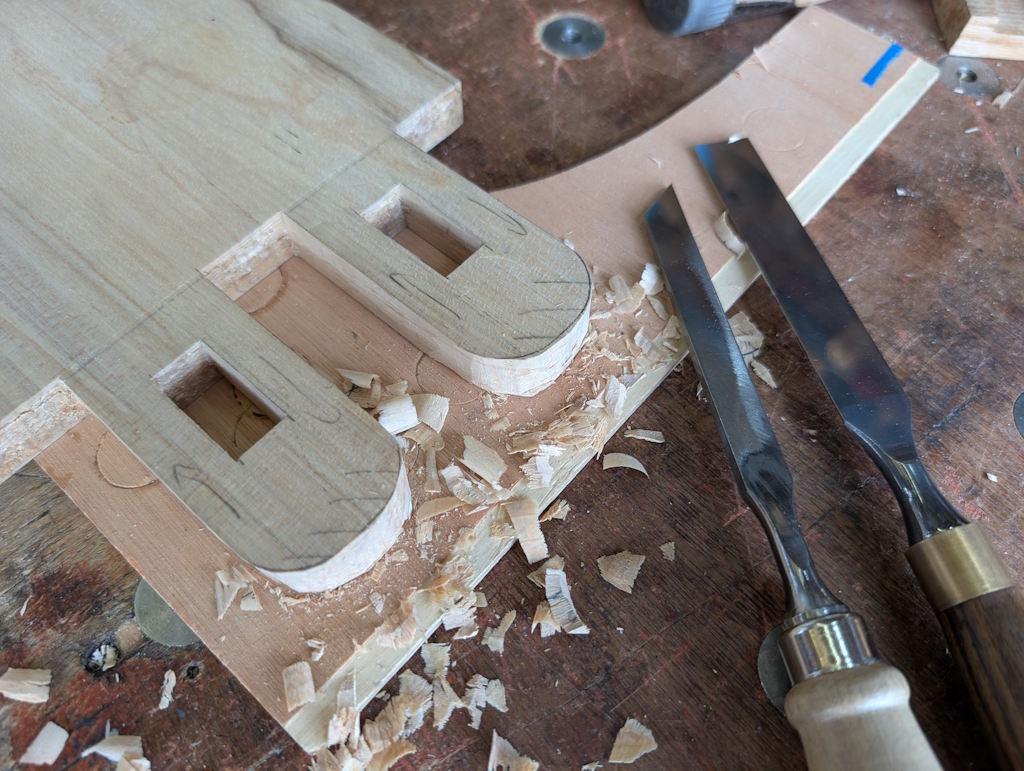
Shaping was done with a pair of chisels: a skewed one that got rid of most of the waste in a slicing action and then an 18 mm bevel-edge chisel to refine the shape:
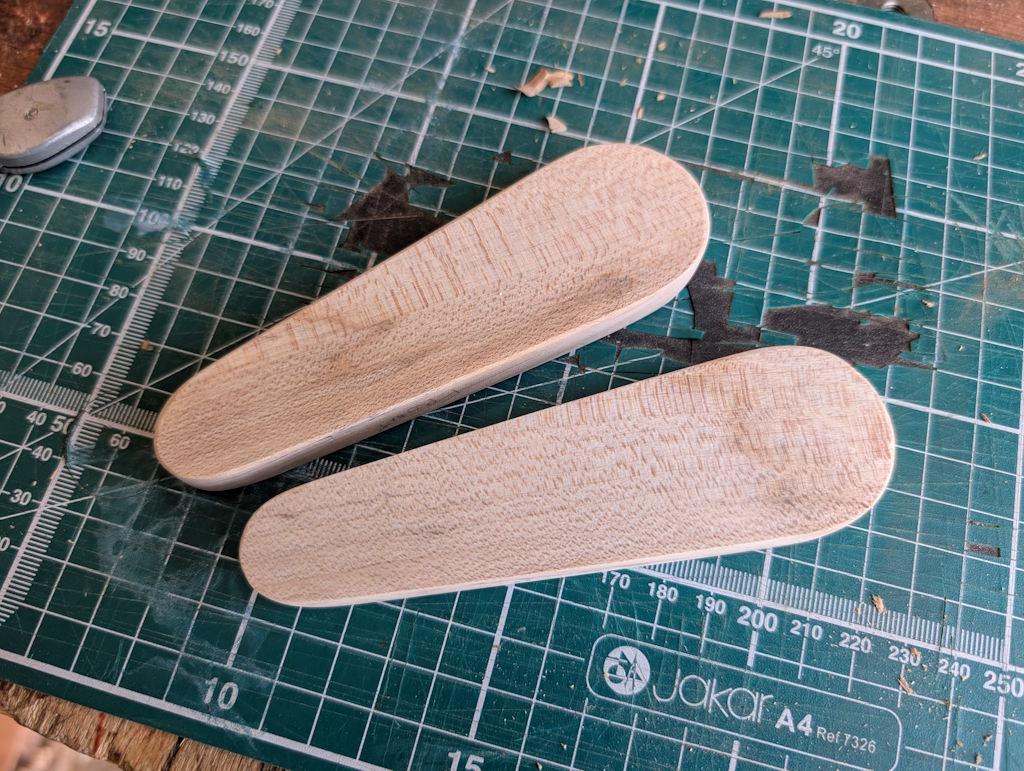
Two wedges complete:
It was now time to start thinking about assembling the first joint (the secret mitre dovetail). I'll do the joints one at a time so I can plane the face of the pin board before inserting its tenons into their corresponding mortices. Before assembling the first joint, I gave the inside faces a very light go over with a finely set smoothing plane:
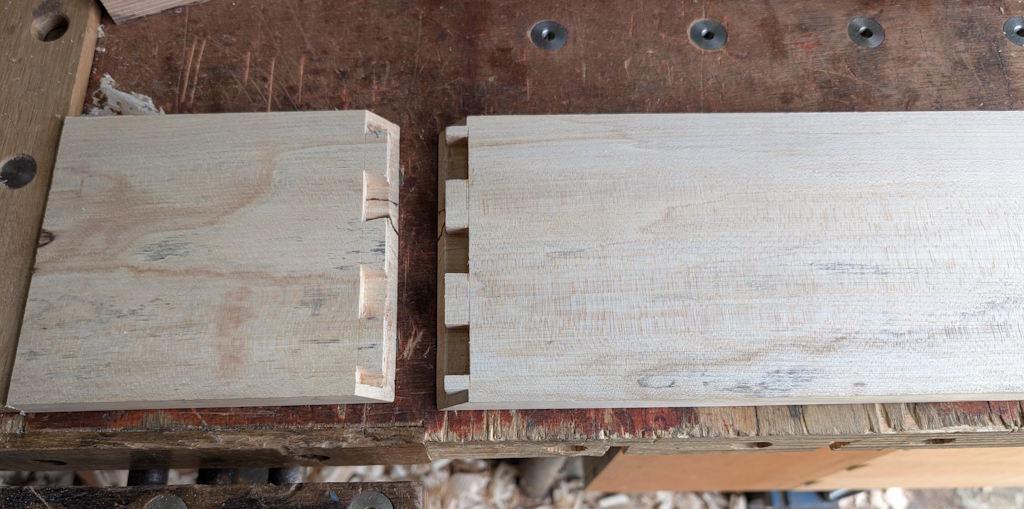
I thought it was a good idea to take a photo of the inside of the joint as it'll be completely invisible (hopefully!) when assembled:
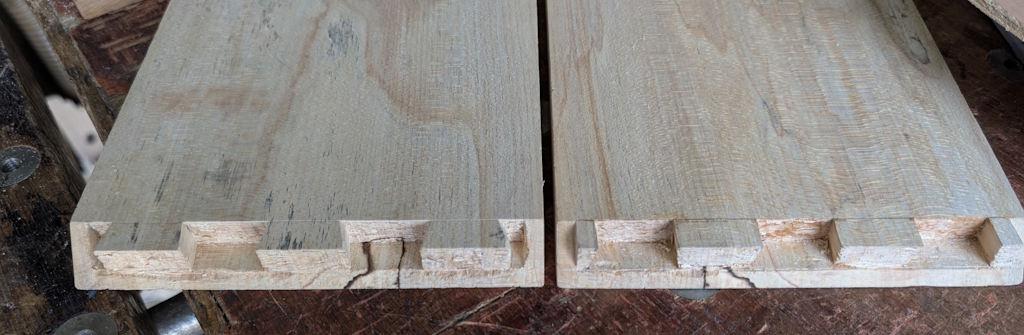
I made a pair of clamping blocks out of a bit of 23 mm plywood I picked up at the Bristol Wood Recycling Project. An angle was cut at 45° with the tracksaw and then a straight cut separated the second block:
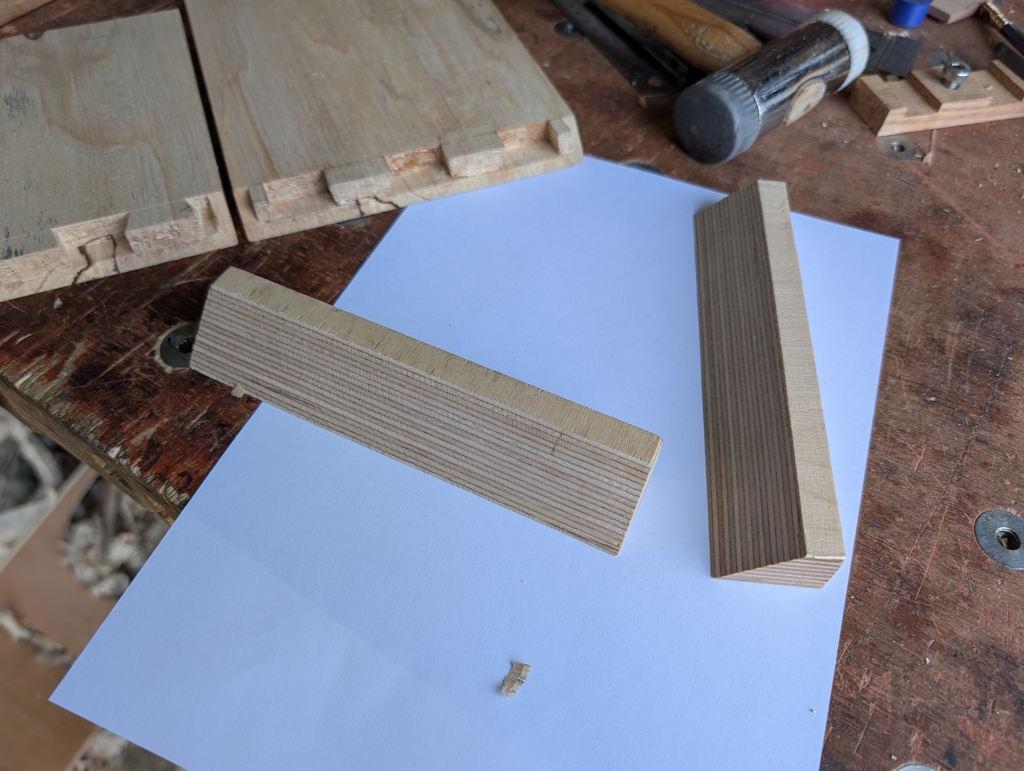
David Charlesworth made his clamping blocks out of the same wood as the joint, but his pieces were quite a bit thicker than mine and I figured a larger surface for the clamp to bear on would be a good thing. A quick drawing (in CAD) confirmed that the line joining the middle of those two 45° surfaces should go through the centre of the mitre joint.
David Charlesworth glued his clamping blocks directly onto the work-pieces and then removed them after the glue up by bandsawing the bulk away and then planing the remainder. I decided to try a technique (often used in woodturning as I understand it) for attaching temporary blocks using paper and glue (with the idea being that the clean-up is easier). I sent a message to a woodworking forum member who had previously suggested the technique to me when I was turning a few bowls. He kindly sent me a quick write-up describing the process. Hopefully I've followed his instructions correctly!
I started by cutting a couple of pieces of (90 gsm as that's what I had) printer paper to match the size of the clamping blocks. Initially, I tried applying some (Titebond 1) glue to the paper but the paper disintegrated so I cut a new piece out, applied the glue to the plywood and then stuck the paper to it.
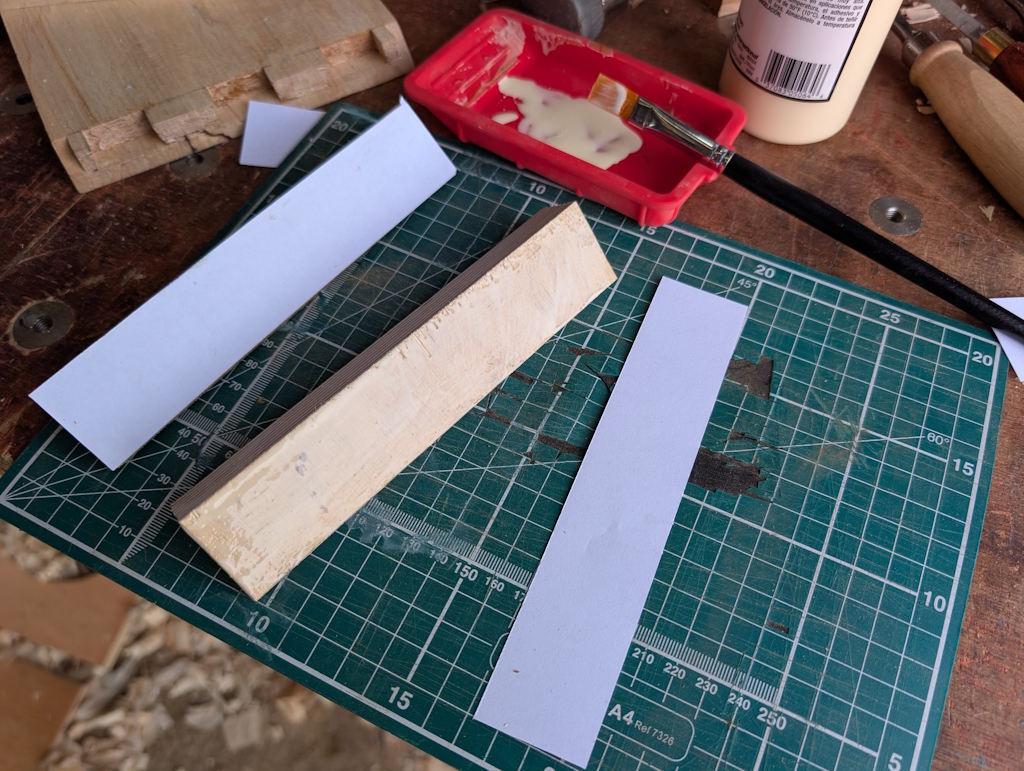
I then applied another coat of glue to the paper (which coped much better with the wood backing) and then applied it to the Sycamore work pieces, leaving a few millimetres from the tip of the mitre so that joint can be seen when doing the final glue-up.
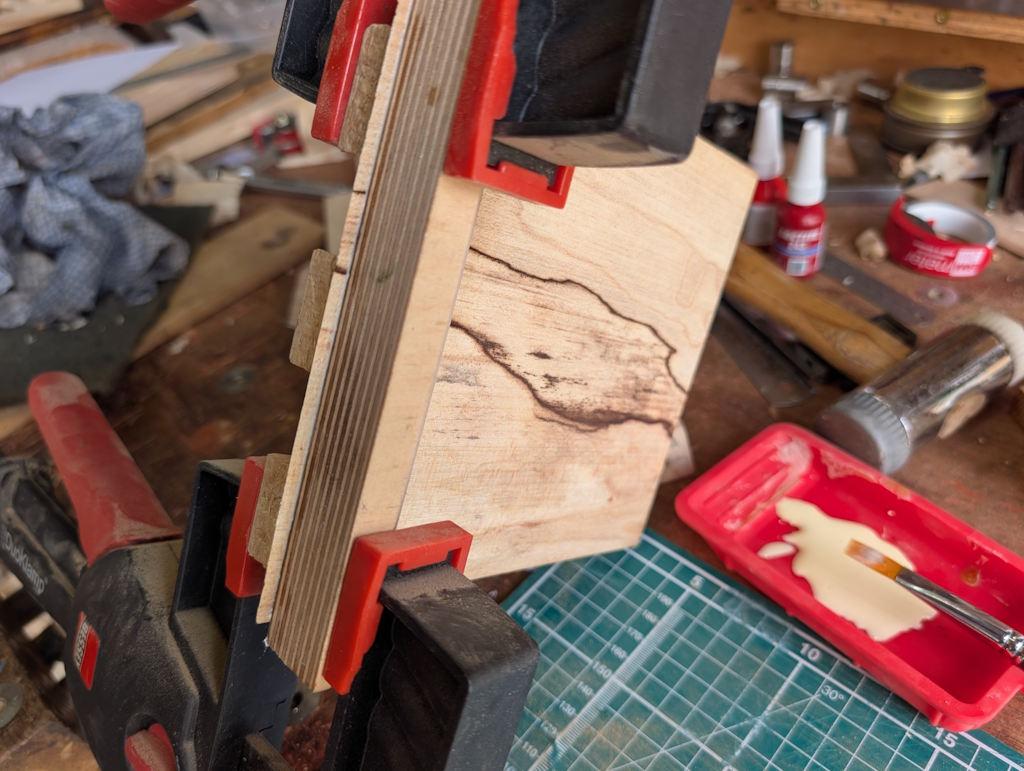
After leaving the glue to dry for a few hours, I decided to do another dry fit and see whether the clamps would close up the gap. Looks promising to me::
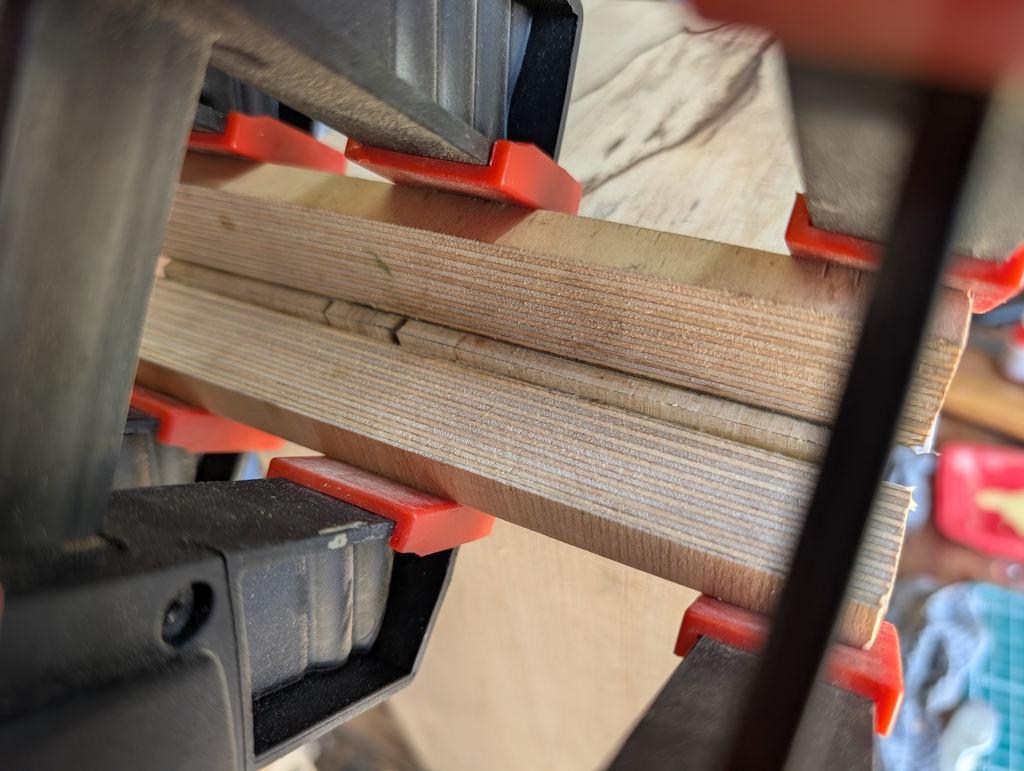
With all that done, there was nothing for it but to get on with gluing the joint together. I assembled the bits needed, some of which are in this photo:
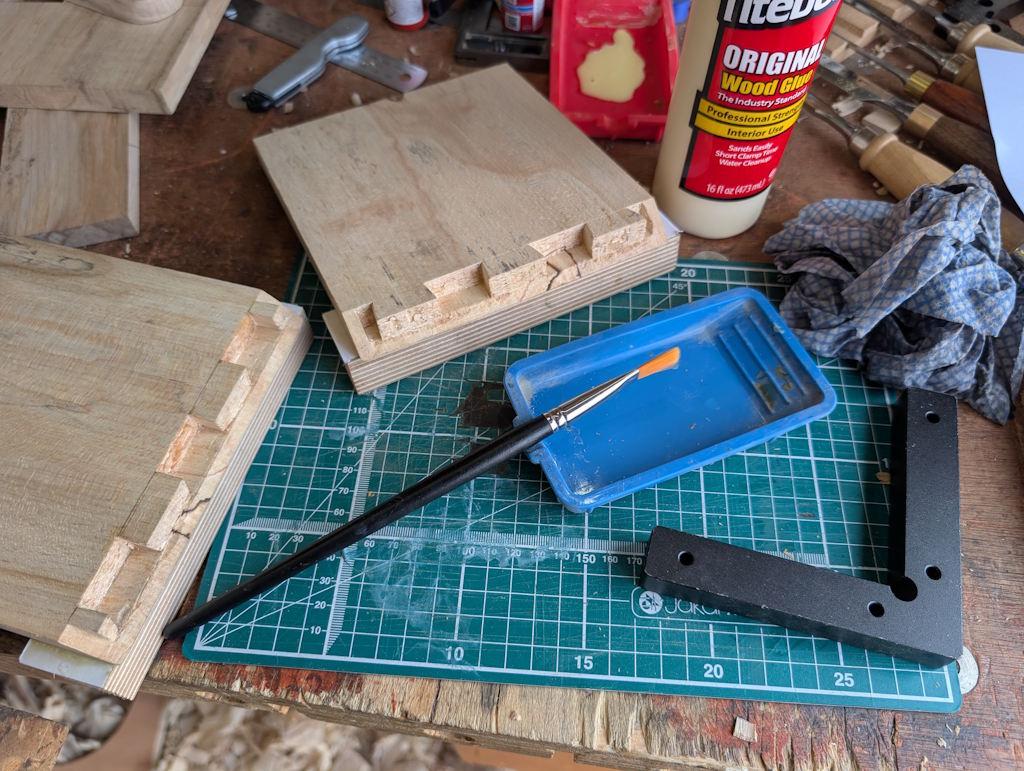
Glue got applied to the sides of the tails and pins and to the mitre surfaces. As with other types of dovetail, I didn't bother applying glue to any of the bits of the joint that would be end-grain on face-grain.
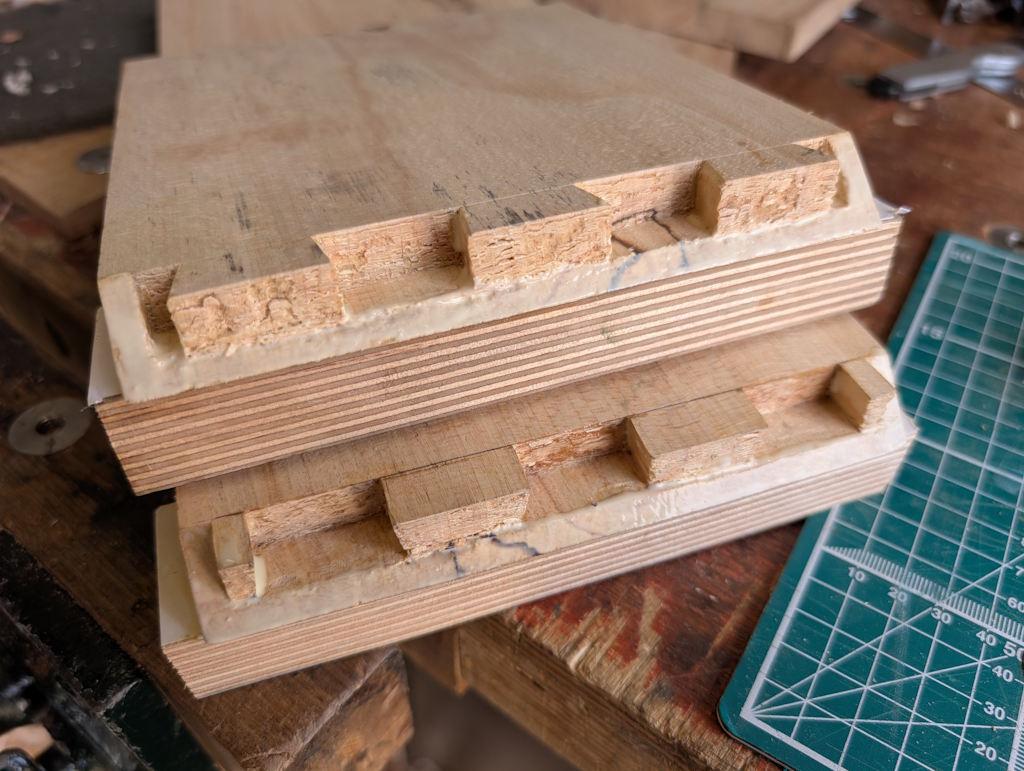
After gently tapping the joint home, I fitted four small F-clamps:
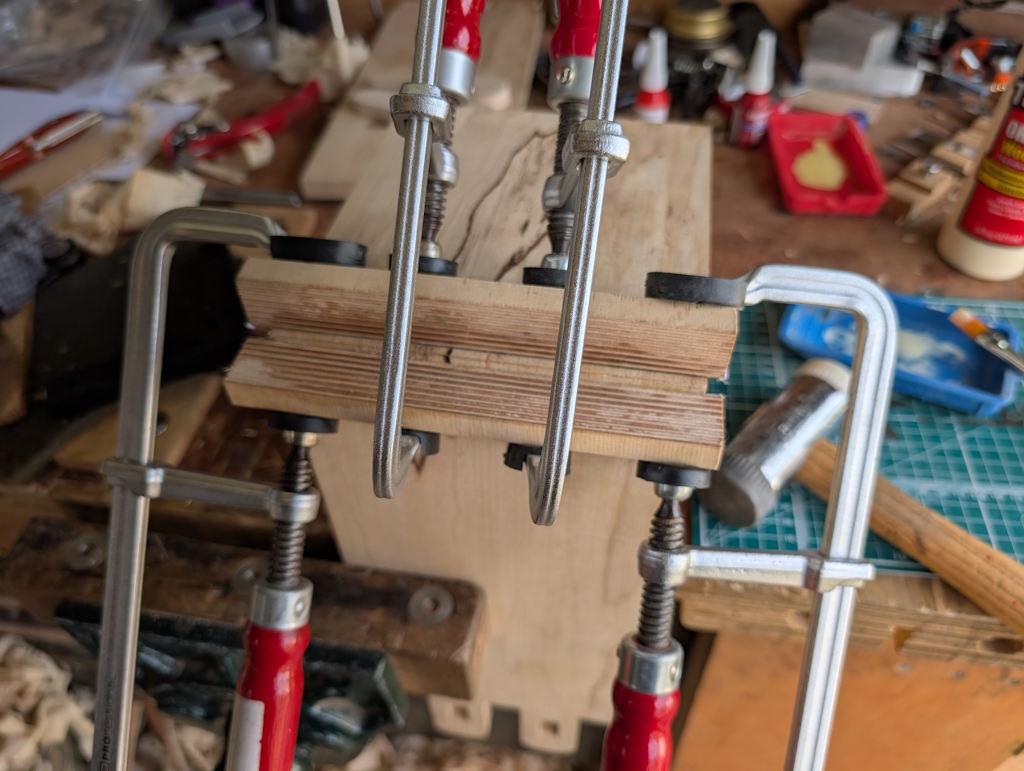
By moving the F-clamps further towards the tip (i.e. into the camera in that photo), the joint can be opened up (i.e. it increases the included angle). Alternatively, moving them further away from the camera and tightening them reduces the included angle. By that means you can tweak the fit until it is a perfect 90°.
Once it was set at 90° and the four clamps were firm, I clamped a couple of right-angle blocks in place to make sure it stayed at that angle:
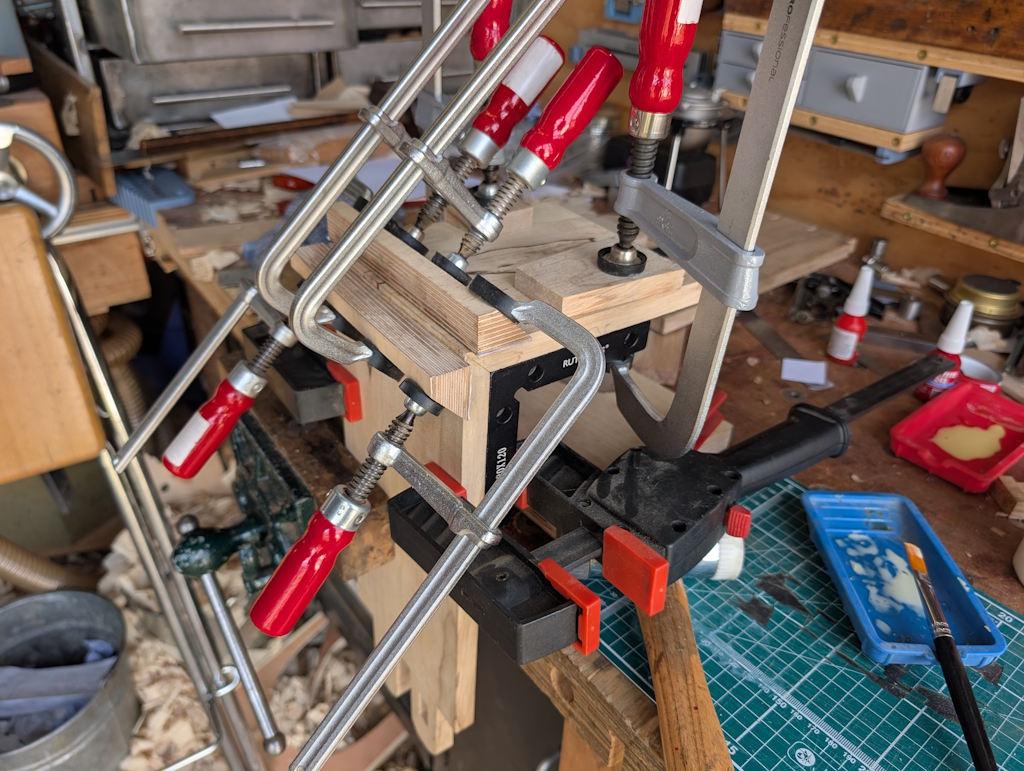
That's all I can do for now (which is probably a good thing given the temperature of the workshop). When the clamps come off and I remove the clamping blocks and clean up the outside surfaces we'll get to see how the joint turned out. Wish me luck!
Page 6 of 10
This website is free and ad-free, but costs me money to run. If you'd like to support this site, please consider making a small donation or sending me a message to let me know what you liked or found useful.