Side Table
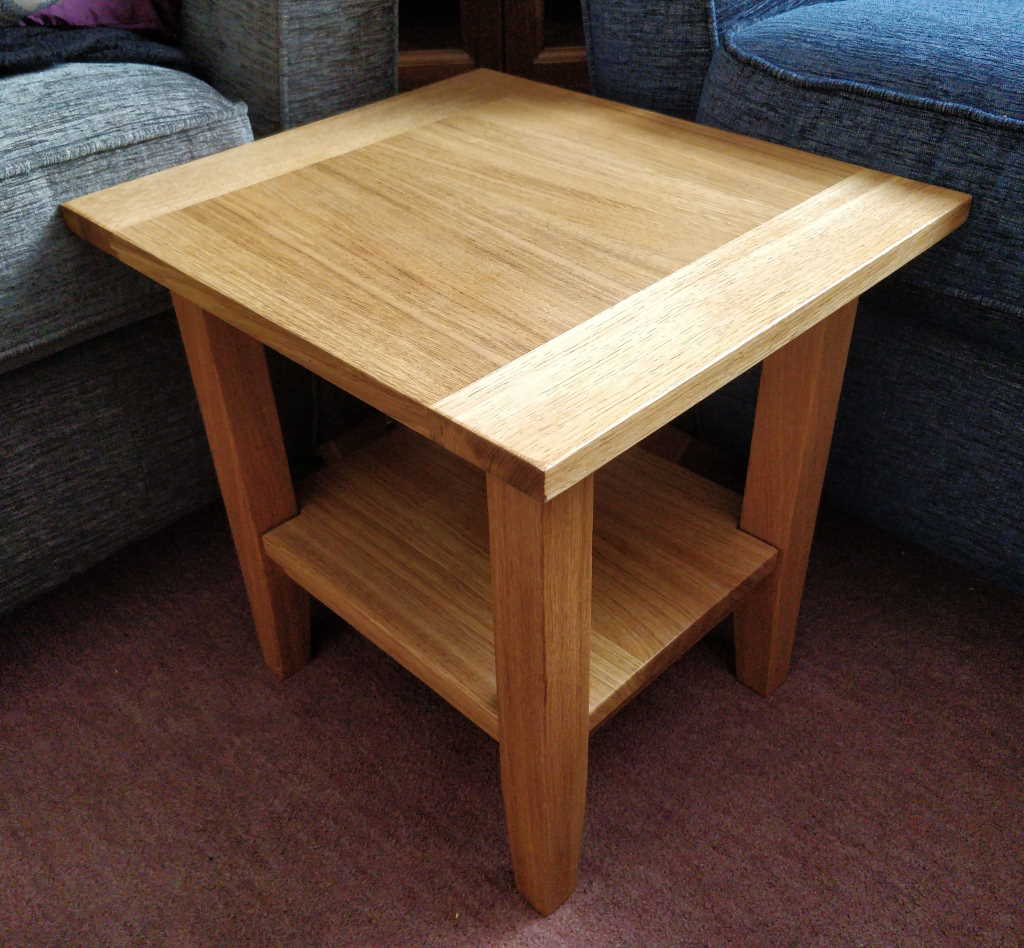
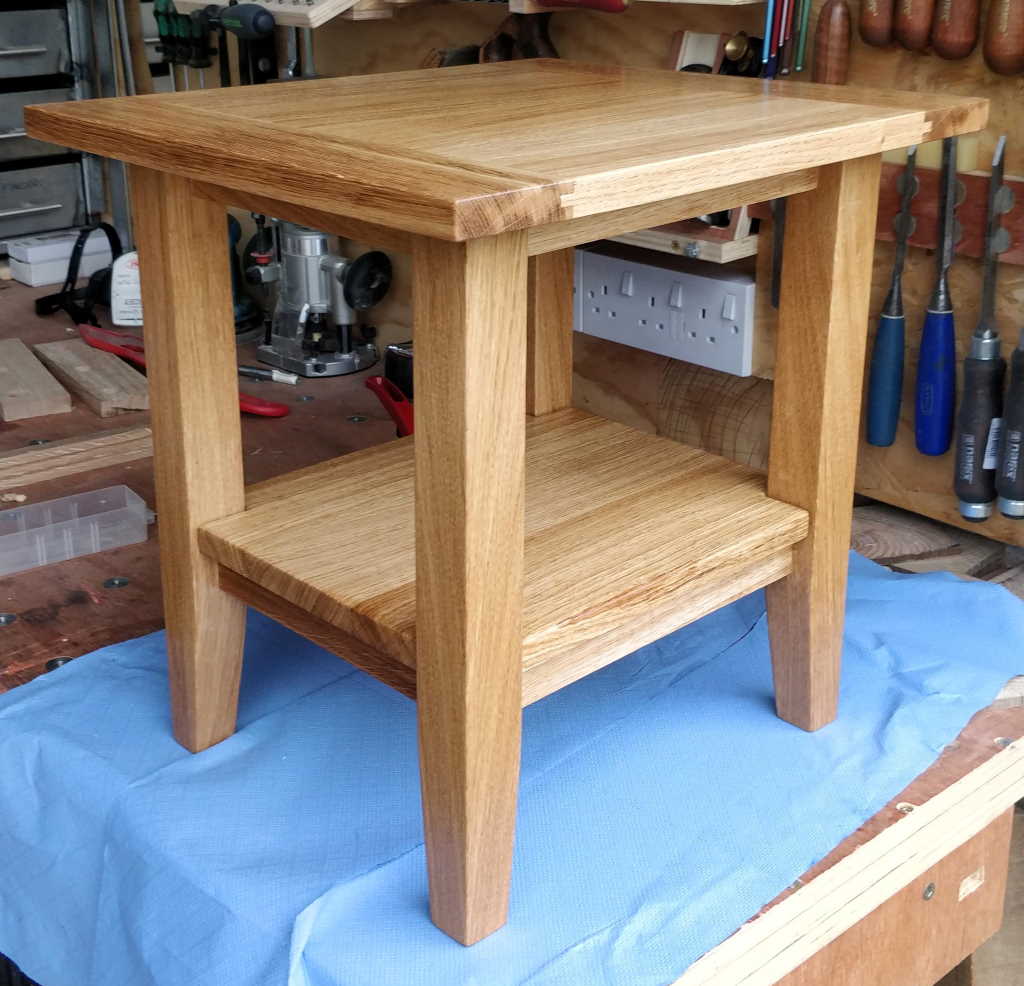
This was my first ever proper woodworking project. By "proper", I mean this was the first project in which I'd ever cut hardwood (oak in this case), the first time I'd ever done any hand-cut joinery and the first thing I'd made anything with wood that wasn't simply functional (like hidden DIY carpentry).
It's a small side table, designed to replace a cheap Ikea pine table that we'd had for many years. It was made out of PAR (planed-all-round) oak as at the time I didn't have a thicknesser and didn't feel confident enough to hand plane and thickness rough-sawn oak consistently. I designed it using some 3D CAD software and posted pictures of the models on a forum. The other members of the forum offered lots of useful feedback and that helped me tweak the design.
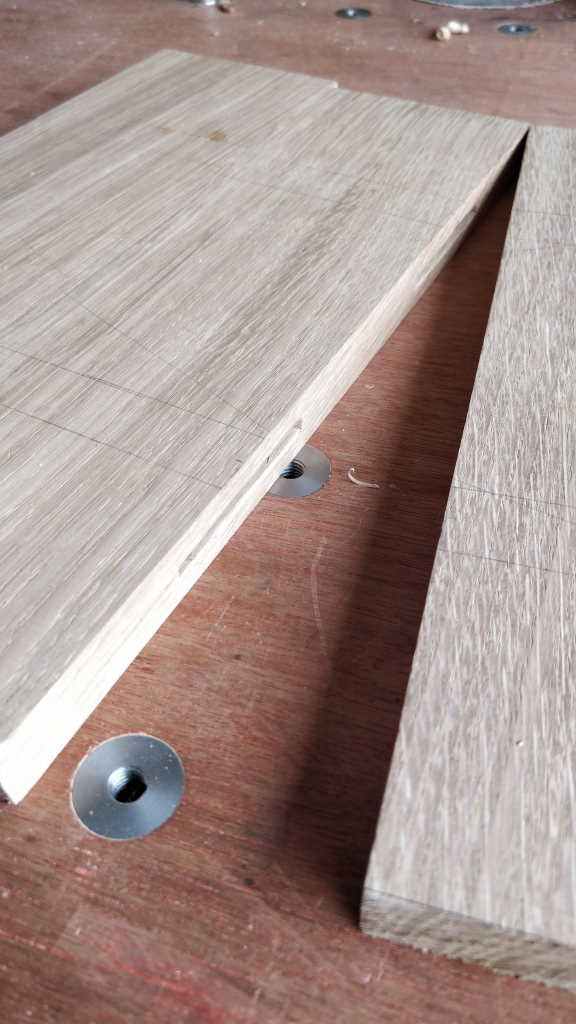
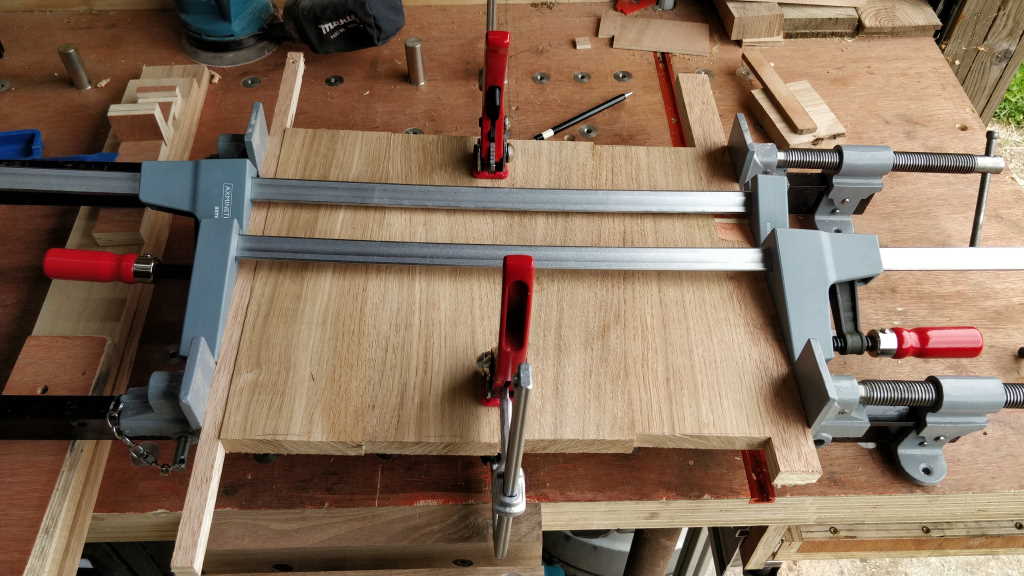
The table top was made using biscuits (the biscuit slots were cut with an electric router) to help ensure the planed top surface of all the pieces stayed at the same level.
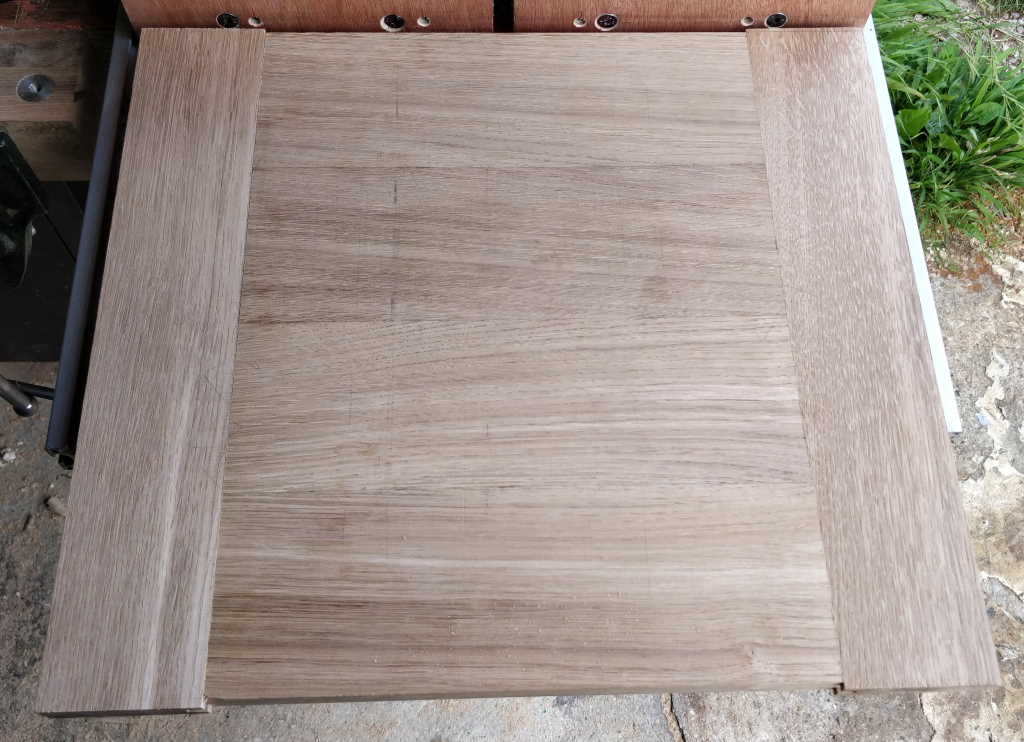
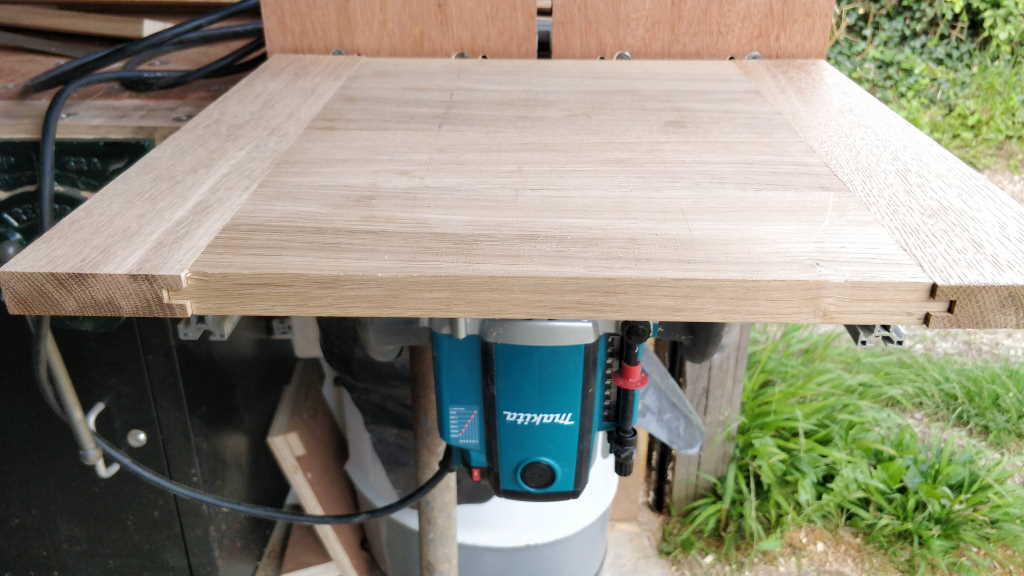
The table top has "breadboard ends" to cover most of the end-grain of the wood. When I made this project I didn't own a plough plane or a rebate plane, so I used my router table to cut the grooves.
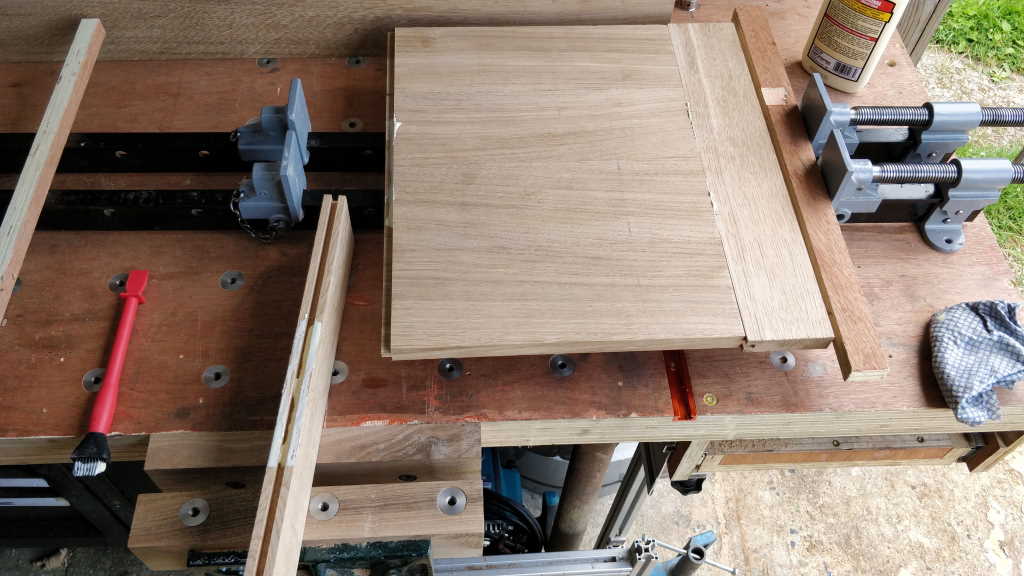
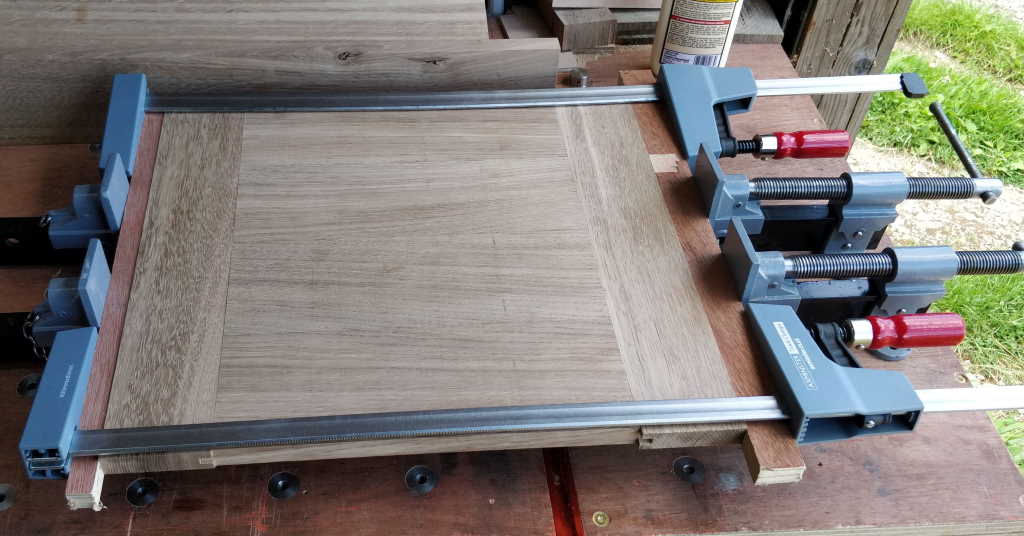
When gluing the breadboard ends in place, I only used a small amount of glue in the central part of the joint; this allows the wood to move as temperature and humidity changes.
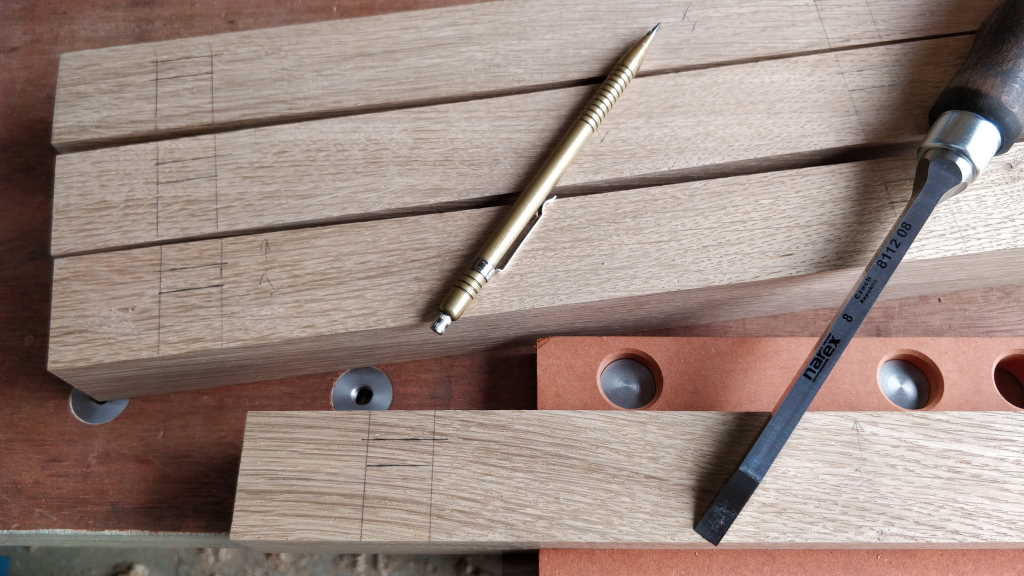
The mortice-and-tenon joints were hand cut - my first experience of hand-tool joinery! The mortices were marked out first, using my 8 mm mortice chisel as a size reference.
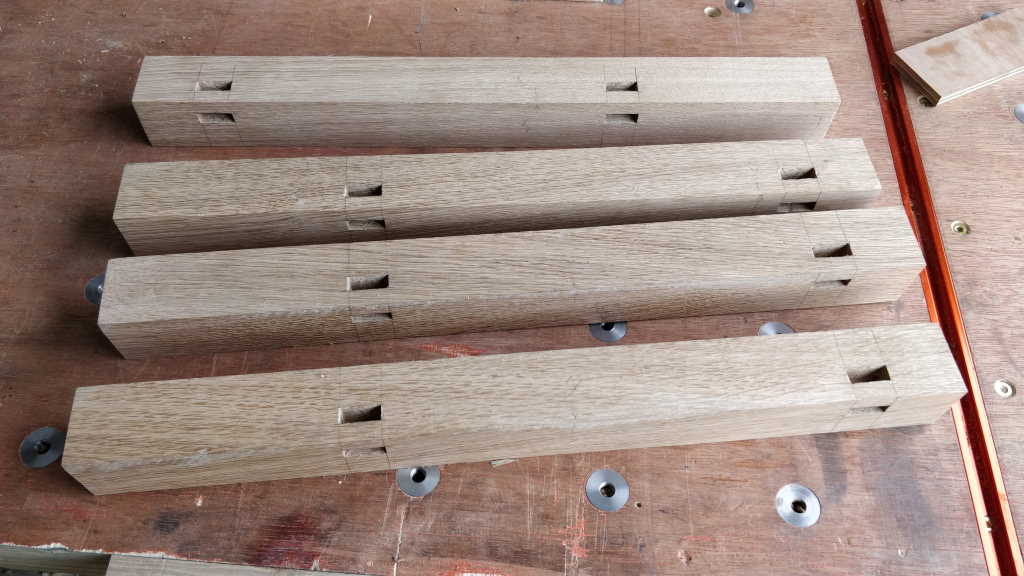
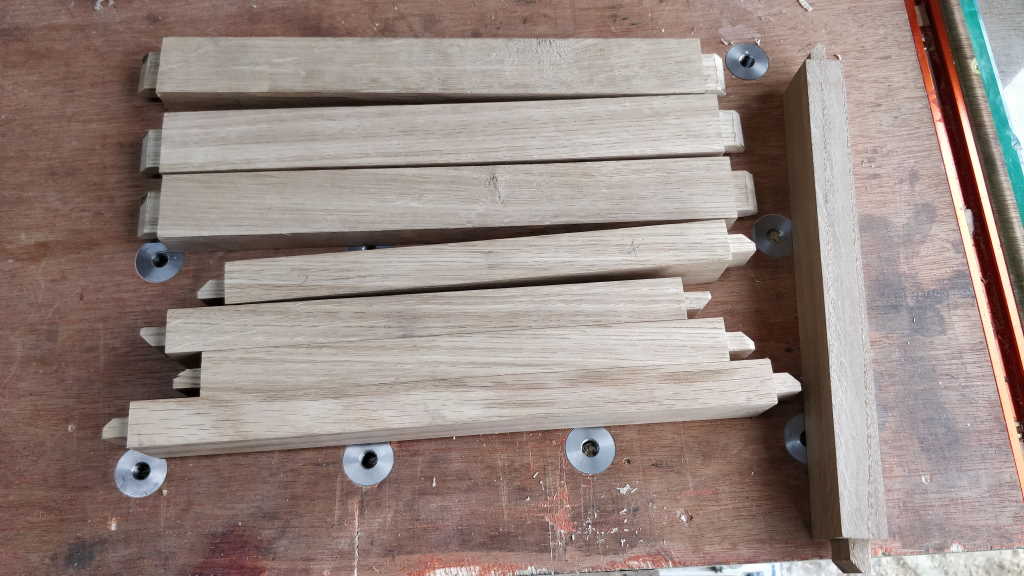
Here you can see the completed mortices and the tenons that go into them. I had to chamfer the ends of the tenons as otherwise they would interfere with one another when inserted into the mortices.
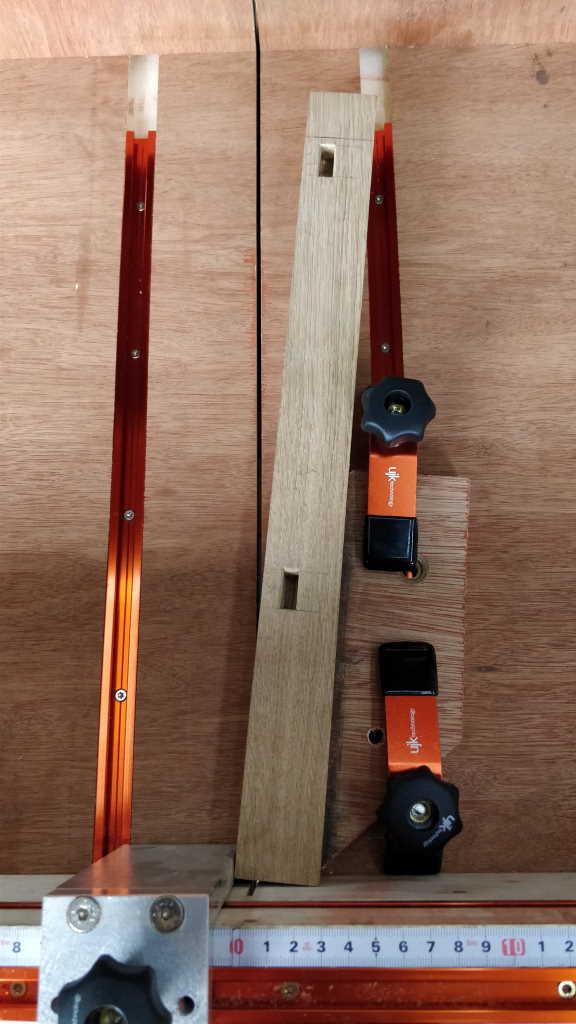
The bottom of the legs were tapered using my cross-cut sled. I used the T-track of the sled to clamp a block of wood at an angle and the stop to ensure the leg was held firmly. This enabled me to cut all the legs at a consistent setting. As a useful aside, the offcuts of this operation have been extremely useful as wedges when holding bent material level for planing on my router sled.
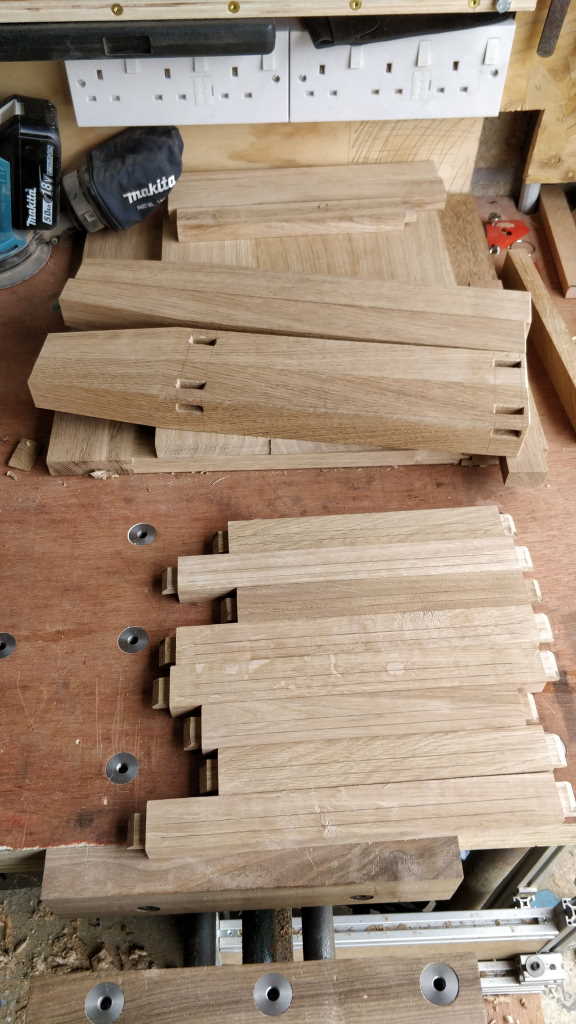
This photo shows all of the frame parts completed (apart from the mortices for the buttons that hold the top and shelf in place).
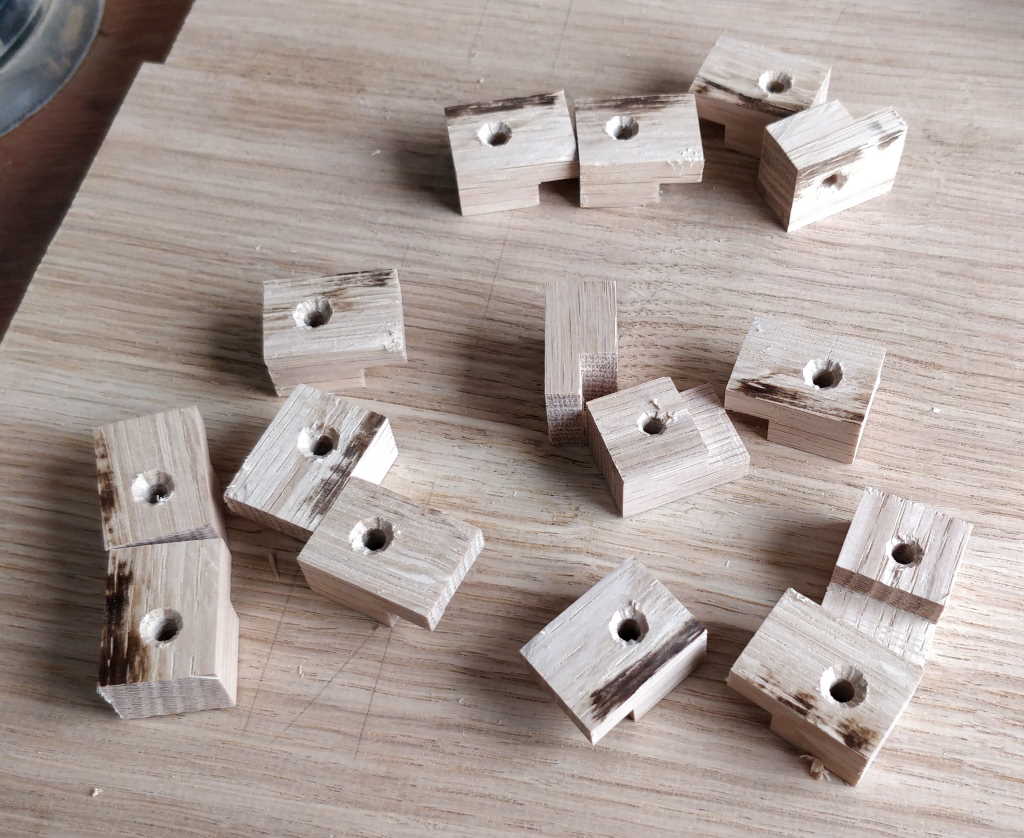
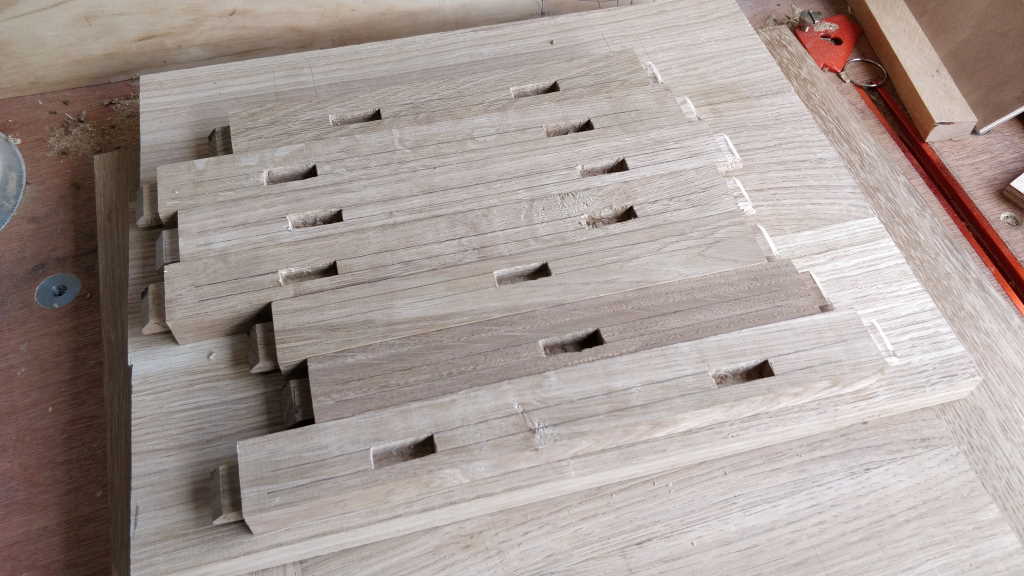
These photos show the buttons that hold the top in place and the slots (cut in the same was as the mortices for the frame joinery) into which they go.
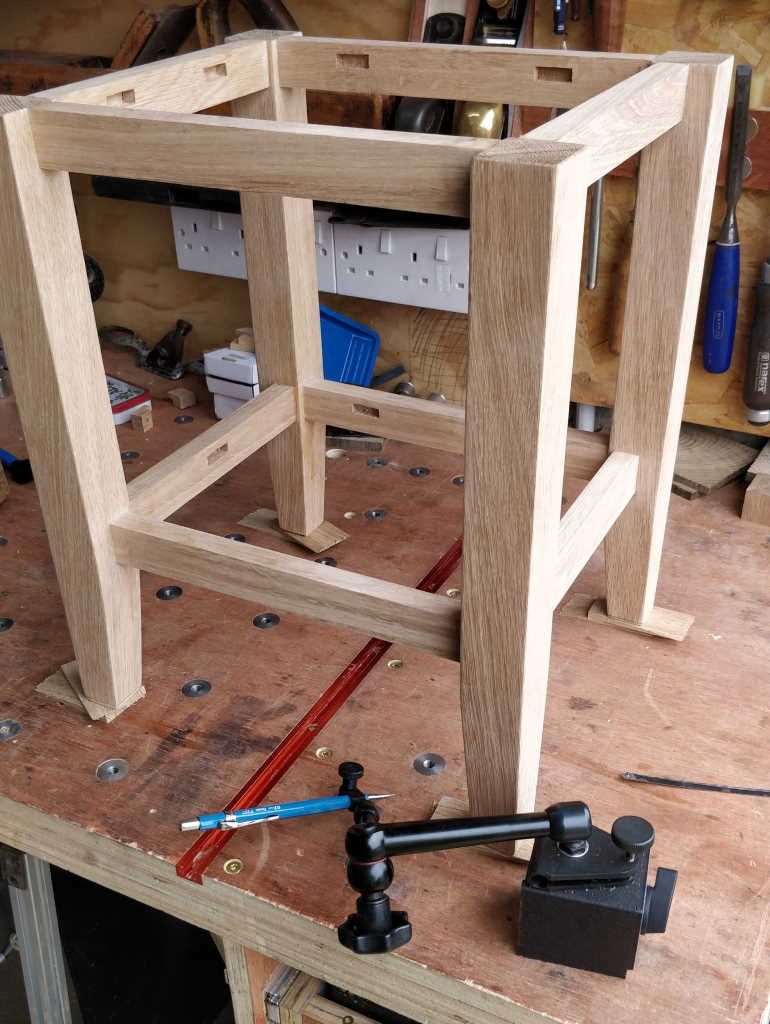
Once the table frame had been glued together, I used the wedge offcuts from tapering the legs to raise all four legs off the bench and adjust them until the table was sitting horizontally and not wobbling at all. I then used a pencil mounted in a DTI stand to draw a line around the bottom of each foot at the same level. I could then cut all four legs down around that line, which resulted in a table that sat level and stable.
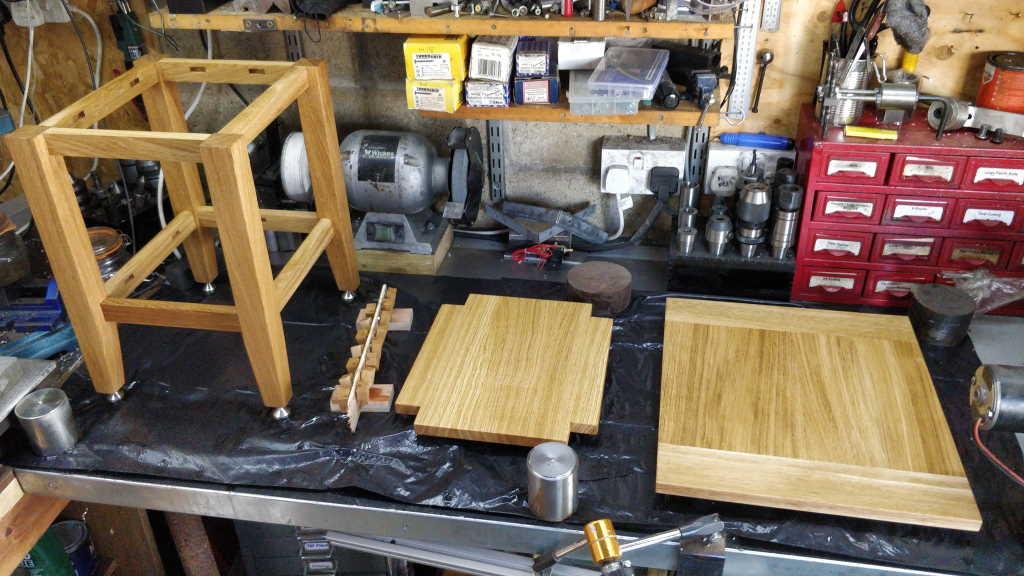
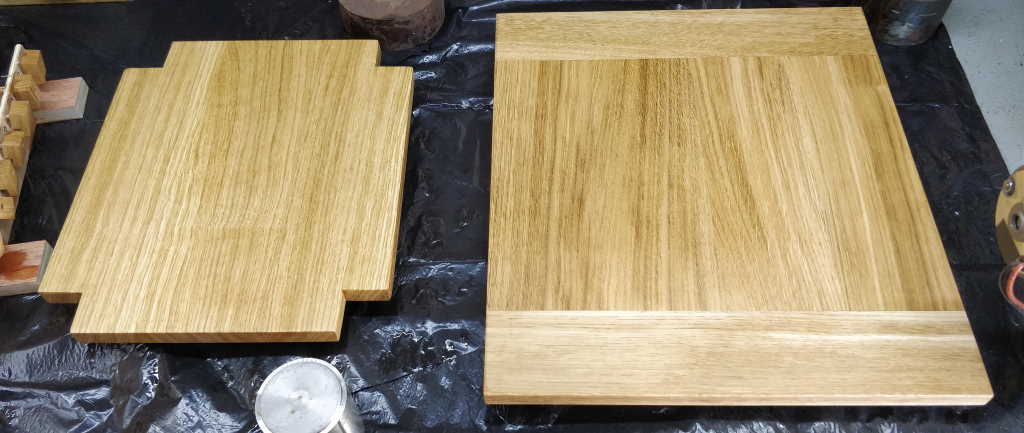
These photos shows all the parts after applying finish. The finish I used (as recommended by a forum member) was an equal-parts mixture of Tung oil, white spirit and varnish. It's extremely easy to apply: you brush or pour it on liberally (not worrying about pooling or dripping), leave it for 10 minutes and then wipe the excess off. Wiping the excess off can be done with paper towels: you don't have to worry about finding lint-free cloths or whatever. It is then left for 24 hours and rubbed down with fine-grade sandpaper or grey Scotchbrite and another coat applied. I applied five coats to this table and it has since had all sorts of hot and cold drinks (including coffee and red wine) spilled on it and has survived unscathed. I generally hate finishing (whether it be paint, lacquer, oil or whatever), but this is much less unpleasant to apply than most processes I've tried.
This website is free and ad-free, but costs me money to run. If you'd like to support this site, please consider making a small donation or sending me a message to let me know what you liked or found useful.
