Garden Table Build Process
Page 19 of 38
Posted 5th May 2025
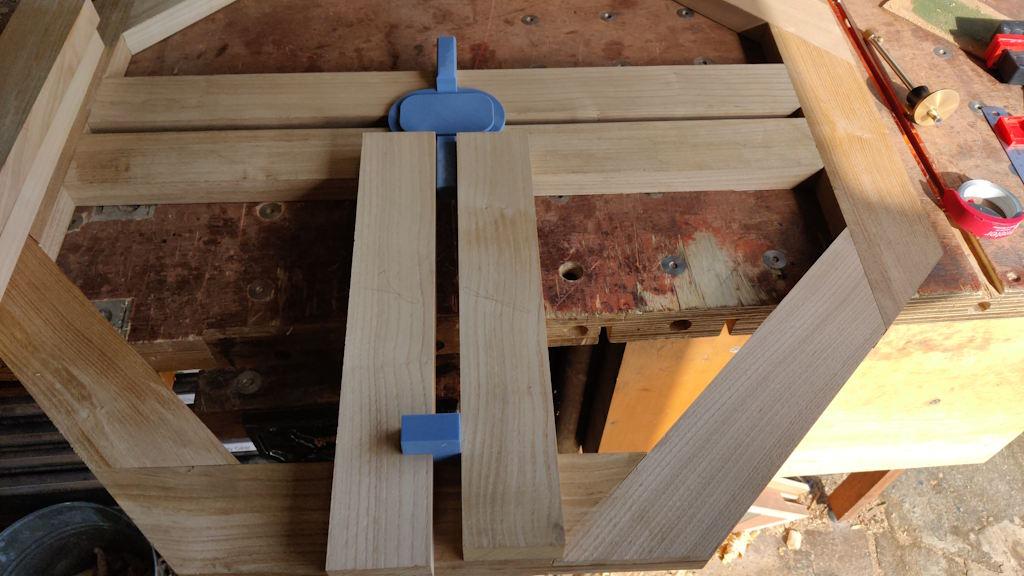
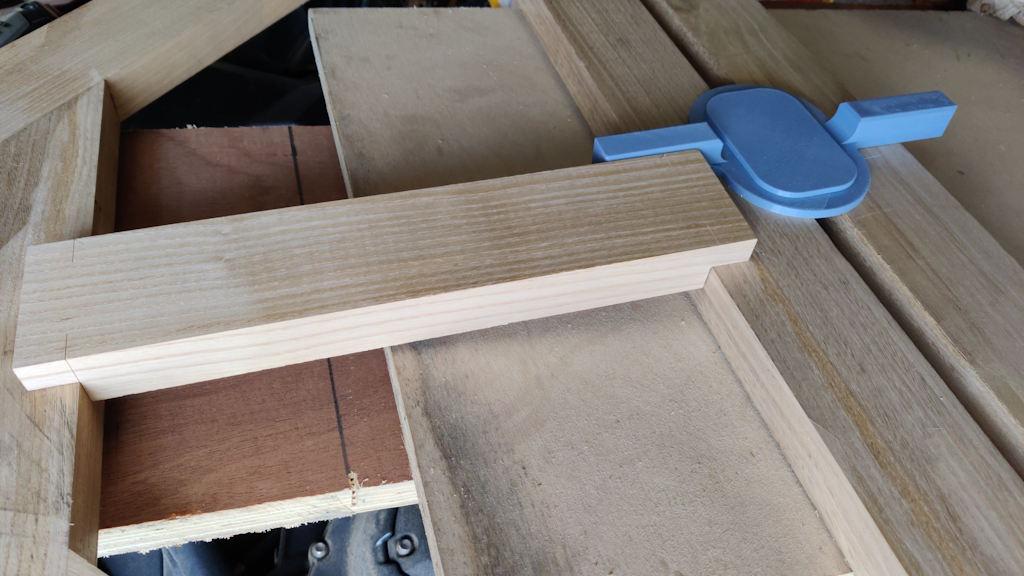
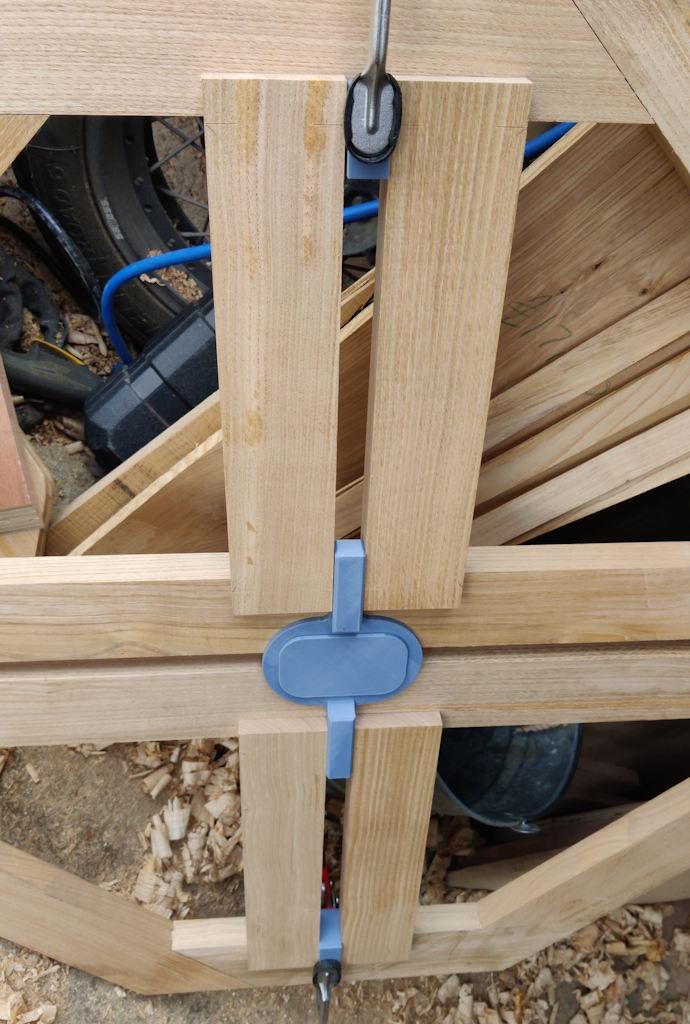
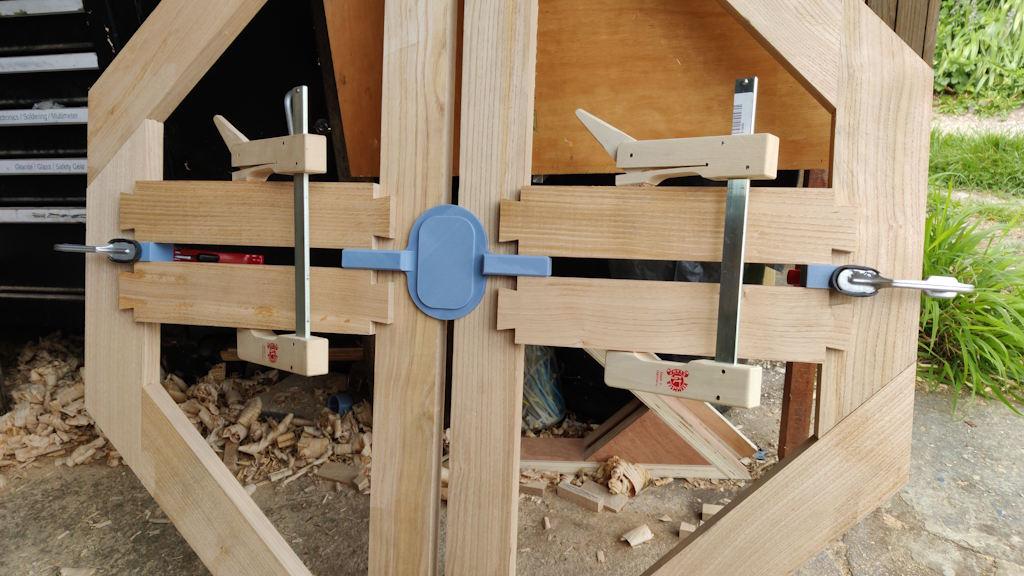
While still pondering the dovetail shape for the angled pieces, I thought I'd get on with the simpler ones. Overnight, I 3D-printed a little guide to help make sure the central slats would be evenly spaced around the central hole. The guide peg is circular but with some bits sticking out the side (imagine the London Underground logo): the circular part fits in the parasol hole; the bits sticking out the side ensures it stays square with the gap between the cross-bars. It then has a block that is sized to hopefully result in the slats being evenly spaced; I also printed a few simpler blocks with the (hopefully) correct spacing to help align the outer edge:
With those in place, I could clamp the planks to the table and mark the shoulder position with a knife. I could then transfer that line most of the way around each edge, just leaving a bit of a gap on the face that would end up on the underside of the table:
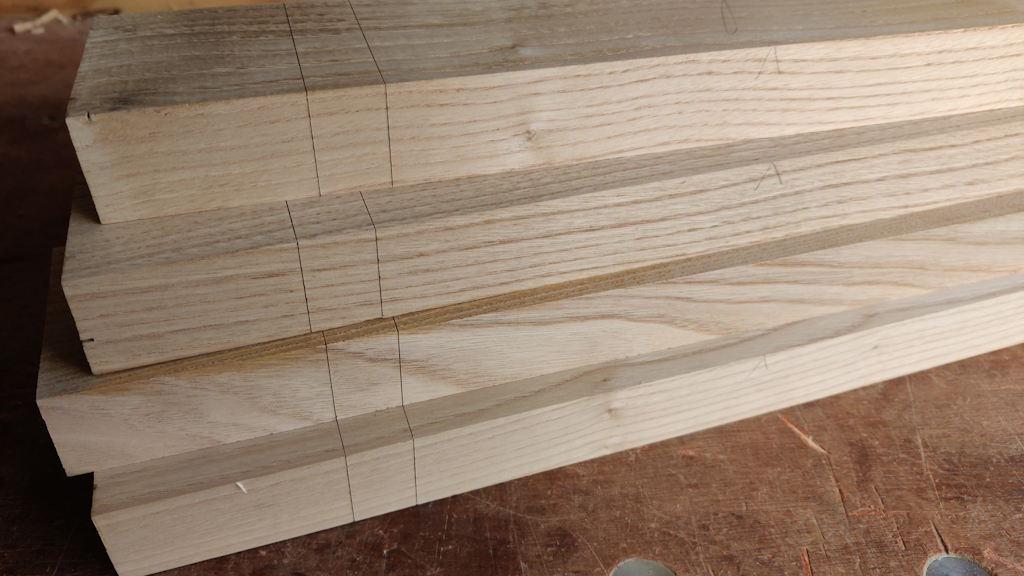
A steel rule was used to mark a position about 20 mm out from those knife lines (for the end of the dovetail) and that was also knifed all the way around (on both ends of the board):
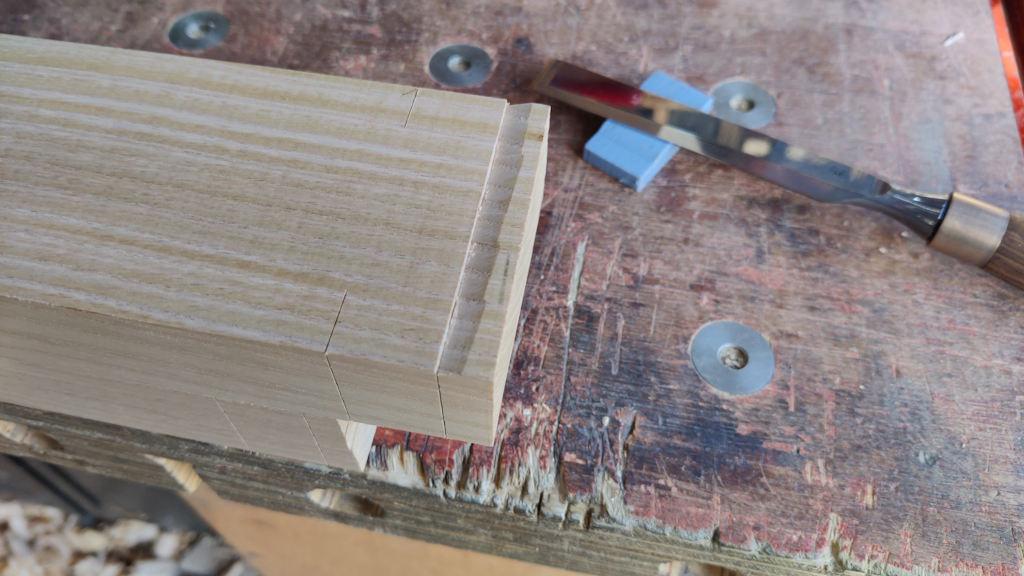
On the first board, I created a knife wall with a chisel...
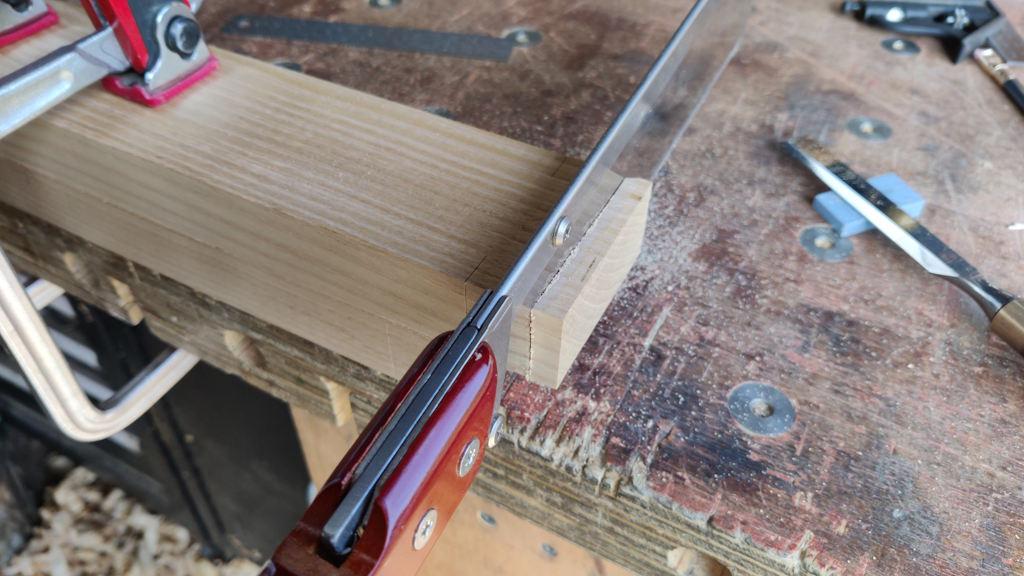
... and then sawed in the knife wall directly, figuring that the position didn't need to be super accurate (as I'd be cutting the slot to match) so I might as well saw straight to the line::
However, that left a little bit that needed to be pared away (as the saw hadn't cut quite to the knife line) so on the subsequent ones I just sawed to (roughly) the knife line and then gave each board a few passes on the shooting board to square up the ends. Only a relatively small proportion of the end needs to be square, but the shooting board seemed to me to be the quickest way to give a nice reference surface.
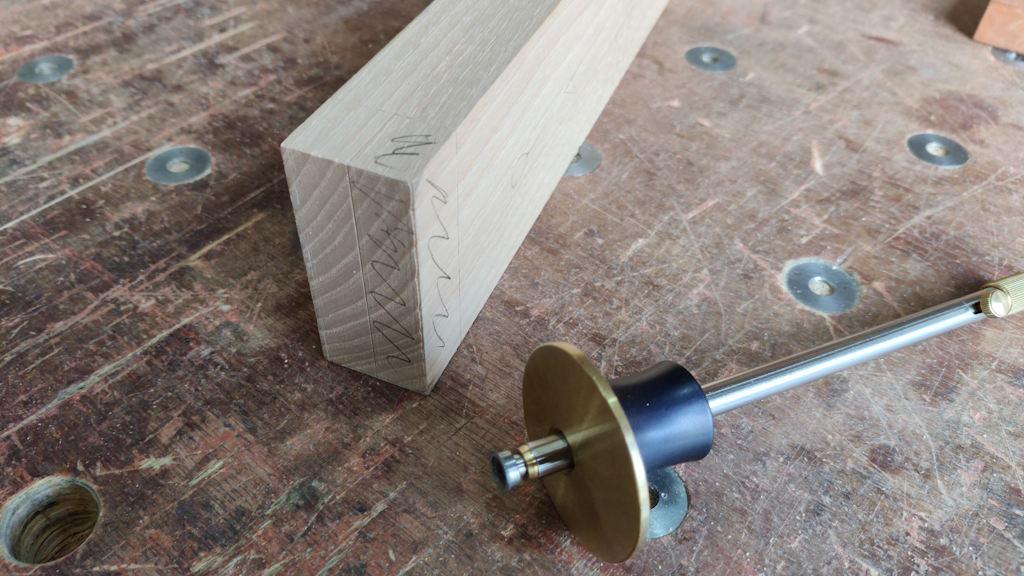
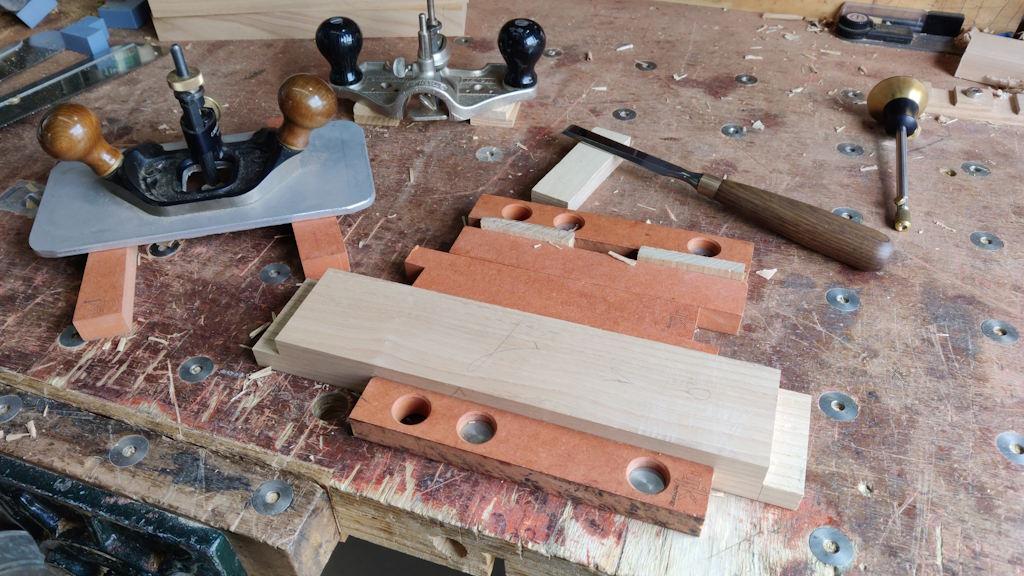
I set up a marking gauge for the depth of the lap joint and, while I was at it, I also set up one of my router planes to be cutting in that marking gauge line when referenced off the face side.
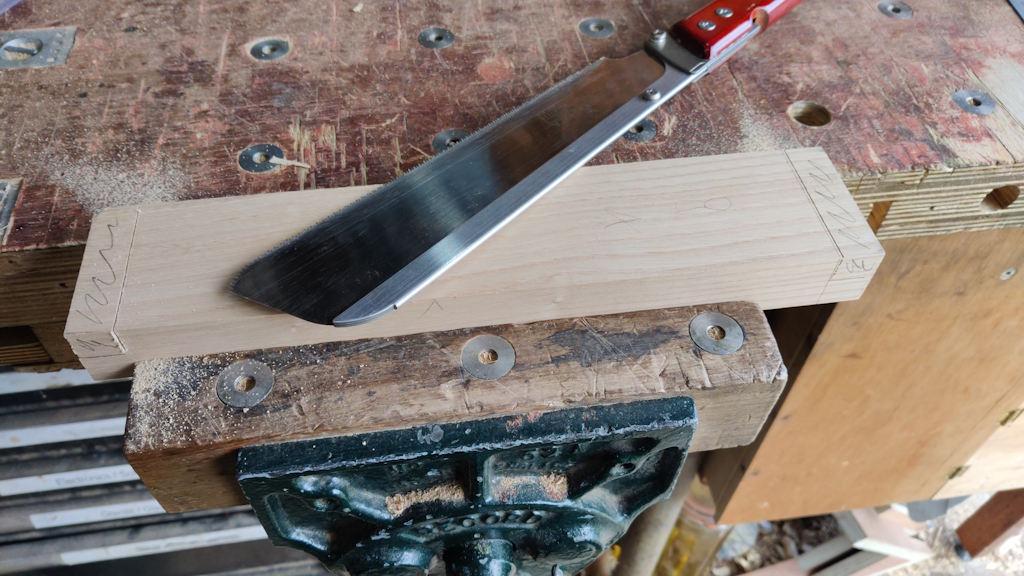
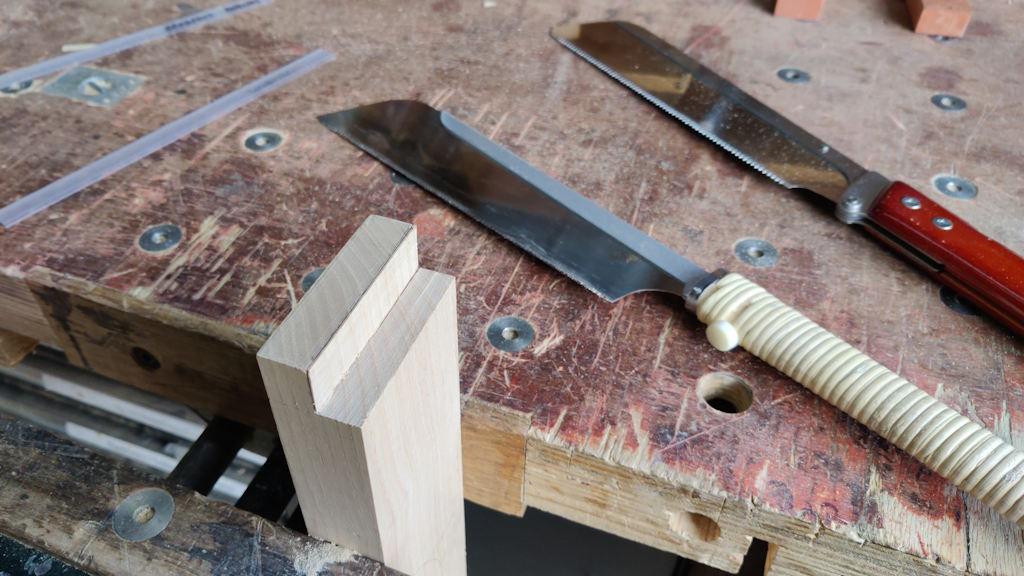
To cut the lap, I used a cross-cut Dozuki to cut a millimetre or so from the line...
... and then a rip Dozuki to cut a millimetre or so away from the other line:
I've heard a few people say that this sort of joint should be done by sawing directly to the line, but that is a lot more risky and, more significantly in my opinion, would remove the step that involves using my two favourite tools, a chisel and a router plane (or in this case two router planes):
The chisel was used to trim the shoulder lines; the router planes were used for the cheeks. I had set the Stanley one up to cut exactly on the marking gauge line. The Veritas one (which has a much better depth stop) had its depth stop set such that it would cut very slightly above the gauge line, so I could use the Veritas one to rough out the cheek, taking three or four passes to get down to the depth stop. The Stanley one then did the final pass to get it perfect.
I could have just set the depth stop on the Veritas one for the gauge line, but using the second router plane just means I didn't have to worry about any possible slipping of the depth stop.
With that done, I could do a quick test fit:
There was then a stage of rinse and repeat as I brought the other three central pieces to the same stage:
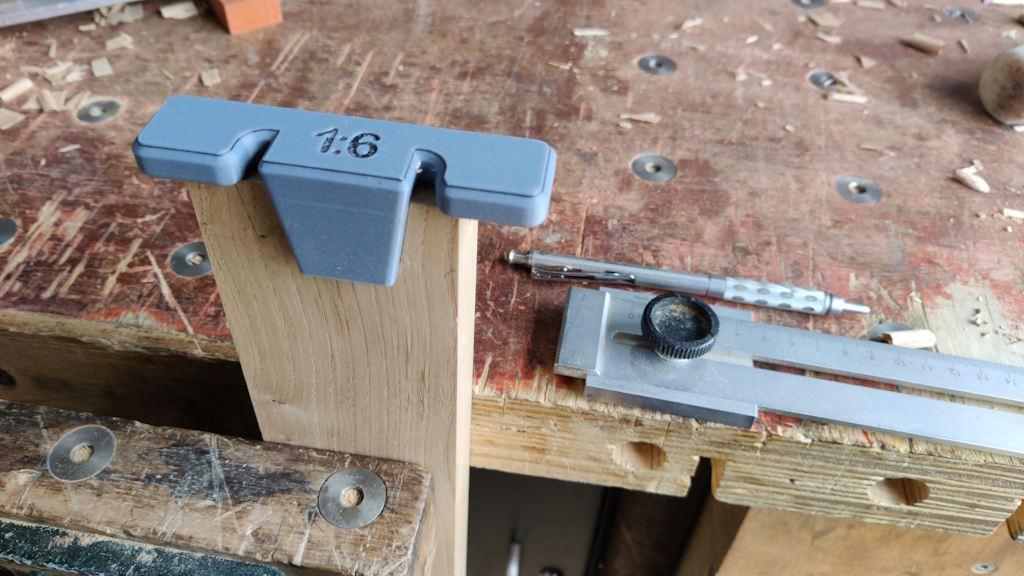
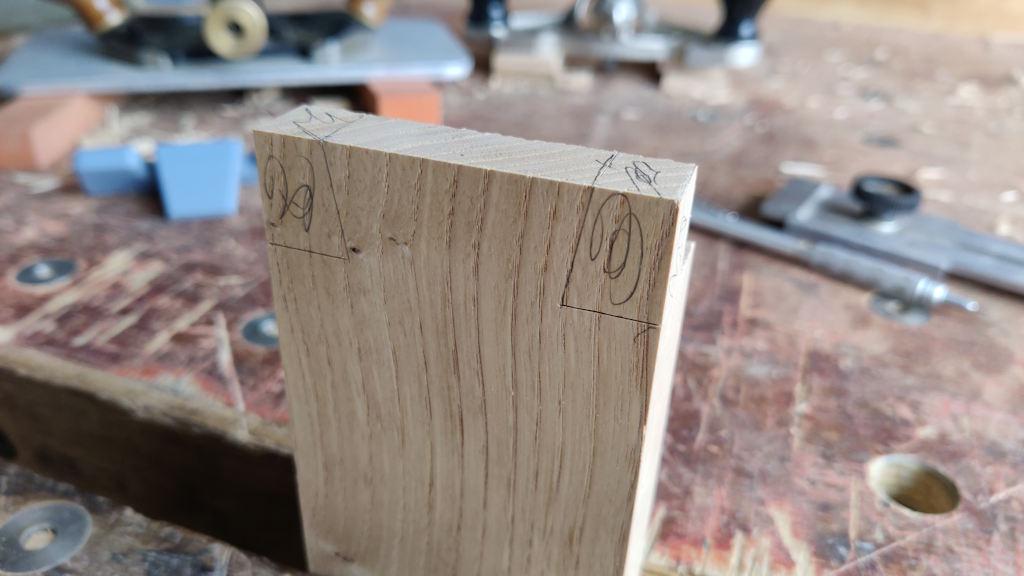
The tails were then marked, using my edge distance gauge thing to mark 12 mm in from each edge and then a simple 3D-printed guide to mark the 1:6 angle:
Just to err on the side of caution, I marked the waste:
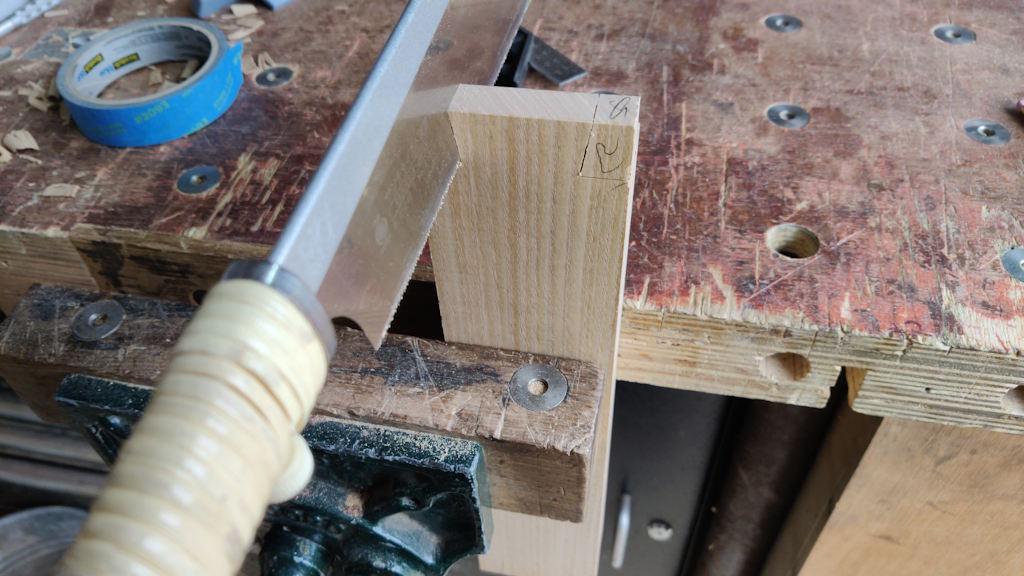
The tails were then sawed to the line on the rip cut...
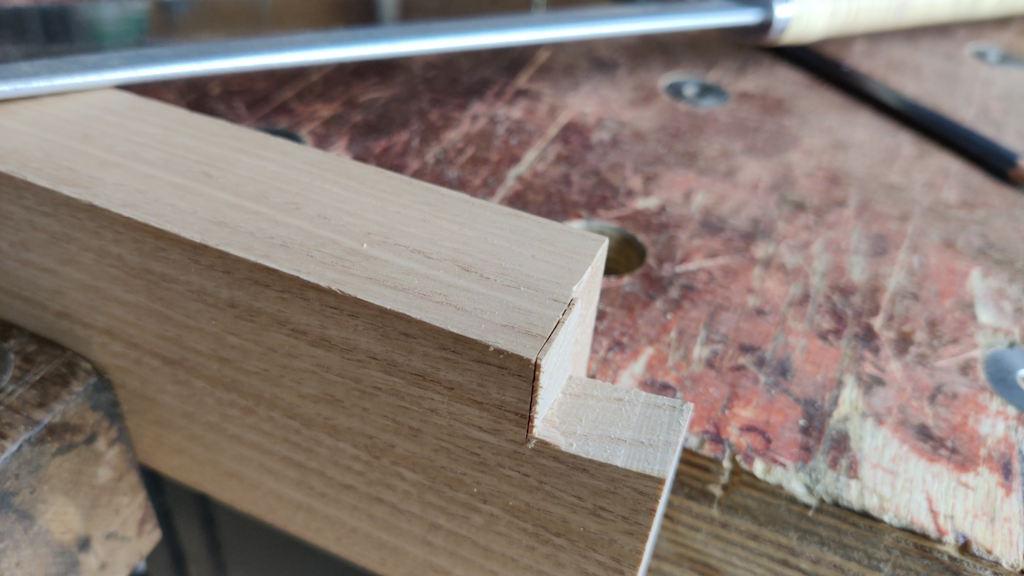
... and slightly away from the line on the cross-cut, leaving a tiny little bit to pare away with a chisel.
The first plank done:
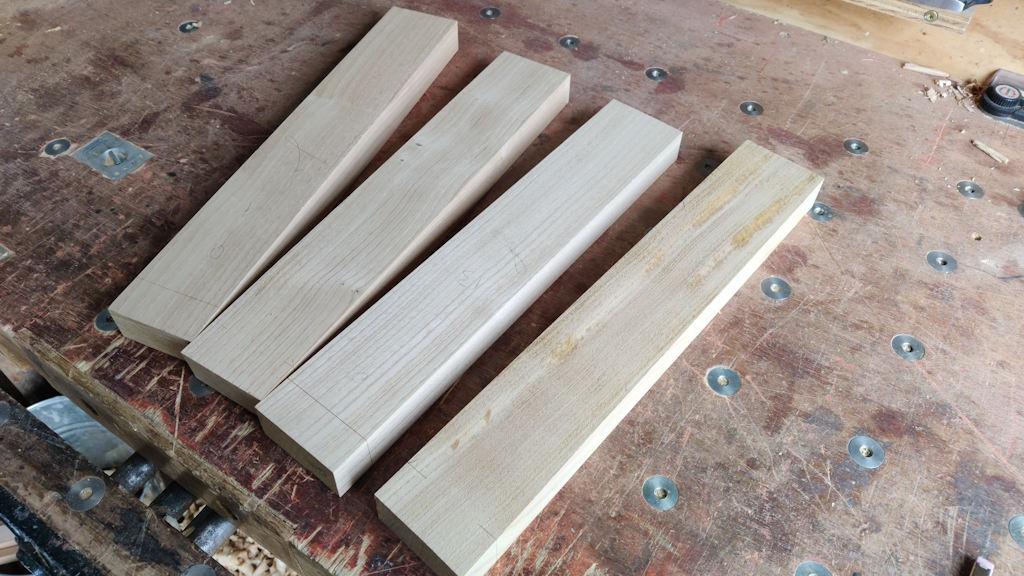
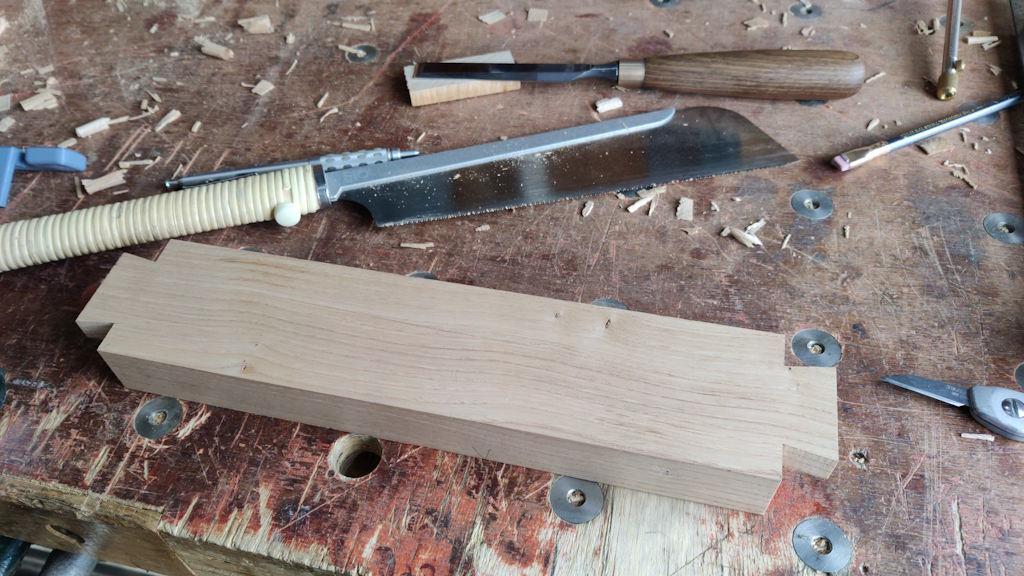
With a bit more rinse and repeat, that felt like a good time to stop for lunch, with four planks ready to have their tails transferred onto the underside of the table ready for chopping out:
Page 19 of 38
This website is free and ad-free, but costs me money to run. If you'd like to support this site, please consider making a small donation or sending me a message to let me know what you liked or found useful.

 Return to main project page