Garden Table Build Process
Page 29 of 38
Posted 8th June 2025
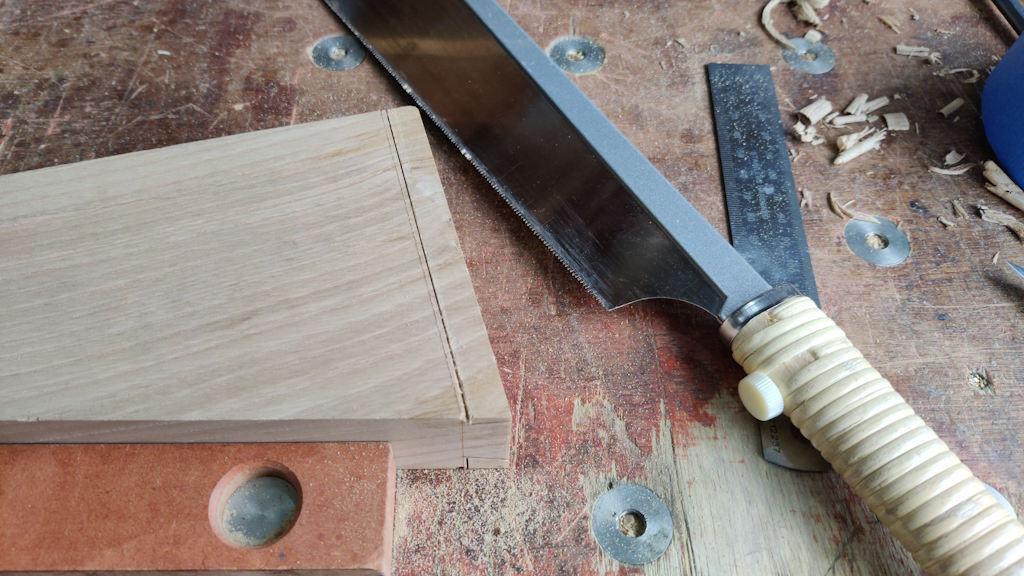
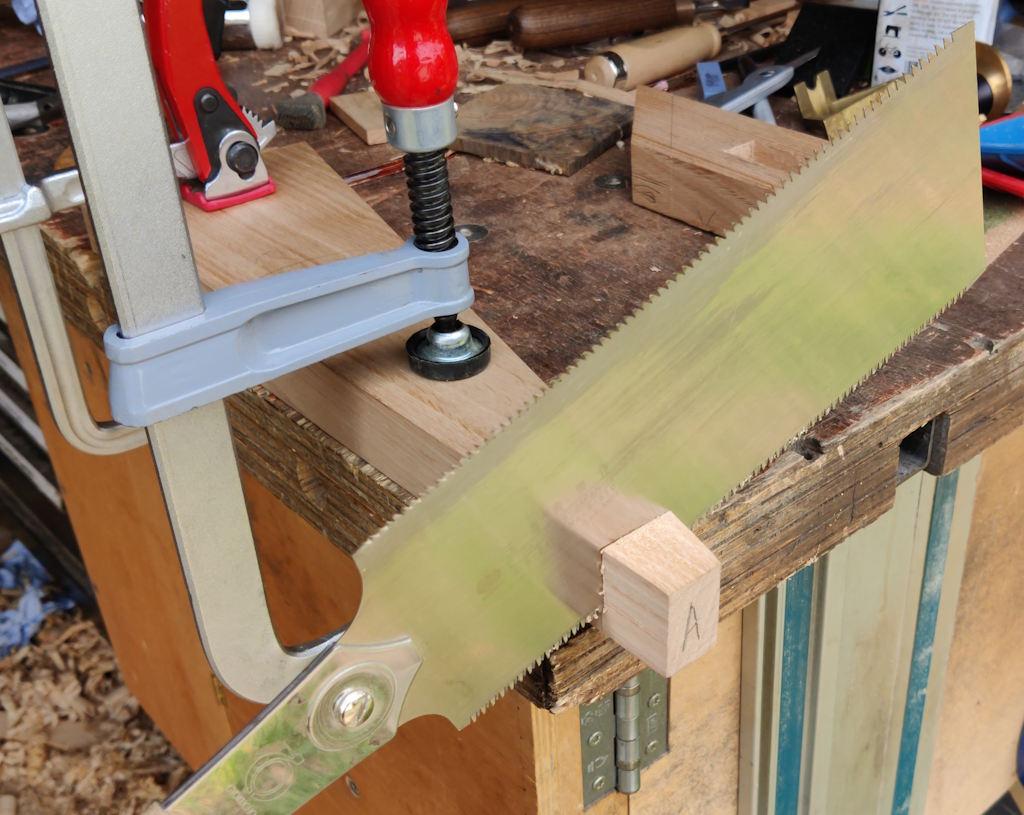
We had a couple of days away in London to see the Japanese woodwork exhibition at Japan House (which was excellent), but this morning I was able to get on with the rest of the arms. The process was much the same as the first one, except that I used the Dozuki for all the cuts, rather than changing around saws.
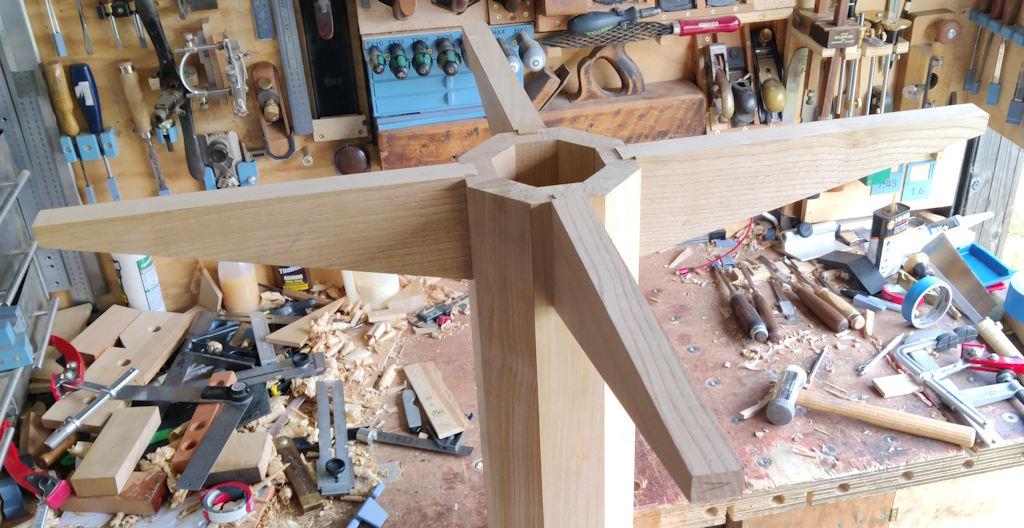
With them all done, I could do a trial fit (apologies for the rather cluttered background of this photo: I'm overdue a tidy-up):
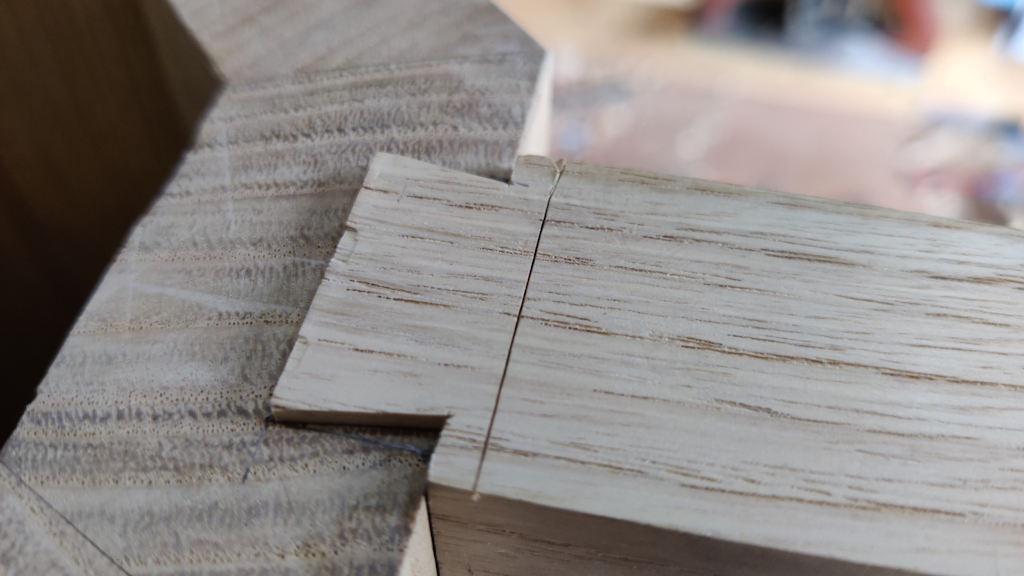
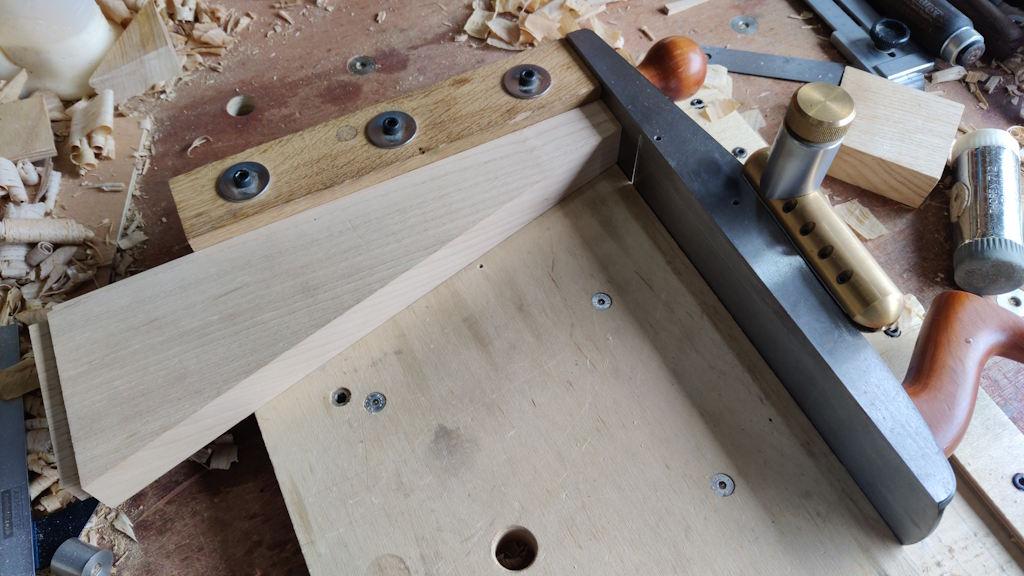
They're fitted such that they sit about 2 mm proud of the end-grain of the central column. While they were in situ, I marked a knife line slightly outside the shoulder line:
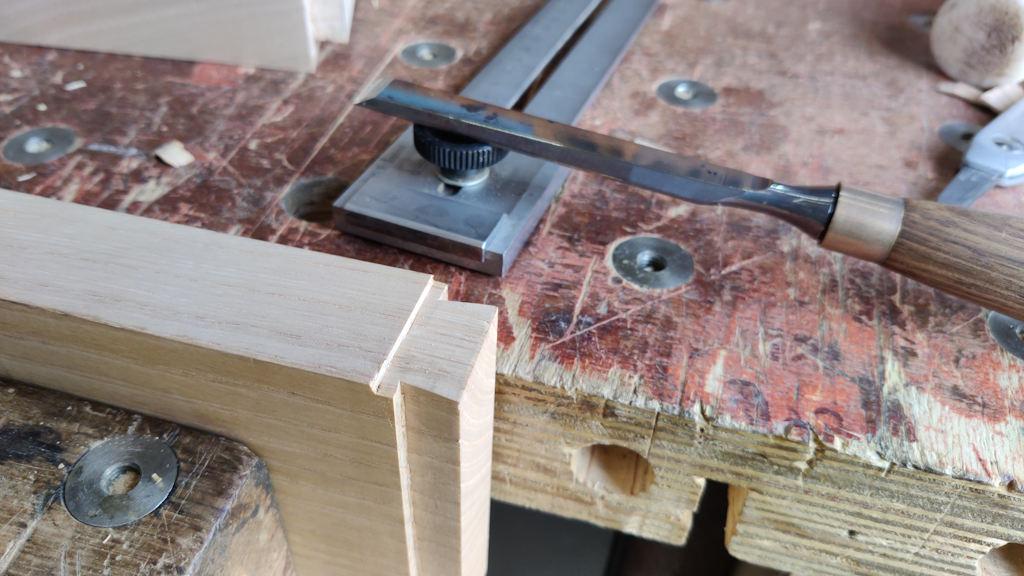
The tail then got pared down to the line and to the 2 mm depth corresponding with how far proud they sit.
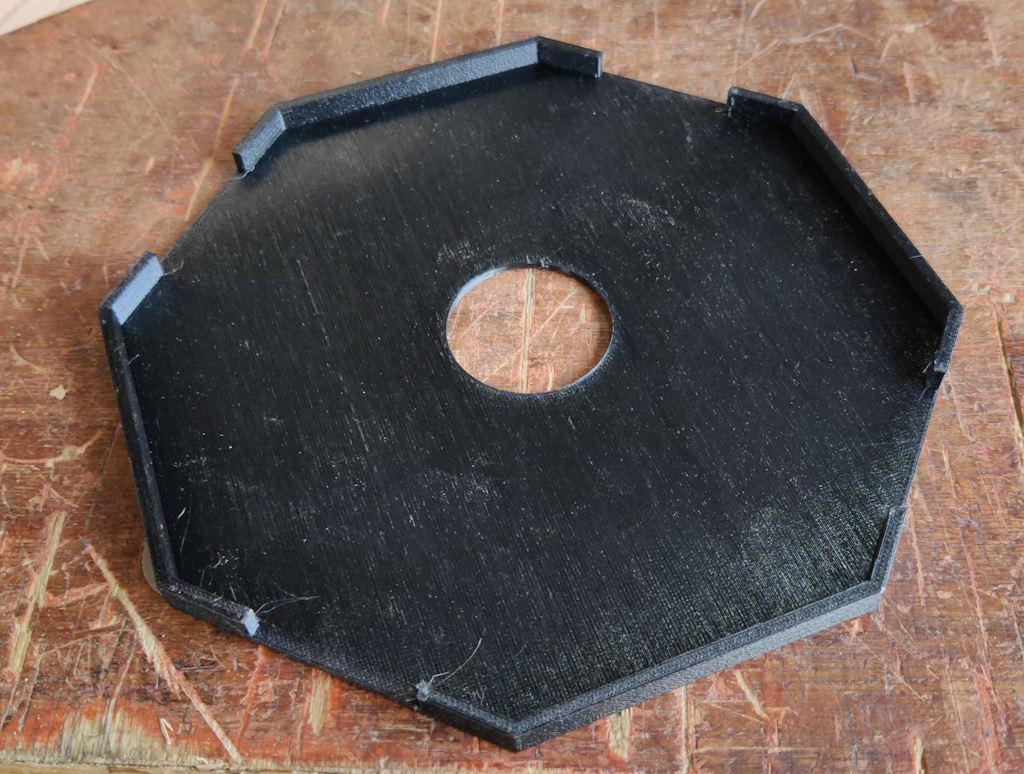
Meanwhile, the 3D-printer had been making this:
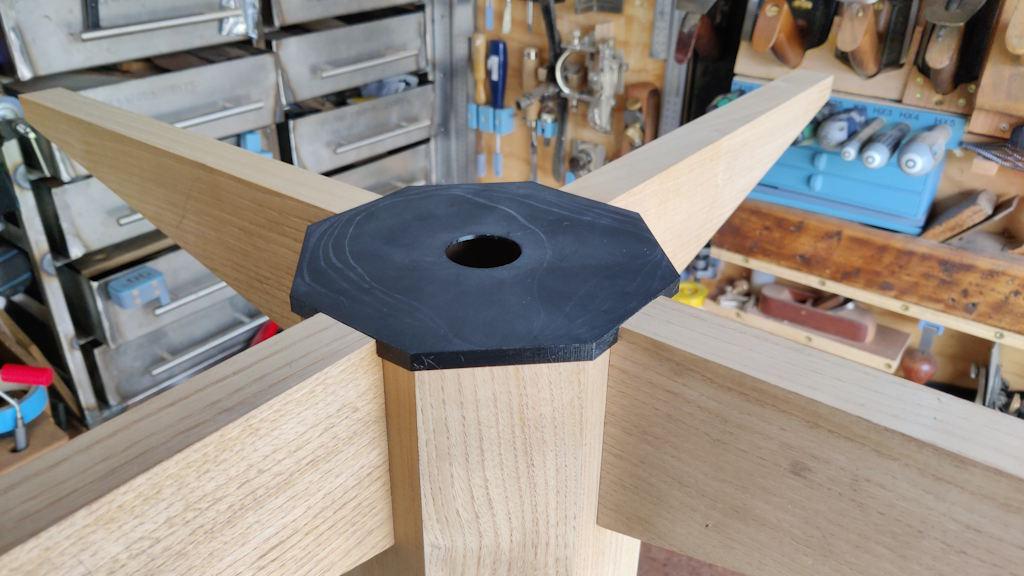
That gets fitted onto the end of the central column, with its top surface level with the top surface of the arms:
It's probably unnecessary really, but the idea was that it would stop water getting into the end grain of the column pieces (or the end of the dovetail joints).
With all the arms fitted, I could decide on an appropriate length and chop...
... and shoot for a better finish:
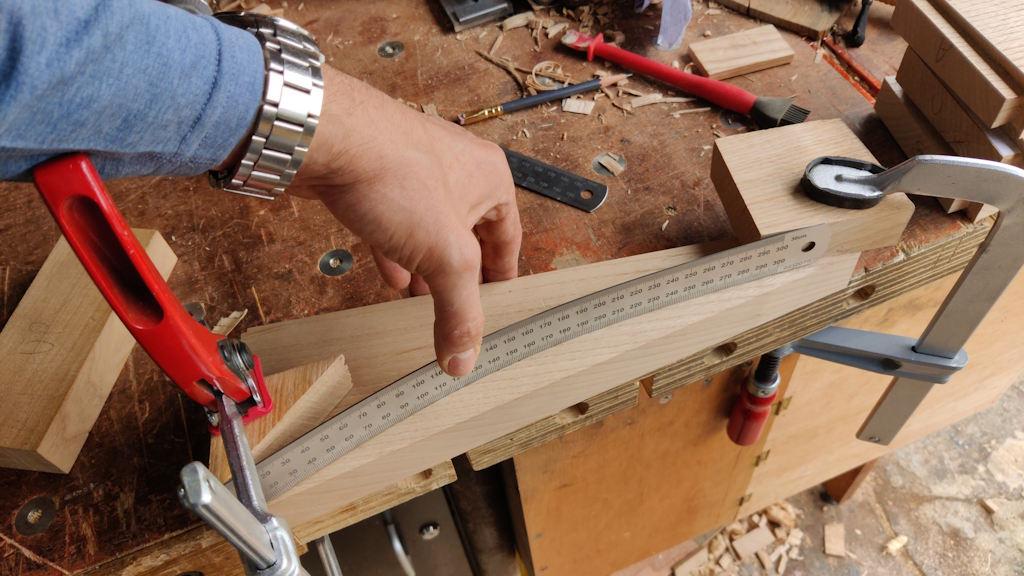
I could easily have stopped there, but ambition got the better of me. I clamped a couple of bits of wood to one of the arms and bent a steel rule into what looked like a reasonable curve:
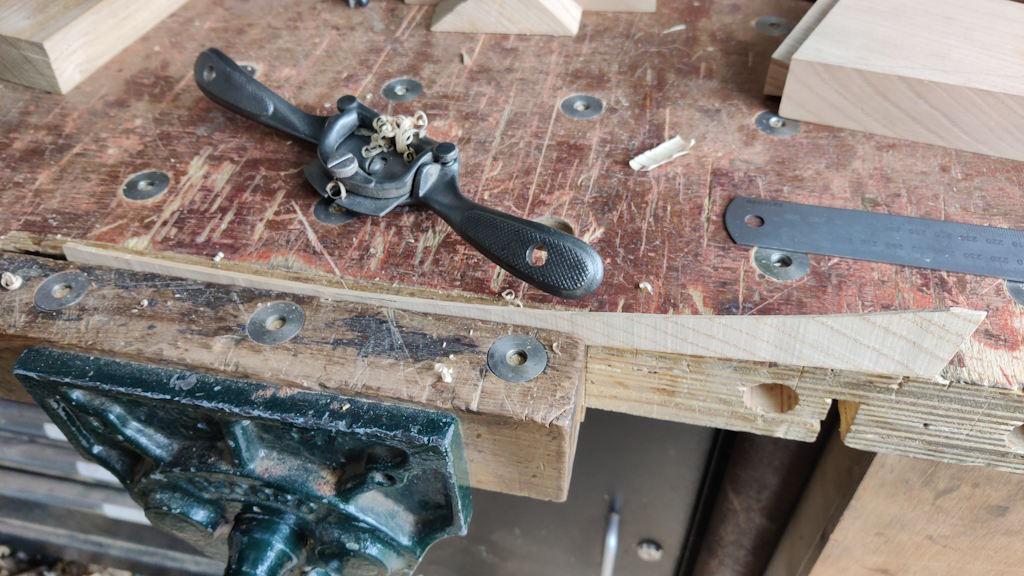
Having marked that, I used a spokeshave to shape an off-cut into a template that matched that curve:
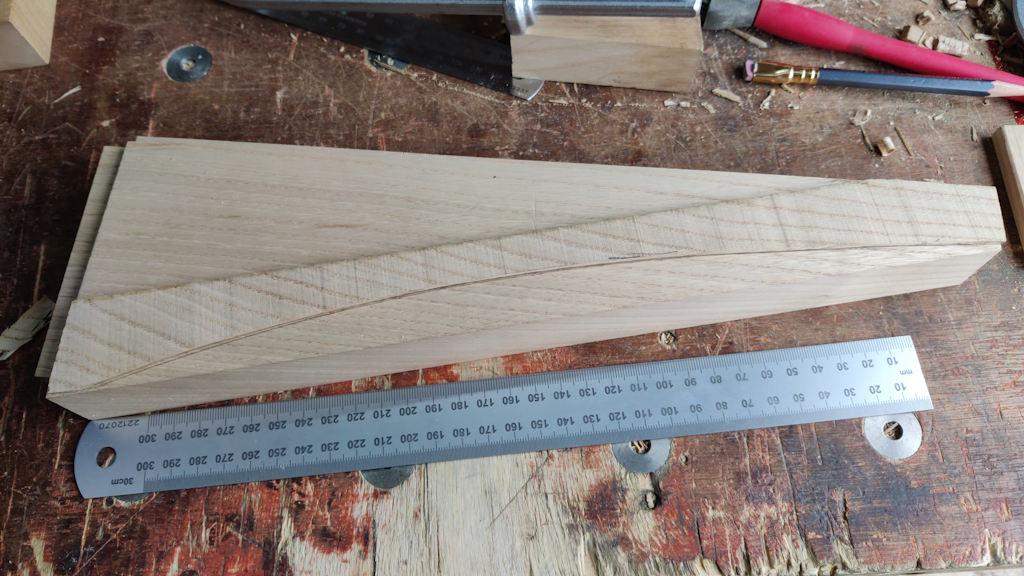
I could then use that template to mark all the pieces with the same line:
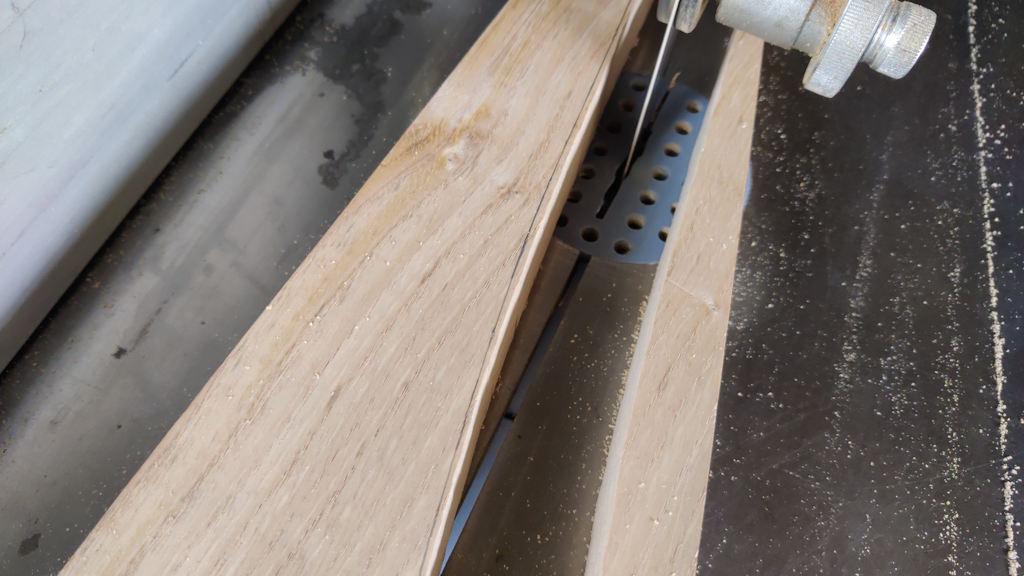
The bulk of the waste got removed with the bandsaw, staying a millimetre or two from the line:
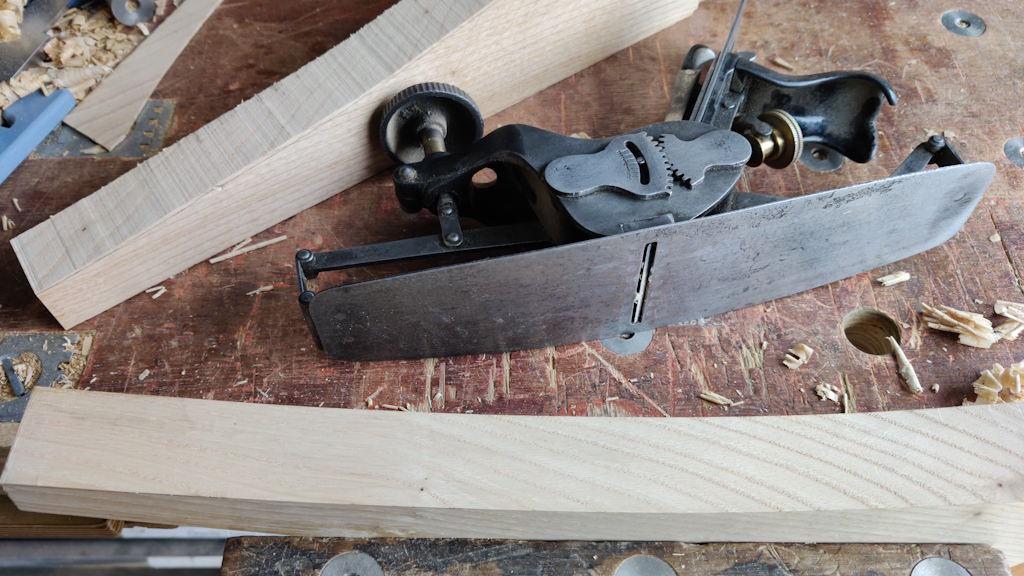
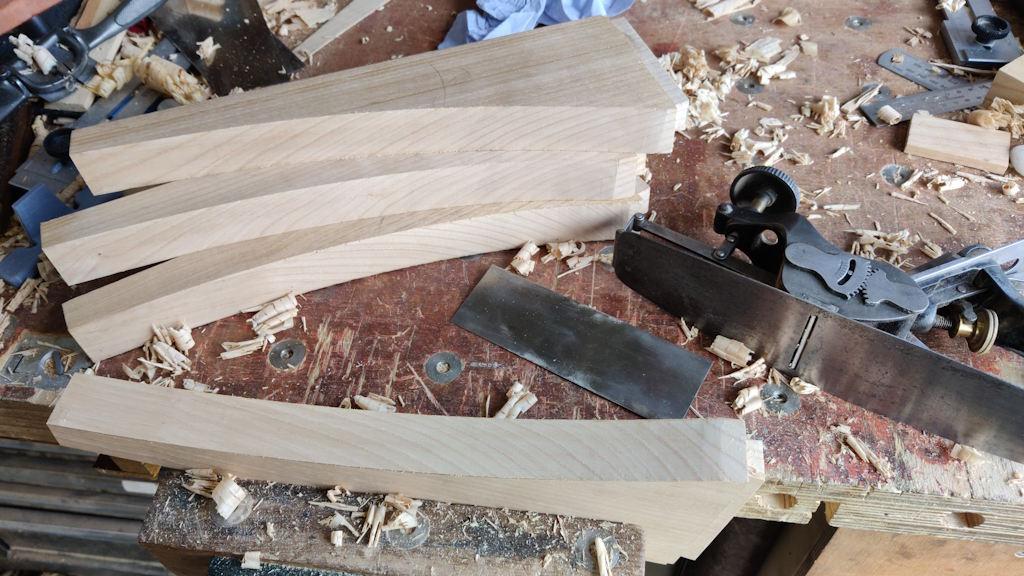
I then had an opportunity to (sharpen and) use a tool that I've never tried before. This compass plane was given to me as a birthday present by my parents a few years ago. I don't think they expected me to use it; they just wanted to give me a plane that they were fairly sure I wouldn't already have!
It was definitely a challenging thing to use (far more so than a normal bench plane), but I got better at it as I worked through the pieces. Each one needed a little bit of smoothing out with a card scraper after I'd stopped with the compass plane, but each one required a little bit less of that than the previous one!
The arms are all done now, apart from a bit of final tidying up and breaking of sharp corners and such-like, which I'll do just before gluing the column together.
The next job is to start work on the legs. I'm still not completely sure what shape / size to make these, but for thickness at least I'm thinking I'll go for 40 mm or thereabouts. Pretty much everything I've made so far has been 30 to 32 mm thick (and I've still got more sweet chestnut of the same size that would suit that), but I've got a plank of forty-something millimetre sweet chestnut that I think will probably end up as 40 mm once planed and that feels like a fairly sensible option for the legs.
Page 29 of 38
This website is free and ad-free, but costs me money to run. If you'd like to support this site, please consider making a small donation or sending me a message to let me know what you liked or found useful.

 Return to main project page