Garden Table Build Process
Page 31 of 38
Posted 12th June 2025
This evening I thought I'd have a go at filling the knot hole in. I pondered the idea of taking a big triangular chunk out of the corner of the wood and filling it in with a single piece, but that felt a bit too risky and somewhat beyond my skills (as I'd have to make the infill piece have just the right angle between the two faces). Instead, I decided to insert two infill pieces, one on each face. I also decided to do them one at a time. I started with the side that will be on the underside of the leg and hence invisible unless anyone is inclined to lie on the floor and look up.
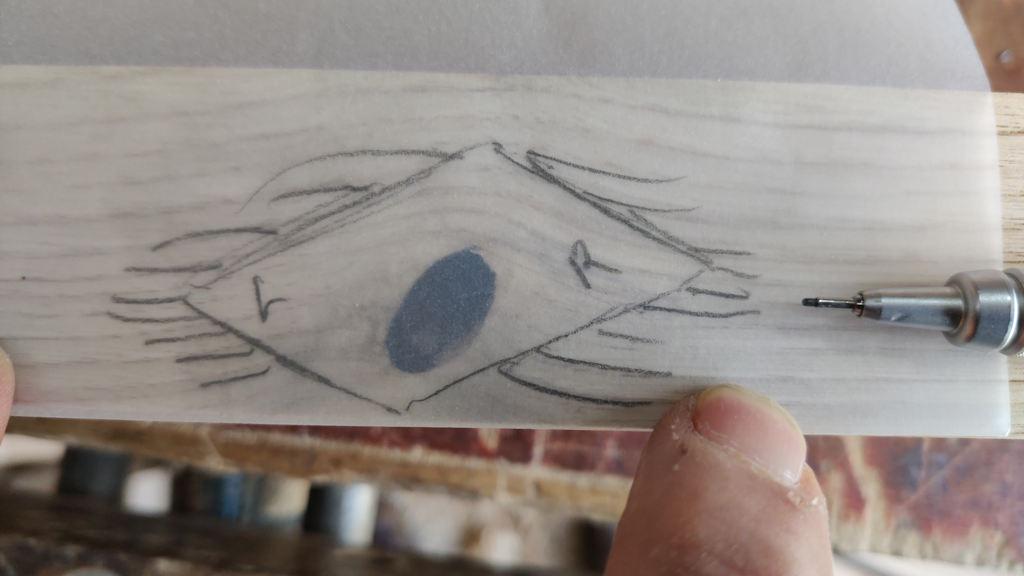
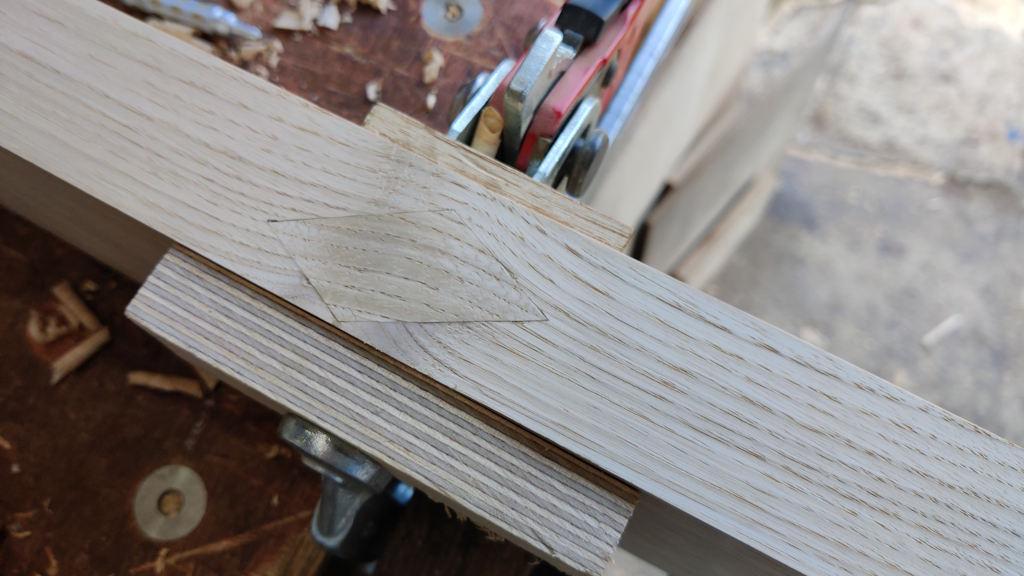
I started by laying a bit of tracing paper over the plank, drawing a rhombus on it and then tracing the grain pattern around it:
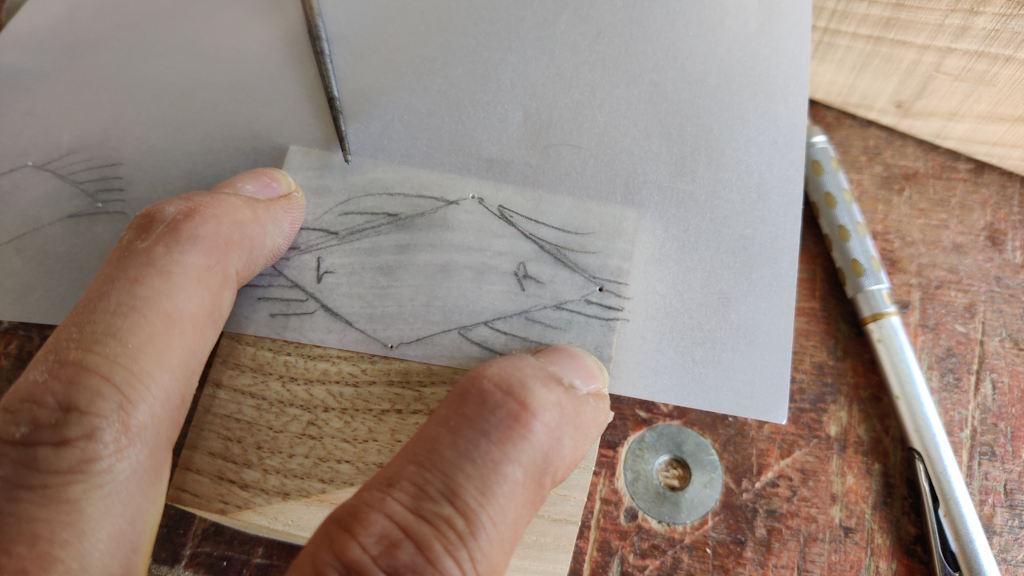
I spent a while rummaging in the various chestnut off-cuts, but couldn't find anything that was a particularly good match (it wasn't helped by the way the grain bends around the knot). This was the best I could find, so I used a scriber to transfer the four points across in the right places:
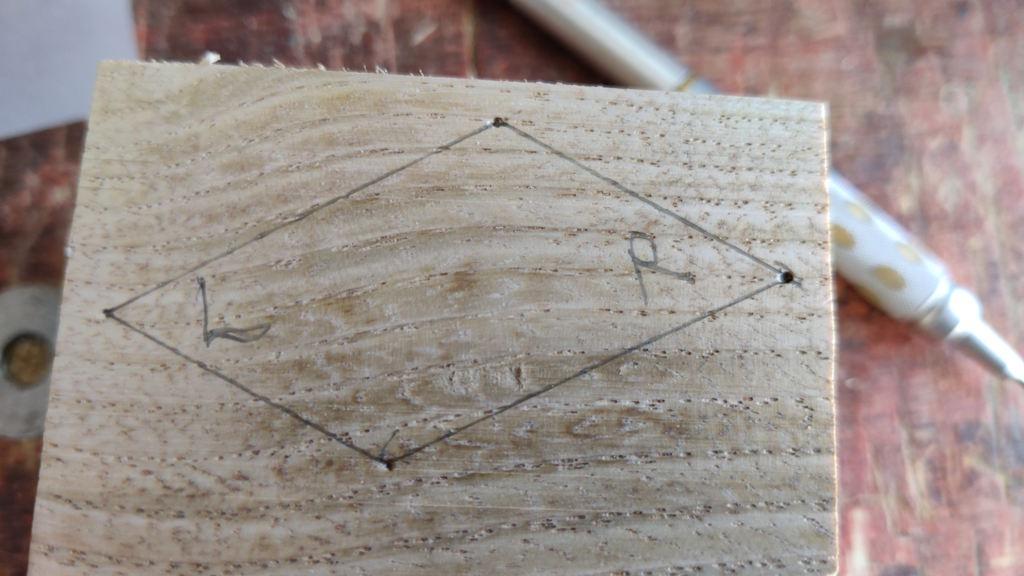
The dots got joined with a pencil:
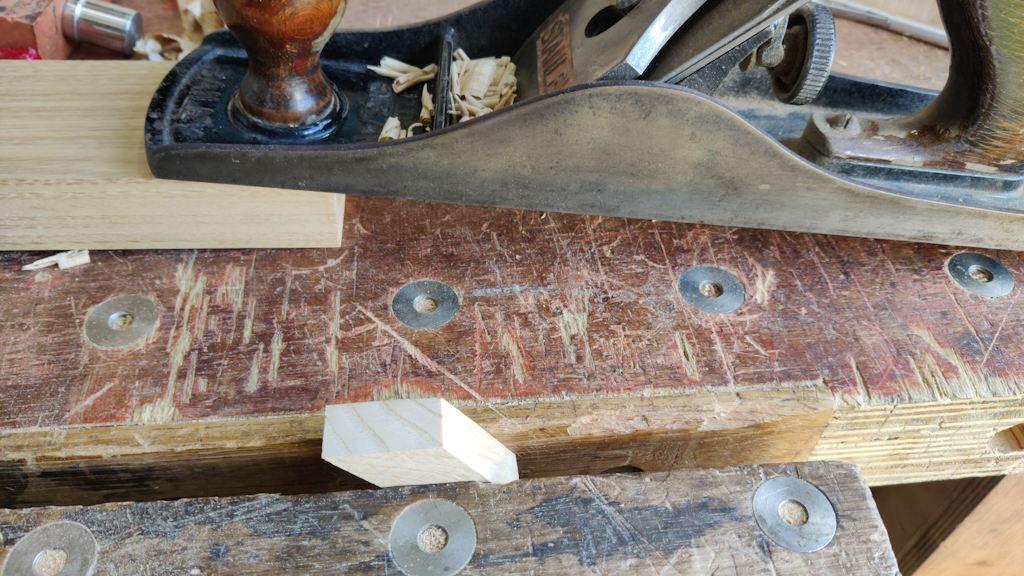
After sawing out the shape, I planed the faces smooth and square and then moved the plane over to the side and planed a couple more times to add a slight taper to the part (so it's narrower at the bottom than at the top):
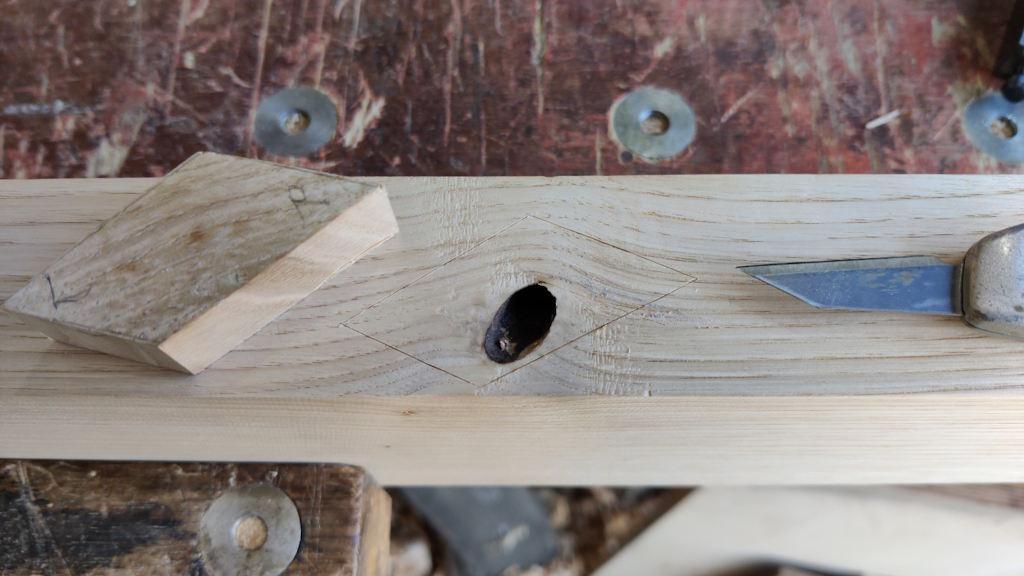
I could then lie it on top of the main plank and knife around it:
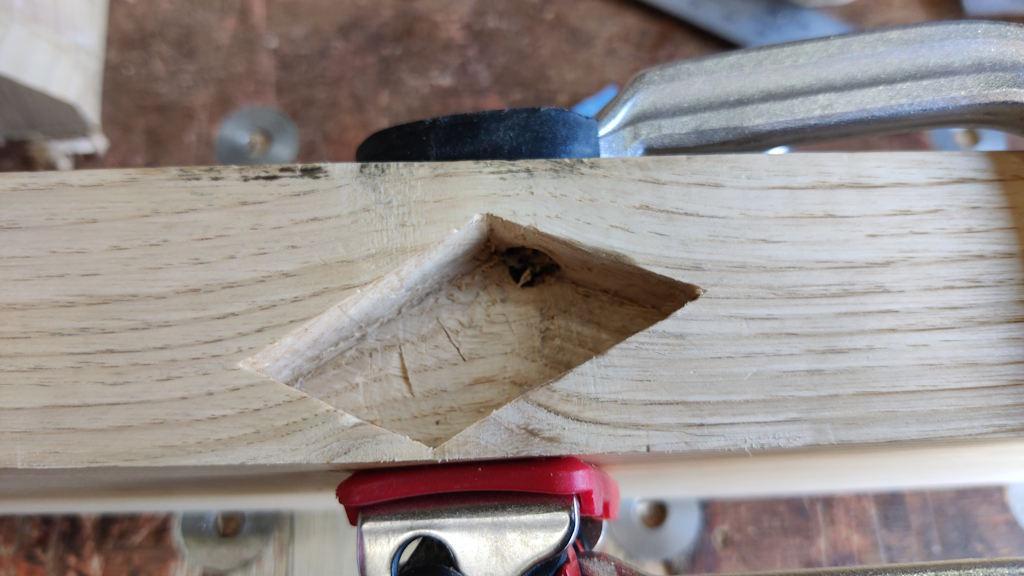
To hollow it out, I used an 8 mm mortice chisel to get rid of most of the waste, then a 12 mm bevel-edge chisel, a skew chisel (to get into the corners) and my small #722 mini router plane (to even up the bottom a bit, because, well, why not?):
The clamp is there as the wood split very slightly near the tip, so I wicked in some superglue and added a clamp to hold it together while I finished chopping.
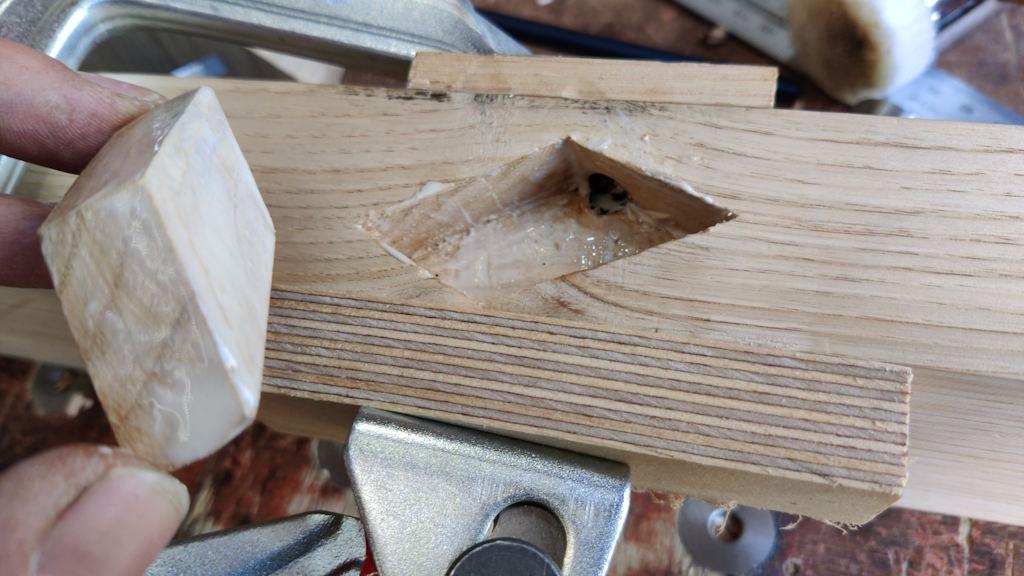
Everything then got daubed in glue (after adding a light chamfer to the bottom of the infill piece with a chisel):
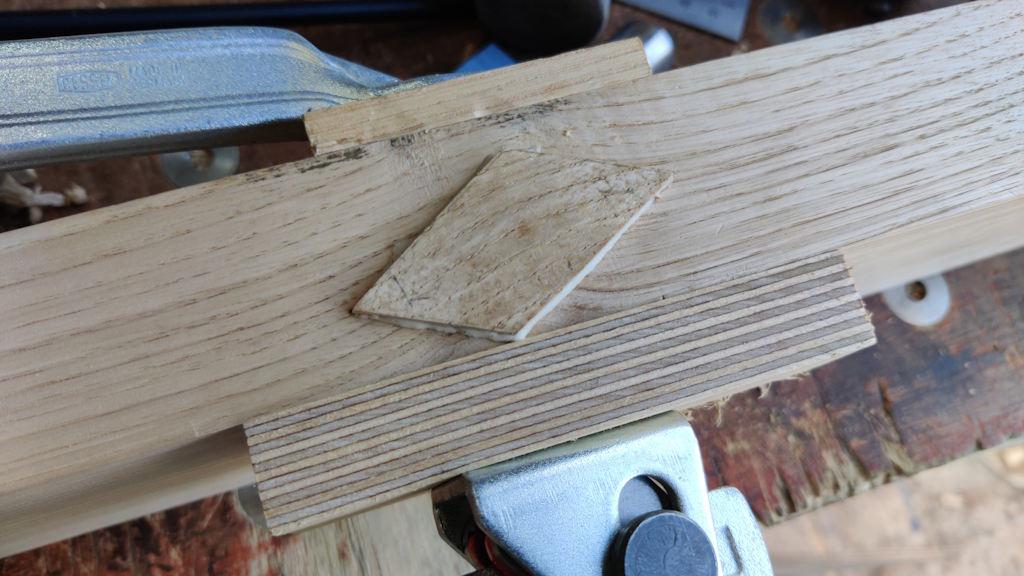
The persuading stick was then applied to get it into the hole:
I was then a little impatient and, without waiting for the glue to dry, planed it flush:
Not bad, but not perfect.
Tomorrow I'll have a go at filling in the hole from the other end with a second infill piece.
Page 31 of 38
This website is free and ad-free, but costs me money to run. If you'd like to support this site, please consider making a small donation or sending me a message to let me know what you liked or found useful.

 Return to main project page