Garden Table Build Process
Page 4 of 38
Posted 14th July 2024
The observant among you will have noticed that I said at the start of this project that it'd be mostly a hand tool project but all I've done so far involved a bandsaw. My life has taken a bit of a side-ways step lately following my other half having a bad car accident (from which she's recovering slowly but well). As a result, my workshop time has been severely limited and it felt like the use of the bandsaw (as a not-especially noisy or tedious to use power tool) to speed things up might be sensible. That's my excuse anyway!
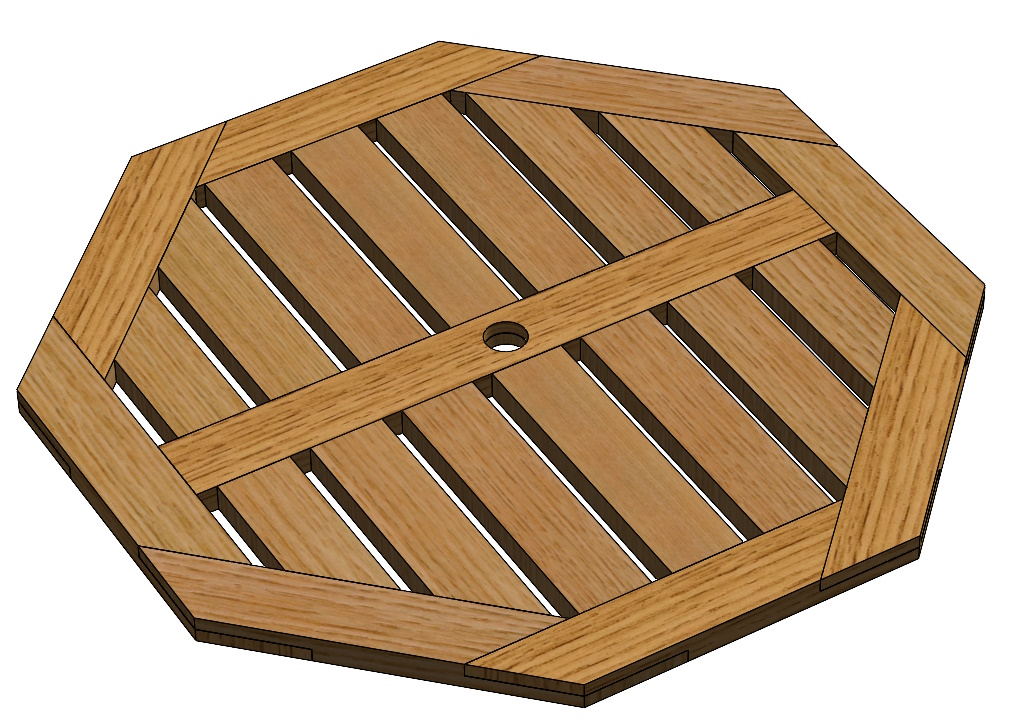
Following some feedback from the woodhaven2 forum, I've been playing with the design a bit more to make the corners a bit stronger. I've come up with a couple of new design iterations, both with some fairly long half-lap joints on the corners. The first is otherwise quite similar to the previous design:
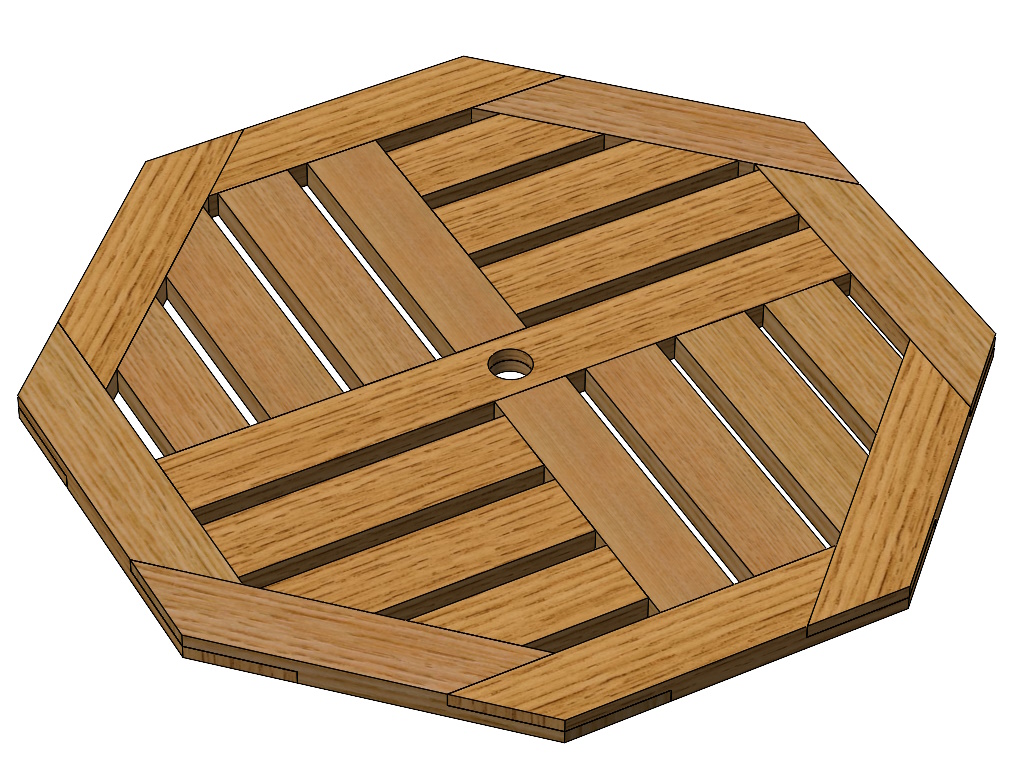
The second has the same outer frame but with a slightly different inner:
I'm on the fence about which I prefer at the moment. I'm probably leaning towards the first one, but my other half is leaning towards the second (so it'll probably end up being the second!), although she has said she likes all of the various designs I've proposed thus far.
This image from the CAD model gives a slightly clearer view of the joinery at the corners:
I think I like that joint design, so I'm going to bite the bullet and start preparing the wood for the edge pieces. The other pieces can come later. The pieces need to be quite a lot longer than they would have been for the simpler previous design, so I want to try to be relatively efficient when cutting to length. Having measured the planks I'd previously prepared, I worked out I could (just) get four pieces out of each length if I alternated the direction of each piece and as long as I was fairly accurate with my cross-cutting (gulp).
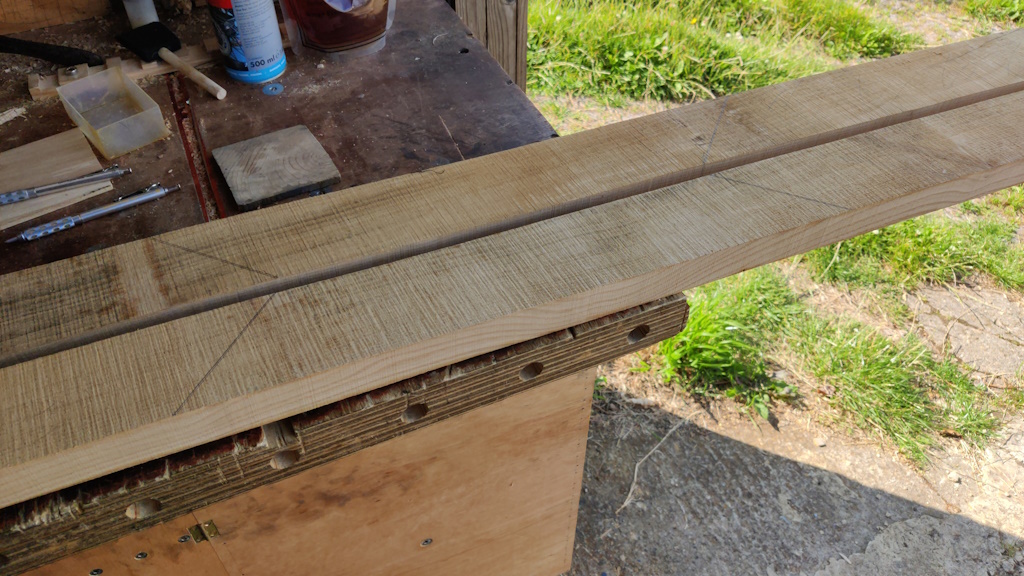
I marked the planks up, with two parallel lines at each join, about a millimetre apart. The idea was that if I managed to saw between the lines and square to the top, I'd end up with pieces that were all a couple of millimetres over size.
It's not the end of the world if the sawing ends up inaccurate, I'll make sure they're all the same length at the joint face later and the table doesn't need to be exactly the size I've designed it.
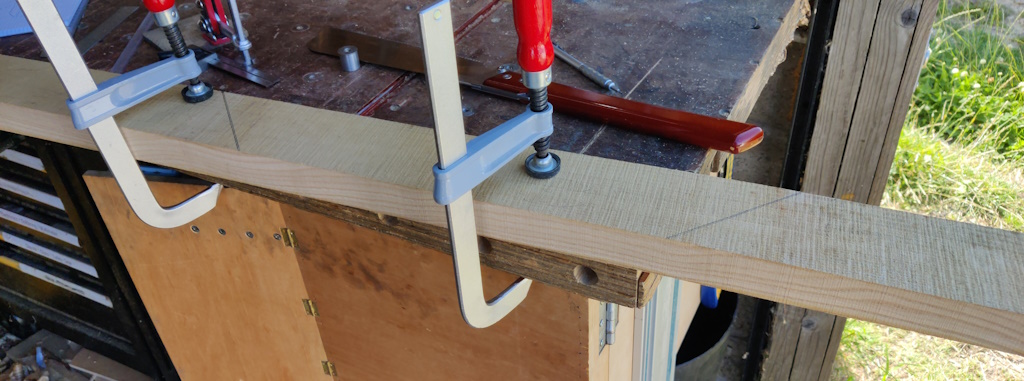
With the pieces marked up, there was nothing for it but to clamp them down to the bench (hanging out the door as they're much too long to fit on the bench):
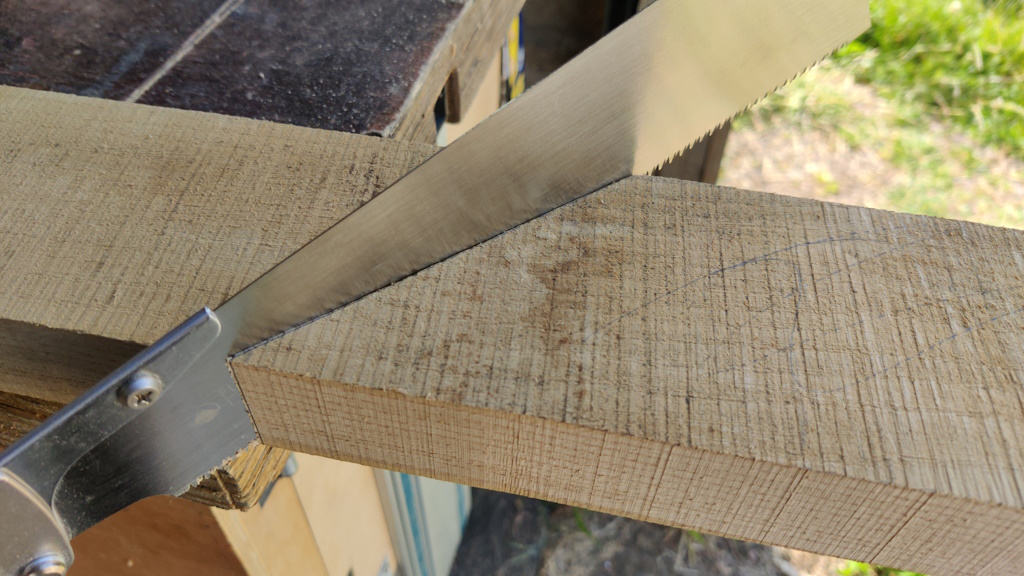
I could then attack the joints with the Kataba (which is the cross-cut saw I find I'm most accurate with):
I was really pleased with how the sawing went. All the cuts were close enough to square and followed the line well. Perhaps I'm getting better at this sawing malarkey?!
In the end I only managed to get three pieces out of one of the planks, but that was down to a long split in the wood near the end rather than anything to do with my sawing. It wasn't a problem though as I had other planks that could be used.
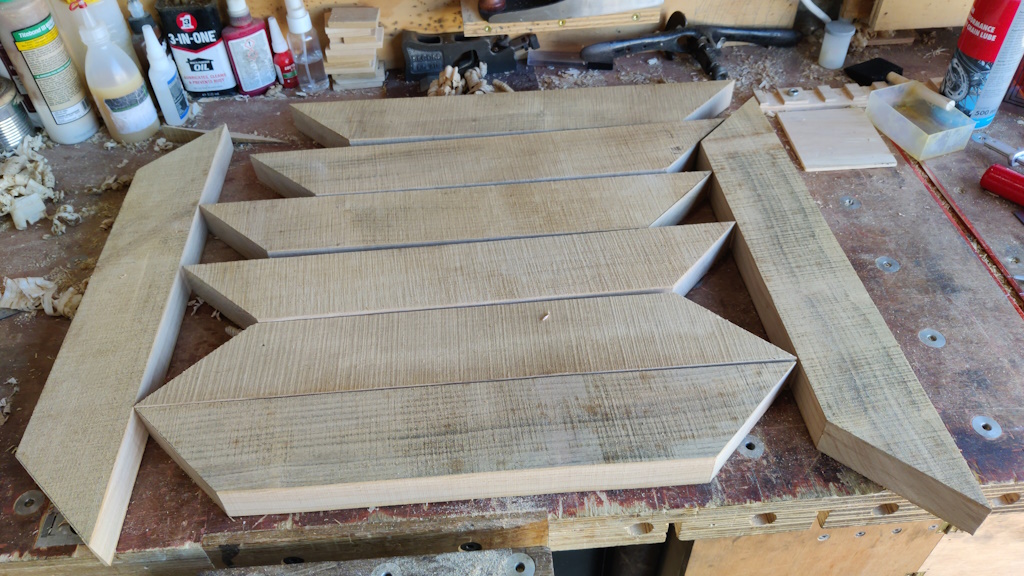
After a pleasant bit of sawing exercise, I ended up with this lot:
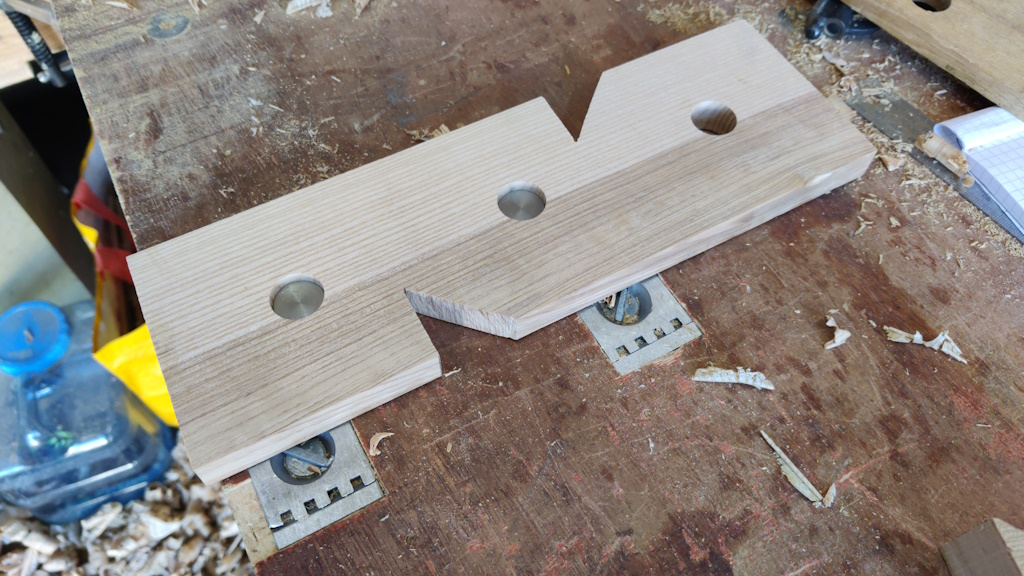
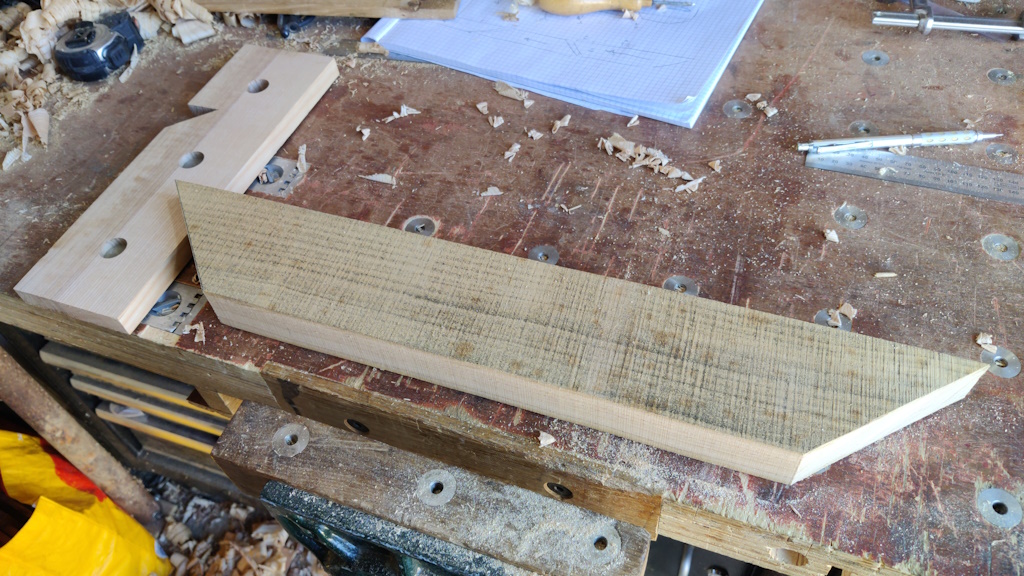
If I were a less frugal soul, I probably would have cut the ends of the planks square as it would make it easier for planing. I then could have got them flat and twist-free and then dealt with the mitre cut later (possibly even after assembling the table). However, I was trying to maximise the wood use, so the mitres are there already pre-planing. To make planing easier, I dug out an off-cut of ash, drilled a few holes in it and sawed a pair of notches into the sides:
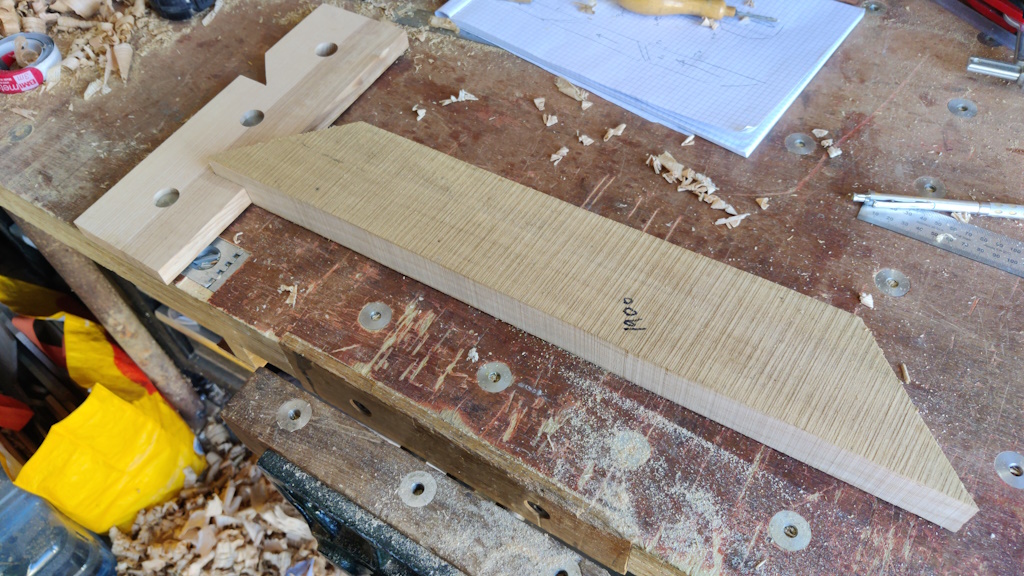
It sits on some bench dogs in the holes in my bench and, by rotating it through 180° I can have a notch in either orientation, so I can plane a plank like this...
...or like this:
With my workshop time being limited at the mo, it'll probably be a while before the next update, but all being well the next update will be a brief description of the relatively long process of hand-planing to flatten and dimension all of those eight edge pieces.
Page 4 of 38
This website is free and ad-free, but costs me money to run. If you'd like to support this site, please consider making a small donation or sending me a message to let me know what you liked or found useful.

 Return to main project page