Bandsaw Restoration: Blade Guard
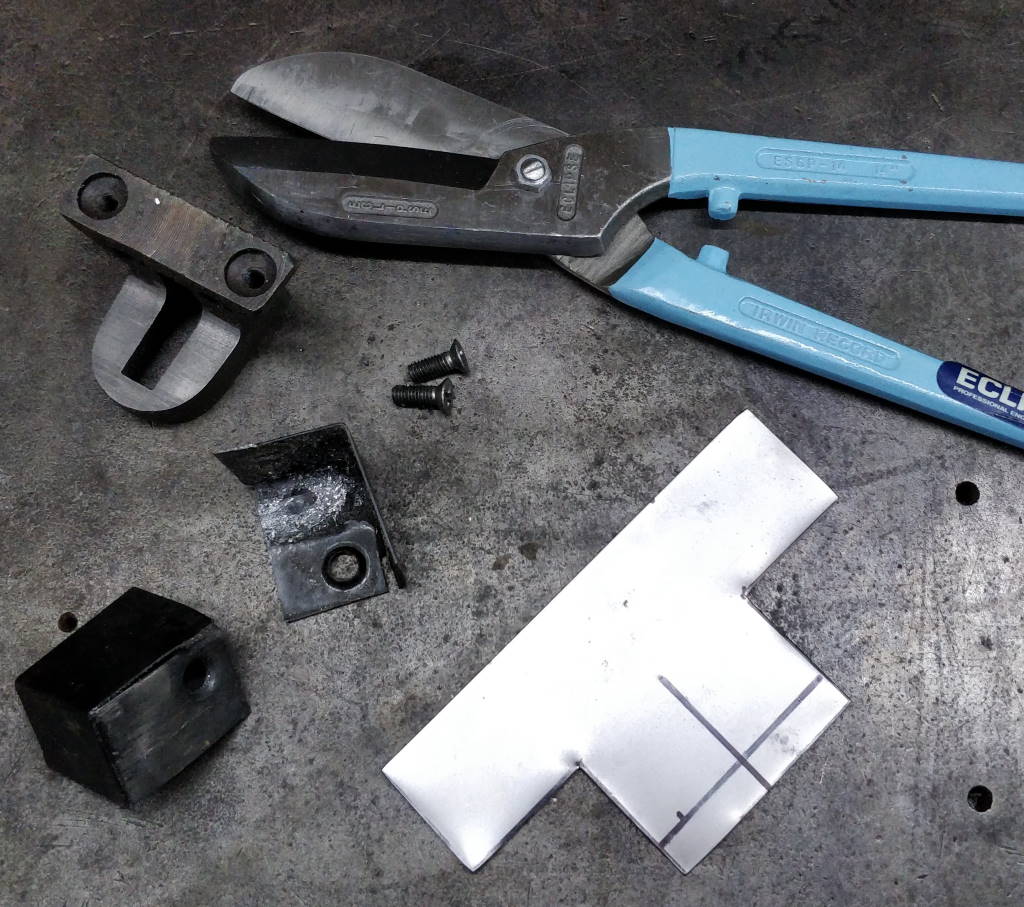
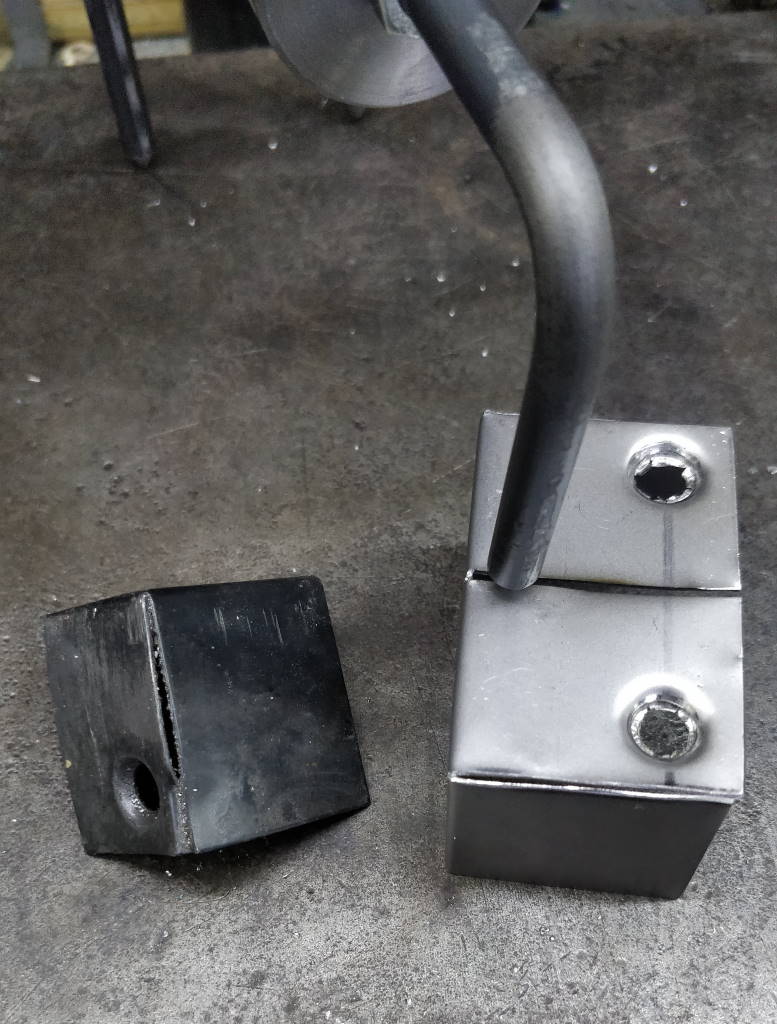
As you can see on the left-hand side of this photo, the original blade guard had been cut in half by the bandsaw blade slipping (probably exacerbated by me using the bandsaw in vertical mode but without having the vertical table). I had considered trying to weld it back together, but considering that I'd just made a sheet metal bender, I decided to just make a new one. You can see the basic pattern (cut out of 0.8 mm mild steel) in the bottom half of the photo.
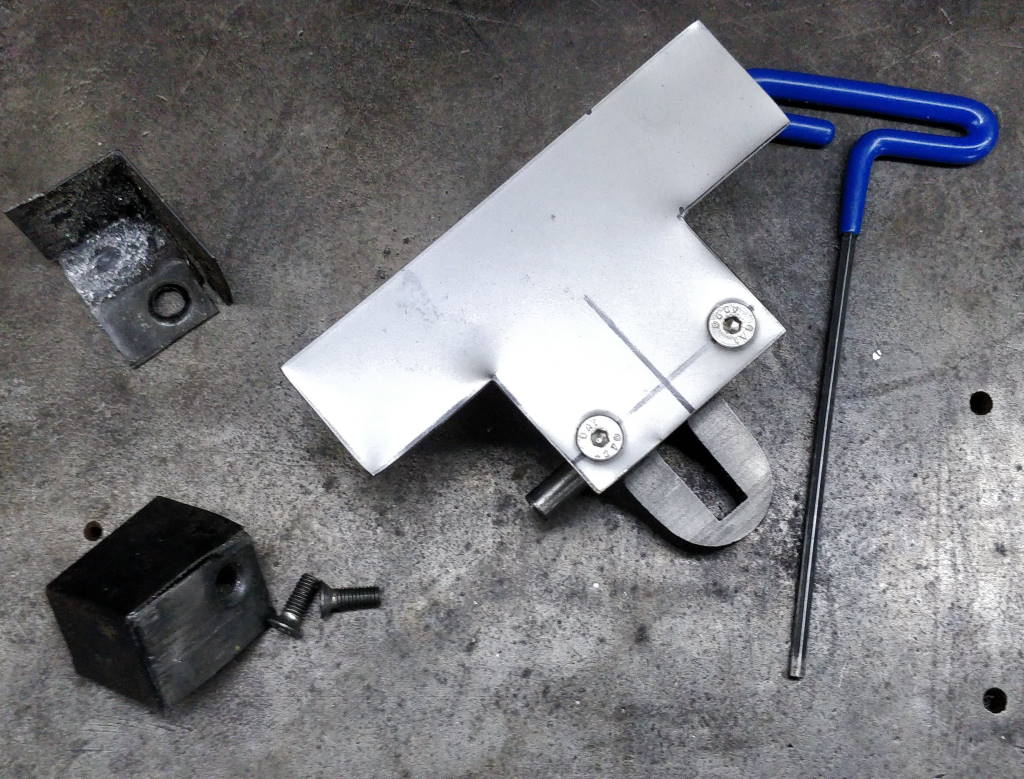
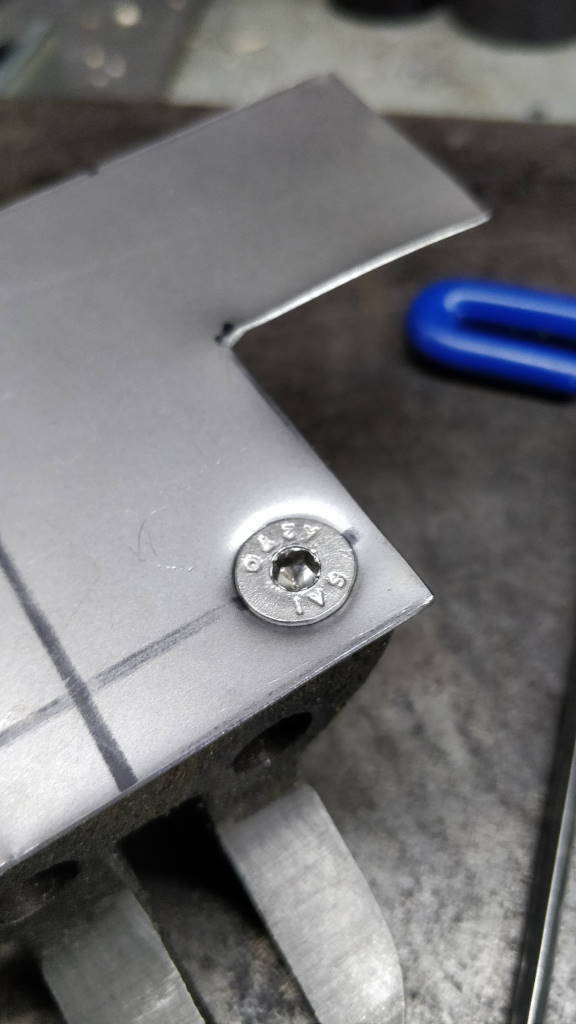
These photos show the way I formed the "countersunk" holes in the sheet metal. I used a 10 mm spotting drill (which has a 90° tip) to drill two holes on a 44 mm spacing until an M6 screw would just pass through the hole with a hard push. I then mounted the pattern on the blade guide to which the guard mounts and used some socket-head countersunk screws to force the sheet metal into the shape of the countersunk hole in the guide.
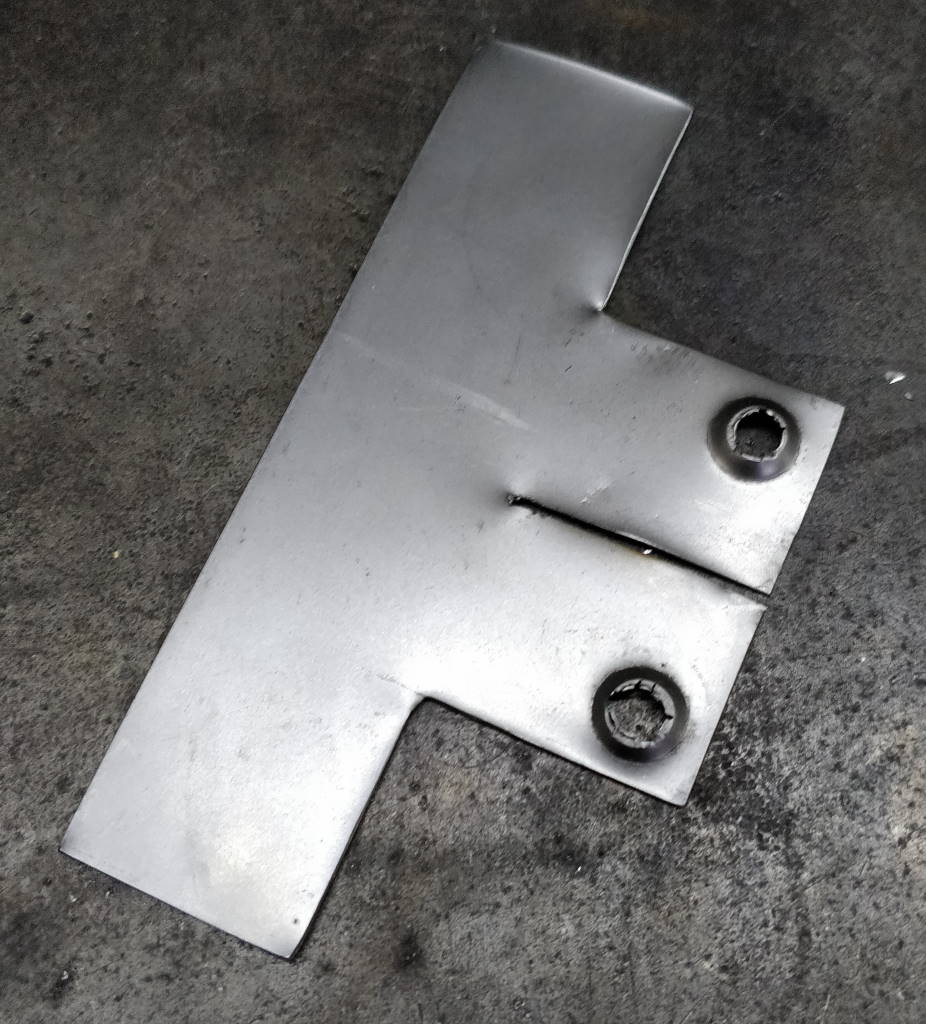
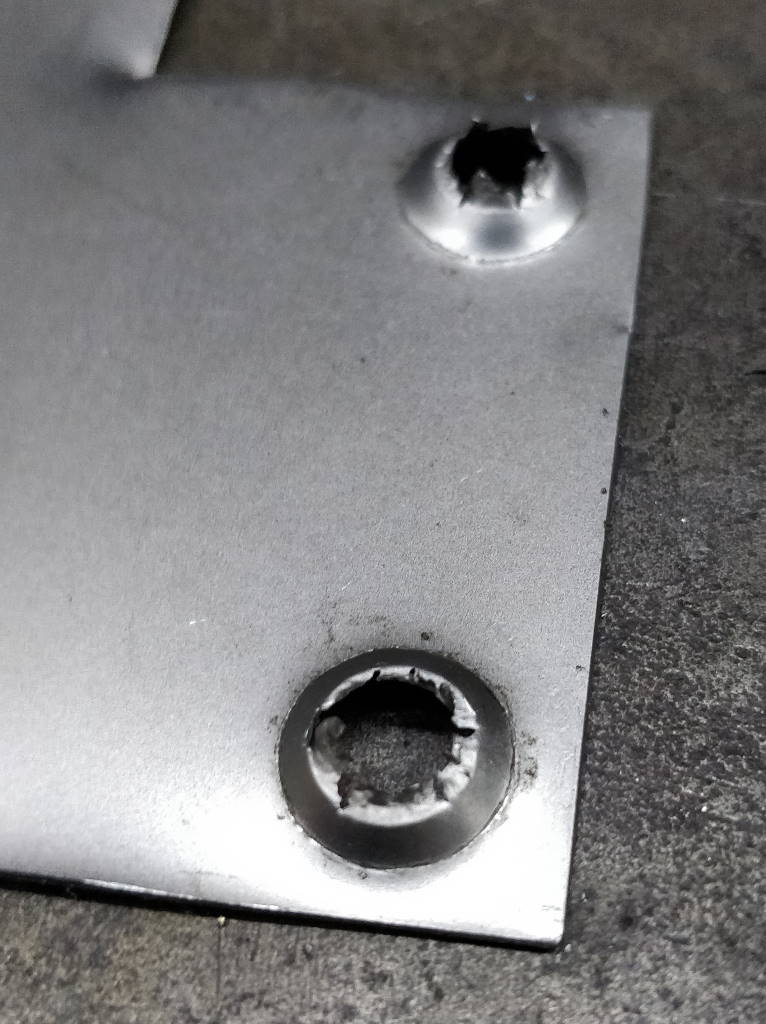
These photos show the end result before cleaning up: the rim of the hole is pretty ragged, but it should do the job okay.
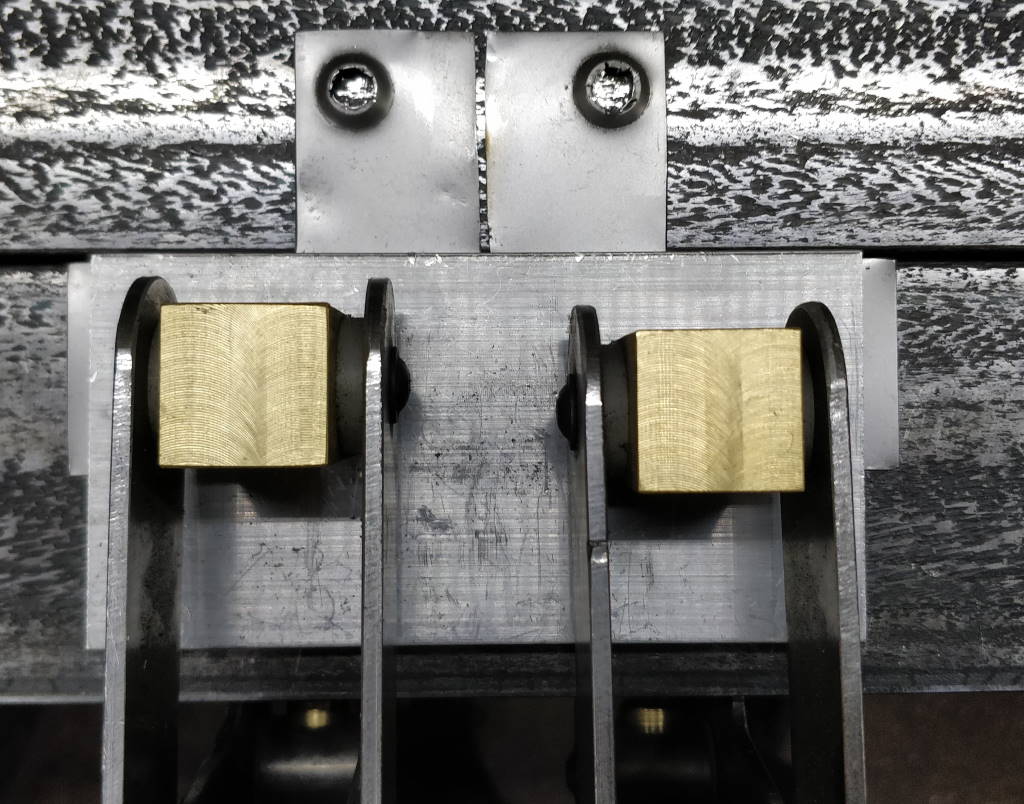
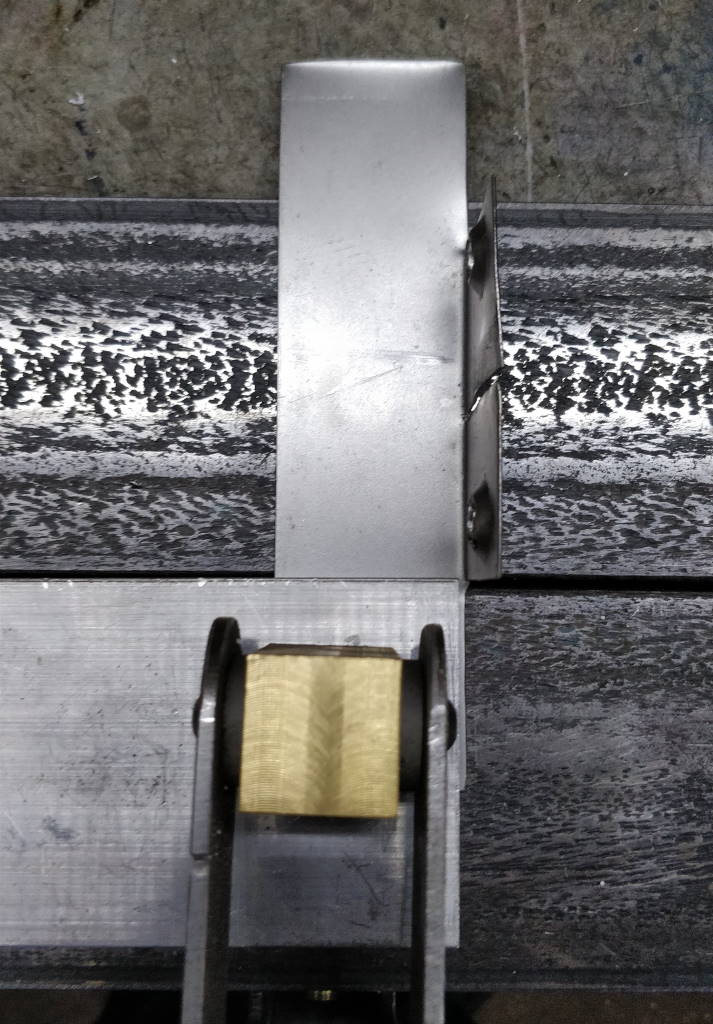
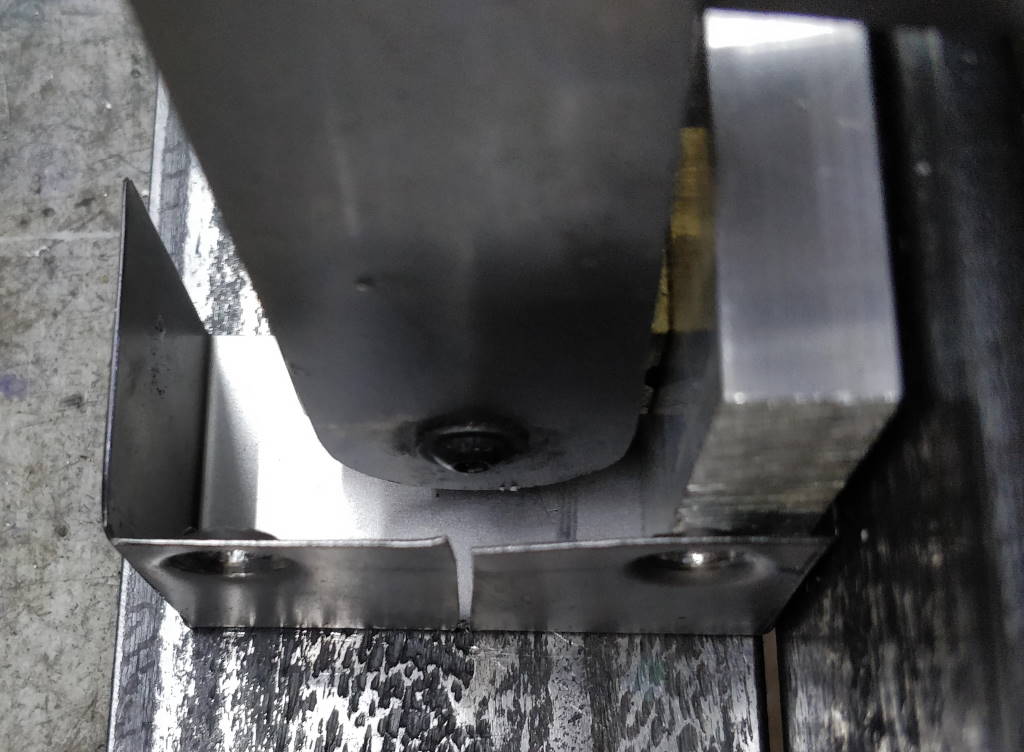
These photos show the process I went through with my sheet metal bender to form the blade guard into the correct shape.
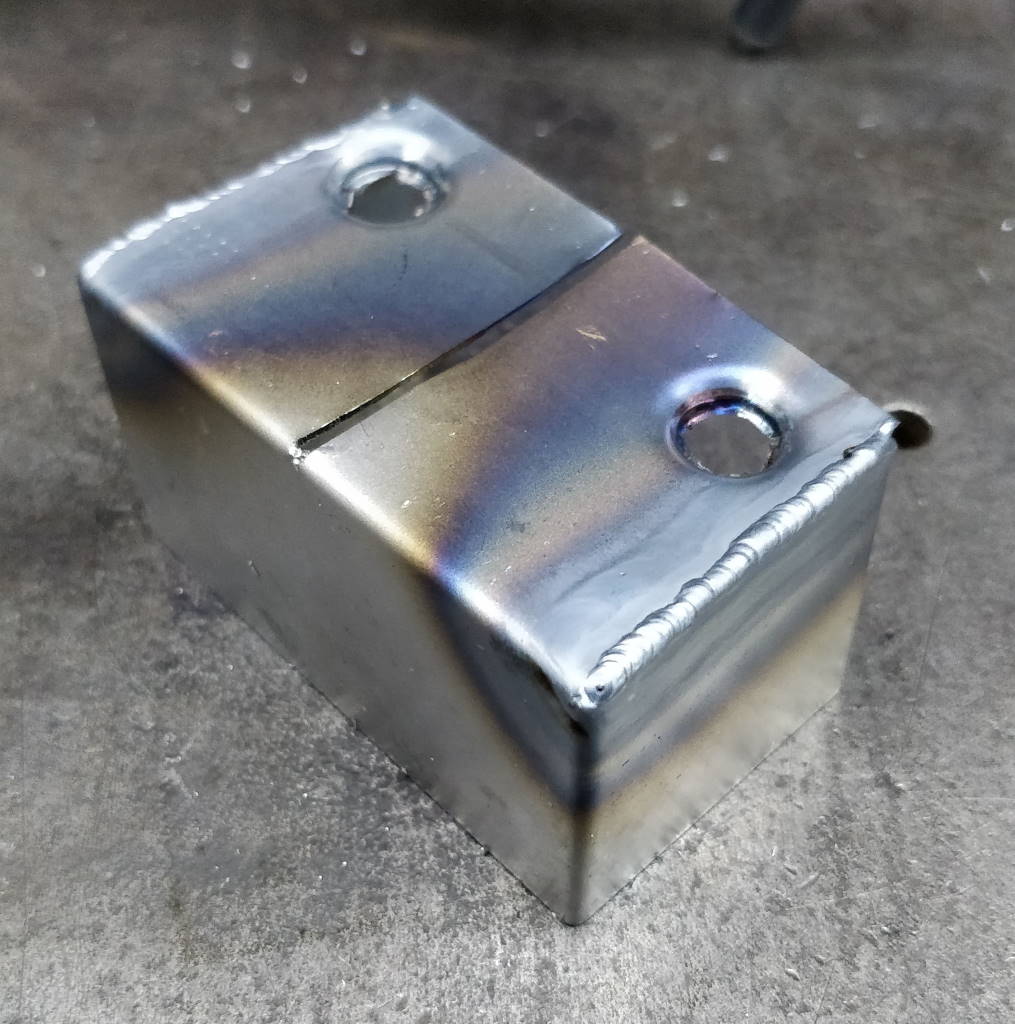
Finally, I used my welder's third hand to hold the folded guard still and then
TIG welded along the edges to make it into a single piece. A bit of tidying up of the welds with
the belt sander (after the photos were taken) and it was ready for priming and painting.
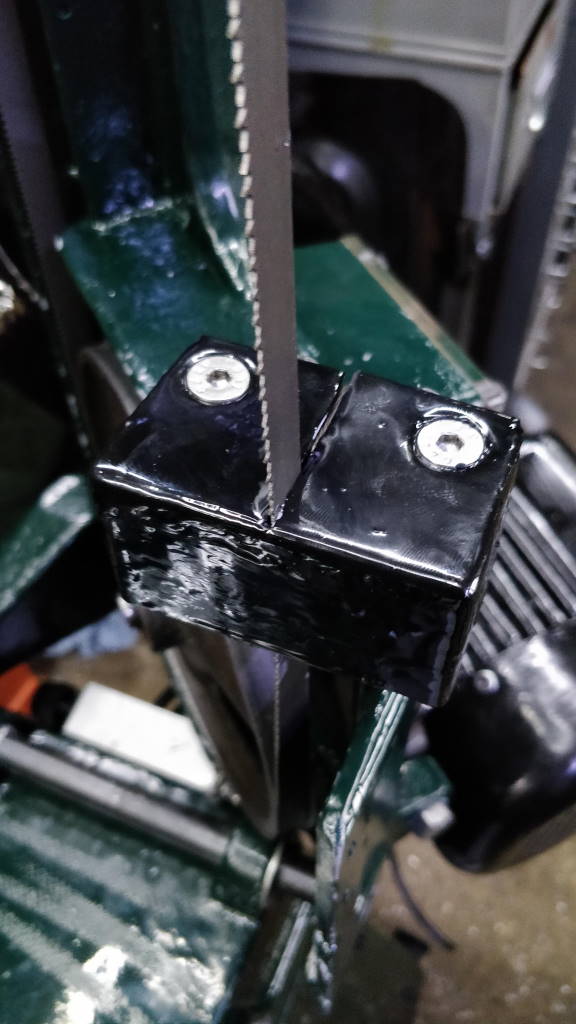
This photo shows the blade guard after it had been painted and fitted to the saw. At this point I made an amateur error: I turned the bandsaw on to check it was running okay, but I hadn't adjusted the blade yet. As a result the blade worked its way off the blade guide and I found myself in need of another blade guard:
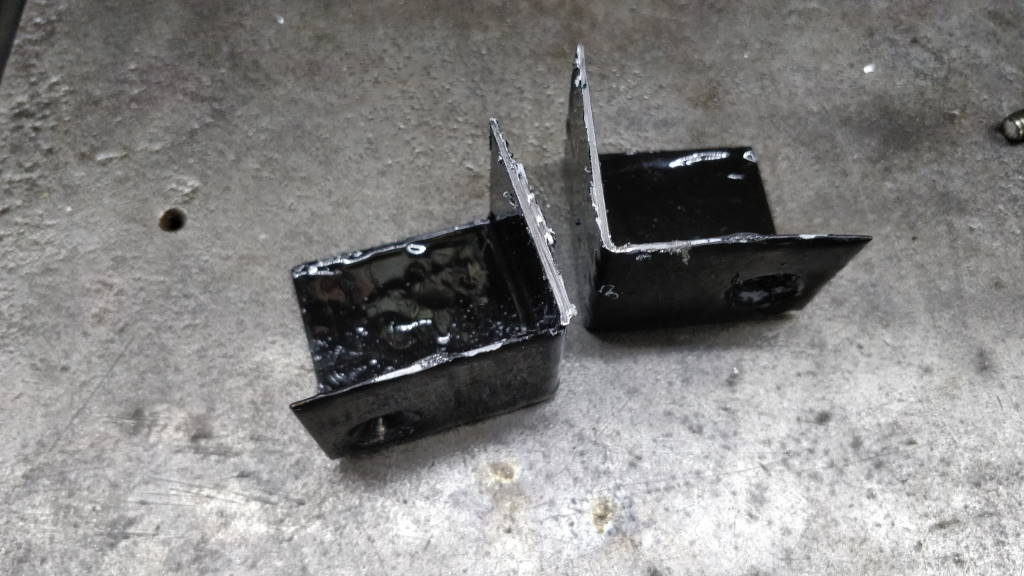
Back to square one!
This website is free and ad-free, but costs me money to run. If you'd like to support this site, please consider making a small donation or sending me a message to let me know what you liked or found useful.
