Bandsaw Restoration: Gearbox Assembly
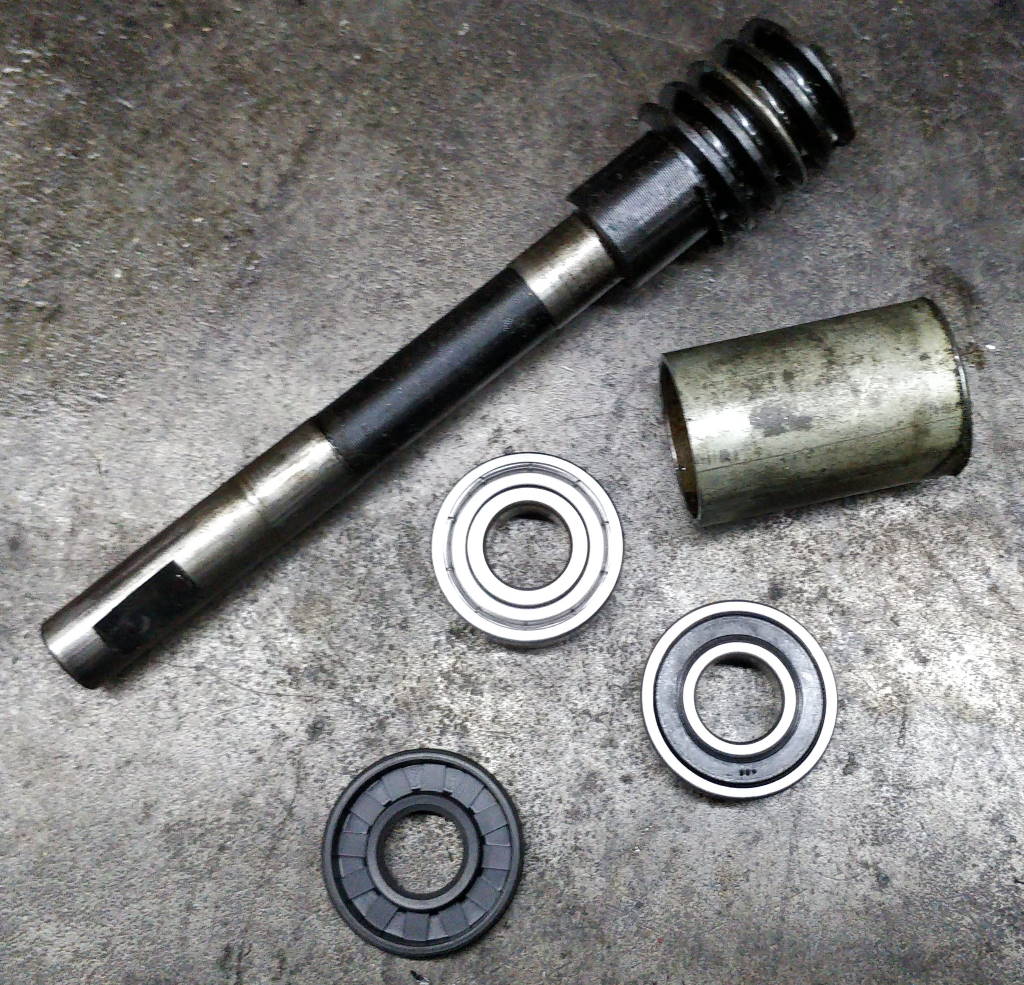
The photo above shows the worm shaft and the new bearings and oil seal. The tube on the right-hand side of the photo is a spacer to separate the two bearings.
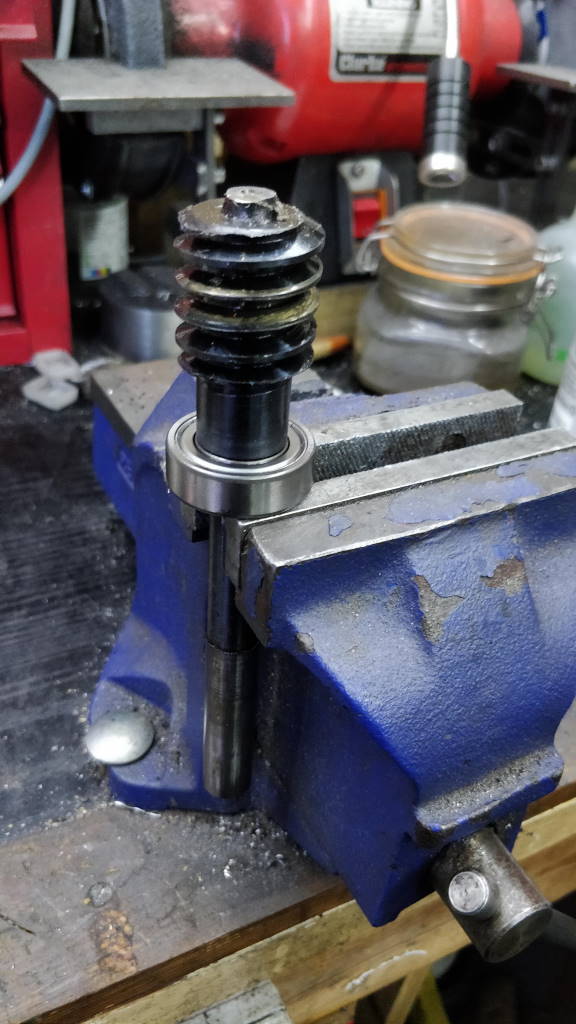
I started by fitting the ZZ bearing to the shaft. This was done by putting the bearing on the bench vice (ensuring that contact was made on the inner race) and tapping the shaft in with a soft-jawed hammer. As you can see in the photo, there is some damage to the worm itself, but this is outside of the main working area of the worm and doesn't seem to affect operation.
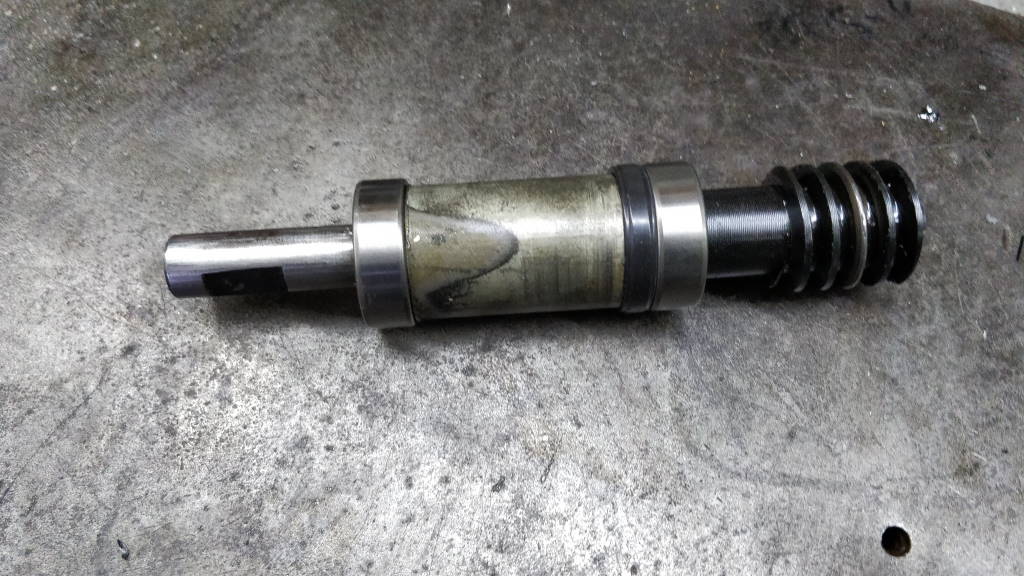
This photo shows the fully assembled worm shaft (the other components were added in the same manner as the ZZ bearing).
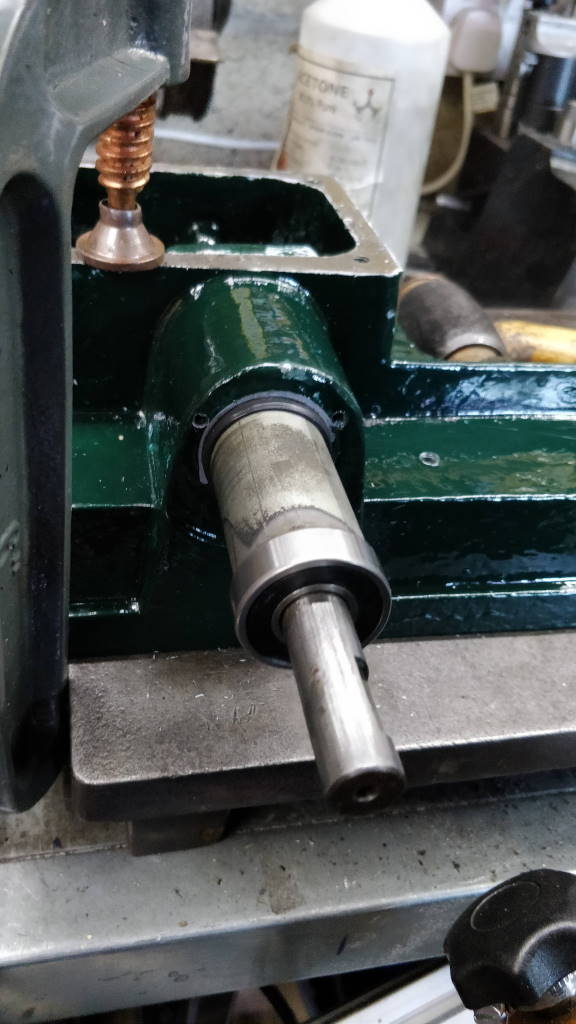
The shaft bearings and oil seal are a tight fit in the gearbox casting bore. To insert the worm shaft (without a press) it was necessary to hit the bearing races rather than the end of the shaft. Hitting the end of the shaft would push the shaft into the gearbox without the bearings.
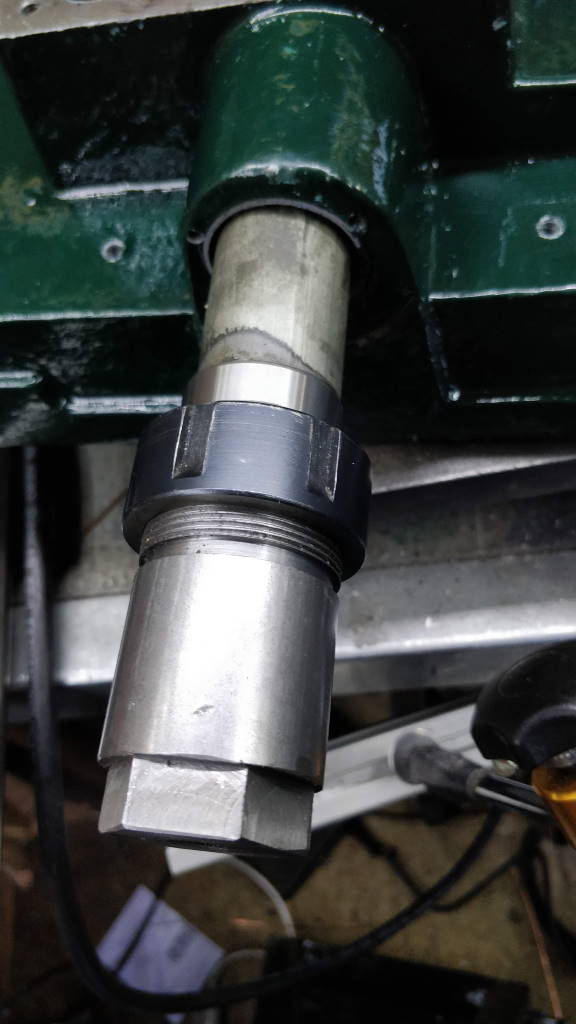
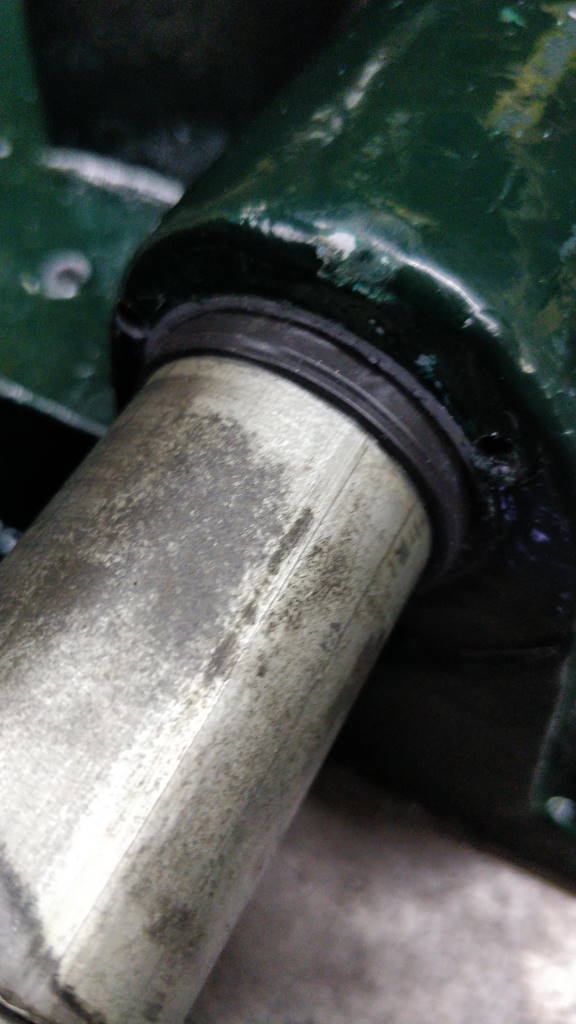
To make sure I was pushing in the right area, I used the head of my ER32 slide hammer to hold the shaft and press against the bearing. I then tapped the rear of that with a soft-jawed hammer until the worm shaft was fully inserted.
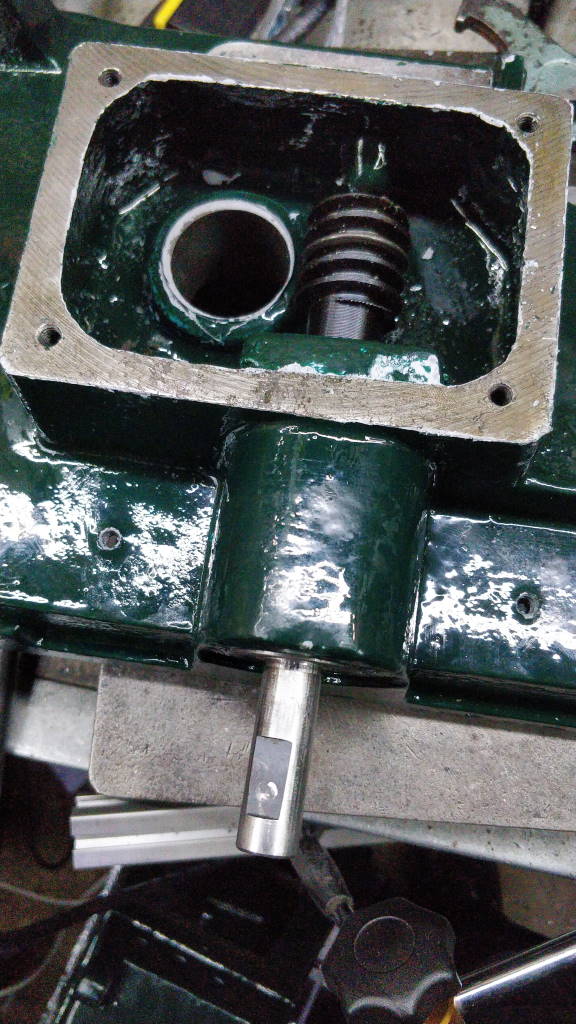
This photo shows the worm shaft fitted and the end cap in place.
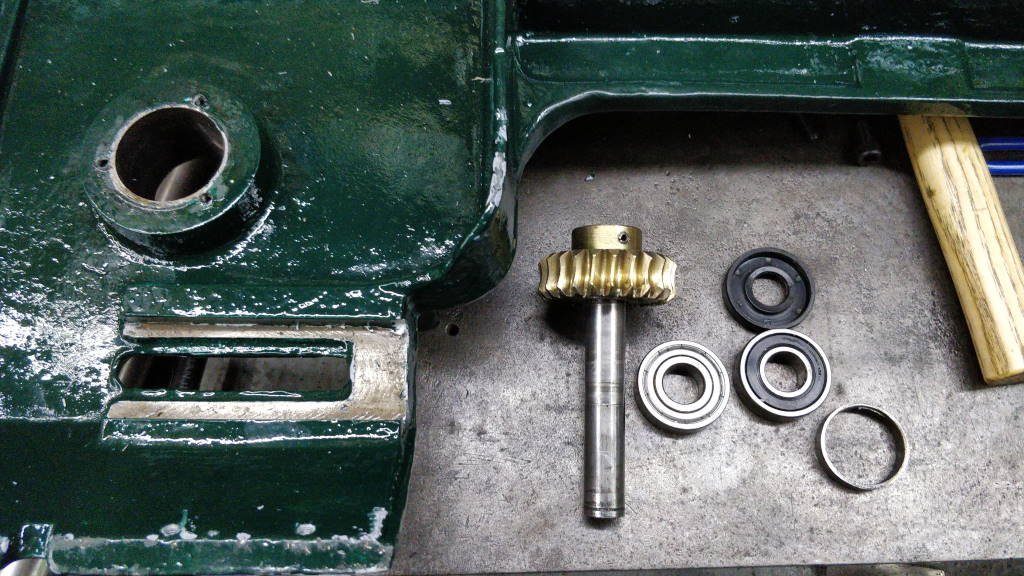
This photo shows the worm wheel shaft and its bearings, oil seal and spacer. I decided to insert the components for this shaft in a different order.
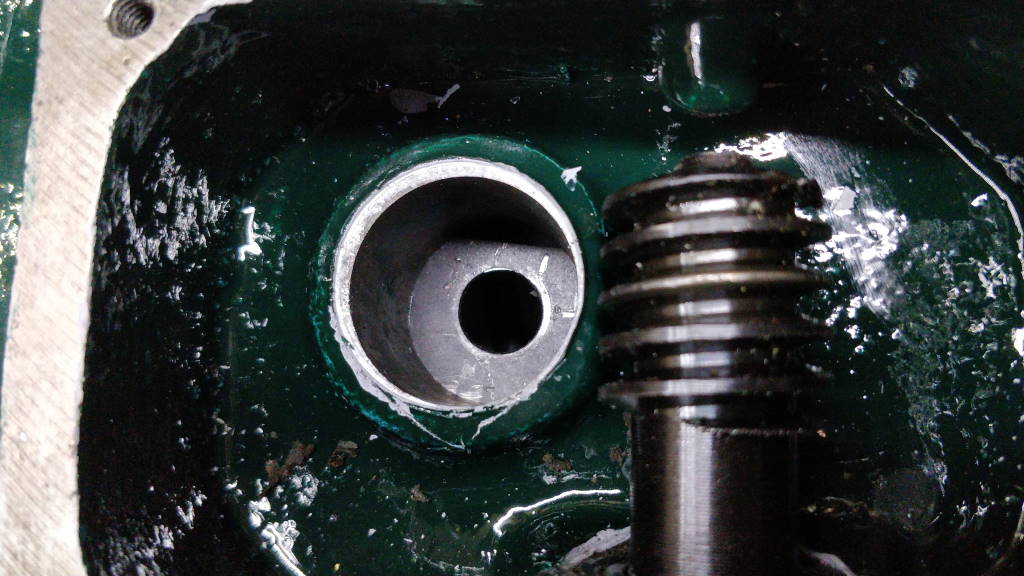
First the retaining plate was fitted from the underside.
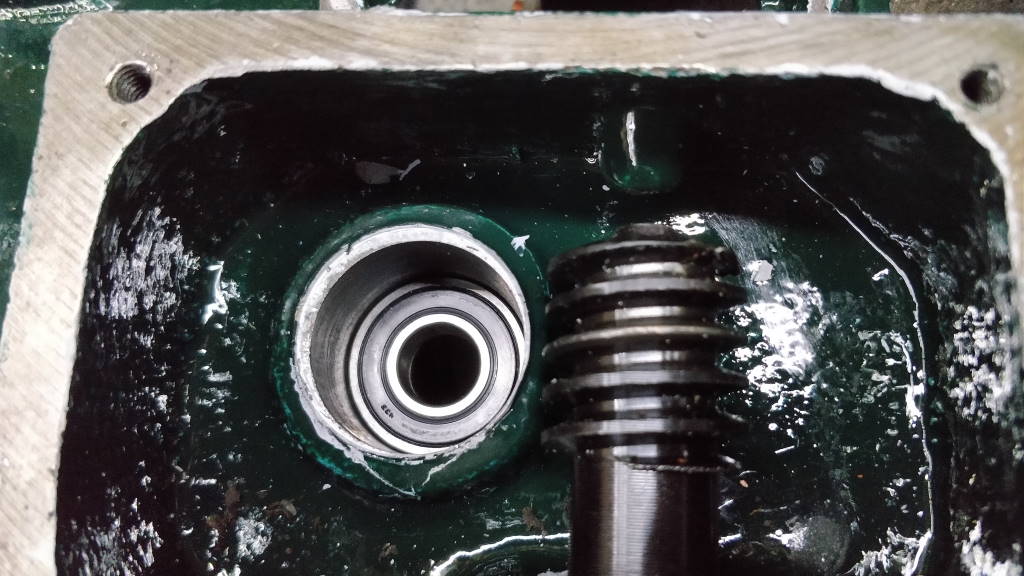
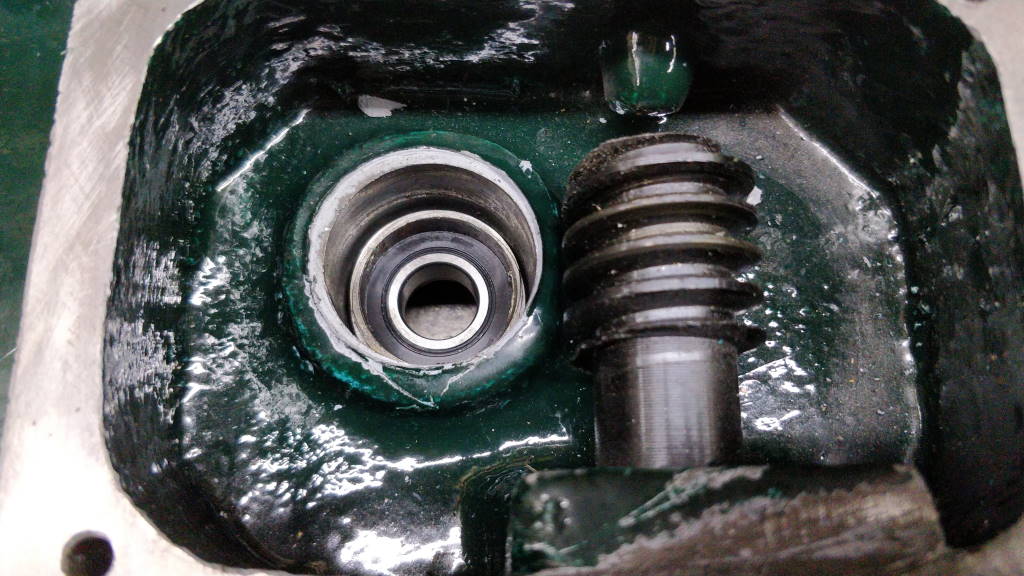
Next I inserted the 2RS bearing and then the spacer.
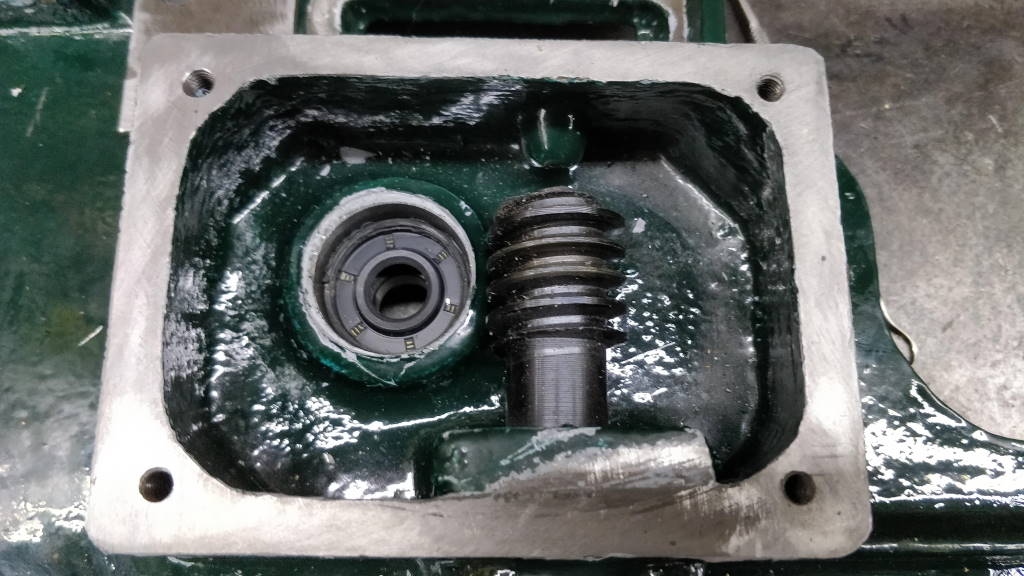
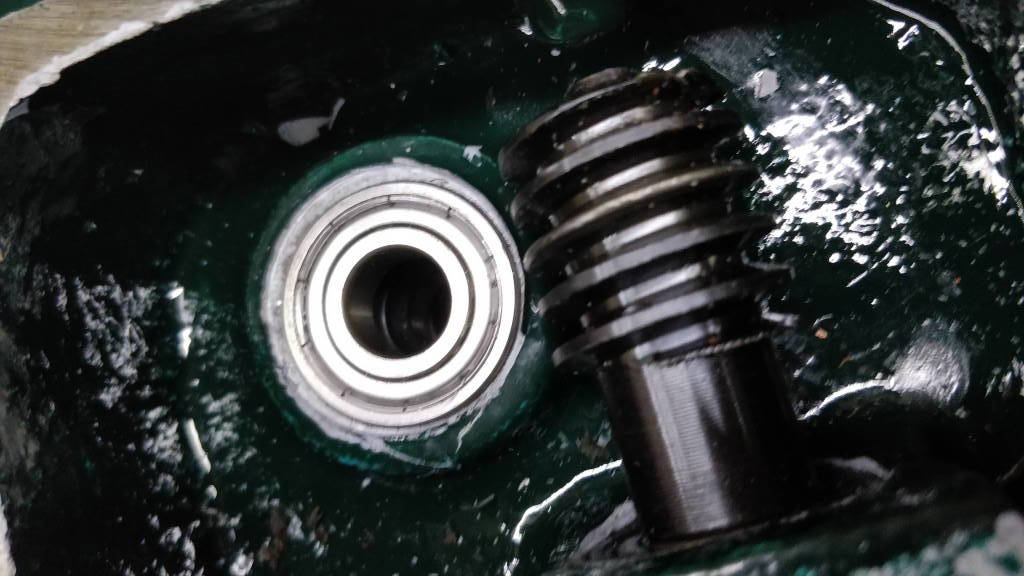
The oil seal and the second bearing went in next.
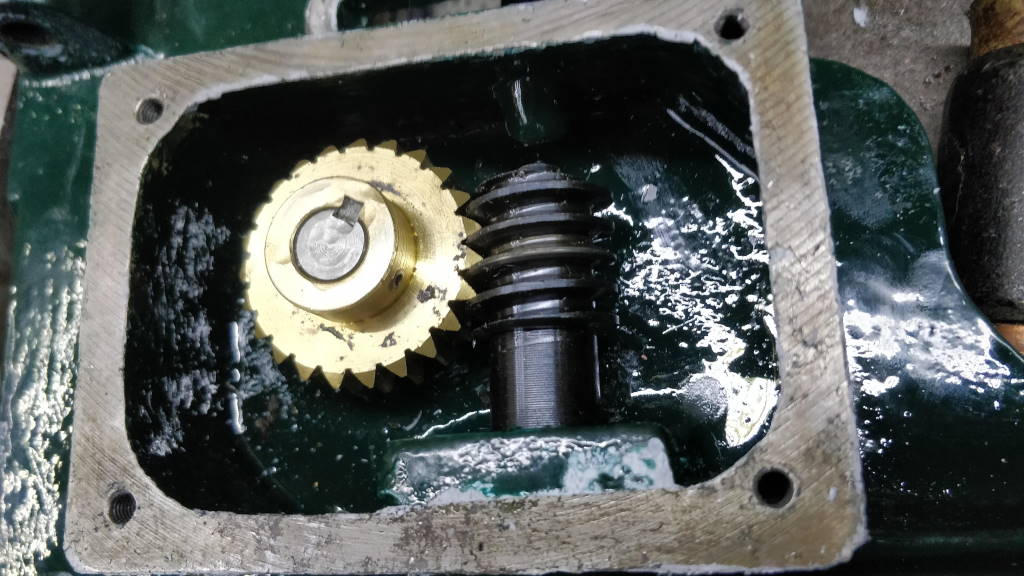
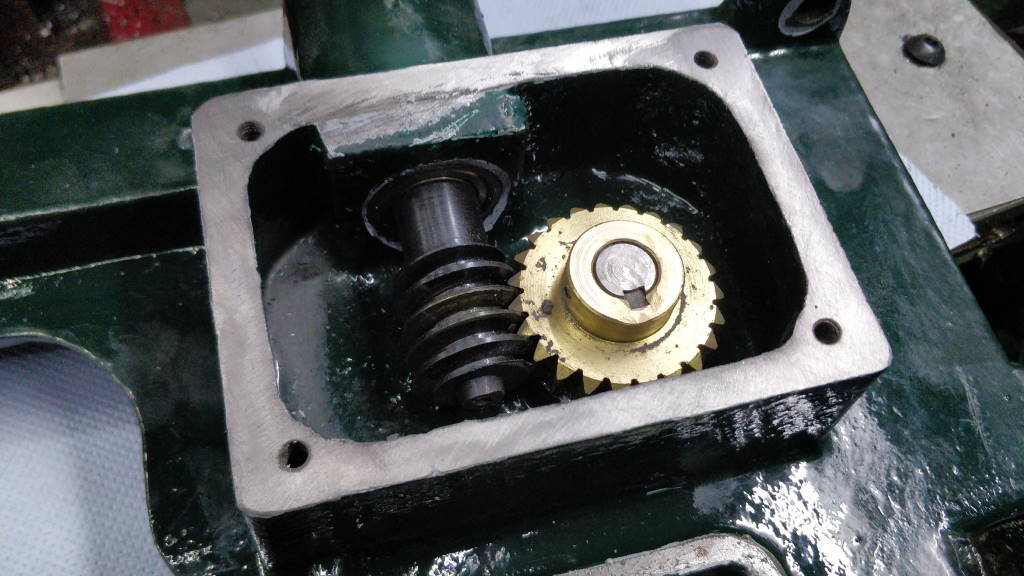
Finally, the worm wheel shaft was tapped in with a soft hammer. To improve the chances of getting a good oil seal, I used a fine hand file over the whole of the machined face of the gearbox. The result of this can be seen in the right-hand photo.
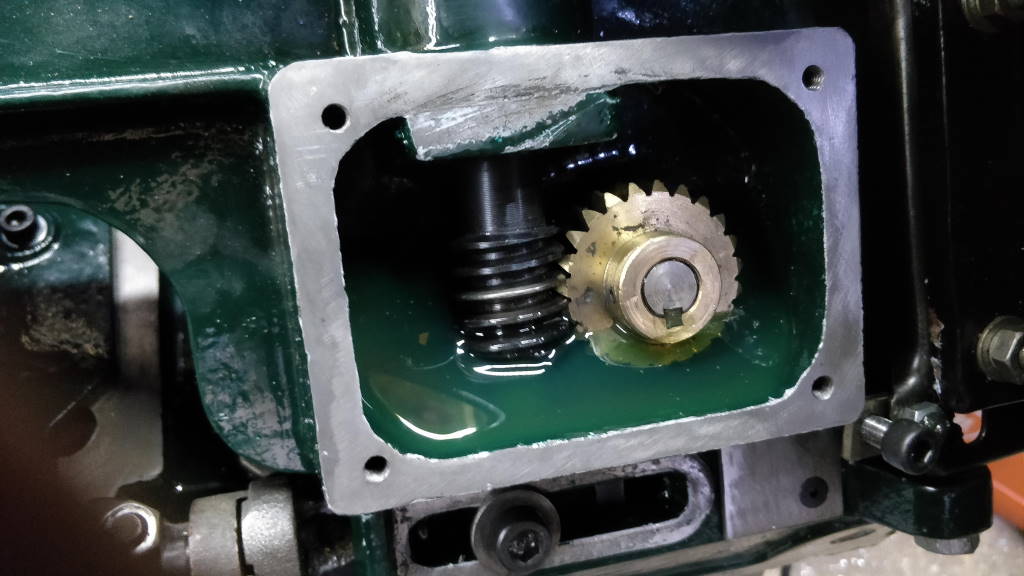
I used Hypoid Gear Oil (not for any good reason other than that I had some and it had "Gear" in its name!). I filled it up to the point that any more would overflow the lip when the bandsaw is in its horizontal position.
This website is free and ad-free, but costs me money to run. If you'd like to support this site, please consider making a small donation or sending me a message to let me know what you liked or found useful.
