
Desk-top Bookshelf Build Process
 Return to main project page
Page 2 of 10
Posted 3rd July 2026
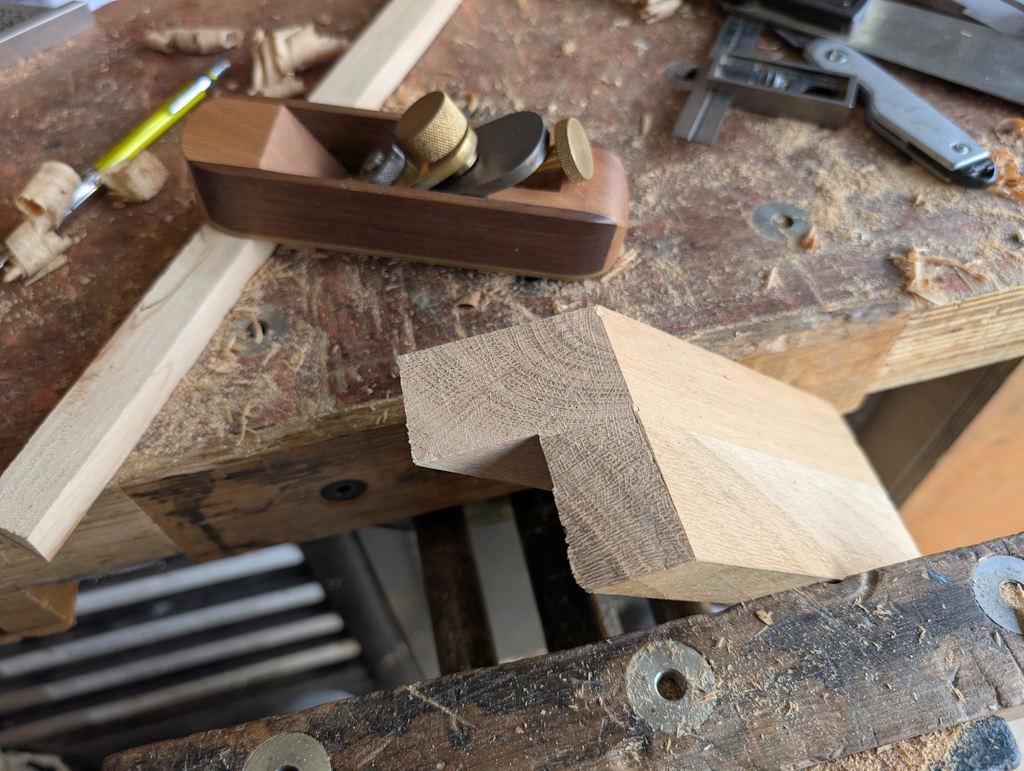
I finally managed a bit more workshop time this morning. If you remember from the last instalment, the last thing I'd done was to chop straight down parallel with (but not all the way up to) the shoulder line. The next job was to clean up the corners (where the saw didn't reach due to cutting at 45°), which I did in the vice:
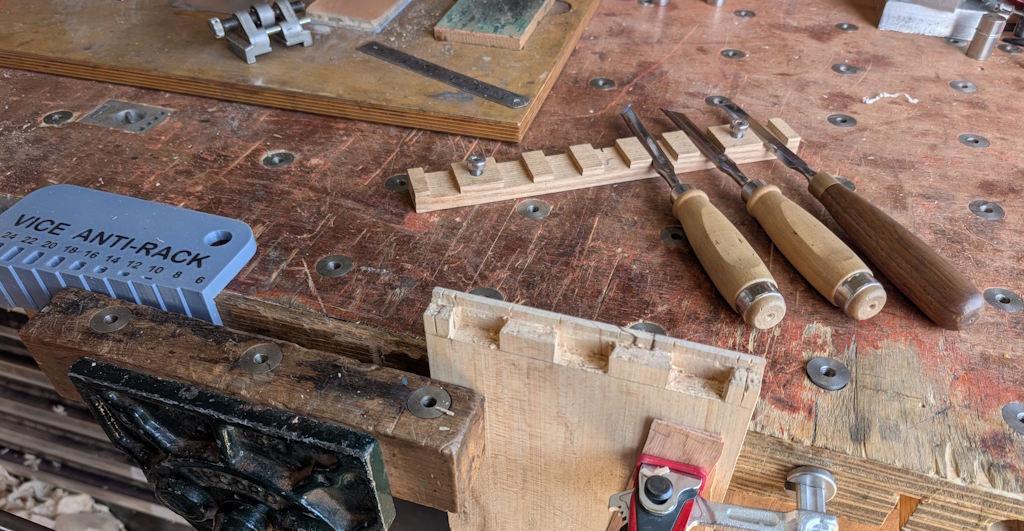
The glue faces (sides of the sockets) pared nicely, with none of the break-out of the slightly spalted wood that I had on the shoulder chops:
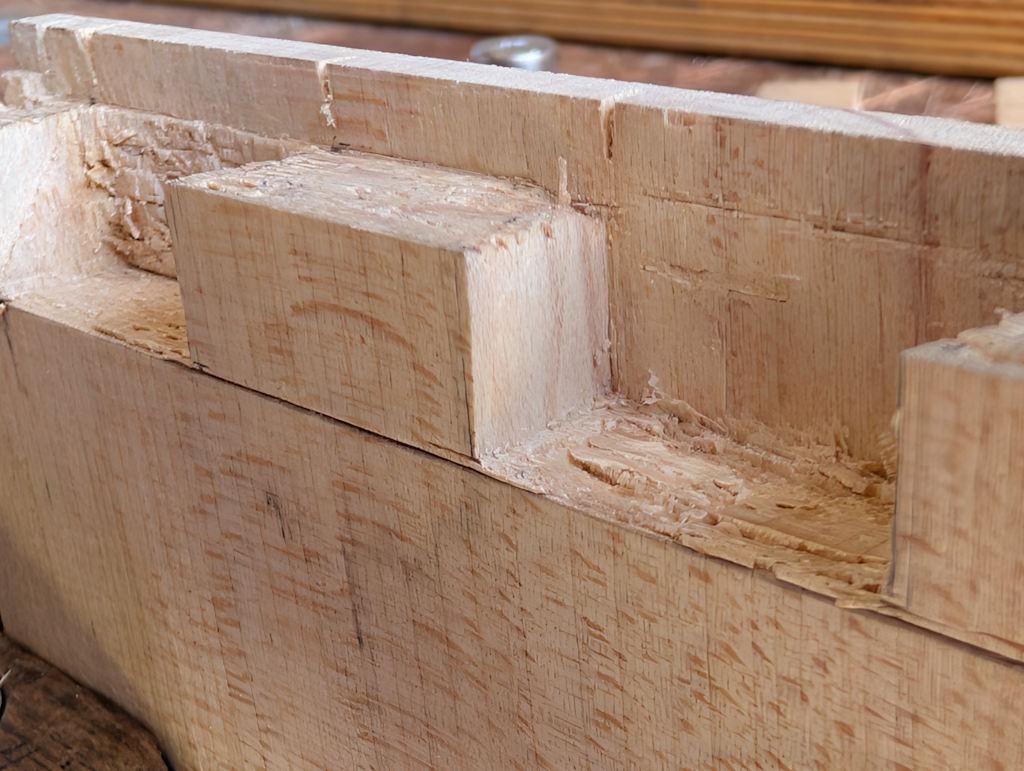
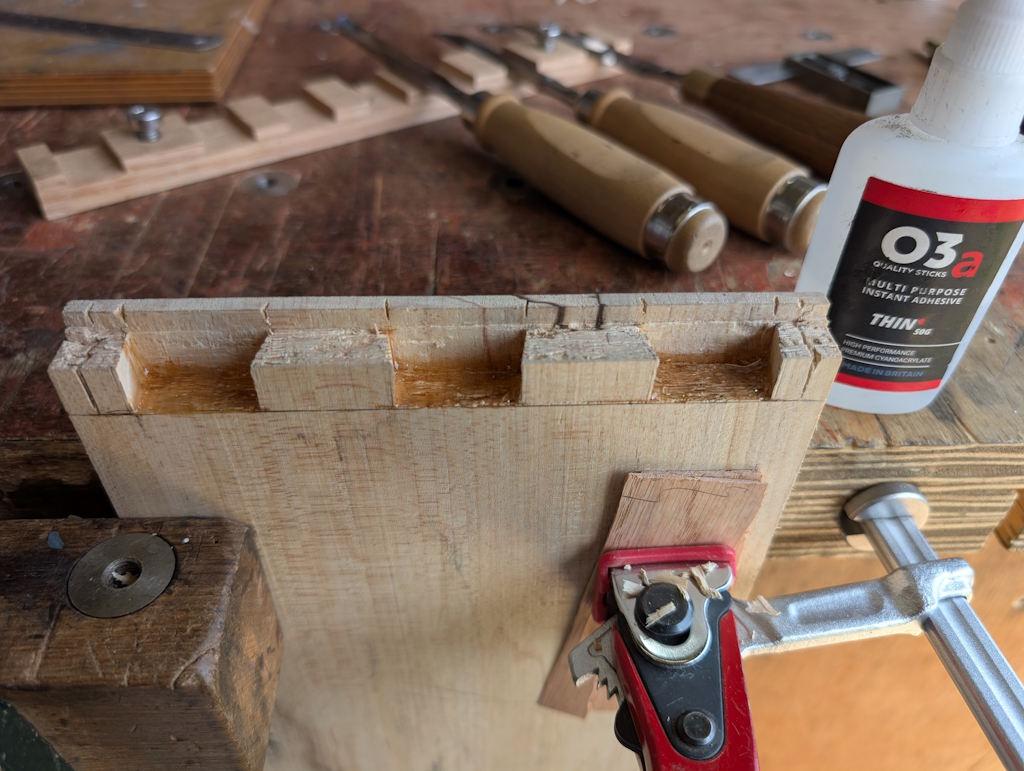
Before doing the final cut along the shoulder line, I decided to pour a bit of thin superglue into the end grain:
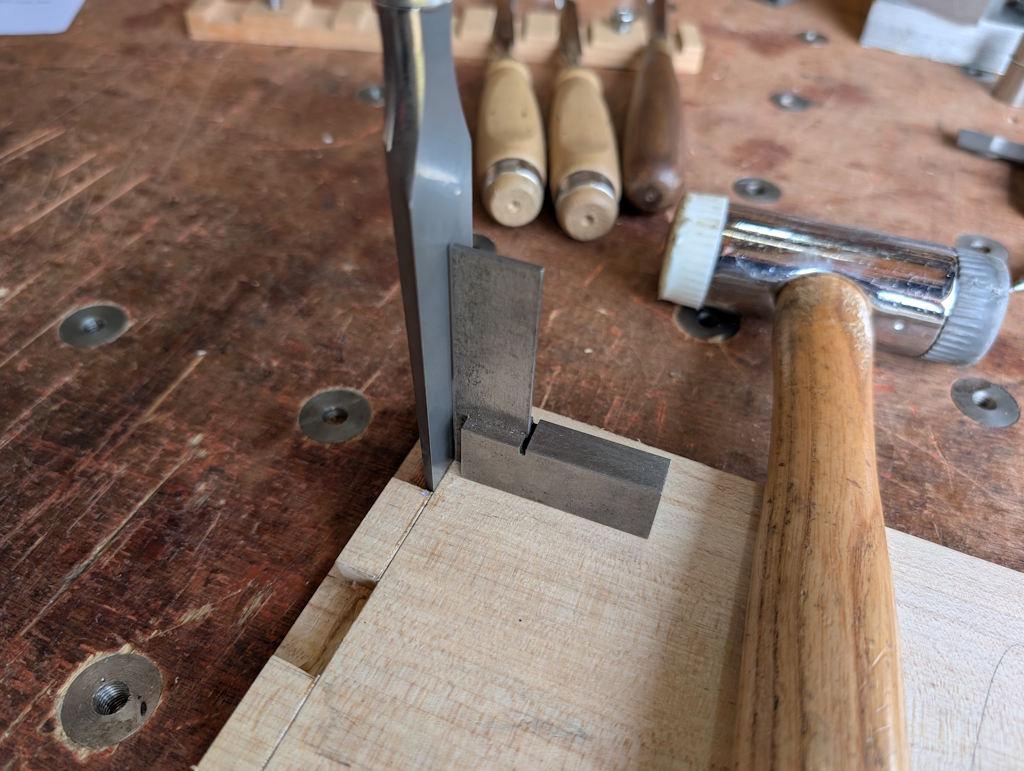
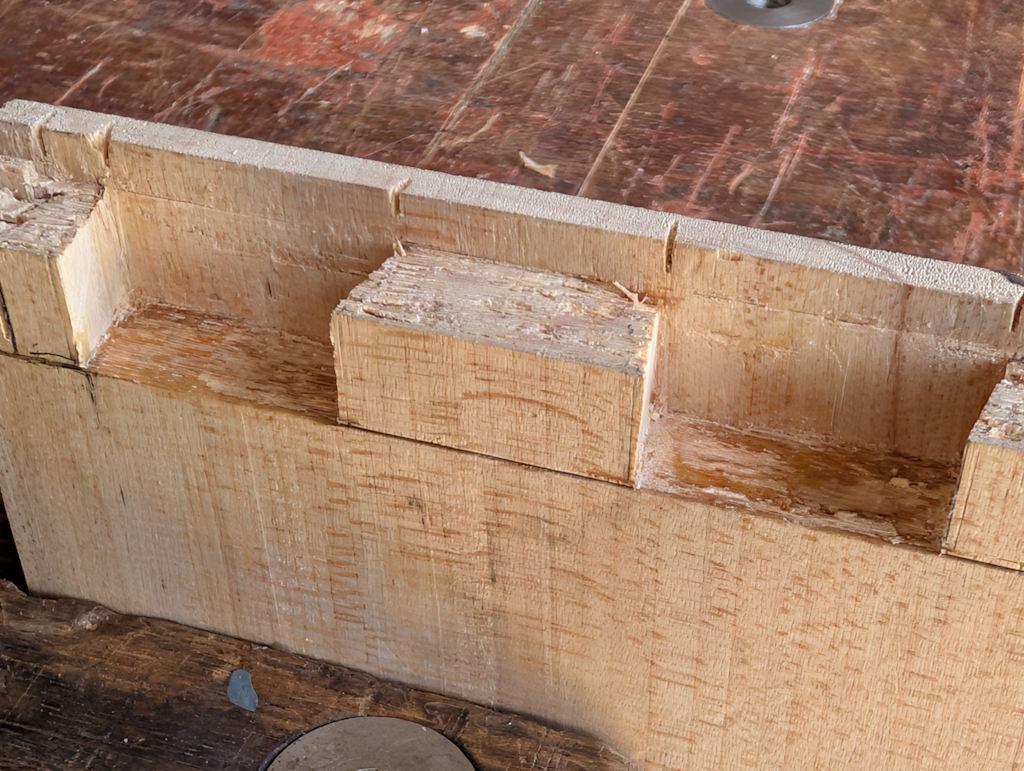
I could then chop down into the shoulder line, using an engineers square to ensure I was ever-so-slightly undercutting the shoulder:
There's still some superglue visible in a close-up photo (unsurprisingly given how broken up the surface was) but it's a much smoother finish and there's no superglue on the glue faces:
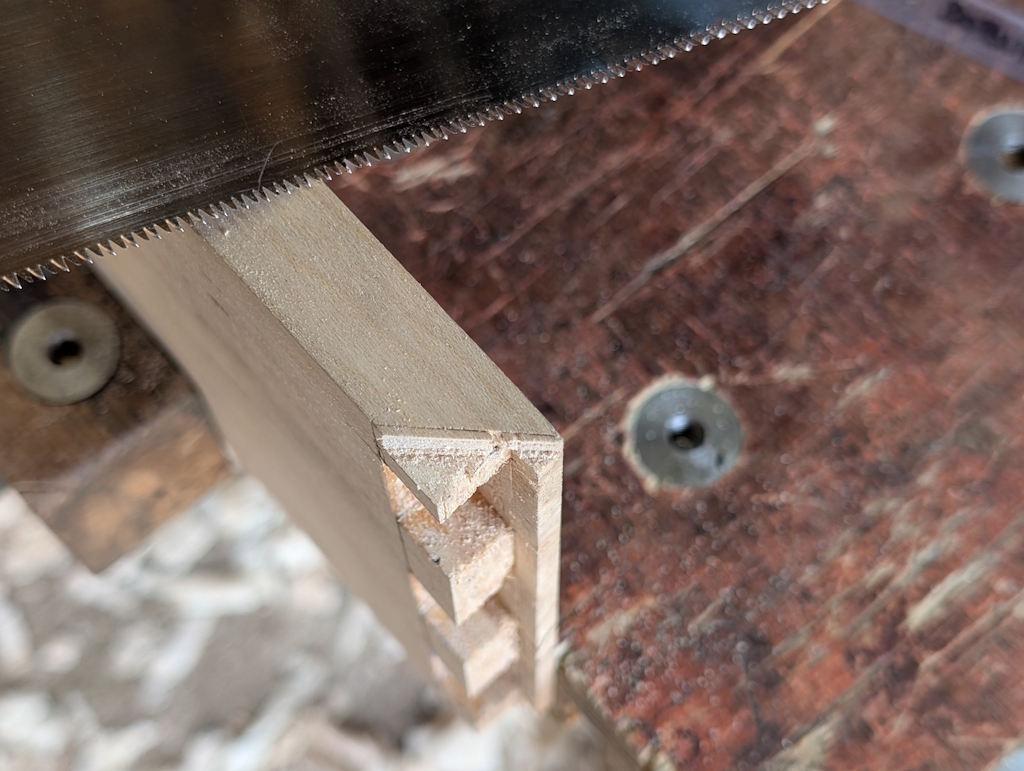
Next up was to saw the mitres with a cross-cut Dozuki, keeping well away from the knife line:
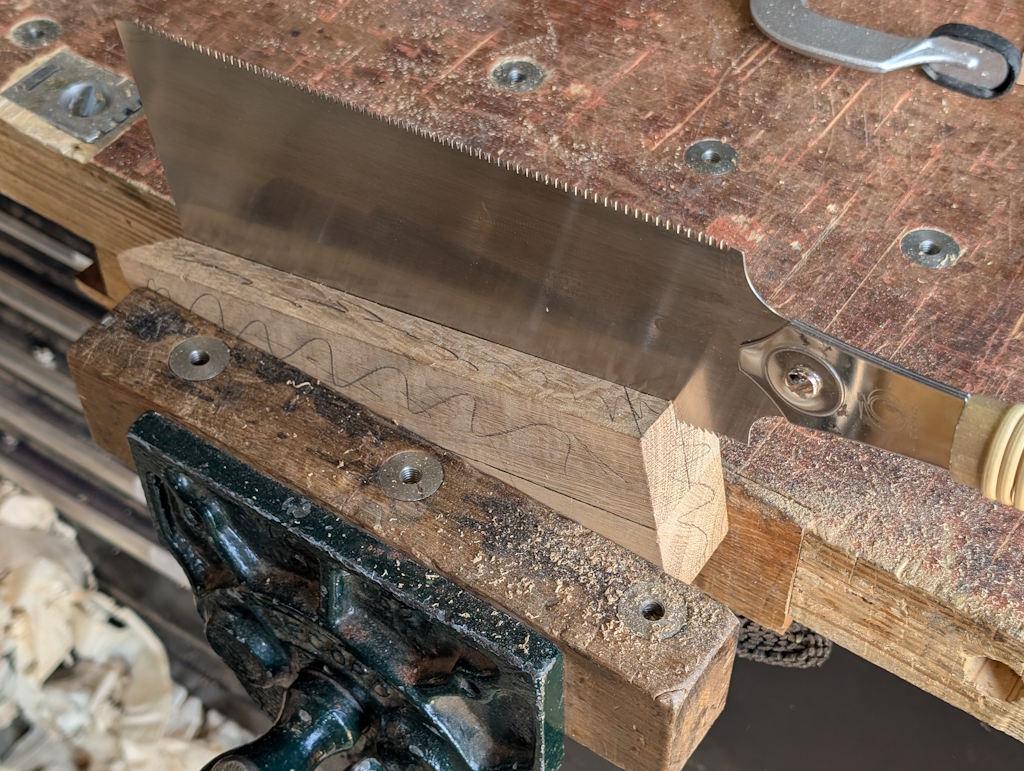
I decided to make a new mitre jig for this job. I've previously just used lumps of wood with a 45° angle planed (usually on a shooting board) on the end. I thought it would be nicer to have something that goes round the corner so I can attack the mitre from the side rather than the face.
This is one of those few jobs where my (long since sold) table saw would probably have been a preferable option but I really don't miss that saw and it's good to practise the techniques involved in doing things by hand.
I used a bit of oak worktop and my Ryoba to cut a big rebate and to roughly mitre the two ends:
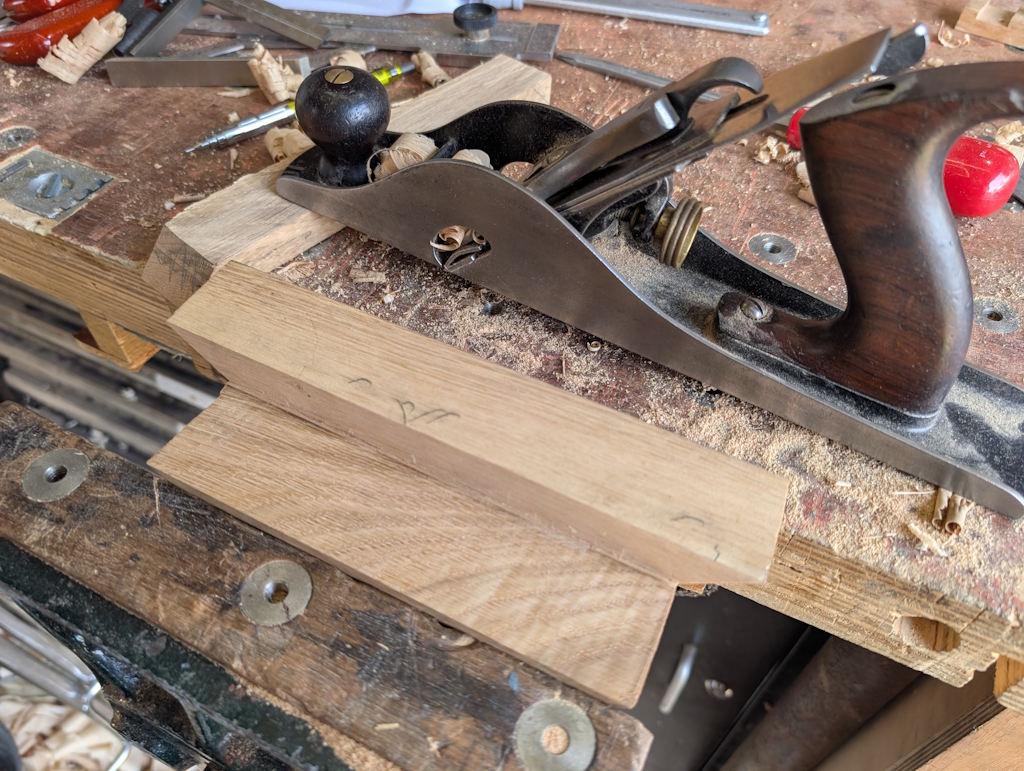
The carriagemaker's rebate plane then came out to prepare the two reference surfaces:
I then settled down on a stool and gradually worked at the mitres on each end with my little block plane until the surface was flat (as measured with a steel rule) and at 45° to the reference surface (as measured with a combination square). This was a work-in-progress shot (where it wasn't quite at the right angle yet); the finished shot ended up blurry so I decided to be lazy and just share this one instead:
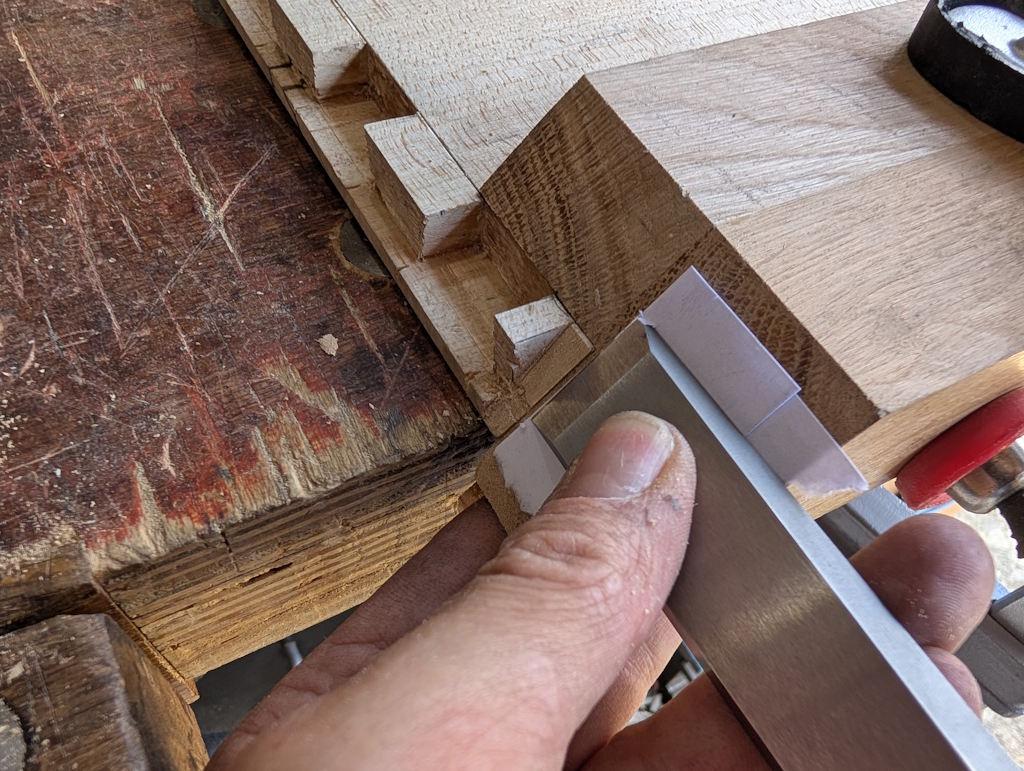
Next up was to pare the mitres. When I've done this before (on mitred dovetails, not secret ones of which this is my first attempt) I've generally fitted the mitre guide overlapping the end and then gradually tapped it back with a mallet after each cut. This time I decided to try David Charlesworth's method, which worked really well. His method is to use bits of card and paper as shims underneath the chisel, gradually reducing the number of layers so that each chisel cut is about the thickness of a piece of paper:
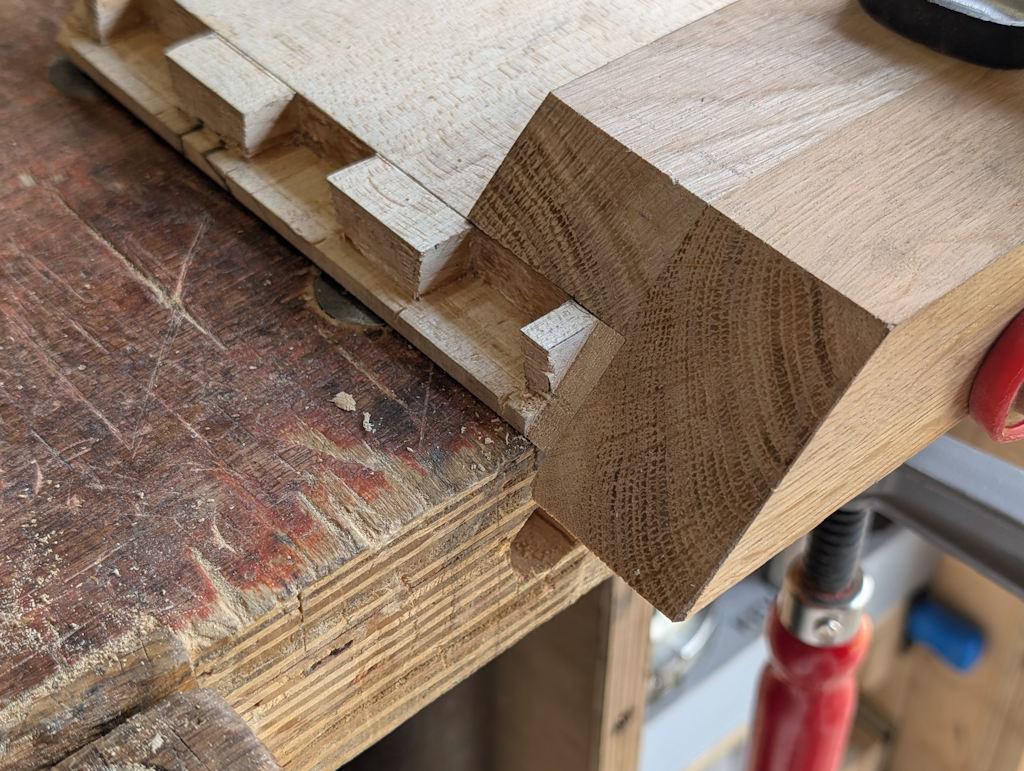
That worked really well; each cut was a nice even thickness and felt very controlled. The first mitre done:
The next job is to transfer the shape of the pins onto the tail board (the long mitre gets pared later).
Page 2 of 10
This website is free and ad-free, but costs me money to run. If you'd like to support this site, please consider making a small donation or sending me a message to let me know what you liked or found useful.