
Desk-top Bookshelf Build Process
 Return to main project page
Page 3 of 10
Posted 4th July 2026
This morning I got on with the tail board. I put some masking tape on the face of the board and then used this set-up to transfer the edges of the pins across to the tail board:
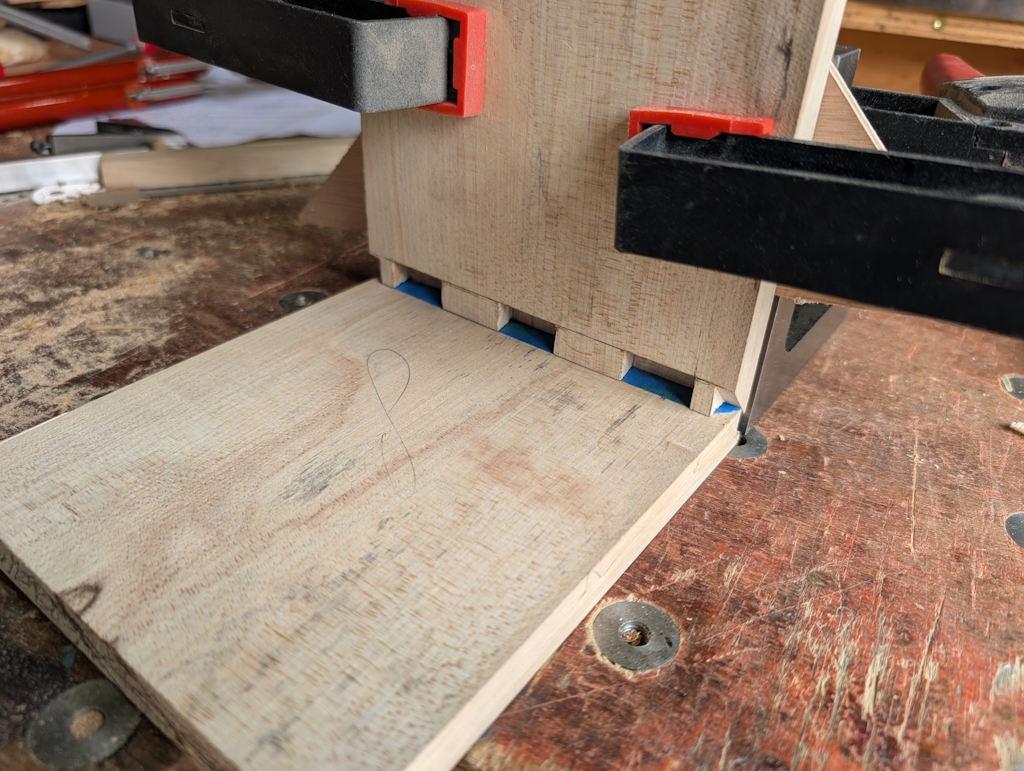
David Charlesworth used a "Robert Wearing tranfer jig" (presumably from one of Wearing's excellent books). The jig consisted of two bits of plywood fixed together with a brace on the back to make sure they were fixed at right-angles to one another.
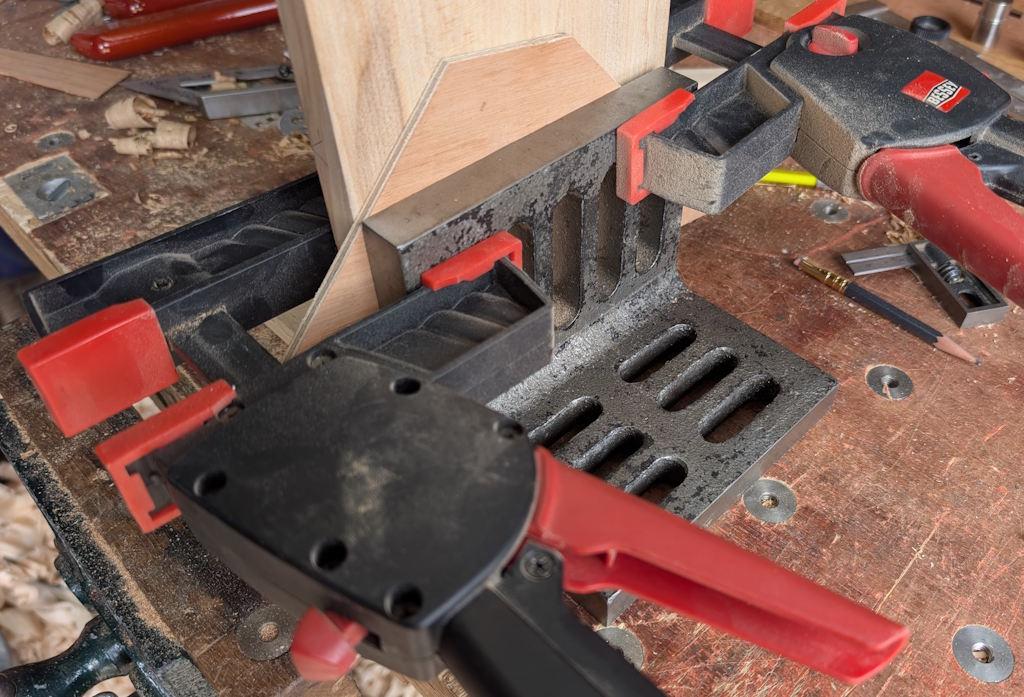
I've got a fairly well-equipped metalworking set-up, so I just used an angle plate (with a bit of plywood to make sure any slight protrusion of the tail board wouldn't hit the angle plate and stop the pin board from sitting in the right place):
This is what it looked like after peeling the tape away in the waste areas:
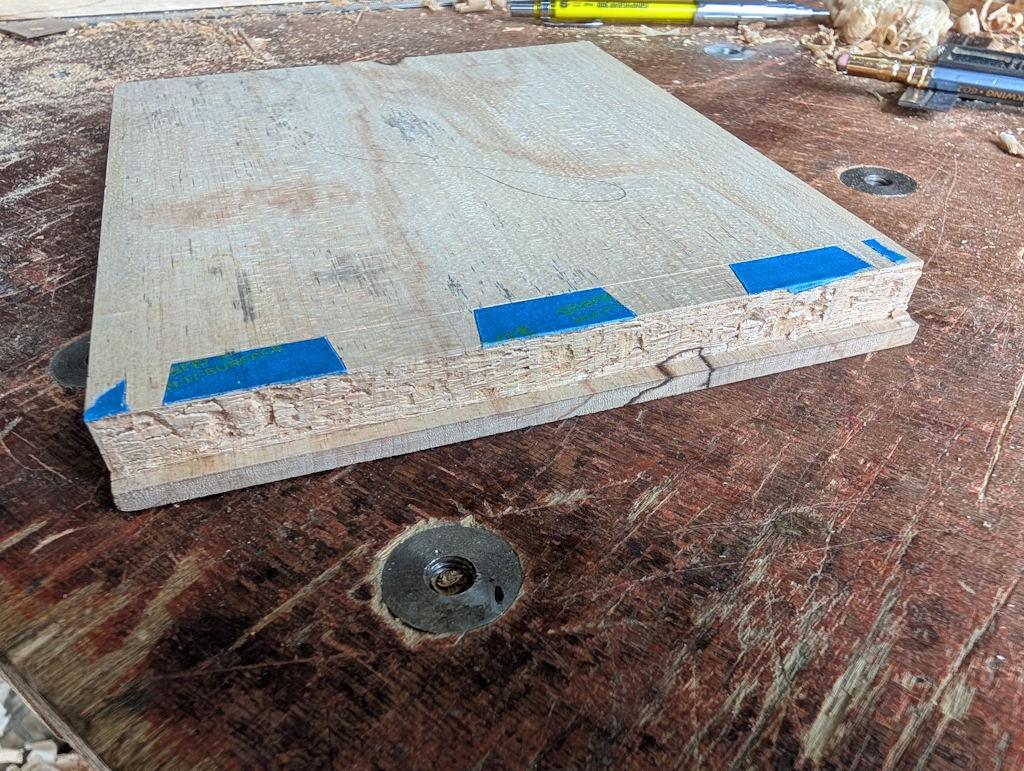
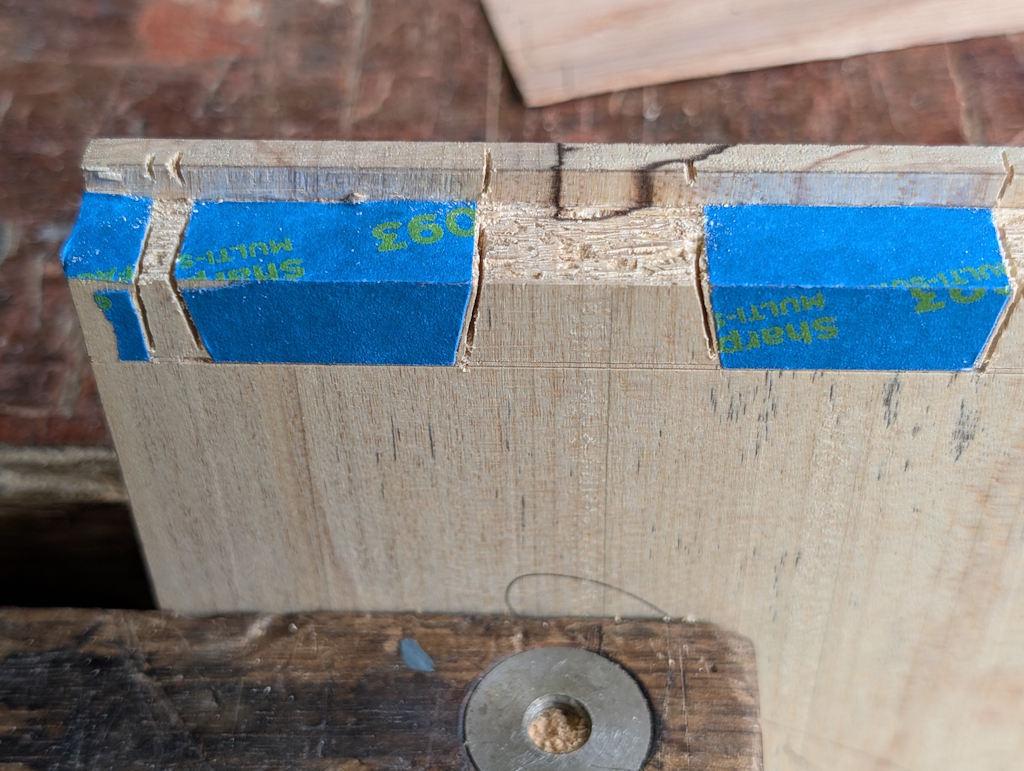
I'd originally put tape on both the end grain and the face, but I realised just before marking up that the tape would cause the pin board to be held slightly off the end grain and that would result in a misalignment (albeit a tiny one), so I removed it before cutting the lines. Before transferring the knife lines across the end grain, I re-fitted a piece of masking tape. I then sawed (at 45°), keeping a little way away from the lines as I wanted to pare these ones (which is what David Charlesworth did and if it's good enough for him then it's fine by me):
Next up was some chisel time, chopping out the waste, using angled cuts so the waste came out without any risk of damage to the tail edges:
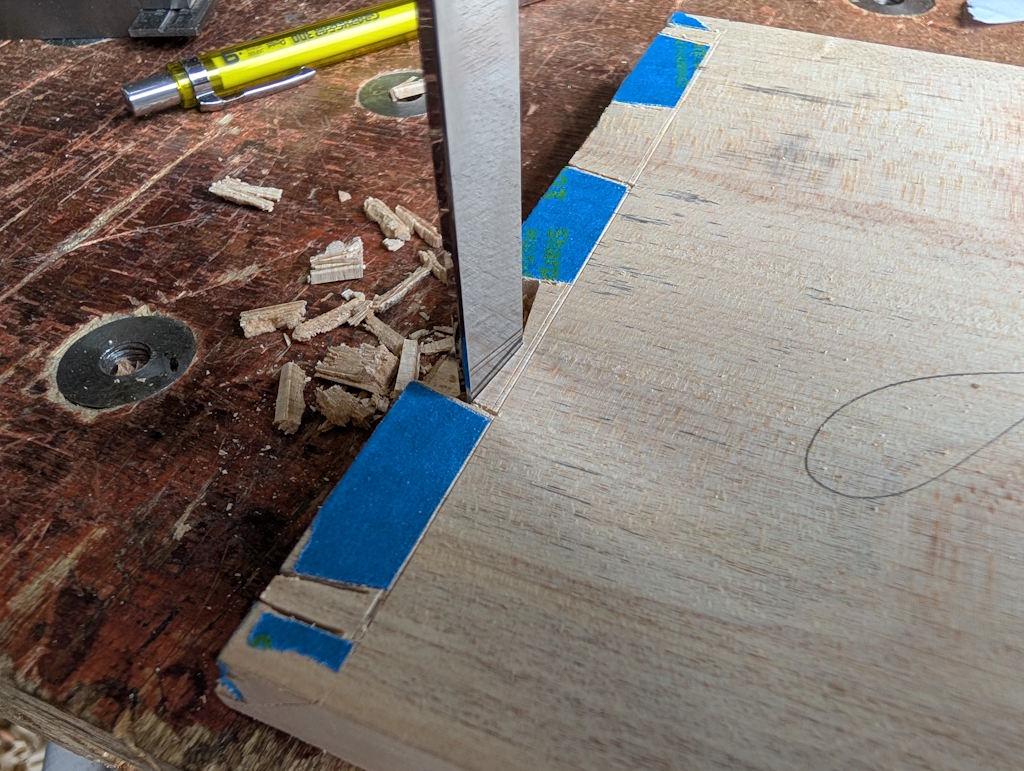
As before, I worked to a second shoulder line and only when everything else was cleaned up did I chop down in the proper shoulder line.
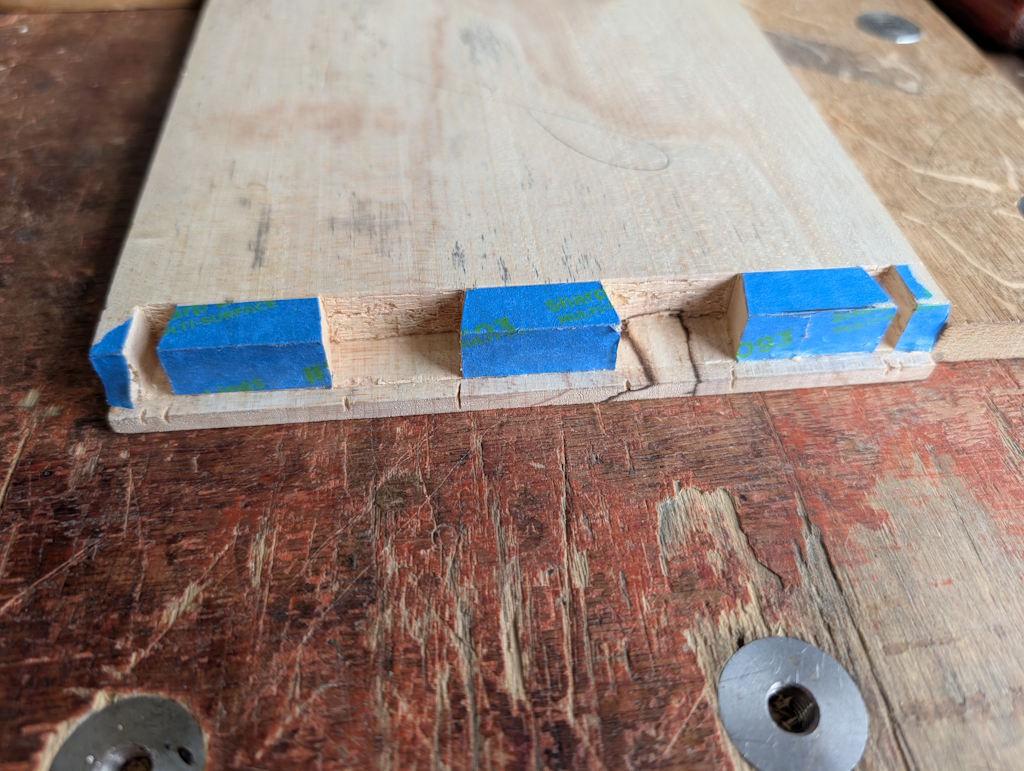
The tails all cleaned up:
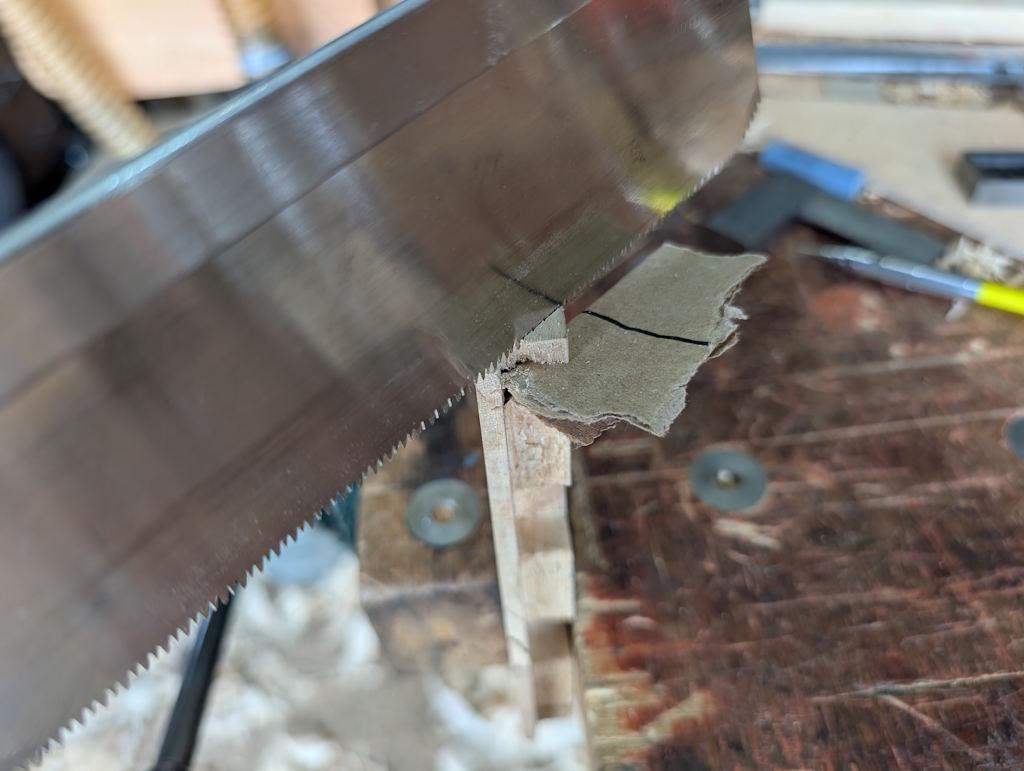
The edge mitres were dealt with in much the same way as before, except that I used a trick I saw in a Matt Estlea video and shoved a bit of cardboard into the end pin socket. That bit of cardboard catches the saw at the end of the cut and stops it dropping into the tail:
Paring the edge mitres was the same as before:
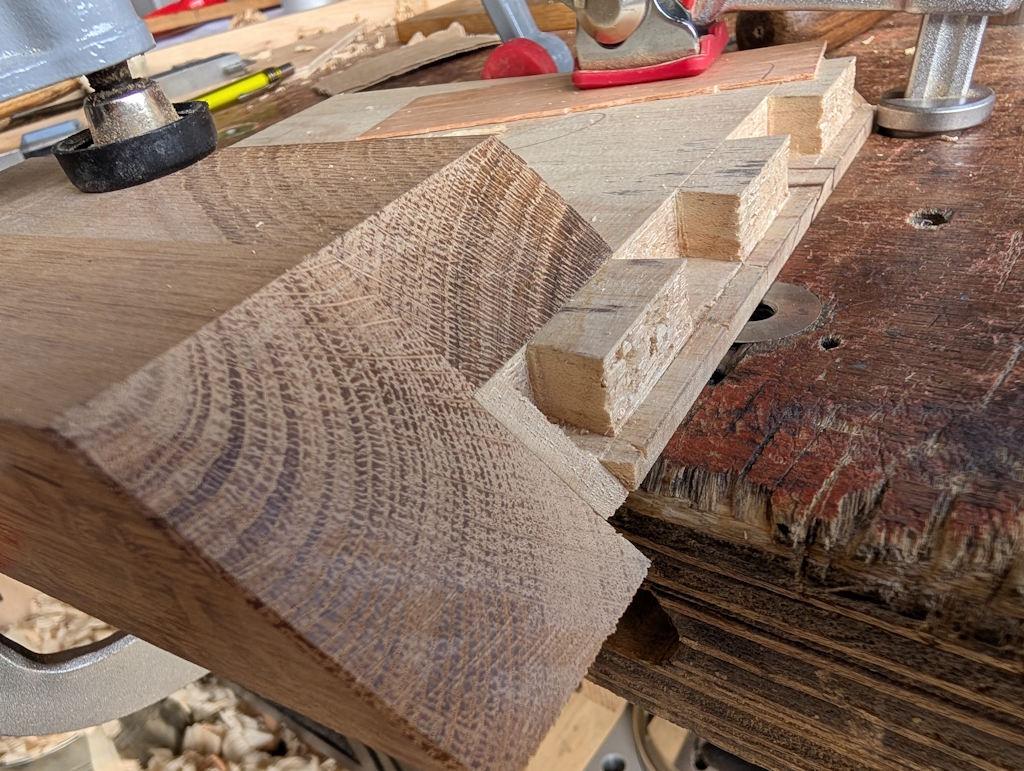
At this point, it was time to do a test fit:
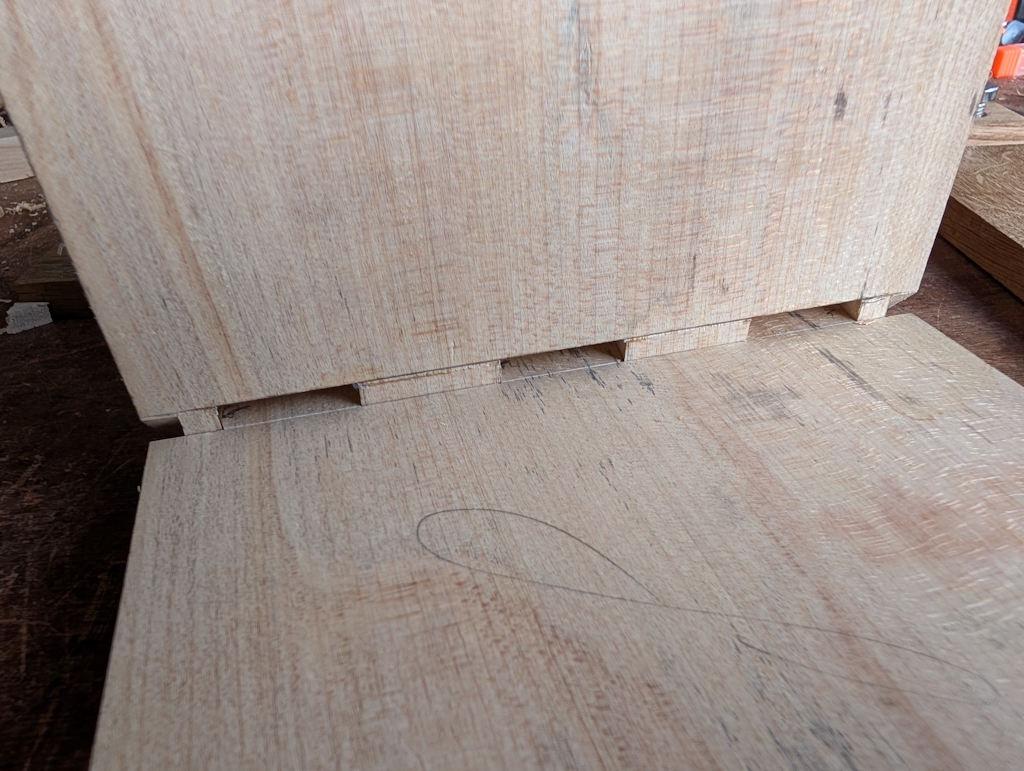
So far, so good. It's goes snugly home most of the way, only stopping because I hadn't done the long mitre yet:
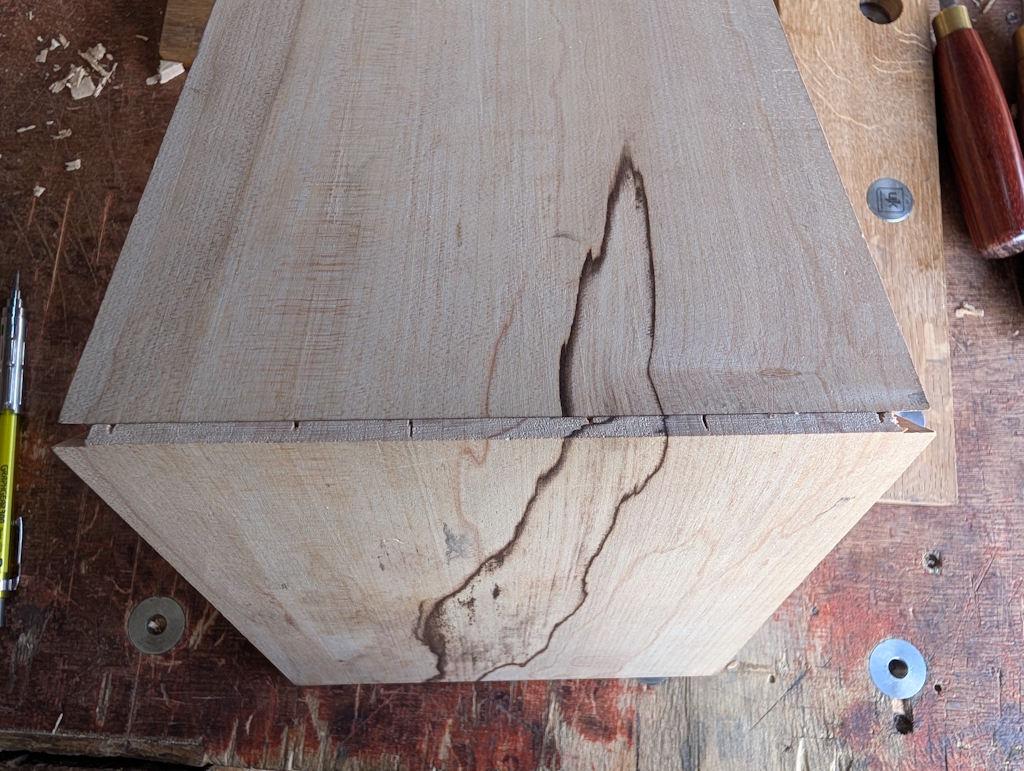
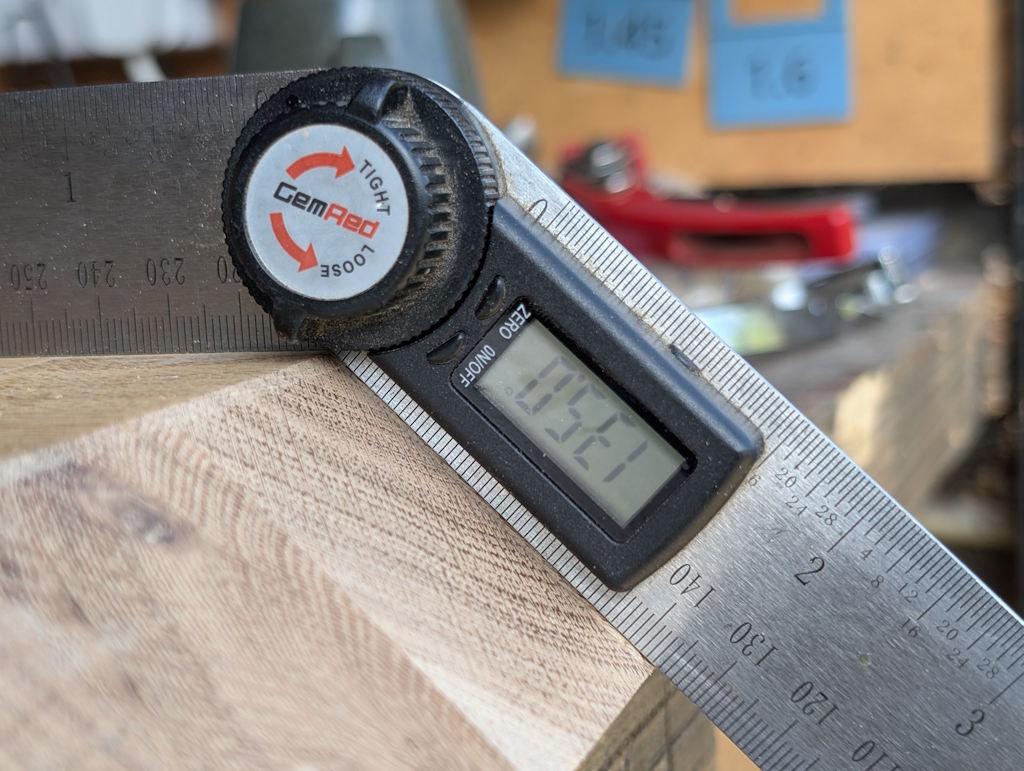
I grabbed another bit of oak worktop and cut a 45° angle in the end (I decided to be lazy and use a tracksaw this time), checking the angle against the face that's set back, being careful to align the angle gauge with the joints running along the worktop piece (as twisting the gauge would result in a mis-reading)::
After clamping the tail board in place, it was time to pare the long mitre:
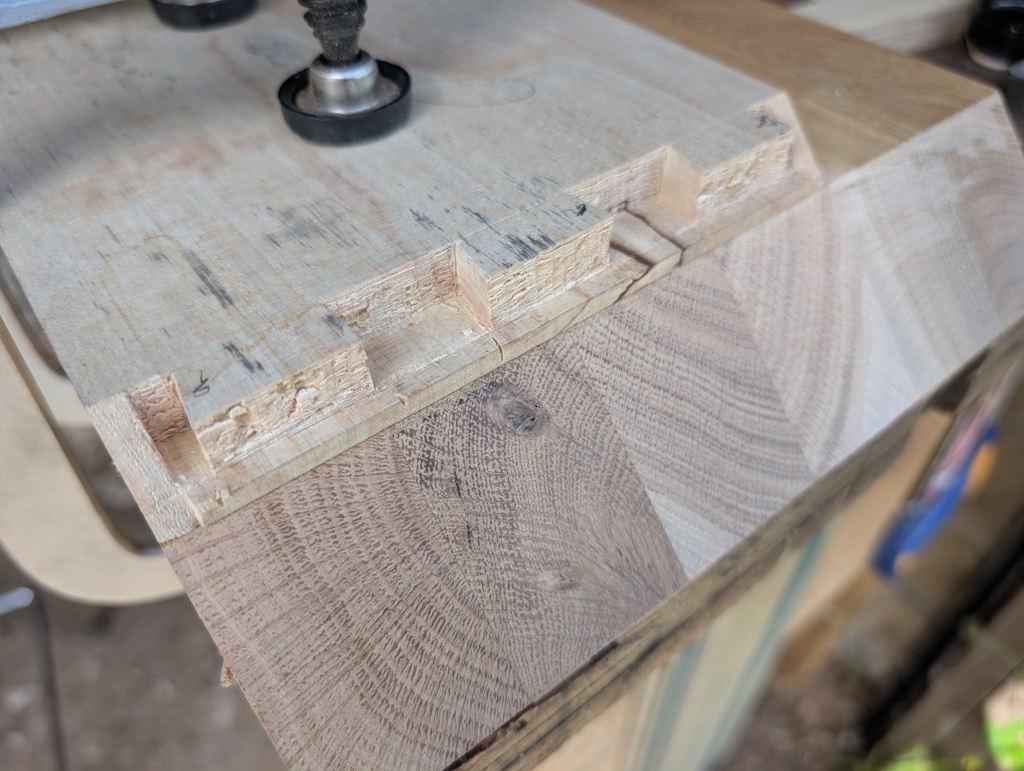
David Charlesworth did most of the paring with a chisel and then switched to a shoulder plane for the last couple of cuts. I've never got to the point that I feel very comfortable or confident with a shoulder plane so I decided to just use a chisel for the whole process. This is a work-in-progress shot:
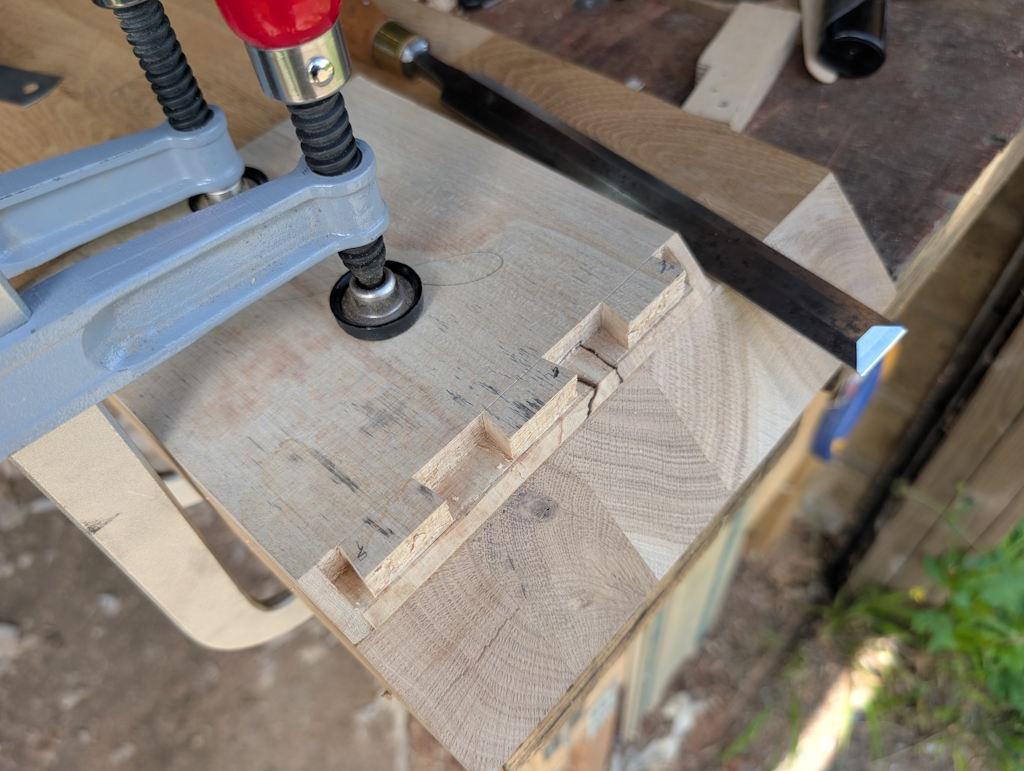
I don't seem to have a photo of the fully pared pin board, but here's the tail board:
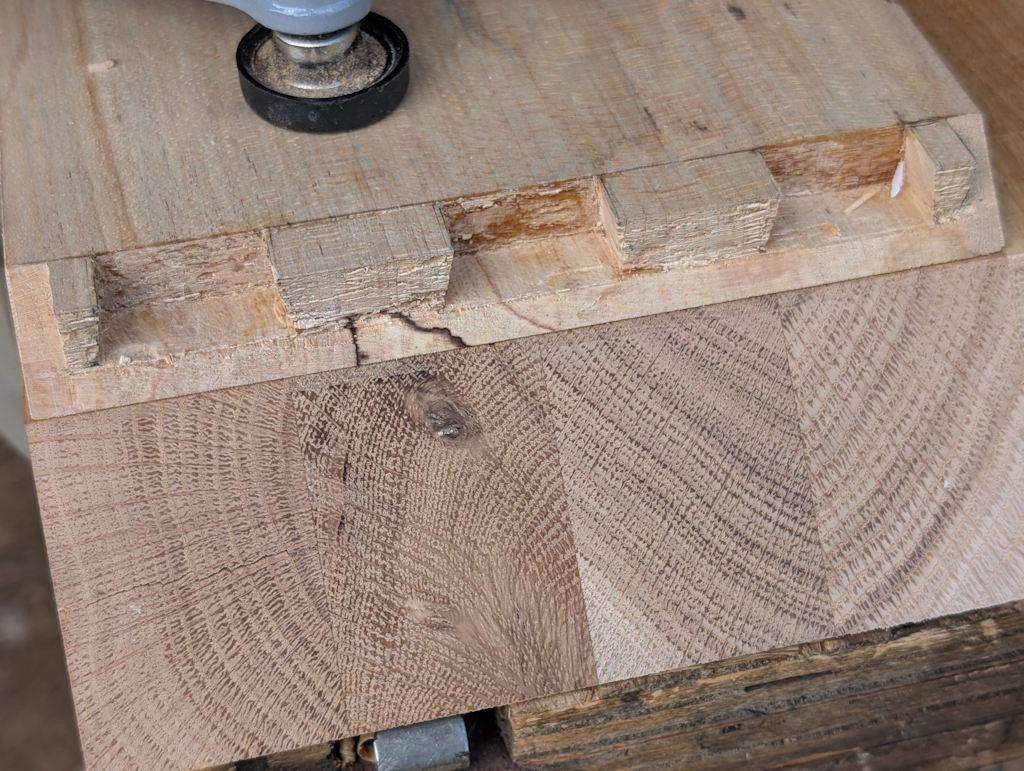
I used a long paring chisel for a lot of the work, but also a skewed chisel as it made it easy to take slicing cuts.
With the two long mitres cut, there's was nothing for it but to take a deep breath and do a trial fit:
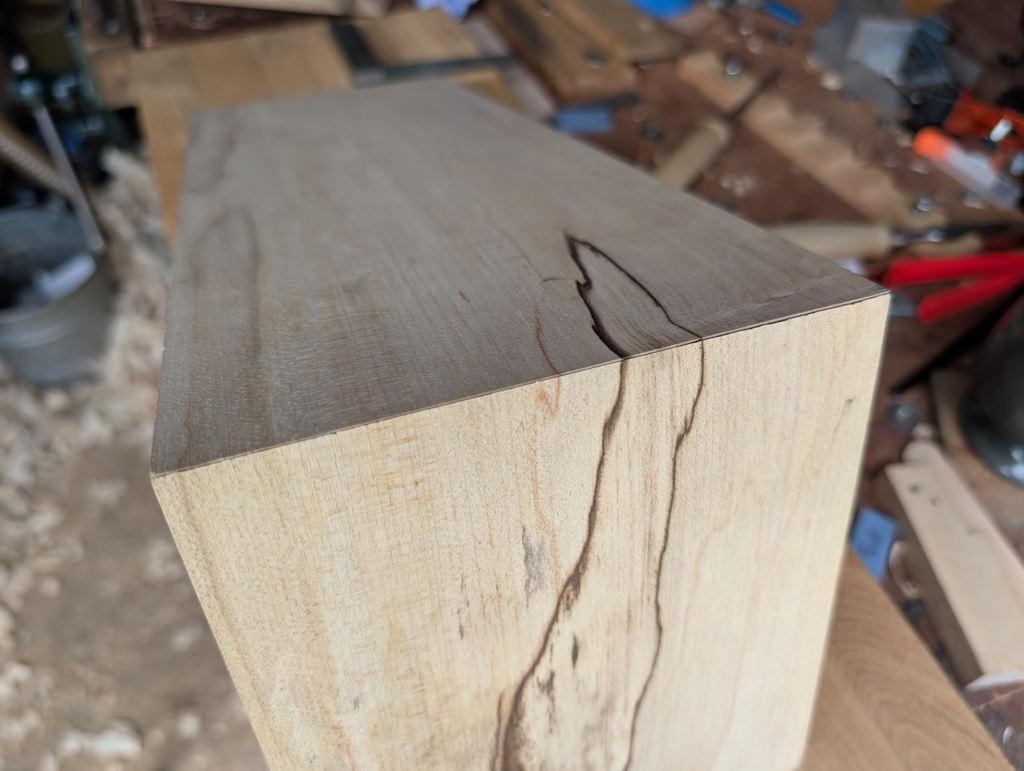
As my first ever attempt at a secret mitre dovetail, I'm really happy with that. There's a bit of a gap towards the right-hand side, but it's very small and I suspect that it might close up a bit more once I've got some glue in there and clamps holding it together.
I'm also really pleased that I only need to do one of those joints for this project! Hopefully I won't make any major howlers in the next few jobs that will mean I have to start again...
Page 3 of 10
This website is free and ad-free, but costs me money to run. If you'd like to support this site, please consider making a small donation or sending me a message to let me know what you liked or found useful.